This article is sponsored by the New York Institute of Photography. NYIP offers high-quality online photography courses that are affordable, convenient, and accredited.
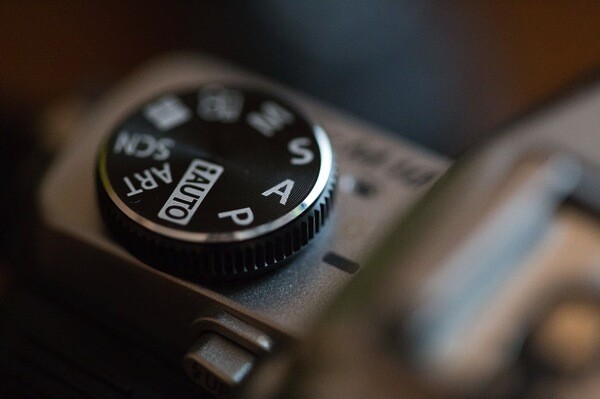
Controlling the aperture is one of the most powerful ways to improve your images. It’s also the topic that continues to perplex photography students everywhere. Rather than unnecessarily complicating matters, I prefer to demystify the subject. In this tutorial, I’ll reveal how both a wide and small aperture can be used to create consistent and beautiful results.
Consider the Background
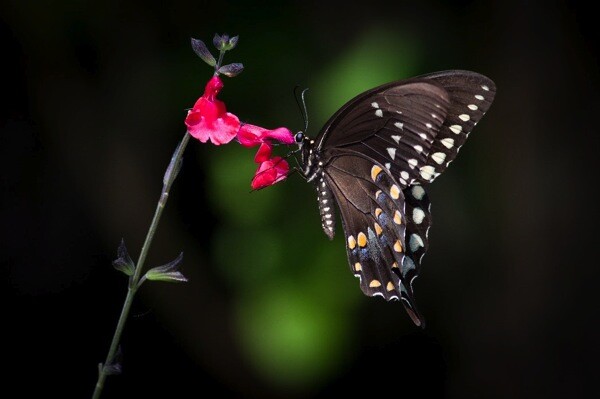
When I’m about to take a photo, the first question I ask myself is, “What kind of background would be best?” With wildlife, sports, portraits, and still-life objects, I often want the subject sharp, and the background to be a soft blur. As you’ll see in the example above, the blurred background allows the viewer to focus on the beautiful details of the butterfly, not on the leaves behind it. To do this, I chose a wide aperture by adjusting to a smaller f-number. At f/5.6 the opening in your lens is physically wide open, creating what’s known as shallow depth of field.
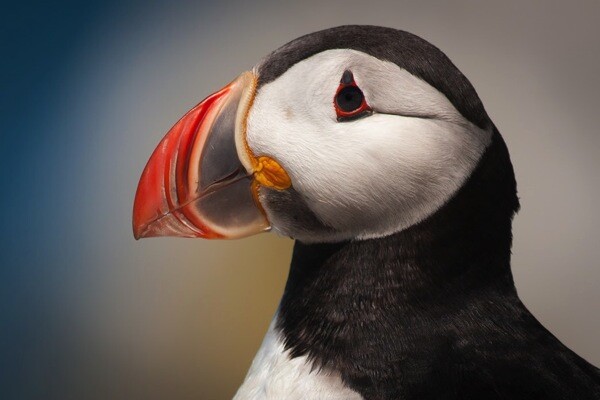
In the example above, I photographed an Atlantic Puffin at f/5.6. The bird is tack sharp while the foliage in the distance is very soft. The theme of the photo is clearly about its colorful beak, and there is little else in the photo to detract from it. For this reason, wildlife photographers typically use wide apertures for the majority of their work. To further emphasize the effect, try positioning yourself so there is distance between the subject and the background.
Freezing action
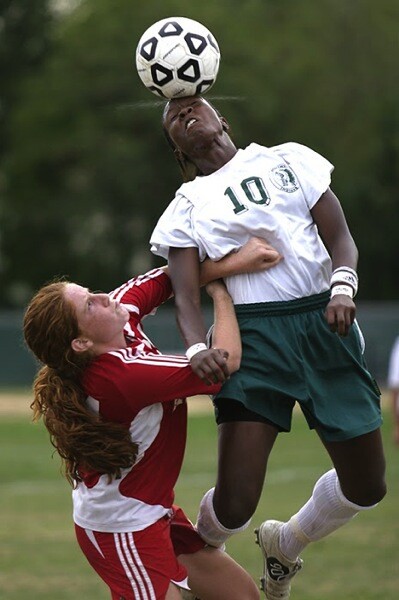
If you flip through the pages of Sports Illustrated, you’ll notice how most of the players are sharp while the fans are out of focus. The wide aperture chosen by the photographer not only creates that shallow depth of field, but it also lets a great deal of light into the camera. As such, it’s possible to use a fast shutter speed to freeze the action. If you are serious about sports photography, a lens that opens all the way to f/2.8 is worth the investment. You may even hear people refer to them as “fast lenses” which describes the speed in which the wide aperture lets light into the camera.
Focus on what’s important
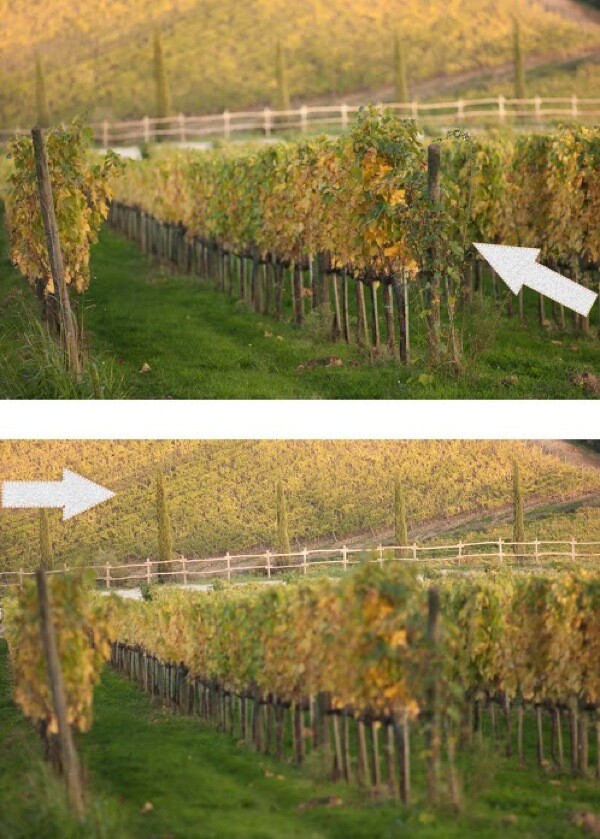
Before going any further, allow me to spend a moment on focus. When using a wide aperture, be sure to place your active focus points on the subject you want sharpest. These two vineyard photographs were both taken with the same wide aperture of f/1.8, but they look very different. This is due to my placement of the focus point indicated here by the arrows. For the image on top, I focused on the vines closest to me. As a result, everything behind it is soft. For the image on the bottom, I focused on the distant vines. The shallow depth of field then works to blur everything in front of the focus point.
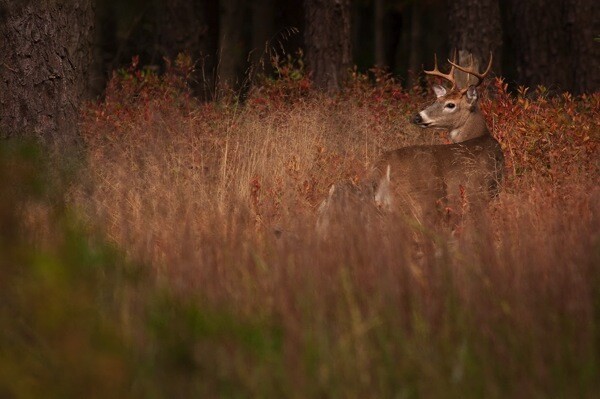
We can see how all of this comes together in the image of the male buck. I saw the large deer in October just after sunrise. With my active focus point on his face, I knew the deer would be sharp. A wide aperture of f/5.6 created a shallow depth of field. Not only was the background blurred, but the tall reeds in the foreground as well. The perspective makes it seem as if we’re spying on the creature through the tall grasses.
As you can see, a wide aperture can help you create images that surpass routine snapshots. With this new knowledge, you’ll start to recognize the techniques other photographers have used in their photographs. Begin practicing with wide apertures and you’ll soon be changing settings like a pro. Now, let’s turn our attention to small apertures.
Small apertures
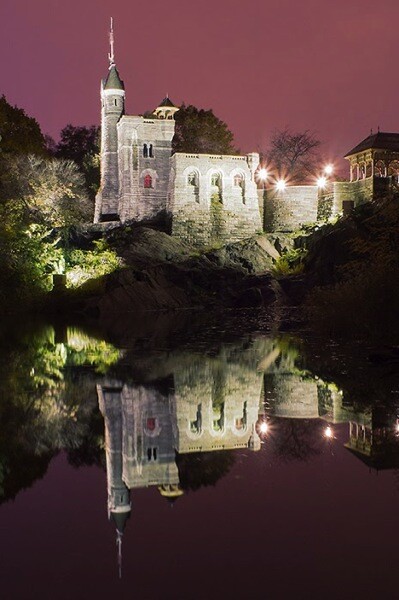
There’s a common misconception amongst photography students who believe sharp photos are solely result of fast shutter speeds. While that is part of the equation, the other equally important consideration is the aperture. By achieving greater depth of field, it’s possible to keep the entire subject in focus. In this second portion of our aperture tutorial, I’m going to share the specific f-stops and techniques used to create tack sharp images.

Don’t let the terminology trick you. The term “small aperture” refers to the physical size of the lens opening. This may seem counterintuitive since the actual f-number is larger. Yet, f/22 is a smaller aperture than f/16 because the aperture blades inside the lens don’t open as wide. See the example above.
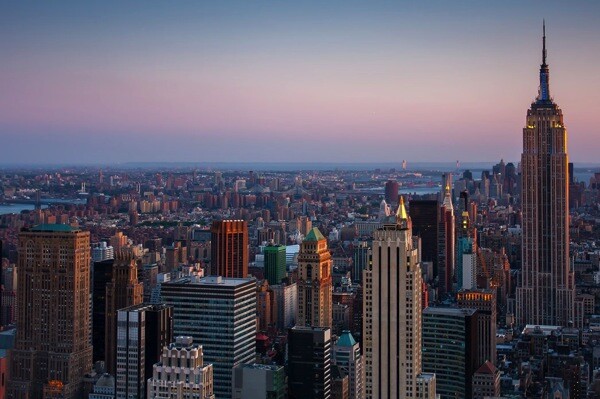
When you hear photographers say they are “stopping down”, it means they are using a narrower aperture opening, for example going from f/8 to f/11, or from f/11 to f/16. This renders everything sharp from near-to-far, hence the phrase “great depth of field”. I’ve created a phrase to help you remember this. “The greater the f-stop number, the greater the depth of field.”
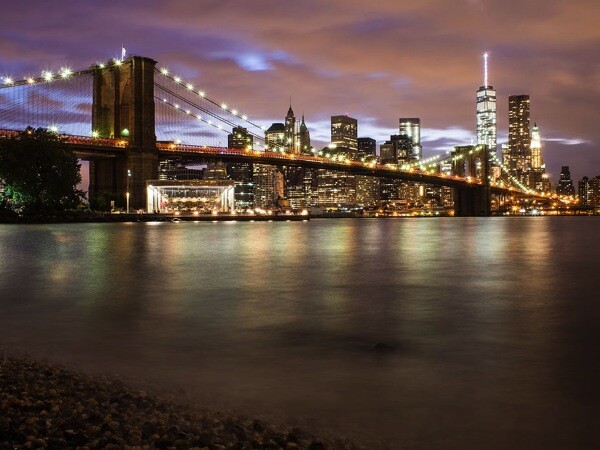
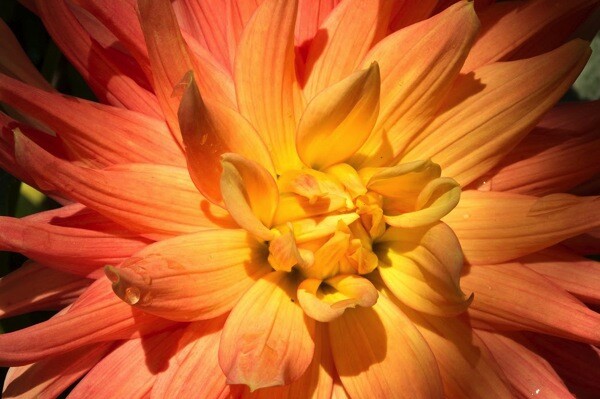
Great depth of field is also useful when you’re photographing flowers or close-up objects. If the aperture is too wide like f/2.8, only a handful of the petals will be sharp. The solution doesn’t necessarily have to be f/22 which is more suitable for a vast landscape; a better compromise would be f/8 which provides enough depth of field for most macro opportunities. Then, by simply focusing on the center of the flower, the entire subject remains reasonably sharp.
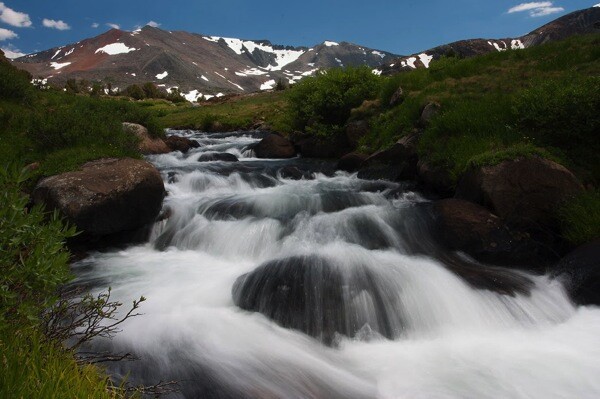
In a big sweeping landscape, it can be tricky to determine where to focus. For me, apps that calculate precisely where to focus are just not practical (or fun). To further emphasize the effect of the small aperture, I have found a simple solution that really works. Place your focus point on an object that’s 1/3rd of the way up from the bottom of the frame and use a small aperture like f/22. Not only will the object in the bottom third be sharp, but so will everything in front of, and behind it. As an example, I focused on the large boulder towards the bottom of the frame in this photo from Yosemite National Park.
Where the tripod comes in
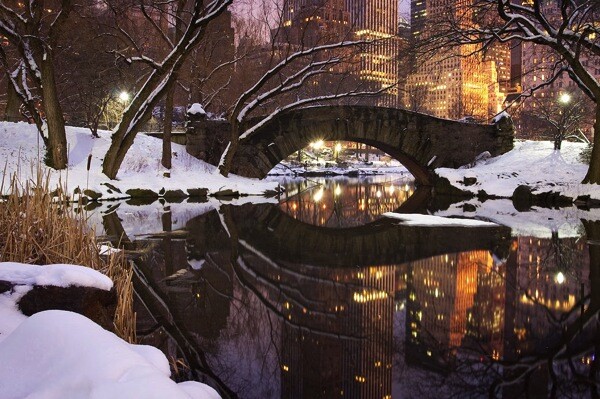
While f/22 may be an ideal setting for a landscape, it does present photographers with a challenge especially in low light situations. Since a small aperture doesn’t let much light into the narrow opening of the lens, a slower shutter speed and/or higher ISO become necessary to achieve a good exposure. These longer exposure times are the primary reason most landscape photographers use tripods.
Bonus tip
If carrying a tripod is not possible, you can create a makeshift camera support by placing the camera on a bag, a wall, even the ground. Then, to avoid jostling the camera during the exposure, set the two second timer to automatically trip the shutter.
This article is sponsored by the New York Institute of Photography. NYIP offers high-quality online photography courses that are affordable, convenient, and accredited.
googletag.cmd.push(function() {
tablet_slots.push( googletag.defineSlot( “/1005424/_dPSv4_tab-all-article-bottom_(300×250)”, [300, 250], “pb-ad-78623” ).addService( googletag.pubads() ) ); } );
googletag.cmd.push(function() {
mobile_slots.push( googletag.defineSlot( “/1005424/_dPSv4_mob-all-article-bottom_(300×250)”, [300, 250], “pb-ad-78158” ).addService( googletag.pubads() ) ); } );
The post How to Control Aperture and Create Images You Love by Chris Corradino appeared first on Digital Photography School.

Digital Photography School





You must be logged in to post a comment.