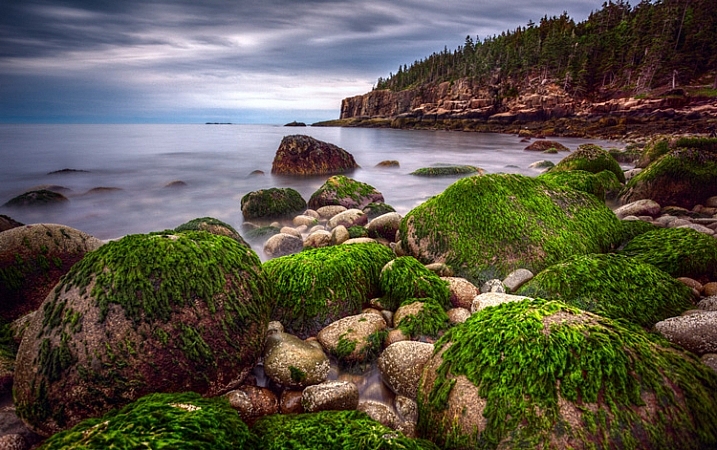
Turning the corner from taking snapshots into taking actual compositions is a hard thing to do. It doesn’t come naturally, and it takes experience. Another reason it is difficult to learn composition is that there is no one, hard and fast rule. You can get caught up in looking for various shapes, patterns, leading lines, and other compositional elements until your head is spinning.
To avoid all of this, I want to share one concrete technique for you to use when you are out shooting landscape photos. It is one way to go about setting up your shot, that will give you a path to setting up a successful composition. Of course, it isn’t the only way to set up your shot, and you won’t use this all the time, but it is great for helping when you are stuck.
And the tip is . . .
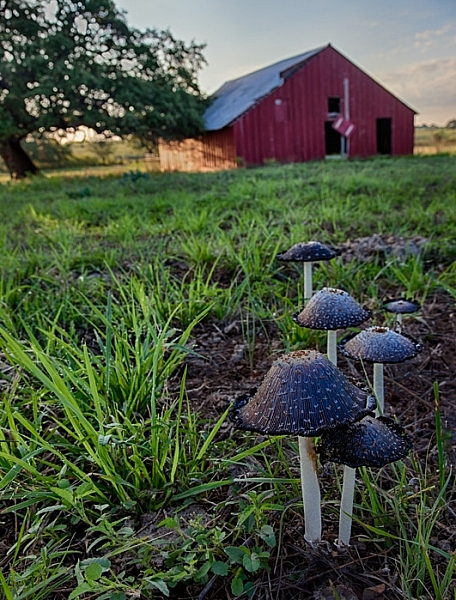
. . . the next time you are out shooting it a scenic location, just put on your widest angle lens and get right behind something on the ground to take the shot.
I mean right behind it. That something on the ground can be anything from a flower, to a rock, to a pattern in the sand. It does not matter. What matters is that you are down on your knees with your wide-angle lens right behind it.
Why it works
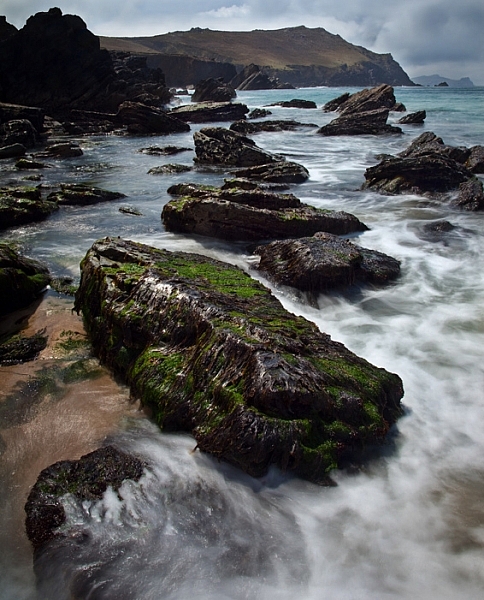
The wide-angle lens will give the foreground object an exaggerated sense of proportion, but will also pick up the background. By getting right behind something, you are adding a subject to your picture. You are creating a center of interest. You are going beyond just showing the general scenery. The background will still be in your picture as well, you just do not need to focus on that.
Another benefit is that it gives the viewer a sense that they can walk into the picture. It is providing a real foreground, that adds depth and interest to your photo.
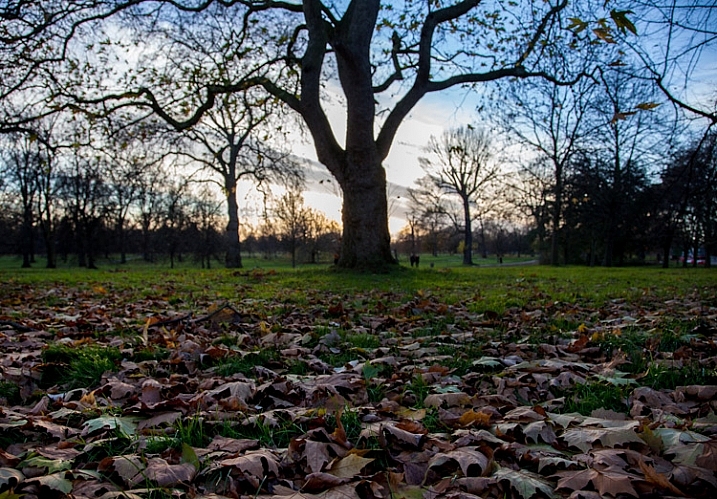
What typifies a snapshot, is standing at eye level trying to capture the entire scene before you. For many of us when we are just starting with photography, that just intuitively seems like the way to take pictures. We want to capture the whole scene, and not have it blocked by something on the ground immediately in front of us. The problem is that there is no foreground, subject, or center of interest to speak of. In addition, you are presenting the world in the exact same way as the viewer is used to seeing it, which is bound to be rather boring to them.
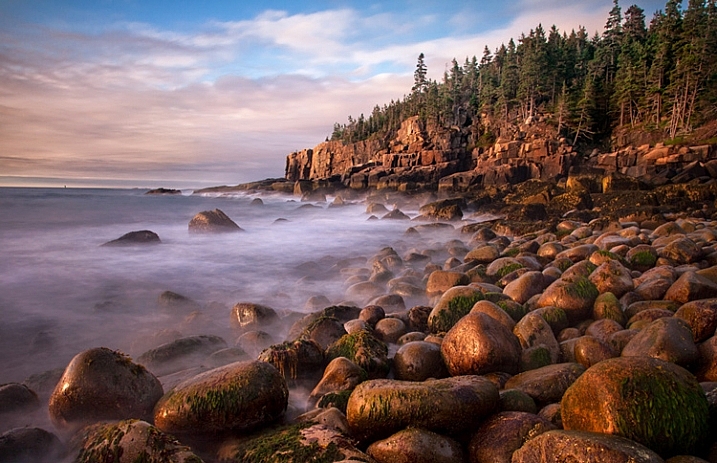
Putting the tip into action
How you determine what items on the ground will work as your foreground elements, that is the hard part. There is no right answer. You will just have to look. In fact, it will not be obvious even when you are out in the field looking around. There are times when you might have to walk around while looking at the LCD in Live View mode, or with the viewfinder to your face to find something on the ground to use as a foreground.
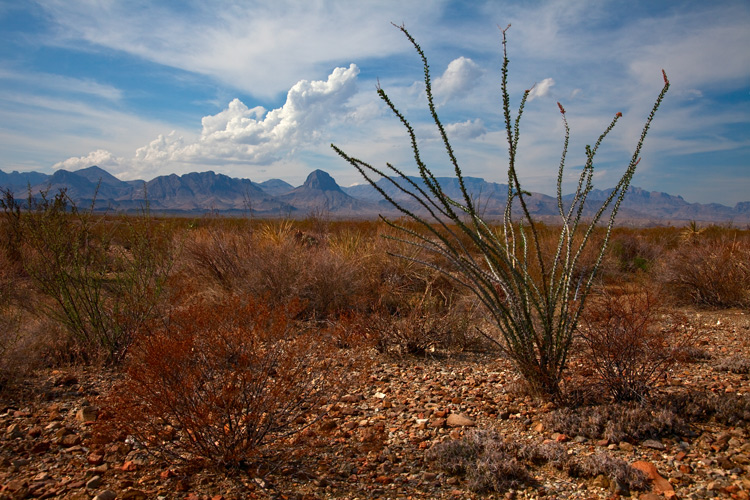
Here are some examples of things you can use as foregrounds in different contexts:
- When photographing water – use a reflection in the water
- When at the beach or desert – find a pattern in the sand
- When photographing creeks or coasts – use rocks
- At midday – use shadows
- In the fall – use leaves
There are obviously a variety of subjects you can use. Go out and try it next time you are shooting, and if you come across a good item to use in the foreground, leave it in the comments and share your images with us.
googletag.cmd.push(function() {
tablet_slots.push( googletag.defineSlot( “/1005424/_dPSv4_tab-all-article-bottom_(300×250)”, [300, 250], “pb-ad-78623” ).addService( googletag.pubads() ) ); } );
googletag.cmd.push(function() {
mobile_slots.push( googletag.defineSlot( “/1005424/_dPSv4_mob-all-article-bottom_(300×250)”, [300, 250], “pb-ad-78158” ).addService( googletag.pubads() ) ); } );
The post One Compositional Technique to Transform Your Landscape Photos by Jim Hamel appeared first on Digital Photography School.
You must be logged in to post a comment.