The post Technique vs Artistic Creativity in Photography – How Important is it to Find a Balance? appeared first on Digital Photography School. It was authored by Kevin Landwer-Johan.

Discussion about technique vs artistic creativity in photographic circles can cause tensions. Much of what’s focused on when learning photography is camera technique. Creative aspects are often left out, even after you’ve picked up some camera skills.
Developing a balanced approach to photography is important. If you’re content to just document what’s in front of you, don’t worry about it. You need to know how to operate your camera competently to be creative with it. Camera technique vs artistic creativity is a matter of engaging both brain hemispheres.

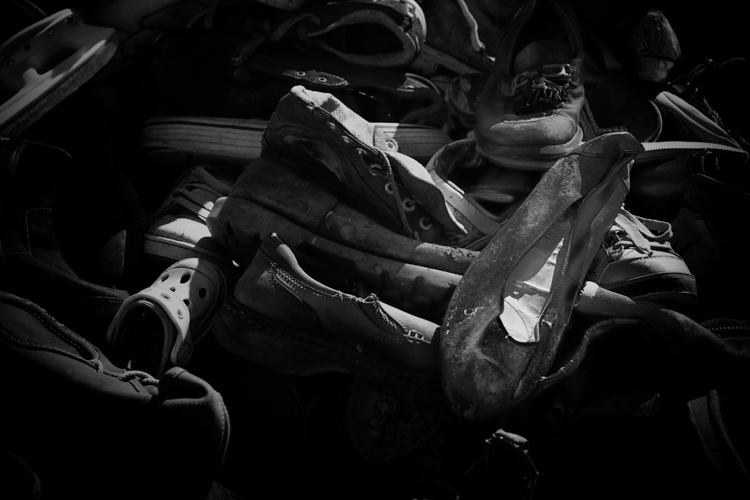
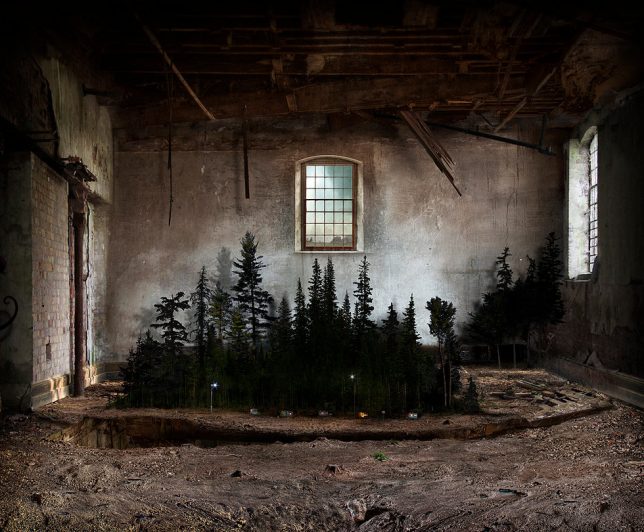
© Kevin Landwer-Johan
Left brain vs right brain functions
It’s said that the left hemisphere of our brain is more academic and logical. The right hemisphere is more imaginative and artistic. Technique vs artistic creativity seems to separate somewhat in our thinking.
Learning to work with a camera well requires a good understanding of its basic functions. Controlling the amount of light entering your camera is essential to master. Of course, you can leave this left brain function to the camera’s artificial intelligence (AI). This happens when you use any of its auto or semi-auto modes.
Relying on the camera’s AI takes away some of the technical challenges in camera use. It also inhibits the full expression of the right brain hemisphere’s artistic creativity. When your camera chooses the exposure setting, you relinquish much of your creative expression.

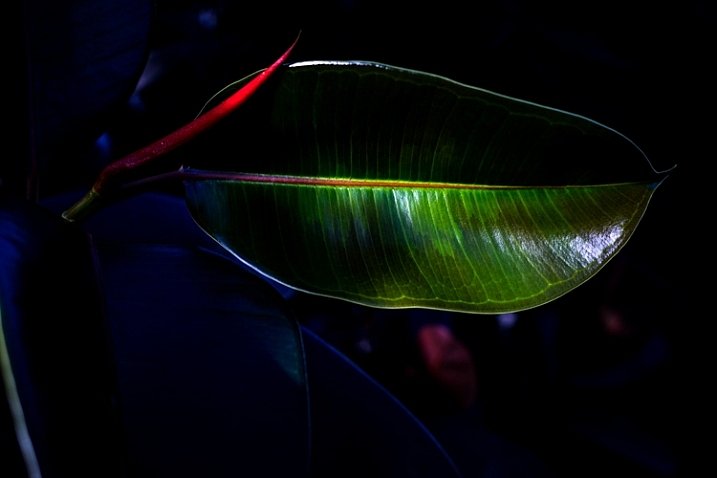
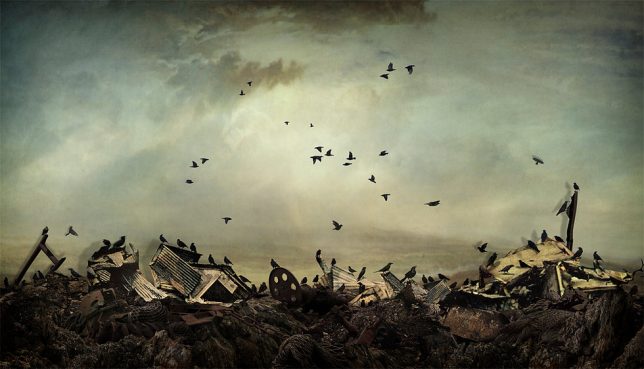
© Kevin Landwer-Johan
Photography means ‘drawing or painting with light’
Camera’s don’t take fabulous photographs, fabulous photographers do. Just as an artist’s brush doesn’t make a beautiful painting on its own, a camera is only as creative as the person using it.
The word ‘photography’ comes from the Greek language. It means ‘drawing or painting with light’.
The amount of light entering your camera affects the way your ‘digital canvas’ will appear. Understanding how the camera captures light requires left brain function. Leaving the camera to determine the ‘right’ amount of light negates much of the function of the right brain in creative photography.
If you can’t manage your exposure well it doesn’t matter how good your composition or timing is, your photos will lack creativity. Painting with light requires a good deal of creative decision making.

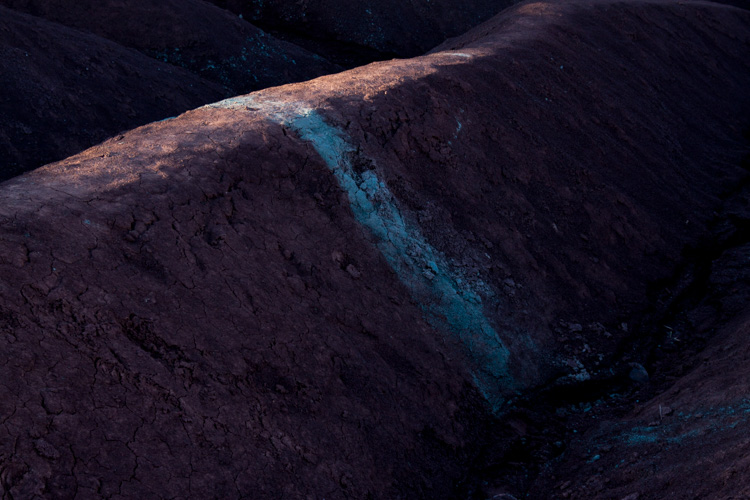
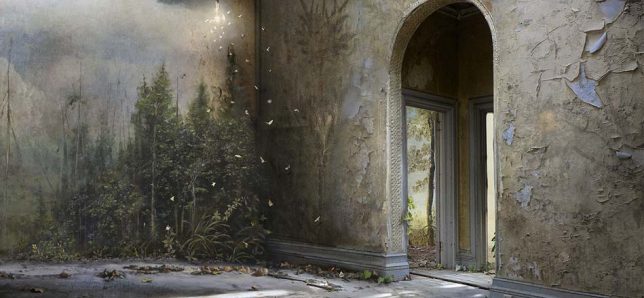
© Kevin Landwer-Johan
Master your camera
When you have mastered your camera, you’re in a stronger position to balance technique vs artistic creativity. Learning how to control the essential functions of your camera frees you up. Then you can concentrate more on the creative aspects of taking photos.
Frequent camera use and study will give you the ability to use your camera fluidly. The more you learn and practice with your camera, the less you will have to concentrate on it.
It can be like learning to touch type or drive a manual-shift car. At first, these are difficult and require a lot of concentration. Plenty of mistakes happen. Spelling mistakes happen. The car will bunny hop and stall. But, with a dedication to learning, the errors become minimized. You can begin to focus your attention on other things. You no longer have to look at where you are placing your fingers on the keyboard. Driving becomes smooth and you can enjoy the scenery.
Camera use is no different.
Once you study and practice enough you will free up your mind to concentrate on the creative aspects of photography. The technical actions required to take photos will consume less of your attention.

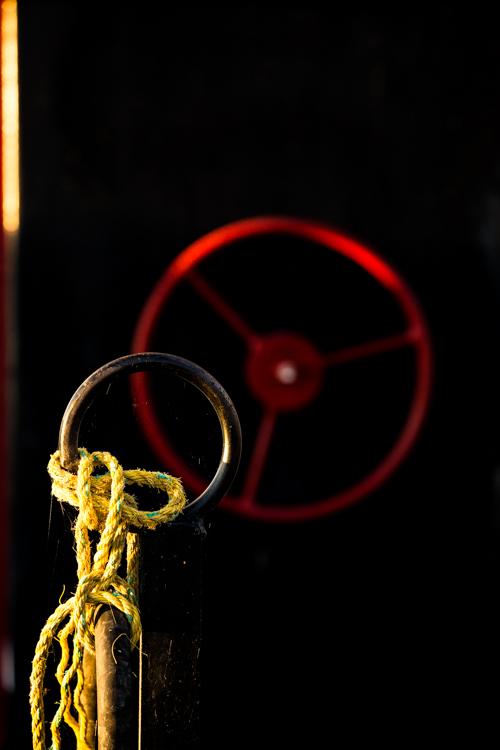
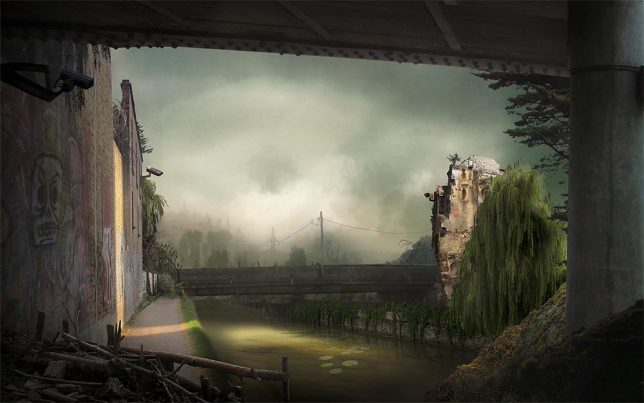
© Kevin Landwer-Johan
Release your creative expression
Once you’re comfortable controlling your camera, you can be more creative with it. When you understand how it captures images, you’ll be able to manage the settings artistically. Knowing how the sensor responds to light will give you the ability to control it with more innovative expression.
Leaving the exposure up to the camera’s AI will most often result in rather bland results. Your photos will look like everyone else’s who uses and auto mode. This is because the AI is not creative. It’s all algorithm-based and calibrated in a technical lab.

Your camera does a pretty good job of exposing your photos. It aims to provide an even exposure, not blowing out highlights or diminishing shadow detail. This does not, however, often make the most expressive exposures.
Manually exposing a photograph well adds depth and feeling to the picture. Scene modes on some cameras will include options for portraits, landscapes, action, and the likes. I have never come across a camera that offers automatic modes to create dramatic, happy or somber photographs. Controlling your camera manually allows you to make creative choices.
Being in control of your exposure allows you to make choices based on what your main subject is. Your camera does not know what it is. Some AI systems in cameras will guess what you are photographing and return exposure results on this presumption.
You will know exactly the nature of your composition and, when you have some understanding of light, you’ll expose it the way you want it to look.

© Kevin Landwer-Johan
Push beyond what’s considered correct
Technique vs artistic creativity teaching is often dominated by those whose aim is to take technically correct photos. Photos that don’t fit in the technically correct ‘box’ are scorned.
For creative photographers, ‘correct’ photos are usually perceived as dull, no matter what the subject. Whether a particular composition rule applies does not matter to them. If the whole image is not evenly exposed the photo is still acceptable.
I’ve met far too many photographers who think their photos must reach certain technical standards to be any good. This is what they focus on, and often, their photos lack creative expression.
Knowing how to manage your camera settings well is vital to creative photograph. The technique is very important, but the rules are not.

© Kevin Landwer-Johan
Conclusion
Aim to use your camera without consciously thinking about it – much the same way you’ll drive a manual shift car after enough practice.
Instead of thinking about your shutter speed and aperture settings, focus on how you are feeling. What do you want to express in the photographs you are taking? Be present within the moment and relate more to your subject than to your camera. Then you will find the balance between technical vs artistic creativity.
Share your thoughts on this in the comments below.
The post Technique vs Artistic Creativity in Photography – How Important is it to Find a Balance? appeared first on Digital Photography School. It was authored by Kevin Landwer-Johan.


You must be logged in to post a comment.