The golden hour. Even if you haven’t been involved in photography for very long, you undoubtedly have heard the term thrown around. As photographers we are in the business of capturing light, and there is no better light to have cast on our subjects, than sun light that is low on the horizon.
The golden hour is defined as periods of time; specifically, the hour after sunrise, and the hour before sunset. The length and time of these occurrences depends on your location on our planet, and time of the year.
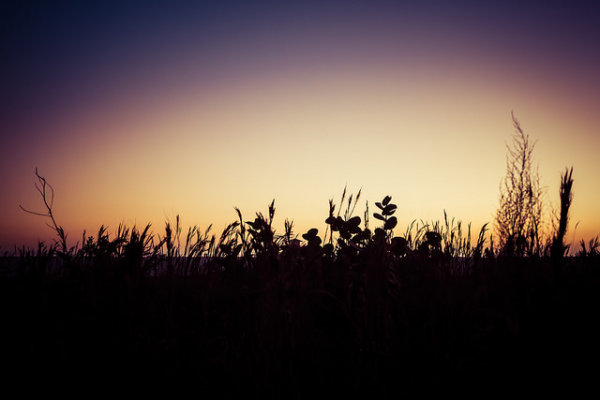
Regardless of the type of photography you do, natural light generally falls into two categories; harsh (hard) and soft. Harsh light is what you see when the sun is high in the sky, during the middle of the day (cloudless day).
Because the light is at its most intense during that time, and shining directly down from above, shadows are sharp and well defined. They can also appear in places you don’t want them, such as on a human subject’s face. You can sometimes counter this by using fill flash and reflectors. When you’re shooting landscapes, you see the more unwelcome effects on the sky, with less warmth and higher contrast.
Your subjects are well lit, but generally only from one direction. Images shot during at midday can be rather dull and uninspiring, and it becomes more difficult to capture something spectacular.
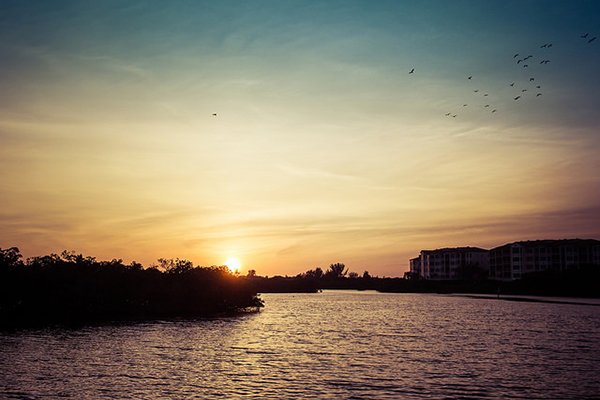
After the sun lowers in the horizon and sunset approaches however, everything changes. Simply put, taking photos during the golden hour give the images atmosphere. These times give the best light for all kinds of photography, but what advantages do you gain by shooting your landscapes during the golden hour?
Reduced Contrast
Light from the golden hour effectively reduces the contrast in your images. A black and white street shot could benefit from harsher light in the middle of the day, because the higher contrast and sharp shadows better define the subject and the environment. For landscape photos however, the world comes alive when the sun is low, and the light is soft and diffused. Shadows become longer and less defined, and the tonal range changes significantly. Clouds are illuminated differently, and their visual transitions against the sky soften.
Colors
The position of the sun during the day creattes varying temperatures of light, as you can see by the different colors as it crosses the sky. When we discuss temperature in photography, we’re discussing tthat of color, instead of heat. Neutral temperatures are what you see during the middle of the day. The main point to take away from this is that neutral temperatures are fairly uninteresting in regards to their aesthetic effect on your photography.
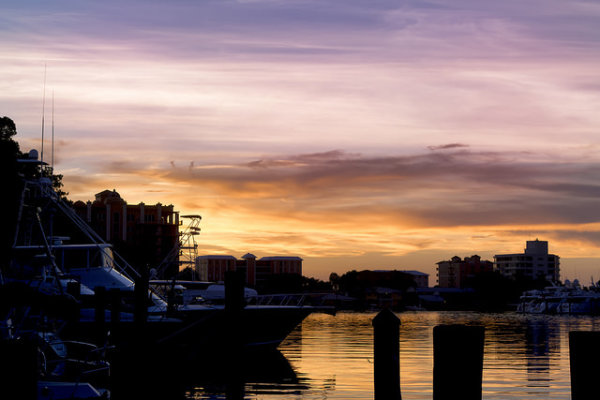
Color ranges become more vibrant and pronounced when the sun is closer to the horizon.
During the golden hour periods, colors tend to bend to the extremes, and give you much more pronounced effects on your images. During the morning golden hour, just after sunrise, the color temperatures are cooler, and give a moody, bluish hue to the shot. In the evening before sunset occurs, the spectrum shifts to warmer colors, providing you with warm oranges and reds.
A photo captured during the golden hour has a wonderful warmth and feel that’s impossible to capture at midday.
Softer Light Through Diffusion
Diffusion can be visualized with the words, scattering and softening. Light that is diffused is soft with less defined edges, and scattered across a greater area than non-diffused light. A good example of that is a diffuser attachment for your DSLR flash unit. The translucency of the diffuser attachment emulates the soft light you get from the sun being in a low position in the sky, and takes away hard shadows.
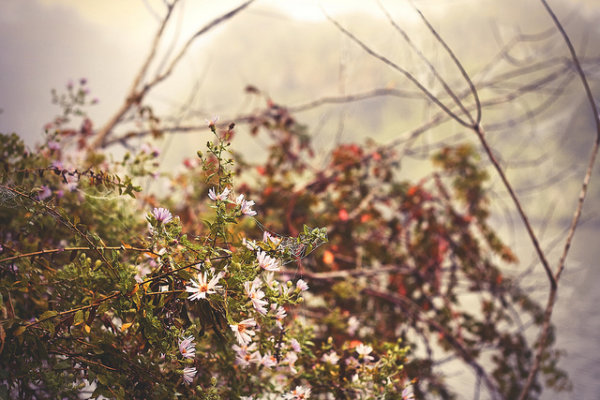
Diffused light is more evenly and softly applied throughout a scene, and a low-hanging sun or sunlight projecting through clouds becomes a great natural diffuser.
Your landscape photos benefit from this by less pronounced shadows from objects in your shot, and in general the light that falls on your subjects within the landscape scatters in a more even, favorable manner. What does this all give you? Again, the one thing you’re ultimately striving for in landscape shots; atmosphere.
Sun Flare Effects
Another advantage of shooting during the golden hours is the opportunity to introduce sun flare effects and backlighting into your images. Because of the sun’s position in the sky (low and near the horizon), you have the ability to better introduce it as a subject, or as a compliment to the subject in your shot.
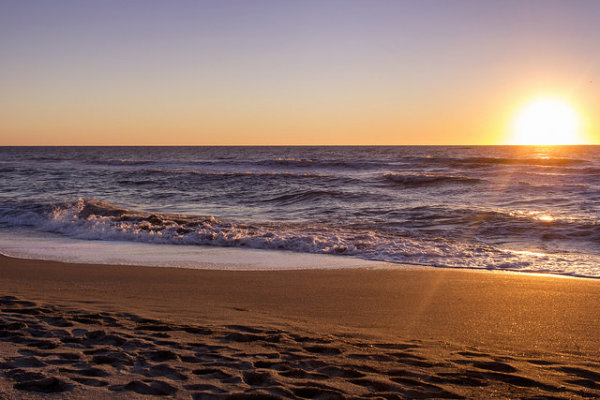
Sun flares are easier to capture during the golden hours, and produces a much more dramatic effect on the final image.
Flaring occurs when the sun is either at or near the edge of the frame of your photo, and while in some situations it is unwanted (photographers typically use lens hood attachments to minimize these effects), flares can add mood and drama to a landscape shot.
So now that you’re aware of the wonderful effects of photographing during the golden hour, how do you go about shooting our landscape images during these times?
Settings
Your camera settings for shooting during the early mornings or late evenings are going to depend on your exact subject, but in general, since less light is getting to your sensor, a larger aperture is usually required.
You may also need to bump up your ISO setting to compensate for the lower amount of light. This will increase noise, but usually not to a noticeable point, and even then, there are steps in post-processing that can easily remove it.
Again, this all depends on what type of shot you are doing. If you’re looking at a long exposure capture, you would set your camera for a smaller aperture and lower ISO.

Use a Tripod
As a landscape photographer you are always encouraged to use a tripod. Since generally you will be shooting in one static location for each set of shots, the tripod will allow you a wider range of apertures to work with. You always want your landscapes crisp!
Prepare
By definition, you have two hours each day to shoot for the best light, so your preparation for those times are even more critical than usual (you’re always prepared for any shoot, right?). If you’re planning on just taking your gear and spending time to set everything up on location, you run the risk of missing the shots you’re looking to get in the first place.
Either prepare before you leave, or allow extra time well before the golden hour to get everything settled. Scout the location ahead of time. Have your settings ready for the appropriate shots, and pack anything extra that you might need, including food, drinks or something warm to cover up with.
Keep Shooting!
While the scope of this article has been the golden hour, don’t forget that the magic doesn’t stop after the sun dips below the horizon. After this point, the blue hour begins, when colors and tones change even more rapidly and dramatically. Keep adjusting your settings, and shoot until there’s no light left to capture. You’ll be surprised at what you have when you finally get those images unloaded on your computer.
White Balance
While white balance is a setting on your camera, because of its overall effect on the atmosphere of your images, it warrants a little extra attention when shooting landscapes during golden hour. My recommendation is to take your camera off of AWB (automatic white balance) because the camera will attempt to neutralize the warmth of the image on this setting. Most DSLR’s have a cloudy or shade setting that will retain that color tone.
If you’re shooting RAW images, this is a step that can be adjusted in post-production.
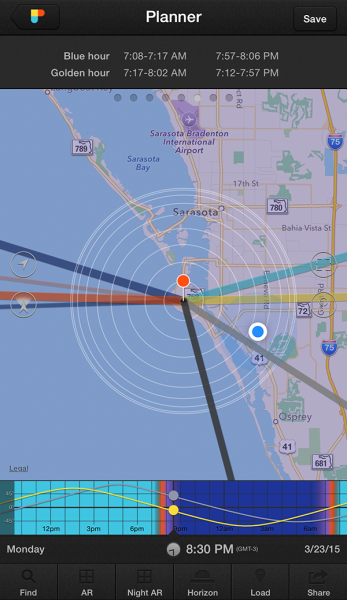 Helpful Apps
Thankfully, there are several Smartphone apps that can also help your planning process. A search on the Apple app store and Google Play shop will provide no shortage of this kind of apps, although there a few that I’ve used that seem a bit more robust, and worth the price you’ll pay. These apps provide calculators that will let you see when the golden and blue hours occur in any location in the world, and also include calculations for exposure, depth of field, time lapse, and more.
- PhotoPills – iPhone/iPad, $ 9.99
- Golden Hour – iPhone/iPad, £1.49
- The Photographer’s Ephemeris – iPhone/iPad, $ 8.99, Android, $ 4.99
Enjoy the Light!
Shooting at optimal times of the day is one of the easiest things you can do to improve your photography. Nothing else adds character, atmosphere, and dimension to your work so dramatically.
What other golden hour tips do you have to share? How do you apply these guidelines to your own photography? Be sure to join in the conversation below, and keep churning out those golden shots!
googletag.cmd.push(function() {
tablet_slots.push( googletag.defineSlot( “/1005424/_dPSv4_tab-all-article-bottom_(300×250)”, [300, 250], “pb-ad-78623” ).addService( googletag.pubads() ) ); } );
googletag.cmd.push(function() {
mobile_slots.push( googletag.defineSlot( “/1005424/_dPSv4_mob-all-article-bottom_(300×250)”, [300, 250], “pb-ad-78158” ).addService( googletag.pubads() ) ); } );
The post Tips for Creating Landscape Photos during the Golden Hour by Tim Gilbreath appeared first on Digital Photography School.
You must be logged in to post a comment.