If you’ve never shot light trails before, start with Darren Rowse’s excellent article How to Shoot Light Trails. Once you’re comfortable with the basics, here are five advanced tips for creating your own unique light trail photography.
1. Go big or go home
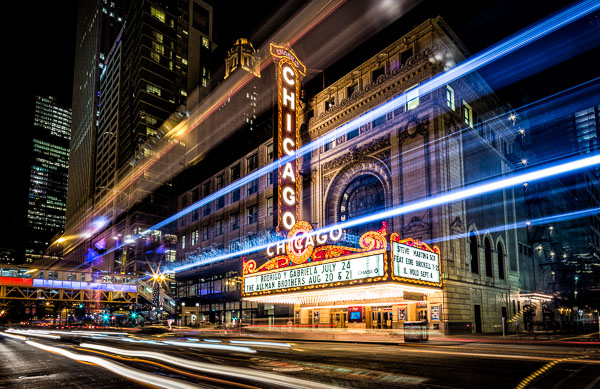
You don’t want an image with tiny light trails. You want big, Texas-sized, light trails streaking across the photo. As with any subject, if you want the subject to appear large, get close to it. Exaggerate the effect by using a wide-angle lens. Another way to add a sense of size to a subject is to shoot it from below. Shooting a person from a low point of view makes the person appear larger and more powerful. The same is true with light trails.
Get as low as you can, and as close as you can safely, to the traffic. If you’re shooting along a busy street, place two of your tripod legs barely into the street so that they are resting against the curb. Lower your tripod as far as you can and point it up. By getting as low and close as I could in the Chicago Theatre image (above), the top trails of the bus appear taller than the theatre marquee.
2. Visualize and compose for the light trails
Look at any of the images in this article and picture them without the light trails. You’re left with a boring composition that doesn’t work. When photographing light trails, you need to visualize how the trails will look in the image and compose your image with them in mind.
Treat light trails as if they were a river meandering through your image. You wouldn’t compose the shot so that the river moved straight across your frame, so don’t do it with light trails either. Pay attention to where the trails enter and leave the frame. Your eye will be drawn to the spot in the frame where the cars are beginning as it will have some of the densest and brightest trails. Place this location as you would place a main subject using the rule of thirds. The trails should move across your image and end at either the corners of the frame, or a vanishing point. Place this vanishing point in the opposite third of the frame. If the light trails enter in the lower left, have them end in the upper right. This lends a sense of movement to your composition.
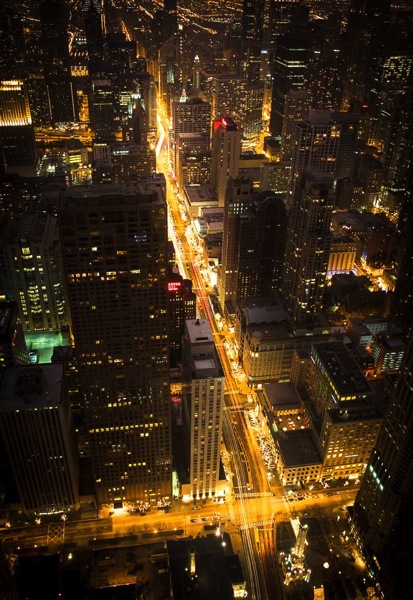
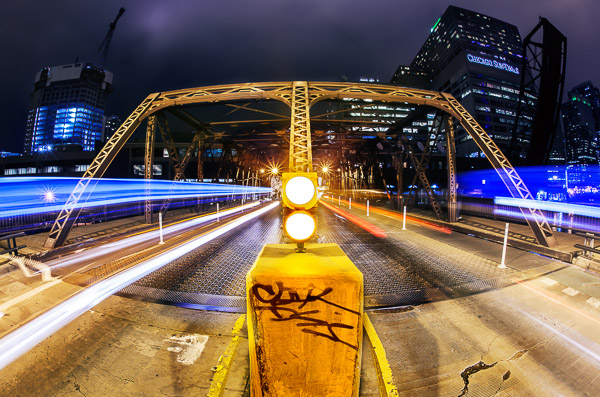
If you can get to the middle of the road with traffic on either side of you, consider going for a perfectly symmetrical shot. You’ll need an interesting subject to go along with the trails, so look for a bridge or interesting buildings on the side of the road. Wait to hit the shutter until you have traffic on both sides of you to create a balanced composition. More importantly, make sure that you’re in a safe position. Stand in the median, or off the street. Never set up in the middle of a busy street.
3. Isolate the light trails from the scene
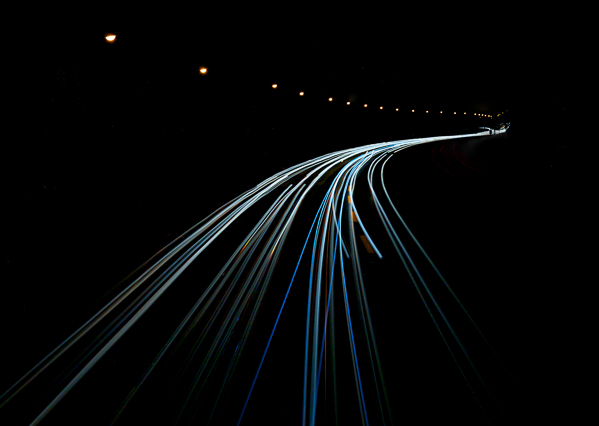
To create an interesting abstract image of light trails, put yourself in a position where the lights from the cars are the only light source. An expressway overpass is an ideal location. You don’t want any buildings or other light sources in the frame. Find a location where the road takes an interesting path and underexpose the scene so that the only things that appear are the light trails and streetlights.
When you open the photo on your computer, increase the exposure of the light trails while keeping the black areas black. You can increase the exposure of just the trails by increasing the whites slider in Lightroom, lowering the white point, or making an adjustment to the tone curve in Lightroom or Photoshop. You’ll be left with an image that shows only the path of the trails that makes for a unique abstract image.
4
. You don’t need cars for light trails
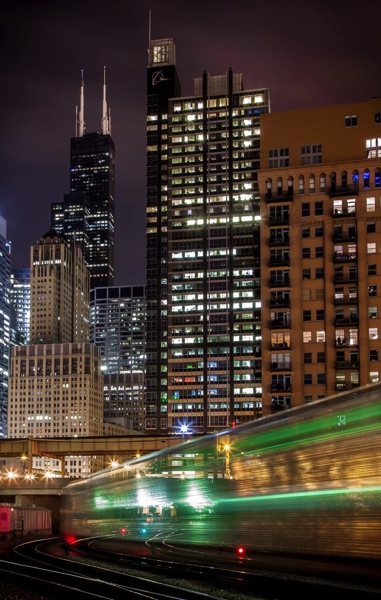
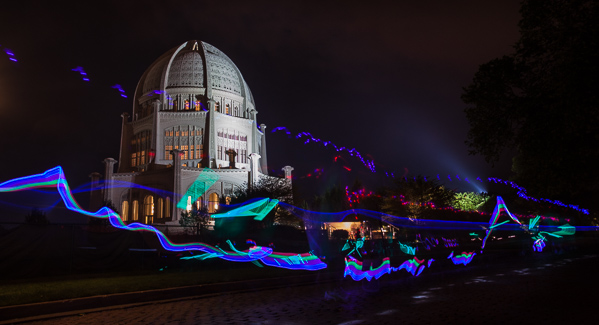
You can create light trail images at night by shooting anything that is moving and emitting light. If you’re photographing a city like Chicago, you’ll mostly shoot cars and buses, but don’t forget about trains, bikes, horse-drawn carriages, or even a bunch of kids walking by swinging glow sticks. The rules for photographing any of these is the same as with cars, but you’ll be able to shoot them in locations that cars don’t drive, and the trails that they leave are different than your standard cars.
5. Make your own light trails
Who says that you need to stand around and wait for something to drive by? If you’re in a more remote location, set up your tripod, set up a long exposure, use the 10-second delay feature in your camera, jump in the car, and drive around in front of your camera. You can drive in any path that you think might be interesting. Experiment until you find something you like. You’re essentially light painting with your car lights. This technique works even better with a friend. One person drives while the other shoots! Find an empty parking lot or a winding road and make your own light trails.

What do you do to spice up your light trail shots? Have you tried any of these techniques? Tell us in the comments below.
The post 5 Advanced Tips for Light Trail Photography by Chris Smith appeared first on Digital Photography School.