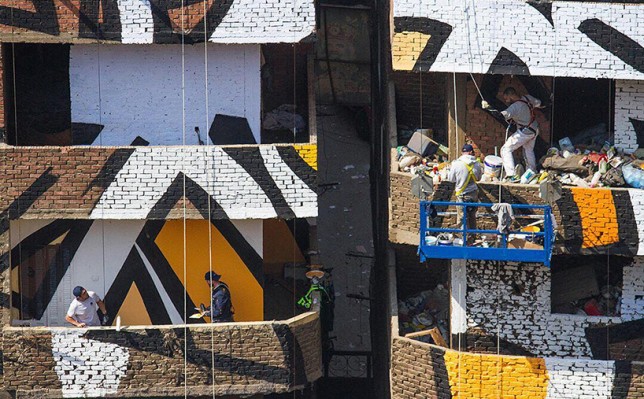
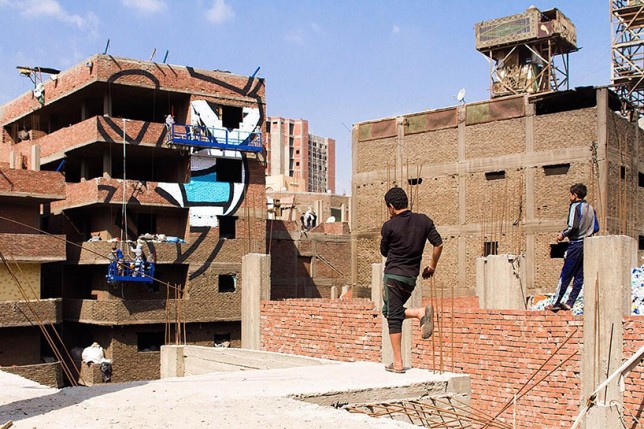
When you hear tilt-shift lens or tilt-shift photography, there is a probability that an image looking like a miniature model crossed your mind. That is because, over the years, tilt-shift lenses have become synonymous with this style. The miniature look is interchangeably referred to as the tilt-shift effect and you can even recreate it in post-processing. These lenses though have quite a few other strengths that are worth considering.

The miniature look that is affiliated with tilt-shift lenses.
So why use a tilt-shift lens?
The simple answer here is for perspective control. If you compare your regular lenses to a tilt-shift lens, you will notice they are built differently. The latter is designed to physically move (tilt, shift and rotate) independent of the camera and each other. This design feature gives you remarkable control over perspective and depth of field. In fact, a tilt-shift lens is also known as a perspective control lens.

Left: Shot with the camera pointing up to capture the entire scene. Right: Lens shifted to minimize distortion.
Tilt Versus Shift
The tilt function gives you the ability to keep different elements of focus on different planes. Thus you can shoot two subjects at two different distances. With a regular lens if you want to shoot at a wide aperture, you usually have to make a focus choice of either the foreground or background. A tilt-shift lens allows you to have both your subjects in focus.
The shift function allows you to minimize distortion (common when using wide angle lenses) when you are shooting from a high or low angle. It also helps correct vertical line convergence (tilting buildings).
Tilt-Shift Lens Uses
Architecture
When photographing architecture, the shift function helps you maintain proper perspective. Ordinarily, when you want an entire building in your frame, you tilt your camera up. If you have ever tried this, you will be familiar with images where the buildings appear to be leaning backwards.

Church shot at 24mm with a standard lens.
This skew is caused by the sensor plane of the camera being titled in relation to the building. Ideally, you want the sensor perpendicular to the ground and pointing straight ahead/centered. With a tilt-shift lens, instead of angling your camera upward, you “shift” the lens. Since the camera stays put and only the lens physically shifts, your building will be straight. This technique is very helpful when shooting interiors with high ceilings.

Church shot at 24mm with a tilt-shift lens.
Landscapes
In landscape photography, one of the primary uses of a tilt-shift lens is to minimize wide angle lens distortion. Another great way to use this lens is for panoramic shots. A common challenge with panoramas is after the shots are stitched together there is still some distortion to be corrected. When this distortion is corrected in post-production, you may lose part of your scene. By using the shift function of the lens, you can create high resolution distortion free panoramas with negligible post-processing work.
Creative uses of tilt-shift lenses
Miniatures
The tilt function of the lens is responsible for that miniature look you are likely familiar with. A miniature effect is when you take a life-sized scene and make it appear as if it’s on a miniature scale. The lens here is used to add blur to the photo which simulates shallow depth of field. This mimics the look you get when you use a macro lens to shoot a miniature scale model.

The blur above and below creates a perception that your camera is only inches away from the scene.
To create this type of look, you need to be elevated at least 10 feet /3 meters (recommended higher if possible). Elevation gives you that same perspective as if you were looking down on a miniature model. So other than the subject, a high vantage point is key for these types of photos.

The tilt function allows you to creatively add blur (in this image the blur is on the right side).
Note: Shooting wider gives you a better sense of place.
Portraits
Shooting portraits with a tilt-shift lens can be quite creative. At the very basic level, you are now able to capture in focus two subjects (or a group), even though they may be at different distances from the lens.
Another creative use is capturing someone walking towards or away from you. As you know, a moving person can quickly be out of focus. But with a tilt-shift lens, you have the ability to extend your plane of focus to the front and back of your walking subject so they stay sharp even at different distances.
Bonus: The Scheimpflug Principle
The Scheimpflug Principle is where more of your subject plane is in focus (from near to far) and refers to what looks like a near-infinite depth of field. To achieve this great “depth of field”, you tilt the plane of focus in the same direction as the plane of the subject – which puts the image in focus at various points along the subject plane.

By Fil Hunter at English Wikipedia – Transferred from en.wikipedia to Commons by Jacopo Werther., Public Domain
For example, if you are shooting a field of flowers going off into the distance and you want to have all of the flowers in focus. Shooting at a small aperture will work, but may (based on your lighting) increase your shutter speed – which reduces your chance of sharp flowers. By changing the plane of focus, your tilt-shift lens allows you to shoot at a wider aperture and still get all your flowers in focus.
Conclusion
The perspective control that tilt-shift lenses offer will save you a lot of time in post-processing and is also a great way to correct for depth of field limitations of most lenses. These lenses also give you a lot of depth without the need to use smaller apertures. So besides straightening tall buildings, what have you used, or hope to use tilt-shift lenses for?
Here are some other creative ideas for you. Please share your tilt-shift images in the comments below.
The post How to Use a Tilt-Shift Lens Creatively and for Perspective Control by Nisha Ramroop appeared first on Digital Photography School.

Digital Photography School


You must be logged in to post a comment.