When I first started out in photography I had a tough time wrapping my head around one of its most fundamental concepts: exposure. I learned everything I could about things like aperture, light, shutter speed, highlights, shadows and dynamic range, but all these were planets orbiting a central sun called exposure and I couldn’t nail down exactly what that meant. I heard terms like “expose for the highlights” and “try to get a good exposure” sandwiched between people talking about “double exposure” and “long exposure” and my head was swimming. I figured things out eventually, but it took trial and error and cries for help to my fellow photographers (not to mention a lot of online research and books). So, then, let me help other aspiring image-makers learn a thing or two by making sense of exposure.
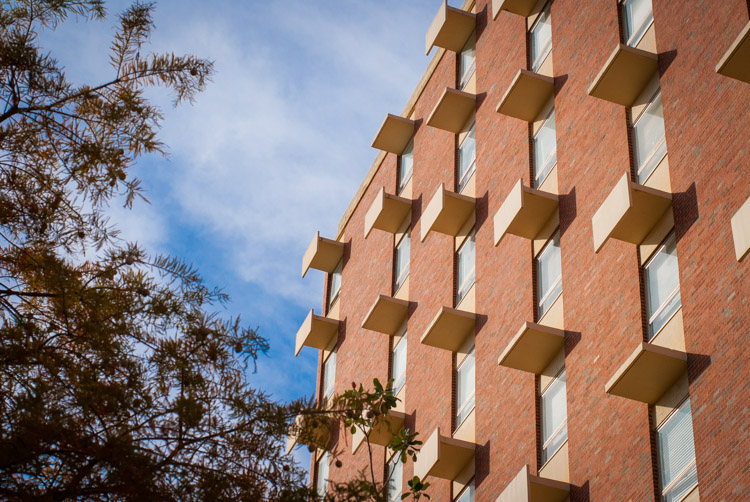
A properly exposed architecture photo.
Here’s the most basic, but informative, definition I can offer of exposure: it’s how bright or dark your photograph is. If a photo is too bright, it’s considered to be overexposed. Too dark, and it’s underexposed. But the Goldilocks-approved version of almost any picture is what’s known as a proper exposure – it’s neither too dark nor too light. All other bits aside, when people talk about getting a properly-exposed image, or tweaking camera settings to get a good exposure, all it really means is getting an image that’s not too bright or not too dark.
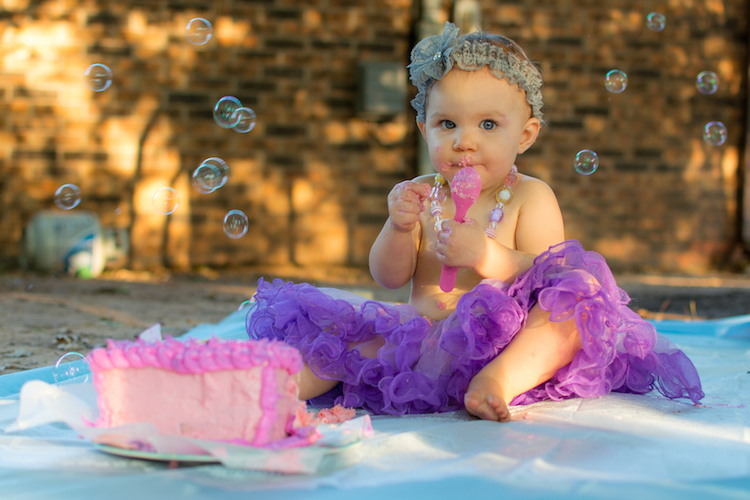
The bright sunlight made getting a proper exposure a bit tricky, but understanding how it works helped me get the photo I was looking for.
Sounds simple, right? It is, and yet it’s much more because photography is not just about getting things to be neither too bright or too dark. It’s up to you as a photographer to know not only how to get an image that’s properly exposed but how to adjust your camera’s settings to get the exposure you want. You might look at a given scene and decide that you want things to be a bit too bright or too dark, or you would really like some of the darker areas of the image to show up brighter, or you want to get a picture of something in broad daylight that’s normally too bright for your camera to deal with. Or perhaps you like images with extremely dark and light areas and you want to purposely create a sense of contrast while also maintaining a certain type of exposure. In Auto mode your camera will almost always try to get what it thinks is a properly-exposed image, but if you can work up the courage to try Aperture Priority, Shutter Priority, or even Manual mode you can start to control the various parameters that combine to make an image and, thus, get the precise type of exposure you want – not what your camera thinks you want.
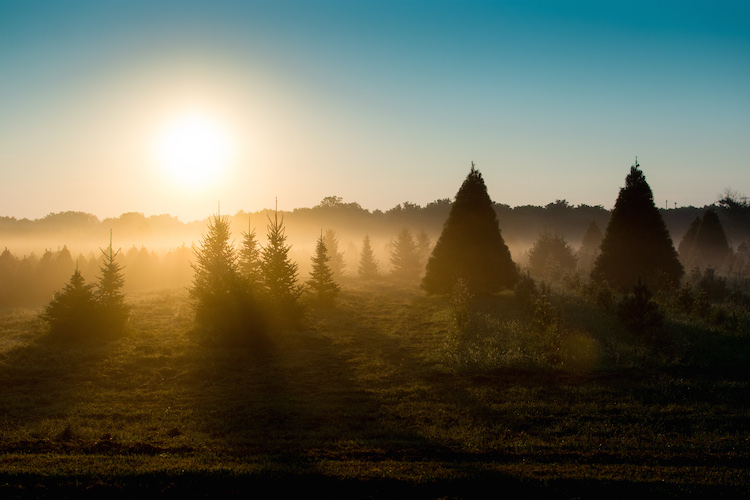
Knowing how to adjust my exposure was critical to capturing this image. My camera’s Auto function would have left me with an unusable photo.
So how do these other elements affect exposure, and what can you do to manipulate them to get the exposure you want? This is a simple breakdown of the three most important things you need to know:
Aperture: The size of the opening in your camera lens that lets light pass through to the image sensor. A larger aperture will let more light pass through, while a smaller one will not let much light pass through.
Shutter Speed: How long the curtains in front of the image sensor are open. A longer shutter speed will let more light pass through, while a shorter shutter speed will not let much light pass through.
ISO: How sensitive your image sensor is to light. Lower ISO values mean your camera is not very sensitive to light, which means a proper exposure requires either a longer shutter speed, a wider aperture, or both. High ISO values mean your camera is very sensitive to light, which means a proper exposure requires either a shorter shutter speed, smaller aperture, or both.
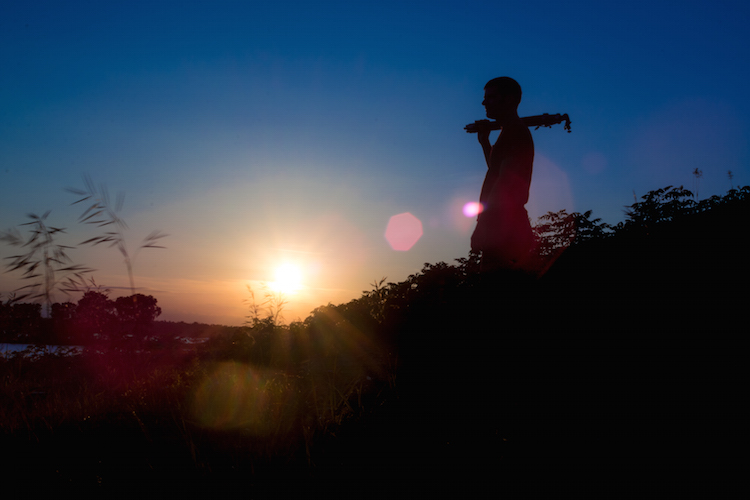
In this shot, I used a special light-blocking tool called a neutral density filter in order to get the desired exposure.
What does all this mean in practice, and how can you adjust these elements to get the exposure you want? To illustrate a few basic principles, here are some photos that show what can be done to manipulate your camera in order to get the proper exposure (combination of light and dark) that you want.
This first picture has a proper exposure: there’s some bright areas, some dark areas, and a mix of both in various sections of the photo.
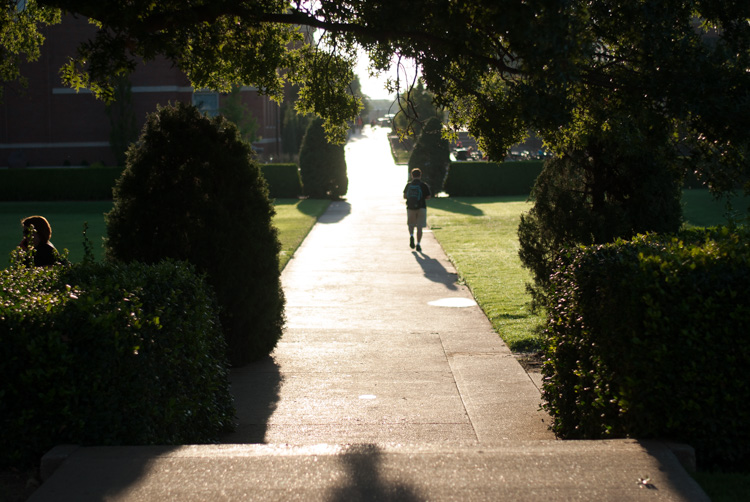
Early morning on campus with a good overall exposure. 50mm, ISO 100, f/4.0, 1/2000 second.
Now take a look at the next one, which has been exposed for the highlights. This means I wanted to take the bright areas of the picture, specifically the sidewalk as it recedes to the horizon, and make that part be properly exposed. To do this, I had to decrease my shutter speed quite a bit, which meant that only a little bit of light was captured. Since there was so much light shining on the sidewalk, a little bit was all I needed. You’ll notice that the result illustrates a bit of a trade-off: the very bright portions of the image are now more properly balanced and you can make out a lot more detail in the sidewalk, but the darker portions are now really dark and you can’t see much of anything.
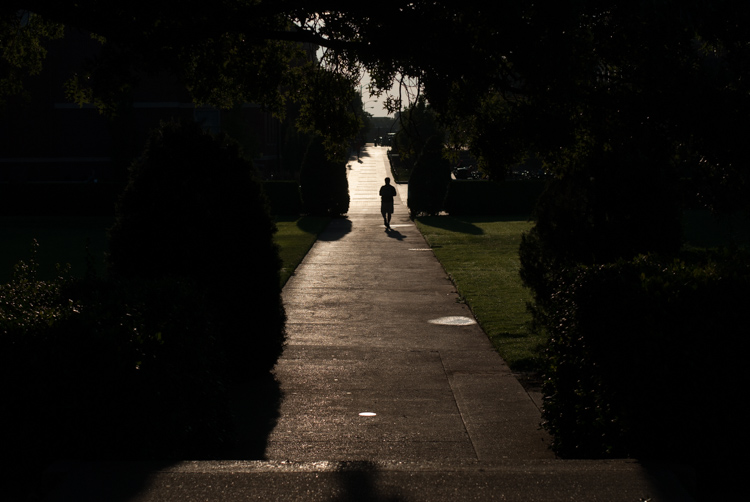
The same scene, exposed for the highlights. 50mm, ISO 100,f/4.0, 1/5000 second.
I also took a photo of the same scene but exposed for the shadows. Since the dark areas of a given composition are not reflecting much light, you’ll need to find a way of capturing as much of it as possible. In this case, I chose to use a much longer shutter speed in order to let in much more light. Once again, you can see an immediate trade-off: the dark areas are much more colorful, but the bright areas are way too bright. If I wanted to emphasize the trees, shrubs and other greenery this is one way to do that, even though it would come at the expense of some of the color and detail on the sidewalk.
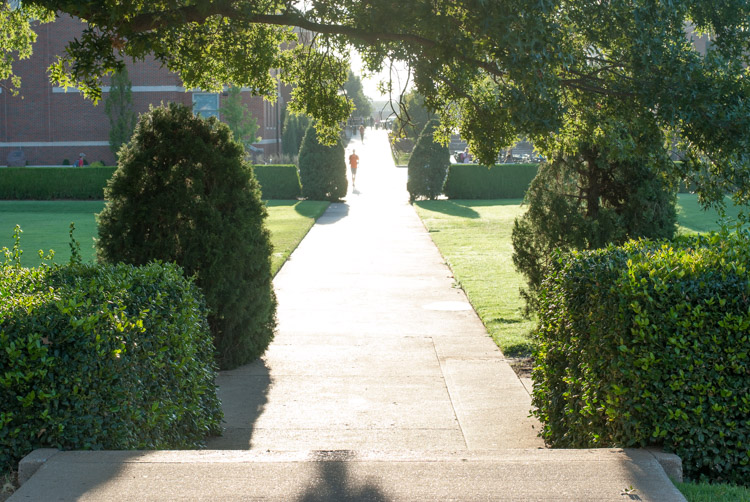
The same scene, exposed for the shadows. 50mm, ISO 100,f/6.7, 1/90 second.
If you want to try altering the exposure of a given photograph the simplest way is to use your camera’s exposure compensation function to quickly over – or under – expose your composition. Alternatively, you can manually adjust the parameters like Aperture, Shutter Speed and ISO to get the desired result. If you want to get really creative you can use different metering modes on your camera (spot, center-weighted, average, etc.) to adjust how your camera takes various sources of light into account in order to get the exposure you are looking for.
As a side note, you might have heard about a technique called HDR which stands for High Dynamic Range, and involves taking multiple exposures of the same scene and combining them on your computer using a program like Photoshop. This means you get the best of all worlds: properly exposed highlights and shadows along with a good overall balance of color throughout the image. It’s just another tool in your kit that you can utilize to get the exact image you are going for, which is why understanding exposure is so critical to photography. By knowing what it is and how to control the exposure of a scene to get the picture to turn out how you want, you can take more control over your pictures and start making creative decisions instead of leaving things up to your camera.
I hope this article clears up some confusion you might have about the subject of exposure, as it’s the kind of piece I wish I had in front of me several years ago. Do you still have questions about what exposure is all about? What are your favorite tips and tricks to deal with exposure? Leave your thoughts in the comments below.
googletag.cmd.push(function() {
tablet_slots.push( googletag.defineSlot( “/1005424/_dPSv4_tab-all-article-bottom_(300×250)”, [300, 250], “pb-ad-78623” ).addService( googletag.pubads() ) ); } );
googletag.cmd.push(function() {
mobile_slots.push( googletag.defineSlot( “/1005424/_dPSv4_mob-all-article-bottom_(300×250)”, [300, 250], “pb-ad-78158” ).addService( googletag.pubads() ) ); } );
The post Making Sense of Exposure by Simon Ringsmuth appeared first on Digital Photography School.
You must be logged in to post a comment.