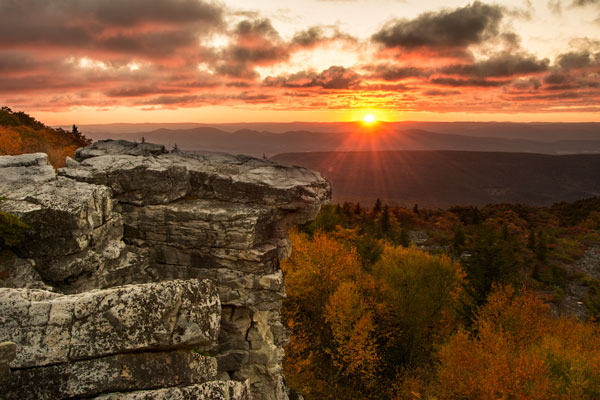
Final Image: Bear Rock, Dolly Sod Wilderness Area, West Virginia. Sunrise and Sunsets can be extremely contrasting and very challenging to capture the wide exposure range.
Here’s a problem I am sure you have encountered, instances where you try to photograph an image that has a greater range of light and dark than your camera can accurately capture. In the example above, when we set our exposure to expose the sky correctly, the foreground objects are severely under-exposed. Likewise, if we set our exposure to correctly expose the foreground, the sky is blown out and loses almost all detail. One solution to this dilemma might be to use HDR software to combine several bracketed exposures into one image. However, this method can be overwhelming and time-consuming to do correctly for a pleasing result. Another solution to this problem could be to use graduated neutral density filters. Unfortunately, a good set of filters can be quite expensive and a cheap set can harm the quality of your image.
A simple solution to this problem scenario may be as easy as taking two exposures, one correctly exposed for the dark areas (in this case the foreground) and the other correctly exposed for the lighter area (in this case the sky). Place your camera on a tripod so that both images will be composed exactly the same.
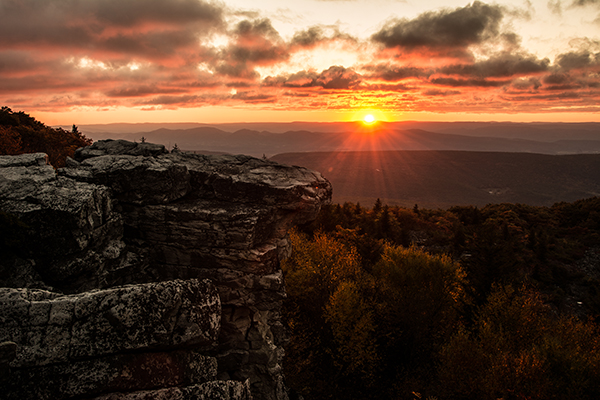
Image exposed for the sky: 1/10th of a second @ f/10, ISO 100
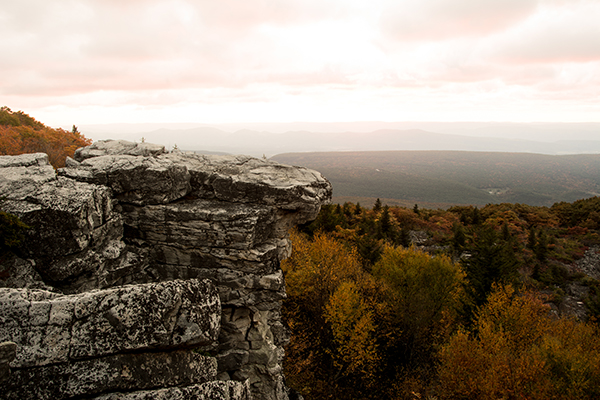
Image exposed for the foreground: 1 second @ f/10, ISO 100
Now, let’s look at a simple five step exposure blending process, performed in Photoshop, to resolve this contrast issue.
Step 1: Open your images
Open the two exposures in Photoshop as layers. This can be simply done with the following script. In Photoshop, select: File/Scripts/Load files into stacks (if you use Lightroom just select both thumbnails, right click and choose “Edit in>Open as Layers in PS). Then select your two exposure files. Label the layers for identification. (In this case we label one layer “Sky” and the other “Foreground”). Drag the Sky to the top layer if not already in that position.
Step 2: Add a layer mask
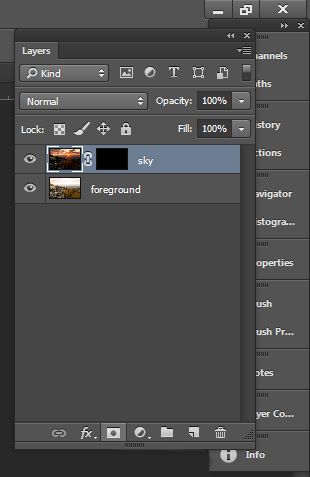
Add layer mask filled with black to the top layer.
Add a layer mask, as shown below, to the highlighted Sky layer. While holding down the ALT (opt) key, select the Add layer mask button located at the bottom of the layer palette. This will add a layer mask to the Sky layer and automatically fill it with black. The black-filled layer will mask out all of the Sky layer and reveal all of the Foreground layer.
Step 3: Paint over sky
Click on the black layer mask and select the paintbrush tool. Set your paintbrush to paint with white, and set the size of your brush as needed. Set the hardness of your brush to a low number to give it a soft edge while you paint. Paint over the sky area of the image, which will reveal the Sky layer. By adjusting the opacity, size and hardness of the brush as you paint, blend the two exposures together.
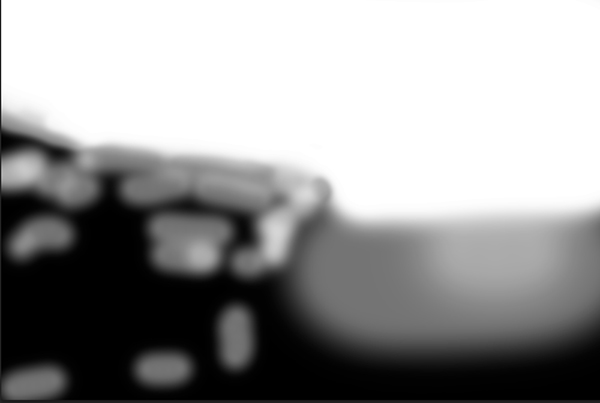
Paint with white on your layer mask to reveal the sky in the top image. Use different opacities and brush hardness to make the blending look natural. This is what the mask might look like.
Step 4: Add finishing touches
Add adjustment layers (see below) as needed to adjust colors and contrast of the layers to make the image look natural.
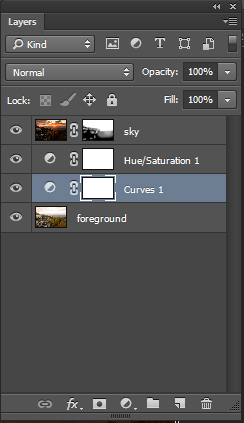
Final layer palette
Step 5: Save your file
Save your file as a Photoshop document (.PSD). This will preserve your image with layers which you can return to if you need to make further adjustments to improve the image. You can now can flatten the layers (Layer/ Flatten Image) and Save As a single layer file such as a JPG.
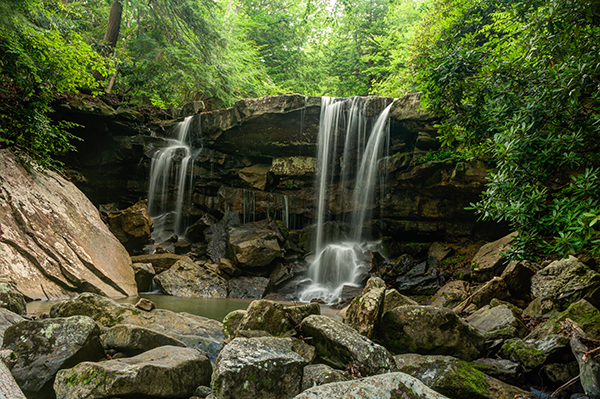
This image was created from three files using exposure blending. Exposure #1 was exposed for the light green area above the falls and exposure #2 was for the shadow area below the falls. The light was hitting the rock on the left very hard so exposure #3 was needed just for just that rock.
So next time you are faced with an extremely contrasting scene, try this easy exposure blending process to extend the exposure range of your image. Do you have any exposure blending tricks that you use? Post samples of your images.
The post 5 Easy Steps to Exposure Blending for High Contrast Landscapes by Bruce Wunderlich appeared first on Digital Photography School.
You must be logged in to post a comment.