You’ve figured out that photography is awesome. You have your equipment. You’ve got the basics down. You know all about the “triangle” of ISO, shutter speed, and aperture. Now, you’re ready to put them to use. You’re ready to go outside and experiment. But wait. You haven’t yet considered the weather. This is a little side note to photography that we often forget about. If you’re not shooting in a studio, then the weather will definitely be a factor to consider when going out on a shoot.
There are a few basic weather scenarios that you will surely encounter as a photographer: cloudy or overcast, rain, bright sun, high temperatures, and snow to name a few. Each of these conditions has its benefits and limits. I’ll cover a few of those here as well as tips for photographing in different weather conditions.
Cloudy or overcast
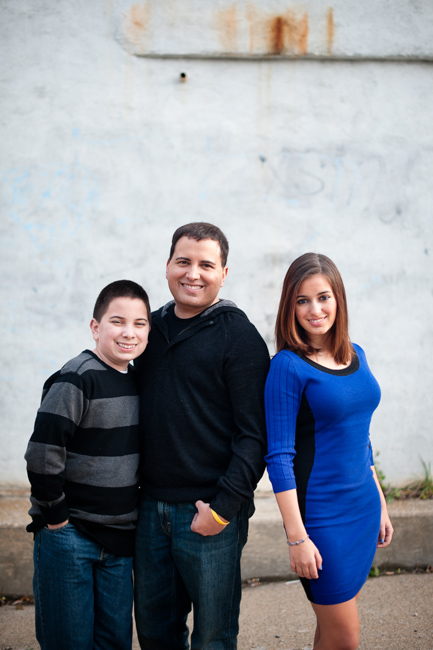
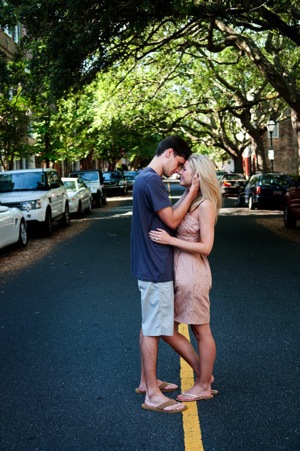
These are some of my favorite conditions to shoot in for portraits. An overcast day brings about an amazing amount of diffused light. You can shoot in the middle of the day with little worry about harsh lighting or unwanted shadows. You do want to pay close attention to lighting the face. It’s great to have a reflector to bounce light into the face of your subject(s). Make sure you’re taking a look at the images, as this will help you know if you’re underexposing or overexposing. You’ll also be able to tell if you need to reflect more light on them. See portrait above.
Shooting landscapes in overcast conditions can also be challenging. Overcast skies are gray and don’t usually add a lot of interest to that mountainscape, or field of cows you want to photograph. Look for stormy weather clouds, that add a sense of place and dimension. You can also crop your shot so that you don’t get those unwanted gray skies, but still get great lighting.
Benefit: beautifully diffused lighting
Limit: ugly gray skies
Rain
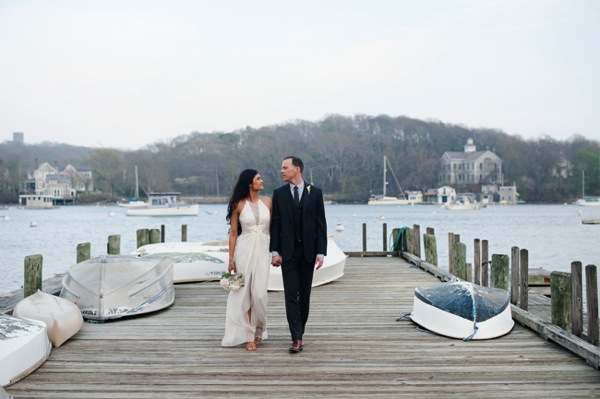
So what happens when your cloudy day turns into a rainy shoot? Well, you make the most of it. A little rain never hurt anybody. One of the best ways to work with rain is to bring an umbrella. Try to keep a nice umbrella in your arsenal of supplies for shoots. Look for one of those clear umbrellas that comes down over your head. It looks amazing in photos. You can also get one that has a nice little pop of color. Try polka dots even. Make the umbrella part of the shoot. You don’t have to use it in every photo but don’t be afraid to incorporate it.
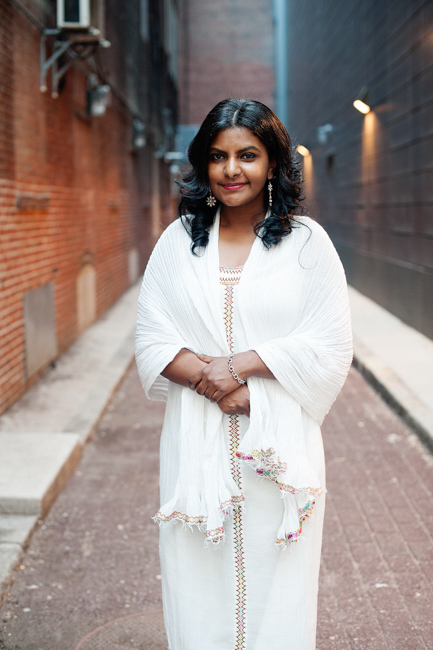
Also look for areas that are shielded from the rain. Overhangs, alleys, even coffee shops can provide you with great areas for your photos. The rain can help you tell a story if you let it. At the end of the shoot, ask your subject if they’re okay getting wet. Work with that and see what you get. Try out different things as you’re learning to work in this condition.
Of course the rain can work against you. You’ll want to make sure your equipment is protected. You don’t have to get fancy coverings if they’re not in the budget. Get a grocery bag and some tape and protect the main body of your camera. If the weather is horribly bad, reschedule your shoot for a less harsh day. Again, safety is key here.
Rainy landscapes tell an amazing story. Make sure you’re careful with setting focal points. Your camera will often try to focus on the rain drops and will blur out your landscape. This can be nice if it’s what you intended, if not, you’ll end up with a bunch of blurry photos.
Benefit: added dimension and sense of story and place
Limit: harsh on equipment and uncomfortable for subjects
Bright sun
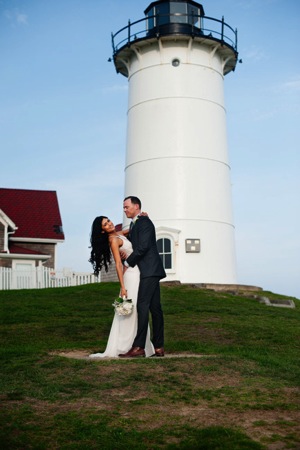
Many people think that bright sun is the photographer’s worst nightmare for portraits. I beg to differ. Bright sun can create beautiful light and you can play with shadows if you wish. (Read Dispelling the Myth of Good Light and Bad Light for more on this topic.)
When shooting in bright sun, you will find that your camera meter will want to expose for the super bright background or the subject that’s in front of you. This causes your subject to be super dark or your background to be blown out. Try shooting in “open shade”. This means that you’ll place your subject in the shady part close to the light, and bounce light with a reflector back at them. You can also use a flash to make sure your subject is lit without blowing out the background. A flash in the sun? I know it sounds weird but it works. Use your flash to light your subject while exposing for the background. You can also look for natural reflectors around you. Look for a white building or even a white sandy beach. These help reflect light on your subject without blowing out the background too much.
Landscapes in bright sun are absolutely beautiful. Try shooting the beach in the full sun of the day. Practice exposing for the beautiful blue skies as well as the sand.
Benefit: tons of light and the ability to play with shadows
Limit: can create harsh lighting on your subject
 |
 |
High temperatures
A lot of us shoot in the summer months. This can be beautiful for the late sunsets and beautiful skies, but the temperature can be brutal. It’s great to shed the coats and heavy clothing but the heat isn’t always fun. You want to make sure that you and your subjects will be comfortable and safe. The most important thing is safety. I like to limit my shoots to when the temperature or heat index is below 90f (32c). This may vary depending on where you are shooting. In Puerto Rico, 90 on the beach feels great. In Boston, 90 in the city feels miserable.
Take note of how your subject is feeling on the shoot. If you notice that they’re becoming uncomfortable, ask them and schedule a reshoot if necessary.
Benefit: you and your subjects can come out of limiting coats and clothing
Limit: high temperatures can be draining and uncomfortable
Snow
Shooting in the snow is magical. It’s beautiful and the white stuff reflects light amazingly! Shooting in a blizzard, not so much. Shooting in 10f (-12c) degree weather, even worse. When shooting in the snow, pay special attention to ice and hazards under the fluffy stuff.

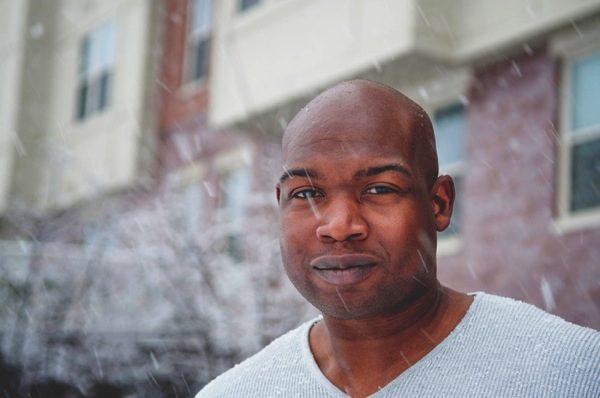
You can shoot while it’s snowing or once the snow has stopped falling. If you shoot while it’s snowing, treat your camera as if it is raining. The snow melts and water can get into the inner workings of your camera body and lens.
Don’t be afraid to ask your subject to shed that coat. If you’re in an area that gets a lot snow then you know that snow doesn’t necessarily mean unbearable cold. Have your subject shed the coat and shoot for a few frames and then warm up a bit.
Also, play around with capturing the falling snow. When it’s snowing, the sky is generally overcast. The white snow acts as a bit of a reflector so you’ll most likely be able to forgo that. Just go out and practice shooting and see what you’ll need. You probably don’t want to venture into a blizzard though.
If the snow has stopped you’ll need to watch out for ice and hazards under the snow. It doesn’t hurt to protect your camera just in case you take a little tumble. Again, the snow reflects beautifully. Make sure you’re metering for your subject and paying special attention to not blow out the white snow.
Benefit: it’s beautiful and shows a sense of time
Limit: it’s cold and damaging to your equipment
Remember, take special care to insure safety at all times. Safety of you, your subjects, and your equipment are all important. Use the weather to your advantage and work with the lighting you have. Don’t be afraid to bring in flash or reflectors. Finally, just have fun with whatever condition you’re shooting in.
The post Tips for Photographing in Different Weather Conditions by Monica Day appeared first on Digital Photography School.