How do you create successful HDR photos? It’s a question that I’ve gotten from time to time, and before we get started with this post I do want to make clear that there’s no question that HDR photography is one of those never ending battle grounds in the photography world. Much like the Windows vs Apple battle of the PC world, HDR vs non-HDR is a battle that continues to stir the pot.
Five tips for successful HDR photos – for those that wish to do it!
While it’s always fun to add fuel to the fire from time to time, let’s put the argument of whether or not it’s a valid form of photography aside for a minute, and simply focus on trying to get those who wish to learn a new technique on the right track from the start.
Tip #1 – use a tripod

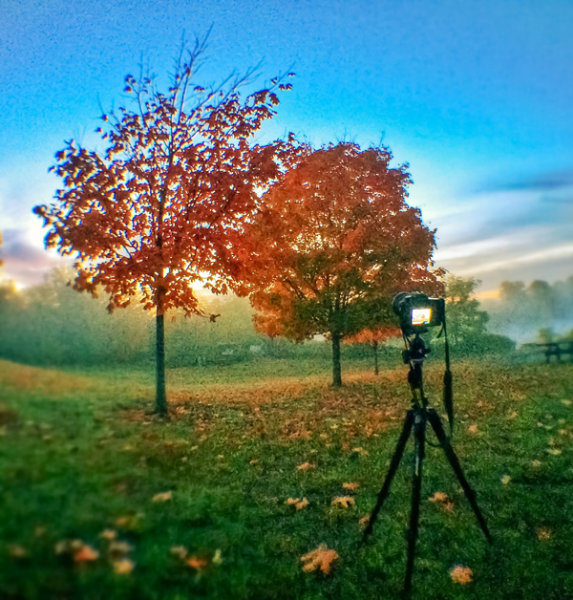
Using a tripod to photograph HDR brackets helps keep the frames from shifting between shots. (This image was taken with my iPhone using an Olloclip fisheye lens and processed using Snapseed)
This should be a no brainer and I really didn’t even want to put it into this article, but alas, here it is.
A tripod will not only allow you to stabilize each individual image (some of which may be fairly long shutter speeds), but in order to capture the full dynamic range of the scene you will need to take multiple exposures with your camera and it’s vital that these frames line up perfectly. A tripod will ensure that each frame you capture is identical to the previous one, with the only exception being the exposure times.
Tip #2 – don’t tone map a single exposure and call it HDR
I see this all the time, and while I understand it’s a great way to get more out of a single exposure, it’s not really an HDR image. Yes you can create an underexposed, neutral, and over exposed image in Lightroom from the same RAW file, and then merge those three images into one HDR photo, but it’s really not the same as capturing individual images.
Why you ask? Simple. When you capture one exposure at a given set of settings (Exposure Values) on the exposure triangle you are recording data within that given range. No matter what you do to that file in post production the data captured by the camera doesn’t change – you’re only changing the way in which that data is output into an image.
When you capture three or more images at different exposures (EV), then those three images are all going to have different levels of data from which you can pull; allowing for a truly high dynamic range photograph. The more images you capture the more data you’ll have at your disposal. That being said there’s the law of diminishing returns, which basically means that there comes a point when adding more data to the pile doesn’t help improve the photograph.
Tip #3 – know when you need it and when you don’t

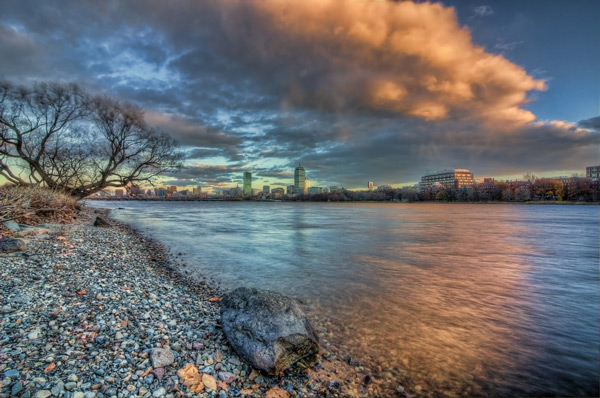
Use HDR only when you need it (IE: when the light range of your scene is too large to capture in a single exposure)
Some people use HDR for every photograph they take. In fact it’s step two on this list of 10 Steps Every HDR Photographer Goes Through. You do not have to do this.
HDR stands for ‘high dynamic range’ so if you’re photographing a scene where the lighting is fairly even from shadows to highlights (the scene fits nicely on the histogram, with nothing clipped at either end of the scale) you don’t need to do HDR. Your camera is capable of pulling out enough detail from the highlights and shadows to cover the scene in its entirety with one exposure. It’s also probably not worth it to try capturing moving objects or people in HDR as they typically don’t look right when they get tonemapped.
So when should you use HDR?
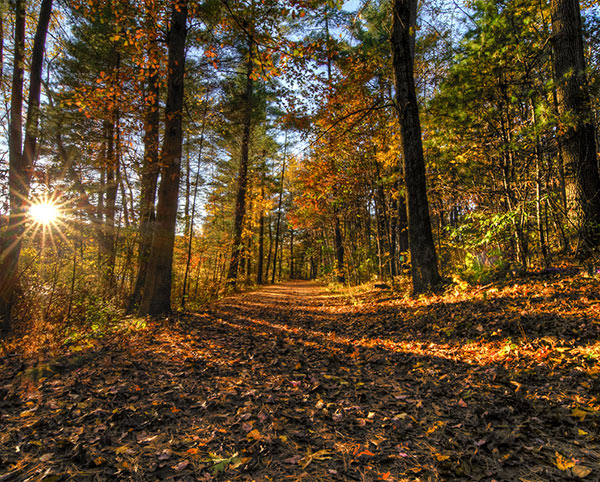
Use it during sunrise or sunset, especially when you are photographing into the sun. Use it to photograph during the middle of the day. Use it to photograph architecture or man-made objects, as HDR has a way of really bringing out the detail of craftsmanship.
Tip #4 – invest in a good tone mapping program
Once you capture your bracketed set of photos you’re going to want to put them together in the best way possible. There are a ton of great programs out there to do this, but I recommend using either HDR Soft’s Photomatix Pro or Nik Software’s HDR Efex Pro. There are free alternatives out there, but I find that they don’t do as good of a job at tone mapping. Remember the tone mapping process is done algorithmically so the more powerful the software’s algorithms, the better the end results.
Tip #5 – control the urge to go big

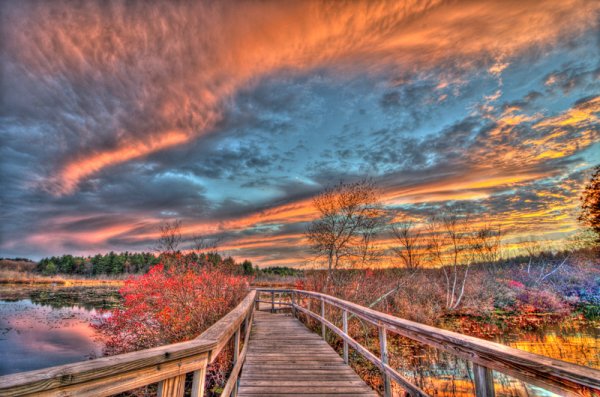
Avoid the urge to create surrealistic photos (unless this is truly the style you wish to go in).
This is where HDR really becomes a touchy subject. Some people say that it’s their style to create over the top, surrealistic style, HDR photography and other’s say that they are destroying the world of photography by creating these highly saturated and oddly lit photographs.
It’s easy to get carried away with tone mapping your images, but if your goal is to recreate what you saw, the best way to do this is to remember to tone it down a bit before you press that process button. It’s also a good idea to watch out for haloing which takes place typically along tree lines (as you see in the photo above above the dark trees on the left side of the image).
Final word
While this is not an exhaustive list of HDR tips, it is a good start to get you on the right track to capture your first high dynamic range photos. That said, if you’re a bit more experienced with HDR and are looking to take your HDR photography to the next level, check out this post Creating HDR Panoramic Photographs written by one of my buddies on his HDR workflow process for creating massive HDR Panoramic images.
Do you have some tips to add to the list? Leave one in the comments below!
Post originally from: Digital Photography Tips.
Check out our more Photography Tips at Photography Tips for Beginners, Portrait Photography Tips and Wedding Photography Tips.
5 Tips for Successful HDR Photos
The post 5 Tips for Successful HDR Photos by John Davenport appeared first on Digital Photography School.

You must be logged in to post a comment.