I would like to take you through a journey today and show you how some very ordinary looking photographs of the world around us can be combined to create some very interesting and one-of-a-kind pieces of art. Some might argue that what I’m doing is no longer considered photography, but I’d argue that everything presented within the final image was at one point captured using a camera, and therefore still falls under the category of photography albeit slightly manipulated.
The world around us is filled with textures and abstract patterns that often go overlooked in pursuit for larger more dramatic subjects. No matter what type of photographer you are and whether or not you’d go so far as to do what I’m sharing today I do think it’s worth it to spend some time learning about how to capture these kinds of images as it will help you see the world differently.
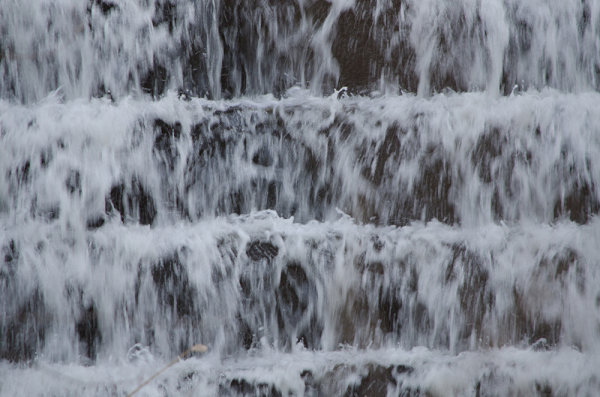
So What Is A Texture?
Texture in art (at least in how we’re using it today) can be defined as: the visual ”feel” of a two-dimensional work.
When I first started getting into photographing textures I wasn’t sure that it could be all that interesting. I thought that a texture had to be something very traditional like sand, or wood, or rust. I soon realized that in reality just about anything can be considered a texture if you want it to be, you just have to use it as such in your final image.
That said I do think the best textures are more abstract images with a bit of depth to them. If the image you’re using as a texture is too clearly defined then you’ll end up having a difficult time separating your texture from the subject of the image you end up applying it to.
Capturing Textures
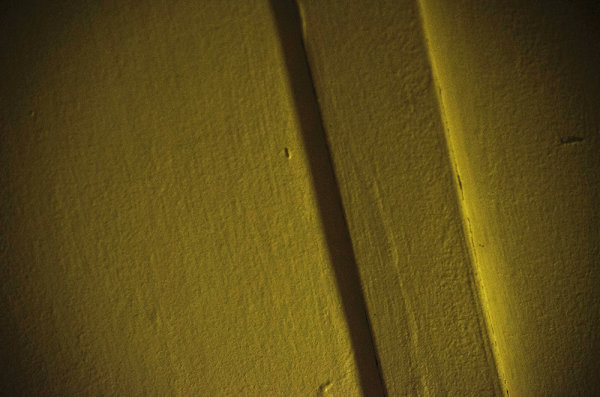
There are simple textures like – wood, rust, paint, sand, stone – and more complex textures like – a dirt path through the woods, a canopy of a forest, a collection of flowers, the list goes on forever.
Ideas to Keep in Mind When Capturing Textures
- Fill the Frame
- Look for Compositional Elements (Like the beam in the photo above)
- Don’t rule something out just because it doesn’t look like a texture.
- Don’t worry too much about your camera’s settings
- Be creative
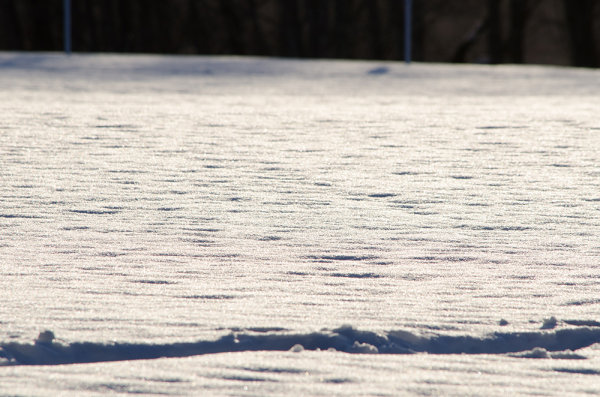
Creating & Using Textures in Your Workflow
The first step in the process is to take the individual textures that you’ve collected and create your own unique texture.
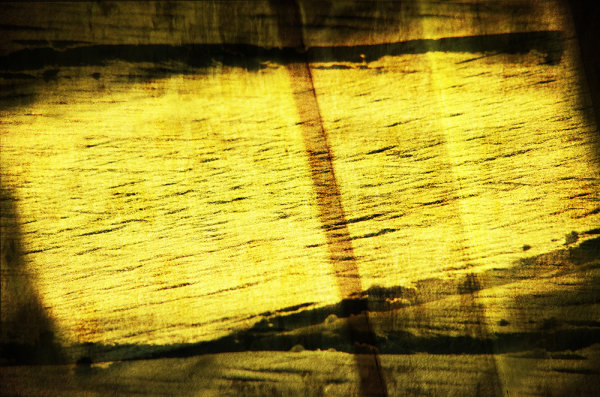
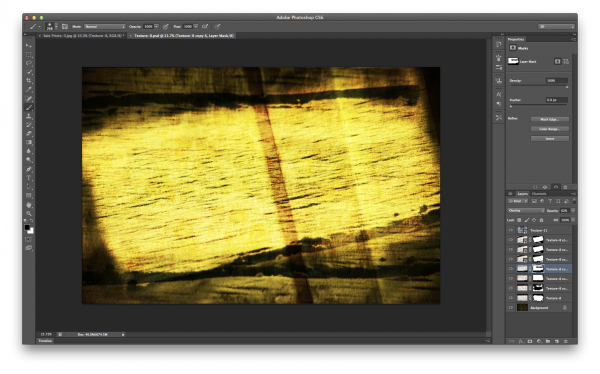
This texture is the image that I applied to the lightning bolt photo at the bottom of this post and is a combination of the three textures that you’ve already seen above (the waterfall, the ceiling and the frozen lake).
I won’t go through every step, but instead I’ll give you a general idea of how I went about creating this texture in a simple five step process that you can use as a guideline to create your own.
Click to Enlarge
- Bring all your textures into photoshop as different layers
- Determine what you’d like the strongest element of your texture to be – here I choose the ceiling and placed it as the bottom layer (the background).
- Determine if you want to duplicate any of your textures for a stronger appearance . Here I choose to duplicate the frozen lake a total of 7 times.
- You don’t have to keep all your layers in the same orientation. Here I’ve rotated two of the frozen lake layers slightly and flipped one upside down. I then applied various layer masks and blending modes to get the final look that I wanted.
- Play with different blending modes. I find that overlay is my go to blending mode, but subtraction and soft-light work well too. Try them all and have some fun – after all this is creative expression through experimentation!
Once I create the texture I save it as a JPEG and toss the PSD. I find that there’s no need to really save the PSD as they take up more space and if I want to change the texture in the future I’d rather just try and create something completely different than make subtle changes to one I already have. Of course you’re free to do that differently if you so choose.
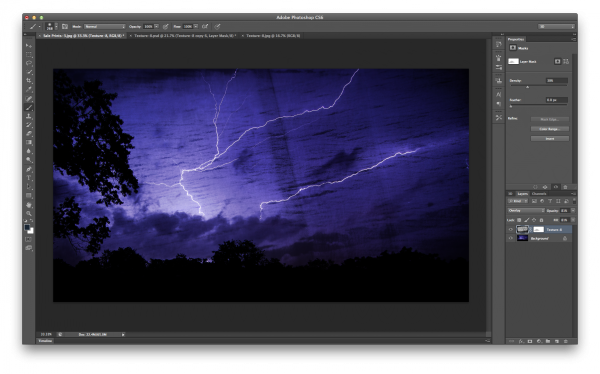
The next step is to apply our newly created texture to our subject photo and create our final piece of photographic art. To do this you pretty much do the same process as we went through above. Bring your texture and your photo into Photoshop as layers, set your photograph as the background and then blend your texture into your photograph.
Click to Enlarge
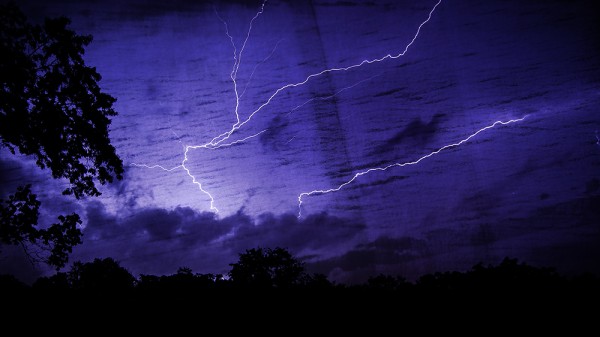
For this photograph I dropped my texture in on top of the lightning bolt photo, popped it to an overlay and reduced the opacity slightly. I then applied a quick mask to remove some of the brightness that was created around the base of the lightning bolt, and finally converted the textured layer to black and white to let the true colors of the background layer show through.
I realize this style of processing photography isn’t for everyone and I might be pushing the limits of creativity and for some this might be too much, but I do find it fun and enjoyable to go about creating these images and I hope you’ve learned something today and maybe even got inspired to try it yourself.
A Few Examples Before I Go
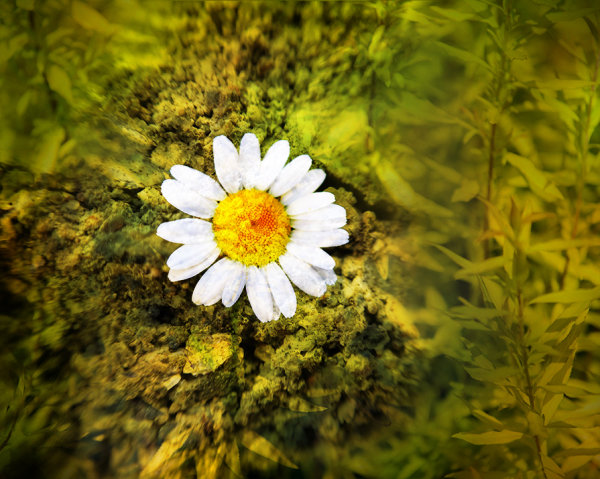
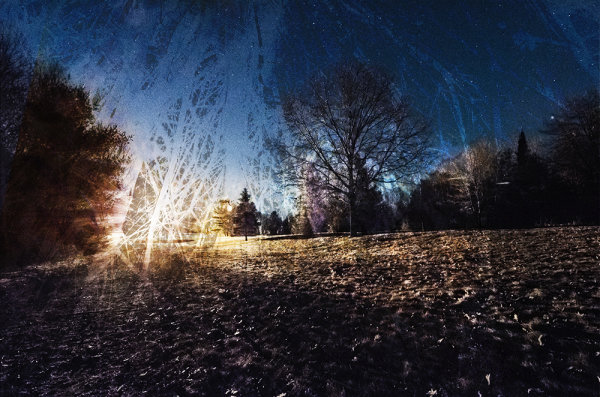
In closing I’d like to share with you a few examples of what I’ve been able to come up with so far and I hope you enjoy what I’ve created.
Post originally from: Digital Photography Tips.
Check out our more Photography Tips at Photography Tips for Beginners, Portrait Photography Tips and Wedding Photography Tips.
How To Create Your Own Unique Textures and Apply Them To Your Photography
You must be logged in to post a comment.