I know, it’s a long title but I want to show how easy it can be to assemble panoramas with either a Gigapan head or by shooting freehand, gridded panoramas. AutoPano Giga has been my panorama product of choice after starting with huggin, a free option that does quite well it its own right.

One ability AutoPano Giga excels at is the ability to take images and information from a number of automated shooting heads, such as Kolor’s own PanoGear or even other brands, such as the GigaPan EPIC Pro, which I reviewed for DPS two years ago. I noted in that post that Gigapan’s software was in its first stages and was quite basic and while the software has been upgrade over the intervening two years, it’s still not as robust as Kolor’s AutoPano Giga. Plus, it can not handle freehand panoramas
Utilizing AutoPano Giga to produce stunning panoramas shot with Gigapan’s heads (mine were shot with the EPIC Pro) is fairly simple.
Shoot
Shooting with the Gigapan EPIC Pro is explained in the previously mentioned post. That much hasn’t changed.
Import
Bringing images into your computer is no different than your normal shooting method. The nice thing about AutpoPano Giga is it will understand your RAW files no problem, so there is no need to convert (but you can if you are impatient and want smaller file sizes). I have found it handy to shoot panoramas, especially large ones, on a separate memory card reserved just for panoramas. That makes finding the files all the easier.
With all your panorama files in one location, it is time to use the stitching wizard in AutoPano Giga.
Wizard
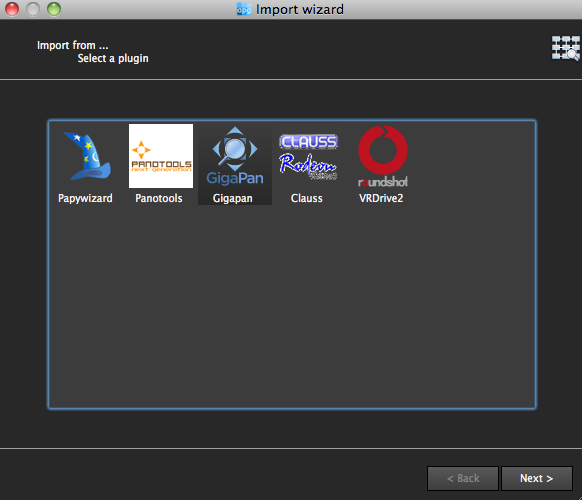
The first step in the wizard is to pick the device that was used, in this case we select Gigapan.
The next screen asks for input. If your shot went off without a hitch and you have a nice grid of images, AutoPano should know this. For instance, when I select the 98 images from my demonstration shot from Maui, Hawaii at the Ali’i Kula Lavender Farms, AutoPano knows this shot was 7 rows and 14 columns. The nice thing about this method is there is no need to import a control file that explains the grid to the software. This is also why, with careful execution, freehand panoramas can be imported.
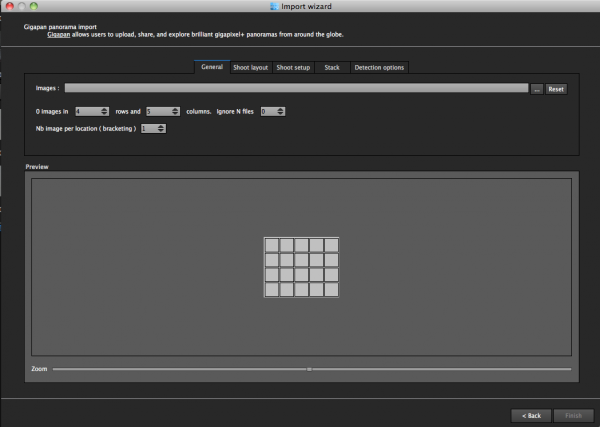
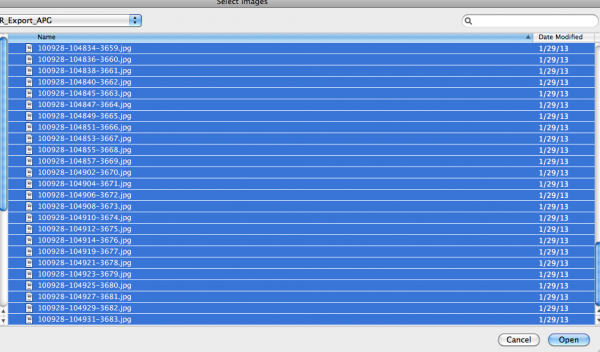
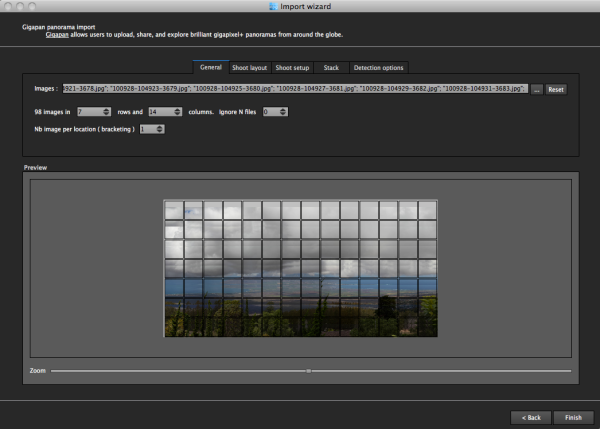
With a straightforward shot like this, there is little else for me to do, but let me show you what the other screens do, if you are curious.
The next screen allows for changing of the panorama shooting direction. One thing I wish this screen had is the ability to pick a grid shot top to bottom, then back up the next column, down the next, and so on, for those times when I shoot a panorama freehand, such as this 2.2 gigapixel image of the Taj Mahal (shot without a tripod and head because they are restricted).
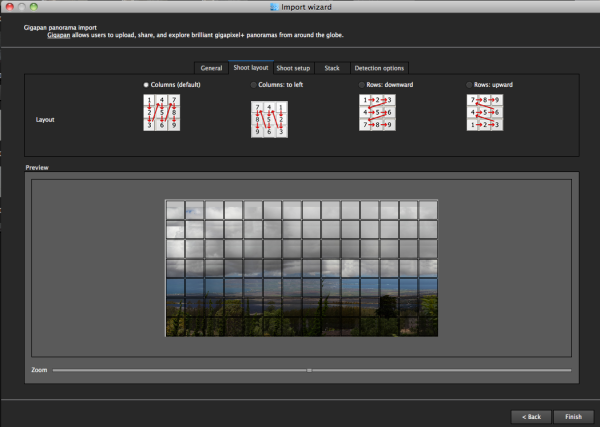
After that screen, custom overlap or forcing a 360 degree view can be selected.
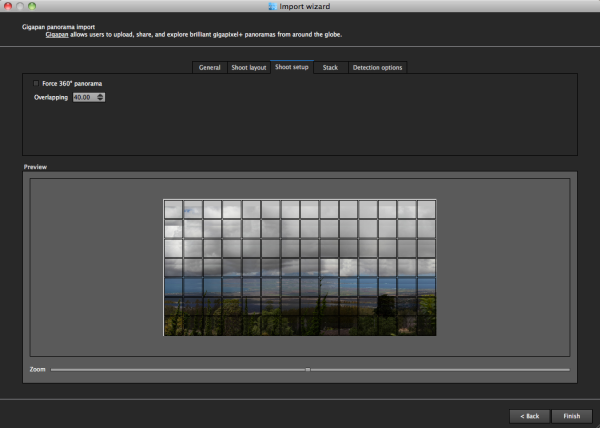
The last two screens deal with control points and that can be left on auto unless you have a particularly good reason to change them. This software works quite well on auto (with some manual tweaks to come).
Press “Finish” and AutoPano takes you to the main screen and starts detecting and stitching. I like that, while I can tell the program the pattern of a shoot and the amount of overlay, it will still automatically detect control points and I can even set this number to 200 by default, to ensure the best matching.
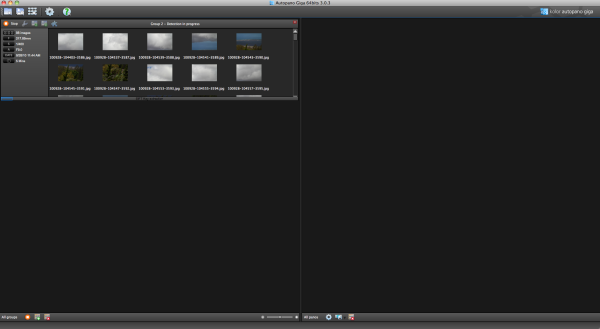
Output
Things aren’t always perfect right out of the box because the software doesn’t know which type of projection you want. Below you will see the resultant output on the right, which has a planar projection.
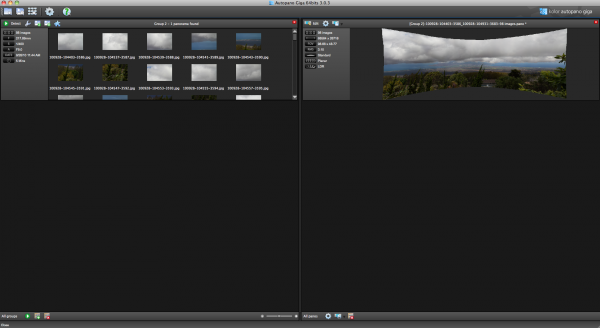
This is easily changed in the Edit screen, where a number of adjustments can be made if desired. I decided on a spherical projection to keep my sides straight.
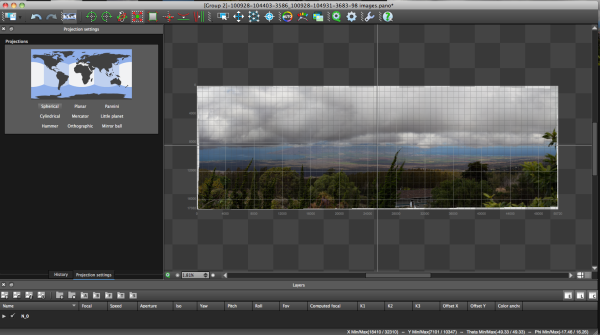
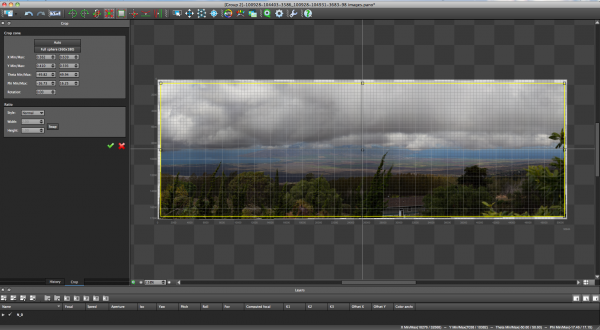
From there, the only change I saw that needed to be made was to crop the image, which is dead easy: click on the crop tool and it automatically selects the crop dimensions. Changes are made by dragging corners or sides and rotations can be made (in case your tripod wasn’t level when shooting).
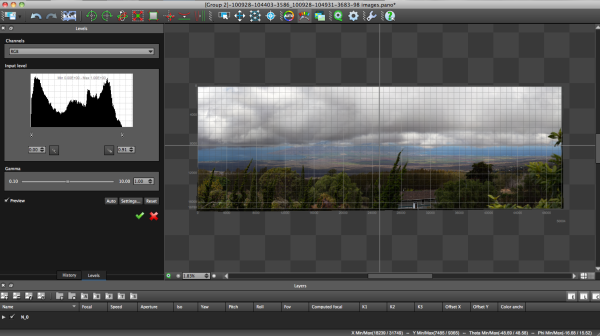
The last bit of editing I tend to do in the program is to set the levels, which is as easy as setting them in Photoshop or other programs.
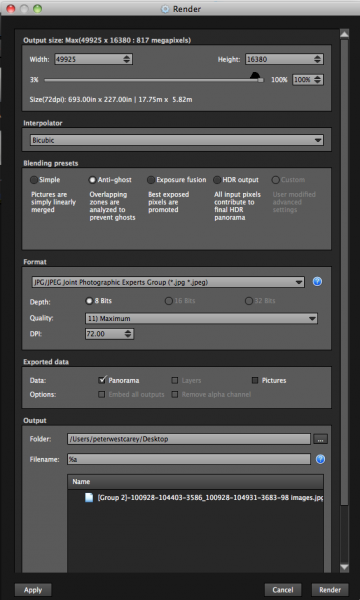
Before being completely done, we need to get the resultant image out of AutoPano Giga and that is done by clicking on the gear in the main screen in order to render the image. Settings on this screen allow for the resizing of the image once rendered (handy if you are sending this out as a JPEG as the max dimension for those is 30,000 pixels) as well as file type, compression, color depth and more.
What Else Can Be Done?
AutoPano Giga is a robust panoramic creation and editing program. This post is not intended to be a complete review of all the features as that list is rather long. Some of the highlights include:
- Ability to handle HDR bracketed shots (it is available in the first screen of the wizard and is labeled Nb image per location (bracketing)
- Manual removal of ghosts via masking(although the automatic option works well)
- Saving results in a variety of file types, including .PSB and .TIFF
- Batch processing
- Editing vanishing points and pitch, roll and yaw
Results
How did it come out? Great! But…unfortunately DPS isn’t set up to show case large panoramas but I have hosted the resulting image on my blog. The final image is 43MB large and will take a little time to download with the amount of traffic DPS typically sees.
Click here to be taken to the image. Zoom in and use Full Screen mode for the best experience. Can you spot the airplane taking off? What about people surfing?
For references sake, the panorama was made with a Canon 7D and 28-300mm L lens. It was composed of 98 images shot in Manual Mode at ISO 100, 135mm, f/9, 1/400. The Gigapan EPIC Pro was lent to me from Borrowlenses.com.
AutoPano Giga is available for free trial download here.
Post originally from: Digital Photography Tips.
Check out our more Photography Tips at Photography Tips for Beginners, Portrait Photography Tips and Wedding Photography Tips.
Using AutoPano Giga To Create Panoramas With Gigapan Heads Or Freehand Shooting Grids
You must be logged in to post a comment.