Here are 20 tips to help you take the best stock photos while traveling or around your hometown. Even if you don’t do stock photography, you can use these tips to help you get better images.
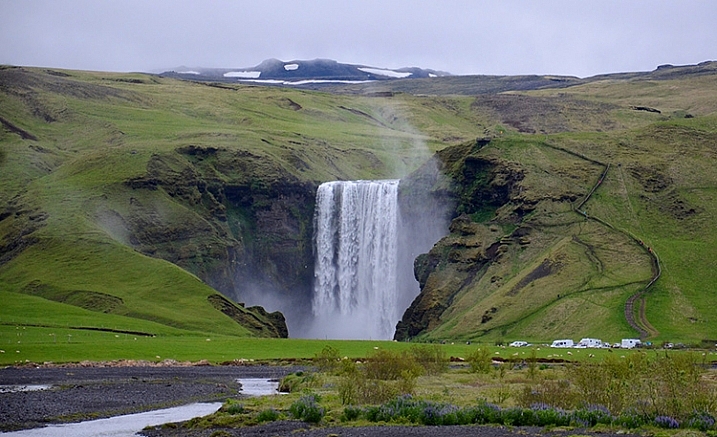
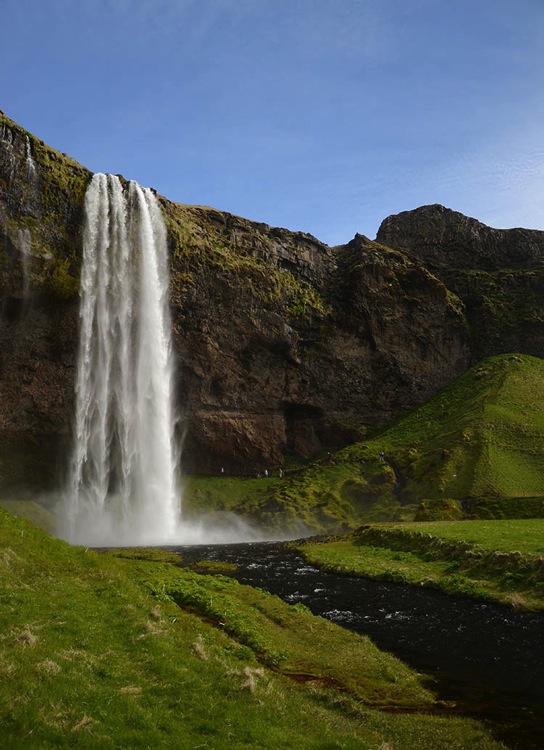
NEAR SKOGAR, ICELAND – JUN 19: Skogafoss waterfall on June 19, 2015, was in the film The Secret Life of Walter Mitty in 2013.
1. Check stock photo websites to see popular locations
In addition to doing some web searches for areas of interest, a great way to know which locations are popular is to check popular stock photo websites, such as Shutterstock or iStockphoto. You’re not looking to recreate any existing shots, but it helps to know what’s been done well already and, more importantly, what is missing.
2. Check the itinerary of sightseeing buses
A great way to see what popular locations are is by reviewing any websites for sightseeing buses. Make a note of their stops and add them to your shot list.
3. For international travel, learn the basic words of the language
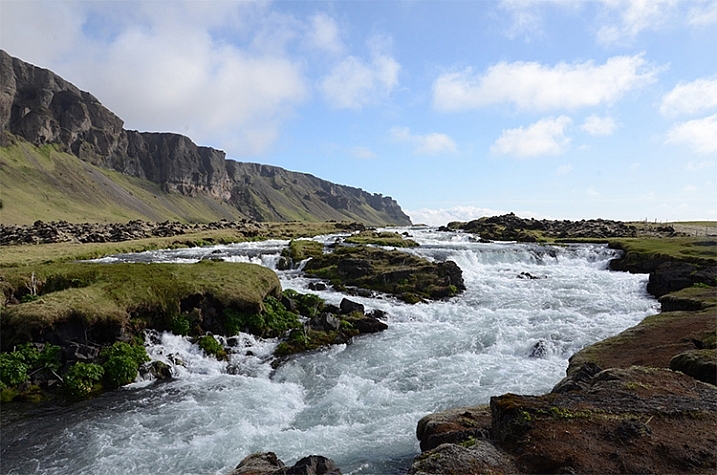
Learning some key words like, “please”, “thank you”, and “Okay?” can make communication much easier abroad, and help spur friendships. uTalk is a terrific app to learn a new language, and Duolingo is great to refresh a language you are already familiar with.
4. Check out popular postcards
Taking a peek at postcards in tourist shops will give you an idea of the popular sites. Again, you are not looking to recreate shots, but you might be able to add a few locations to your shot list.
5. Get recommendations from locals
Check with the clerk at the grocery store, or gift shop, at your current stop for nearby locations that would be worth photographing. You may learn about some lovely hidden gems that will enrich your experience.
6. Consider renting a car to have greater control of your travel plans
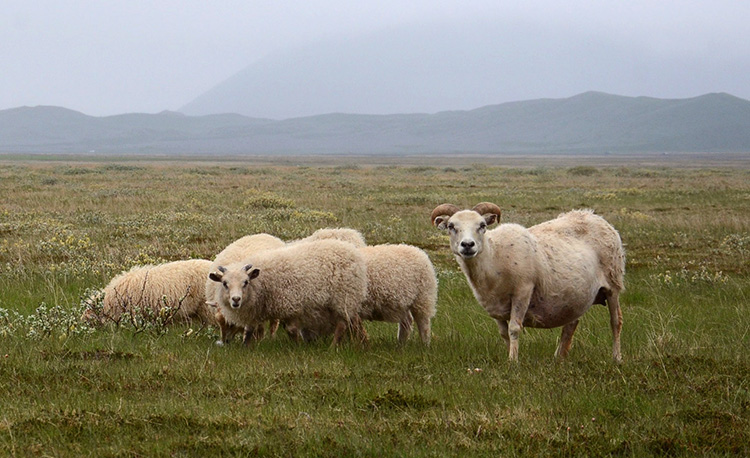
You never know what you’ll encounter on the road
Public transportation is fine within many cities, but if you’re going between towns renting a car allows you to pull off by the side of the road, and take those random shots that were not on your itinerary.
7. Take photos when you have a chance, you might not go back the way you came
Don’t figure you’ll catch something on your way back, you never know when serendipity will take you in a different direction than you intended. Get the shot now.
8. Take the sightseeing bus (or boat)
A sightseeing bus is a great way to get to the popular destinations, and if it’s a double decker bus, or a boat, you get views you couldn’t get otherwise.
9. If shooting for editorial stock always note the location of the photo
An editorial stock photo is going to require a location in the caption, so always note the name of the town. Take a quick shot of the welcome sign as you enter the town, or take a photo of a store with the town’s name. Of course having the location saved on your photo itself helps a lot too, but having it embedded within your photos makes it easier to quickly remember where you were. As another reminder, save all handouts from tourist spots, maps, and travel guides you pick up along the way to refer to later when processing your photos.
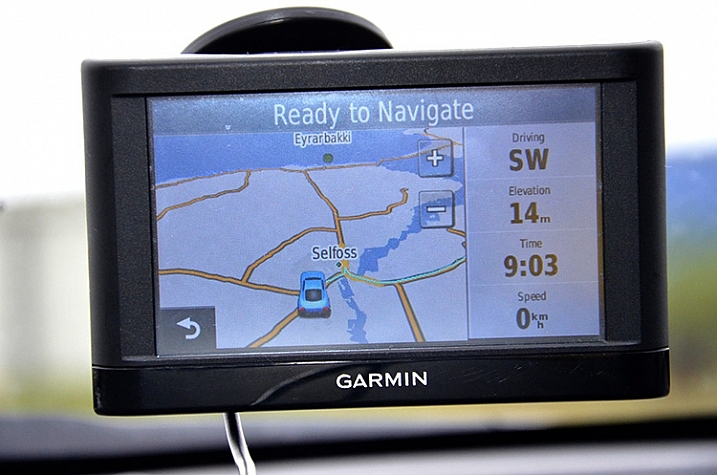
10. Check your photo settings frequently
You don’t want to look back on your photos for the day and realize you had set your ISO to very high for an indoor shot, and forgot to reset it when you went out into a sunny location so your outdoor photos are grainy. Or you set your photo size to small when you need a big file to get photos large enough to be accepted by the stock photo sites. If this sounds like the voice of experience, it is. We all make these mistakes – don’t be too tough on yourself if you make them too, just live and learn.
11. Ask the experts
You’ll sometimes find professional photographers taking shots. If they seem approachable, ask them, politely, what they are photographing. Some will be very eager to discuss what they are doing, others not so much, but it’s worth a shot. You might get some great insights.
12. Give yourself time to get the shot right
You’ve traveled thousands of miles to get there, you won’t be able to go back and reshoot, so give yourself the time to get the shot right. Work the photograph to clean up the background, to remove distractions so the focus is on the area of interest. Sometimes just taking a few steps to the side, or turning a bit can make a dramatic difference by removing distracting elements in your background, or focusing the eye on the area of interest.
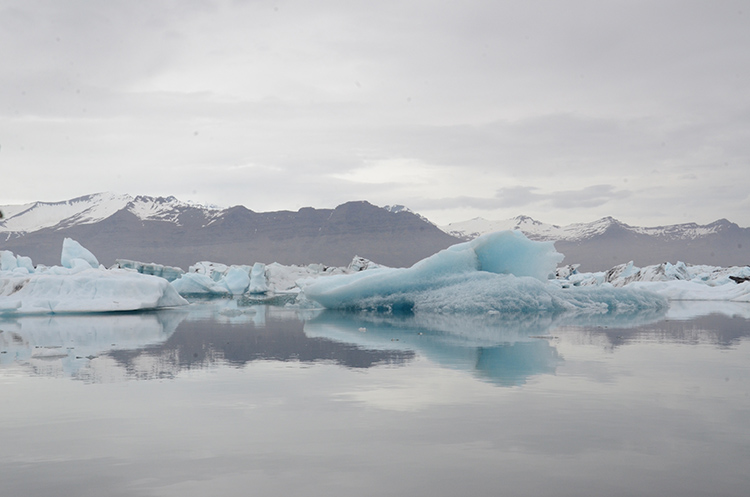
Glacier on the side, not noticeable
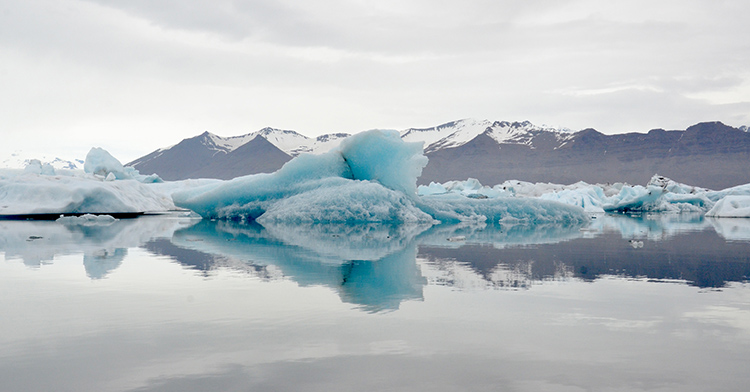
Glacier is the main focus of the shot
Hanging around also allows you to absorb the atmosphere of the place, and keeps you from rushing from photo to photo.
13. Think layers
While you’re waiting for that right shot, think in terms of three layers: The area of interest as the middle layer, with a clean background layer to set it off. Wait for an interesting foreground to present itself, maybe people, or animals in this case, going past your area of interest. This makes the photograph come alive, gives it some depth, adds to the interest.
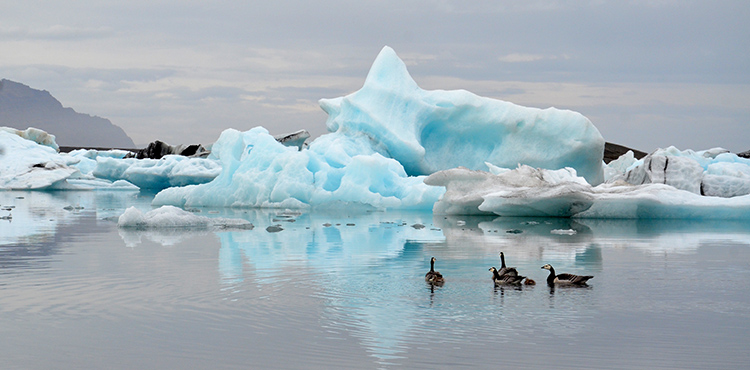
Geese add a sense of proportion to the glacier and bring the scene to life
14. Think like a guidebook author or a nature artist, or…
Pretend you are writing for a tourist guidebook – what kind of shots do you want in your guidebook? What would your potential readers like to see? How about if you were an artist preparing for a nature exhibit – what photographs would you want as part of your exhibit? Look at each location from different perspectives to get new ideas.
15. Take a variety of shots
Give your clients as many options as possible. Take 15-20 shots at any one location, walk around and check different positions, try different angles, think close-ups, wide shots, vertical as well as horizontal shots. You’ll then have plenty of options to choose from for your final photographs.

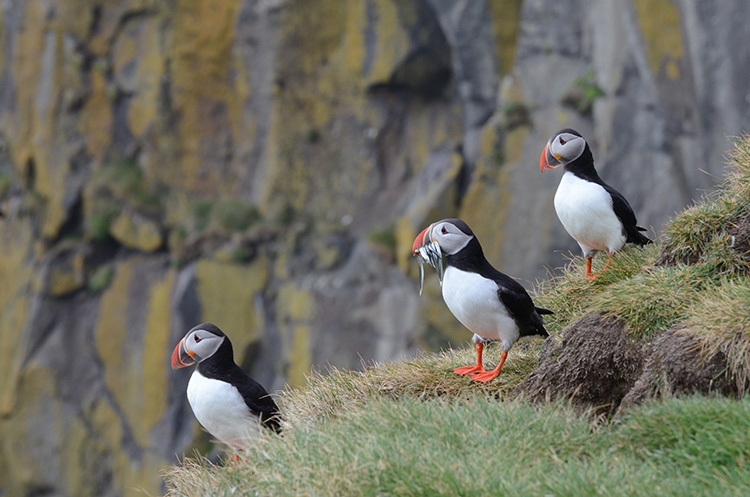
Close-up and wide shots gives you and your clients options
16. Look behind you as you leave your location
Don’t leave the best shots behind your back. As you leave a location turn around and see what shot you might be missing.
Don’t miss the great shot behind you
17. Offer to take photographs for others
Share your skills – if you see a group of people taking a group photograph, offer to take the shot for them. It makes for another chance to interact with people, and if you learned a bit of the language, all the better.
18. Be mindful of other people’s desire for privacy
People will make it pretty clear whether they are okay with being included in your photographs. Stay away from editorial photos of little children, and if you accidentally take a photo of someone who clearly doesn’t want to be in your photo, let them know you have erased the shot. On the other hand, many people will be eager to have you take their picture, and oblige happily.
19. Back up your photographs every night and cull as you go
Upload your photographs to your laptop and/or to the cloud, you’d hate to have your camera stolen or lost mid-travel, and lose all those shots. While you’re at it, delete the photos you know are not going to work out, those with people blocking the view, or out of focus, etc. Don’t wait until you get home to the daunting task of sifting through thousands of photographs.
20. Process your photos right away upon your return
The longer you wait to process your photos the harder it will be to get to it. Unprocessed photos tend to get heavier with time and sink to the bottom of your to-do list. It’s best to process them while you remember what the sights really looked like, so you remember to uncover that rainbow you know was there but might not be so visible before Photoshop.
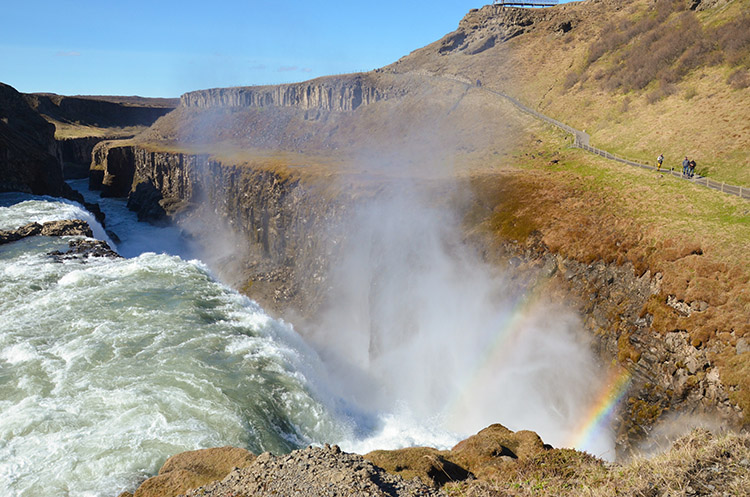
Don’t forget to uncover the rainbow.
Best wishes on your photography adventures. Please share in the comments below if you have any questions or additional tips.
googletag.cmd.push(function() {
tablet_slots.push( googletag.defineSlot( “/1005424/_dPSv4_tab-all-article-bottom_(300×250)”, [300, 250], “pb-ad-78623” ).addService( googletag.pubads() ) ); } );
googletag.cmd.push(function() {
mobile_slots.push( googletag.defineSlot( “/1005424/_dPSv4_mob-all-article-bottom_(300×250)”, [300, 250], “pb-ad-78158” ).addService( googletag.pubads() ) ); } );
The post 20 Tips to Improve Your Travel Stock Photos by Susan Montgomery appeared first on Digital Photography School.

Digital Photography School






You must be logged in to post a comment.