RSS
 

Posts Tagged ‘Spectacular’

Holy Art! 13 Spectacular Secular Installations in Sacred Spaces

23 May

[ By SA Rogers in Art & Installation & Sound. ]

church art mosque 5

Imbued with a sense of reverence, not to mention all those beautifully vaulted spaces, cathedrals and other sacred spaces can be stunning settings for art installations of all kinds, from ethereal light projections to complex arrangements of string. Abandoned churches get the revival of a lifetime when painted floor-to-cupola with vivid murals, while the ruins of long-lost cathedrals are resurrected in ghostly wire forms.

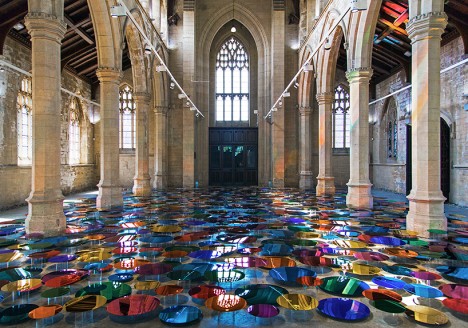
‘Our Colour Reflection’ by Liz West, UK

church art reflection 1

church art reflection 2

church art reflection 3

church ar reflection 4

church art reflection 5

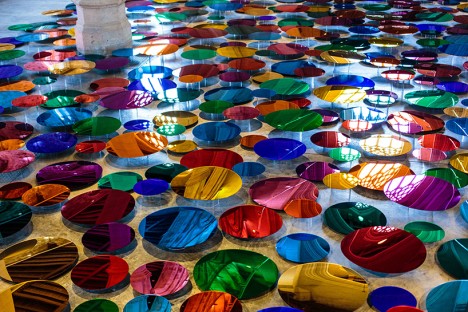
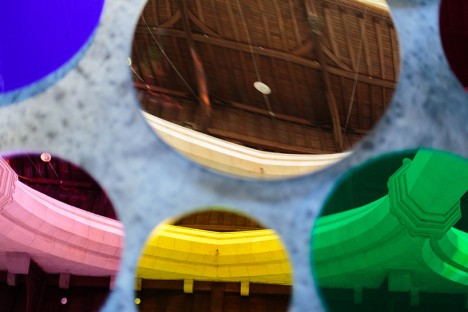
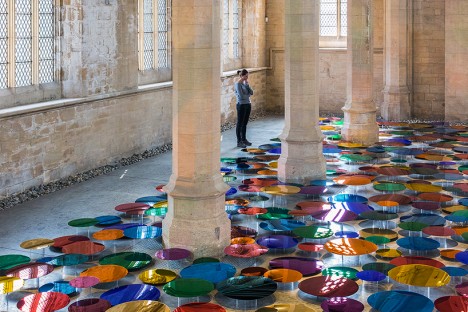
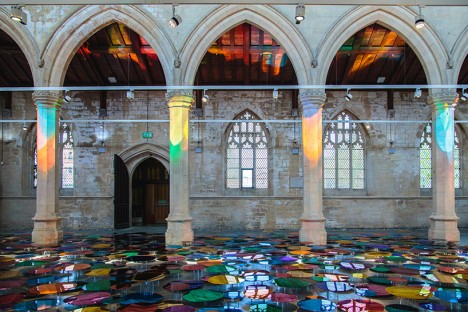
Hundreds of mirrored discs in a spectrum of colors hover above the floor of England’s former St. John’s Church in Scunthorpe, reflecting rainbow light all over the interior. The installation by Liz West is gorgeous when taking it in as a whole, but step closer and you’ll see that each disc is like a miniature work of art in itself, containing its own tiny composition of architectural elements.

Ghost Church Made of Wire by Edoardo Tresoldi, Italy

church art ghost 1

church art ghost 2

church art ghost 3

church art ghost 4

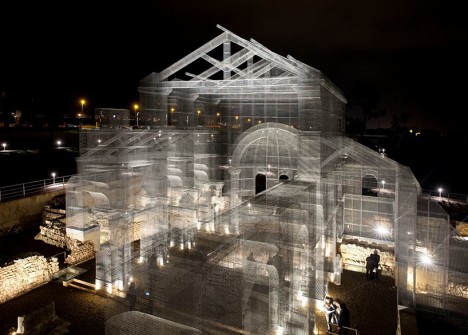
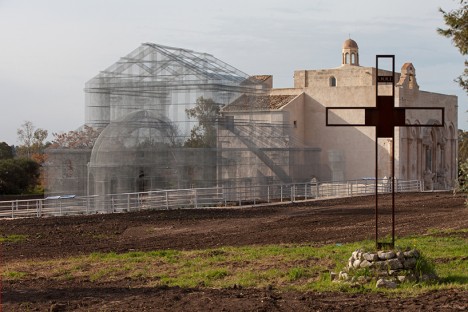
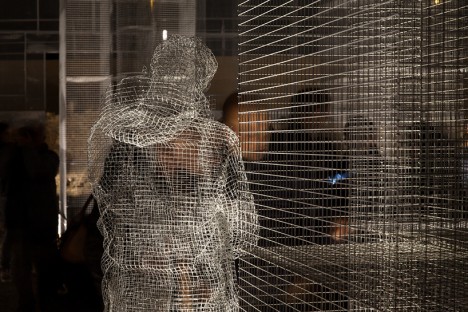
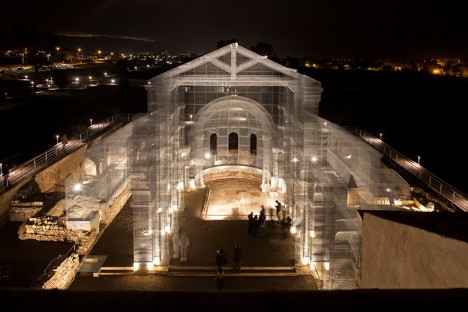
A long-lost early Christian basilica is resurrected in ghostly form, its contours traced in wire for a translucent effect. Located in the historic park of Siponto in the Southern Italian region of Puglia, this installation by Edoardo Tresoldi lets modern-day visitors explore the church as it is thought to have appeared centuries ago.

Video Mapping by Marcos Zotes, Iceland

chuch art mapping 1

church art mapping 2

church art mapping 3

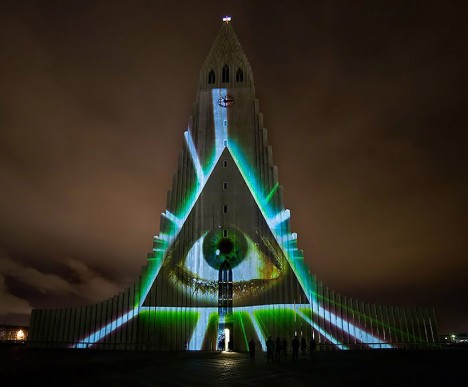
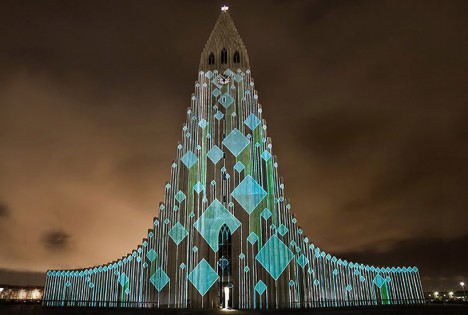
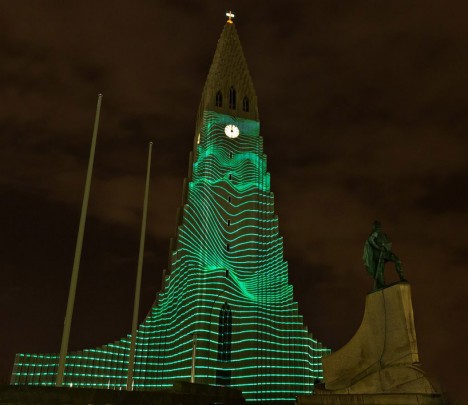
Artist and architect Marcos Zotes uses the facade of Hallgrímskirkja, Iceland’s largest church, as a canvas for projections of monumental proportions in a show called ‘Rafmognu? Náttúra.’ Moderating the color and movement through a midi controller, the artist created a dynamic visual experience that made the architecture seem to come alive.

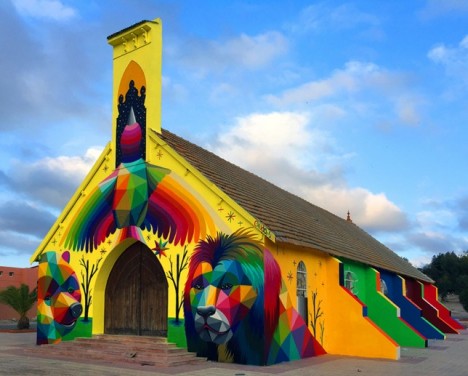
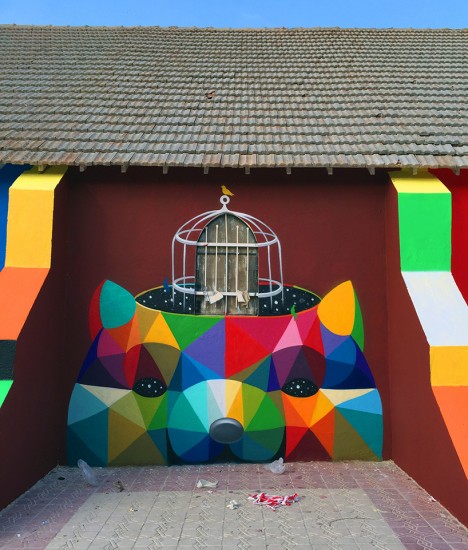
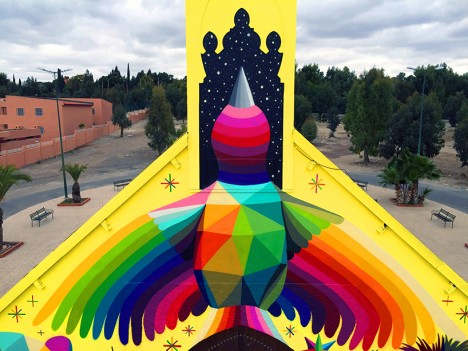
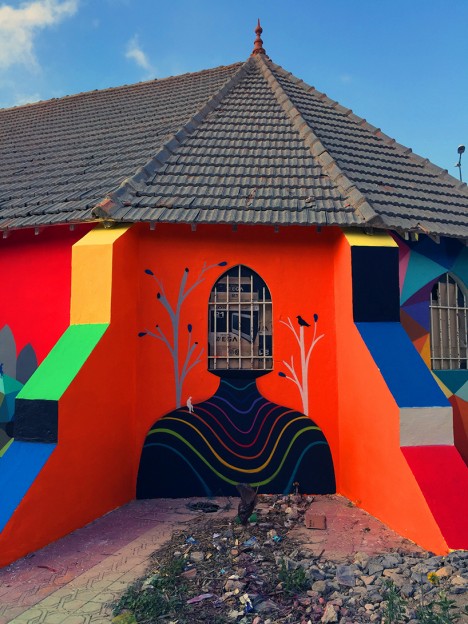
11 Mirages to Freedom by Okuda San Miguel, Morocco

church art okuda 1

church art okuda 2

church art okuda 3

church art okuda 4

An abandoned and dilapidated church gets a striking makeover with the addition of a vivid mural covering nearly all of its exterior surfaces. Street artist Okuda San Miguel painted ’11 Mirages to Freedom’ on the outside of this church in Morrocco as an interactive display honoring its past as well as its structural beauty.

Next Page – Click Below to Read More:
Holy Art 13 Spectacular Secular Installations In Sacred Spaces

Share on Facebook


[ By SA Rogers in Art & Installation & Sound. ]

[ WebUrbanist | Archives | Galleries | Privacy | TOS ]


WebUrbanist

 
Comments Off on Holy Art! 13 Spectacular Secular Installations in Sacred Spaces

Posted in Creativity


How to Create a Spectacular Background Using an El Bokeh Wall

11 Aug

Bokeh is the aesthetic quality of the blur, in the out-of-focus areas of an image. You can easily get this spectacular background blur in your photos using a fast prime or macro lens (basically ones with an aperture of f/2.8 or greater), and a technique involving what many call the El Bokeh Wall.

Photo A  Uddhav Gupta  uddhav98 gmail com

In my opinion, the El Bokeh wall is very effective at creating eye-popping bokeh, which can help make your picture more interesting and unique in its own right. However, keeping in mind the potential it has, it doesn’t seem to be used often enough. It is very simple though, you can do it without any special equipment, using things you will probably be able to find lying around at home.

(NOTE: Several demonstrations of this technique use a speed-light. For those without such equipment, don’t worry, there IS a very good alternative which this tutorial will tell you about!)

THINGS YOU’LL NEED:

  • A camera
  • A macro or prime lens with a large aperture for nice bokeh (you can still try to do it even if you don’t have one of these, but your attempt may or may not be successful)
  • A tripod
  • Aluminium foil (You’ll probably have some in the kitchen. If not, it’s very cheap to buy)
  • A speedlight, or as in this tutorial, use an alternative light source instead. You can use a flashlight or download an app onto your smartphone which allows you to use its flash as a light)
  • A subject
  • A background (you can use a piece of cardboard)

STEPS FOR SETTING UP THE EL BOKEH WALL

You’ll be surprised at how simple it really is:

Step one: Get as much aluminium foil as you think you will need to sufficiently cover your background

Step two: Crumple the aluminium foil into a loose ball (as shown here)

Step 2

Step three: Open up the ball, without smoothing out the crinkles (these will reflect the light, which will create the magnificent bokeh you need) – be careful not to tear the foil in this step.

Step 3

Step four: Stick the foil to the background (you may use some transparent tape to do so).

Step 4

HOW TO CREAT A PICTURE WITH AMAZING BOKEH

Without the use of a speedlight!

  • Place your camera and tripod some distance away from the El Bokeh Wall. The desired part of the subject (or the whole subject) is typically included along with some of the bokeh from the foil.
  • Place the subject a suitable distance away from the El Bokeh Wall. You will need to judge what this suitable distance is on your own, as that will vary depending on your chosen subject, and the camera and lens combination you’re using. While constantly checking your camera’s LCD monitor (it’s just easier this way – remember to switch to Live View), place the subject in a the position that makes the bokeh pops the most.
  • Get your camera to focus on the subject (with the background properly out of focus to obtain good bokeh) and then switch to manual focus.
  • Experiment with your lighting (since you’re not using any fixed lighting). Hold up your flashlight or smartphone and experiment with various angles until you get the best result.
  • Set the two second self-timer on your camera to count down.
  • Keep holding the light source at the angle which yield the best results until the picture is taken.

THAT’S IT!

You should now have a great picture with marvellous bokeh like this:

Photo B  Uddhav Gupta  uddhav98 gmail com

Photo C  Uddhav Gupta  uddhav98 gmail com

Give it a try and please leave your comments below.

googletag.cmd.push(function() {
tablet_slots.push( googletag.defineSlot( “/1005424/_dPSv4_tab-all-article-bottom_(300×250)”, [300, 250], “pb-ad-78623” ).addService( googletag.pubads() ) ); } );

googletag.cmd.push(function() {
mobile_slots.push( googletag.defineSlot( “/1005424/_dPSv4_mob-all-article-bottom_(300×250)”, [300, 250], “pb-ad-78158” ).addService( googletag.pubads() ) ); } );

The post How to Create a Spectacular Background Using an El Bokeh Wall by Uddhav Gupta appeared first on Digital Photography School.


Digital Photography School

 
Comments Off on How to Create a Spectacular Background Using an El Bokeh Wall

Posted in Photography


A Step Above The Rest: 15 Spectacular Modern Staircases

16 Jun

[ By Steph in Design & Fixtures & Interiors. ]

modern stairs pool bridge

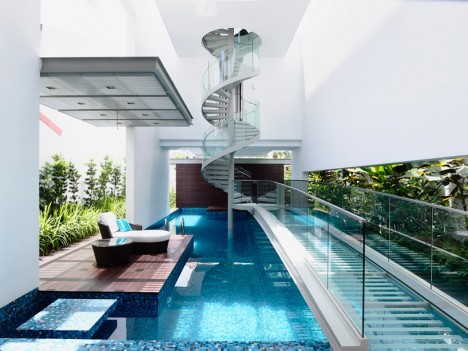
Going far beyond their practical function of connecting one level of an interior to the next, these modern staircase designs make a striking statement, often doubling as a sculptural element or offering some other additional purpose. Some act as amphitheater seats, some have built-in gardens and some simply steal the spotlight no matter what else is in the room.

Amphi-Staircase

modern stairs amphista

modern stairs amphi-staircase 2

modern stairs amphi-staircase 1

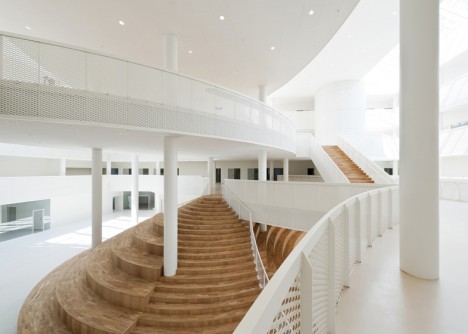
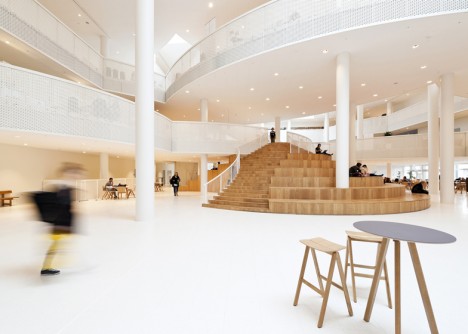
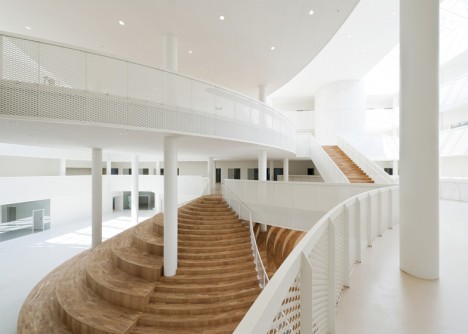
Inspired by the ‘circles and ovals’ that make up Disney characters like Mickey Mouse, this amphitheater-style staircase stands as the heat of an adult learning center in Denmark by architecture studio CEBRA. The lines of the multi-functional staircase echo those of the curving white balconies that jut out into the atrium at every level.

Glossy Spiral Stairs in a Modular Library

modern stairs glossy library

modern stairs glossy library 2

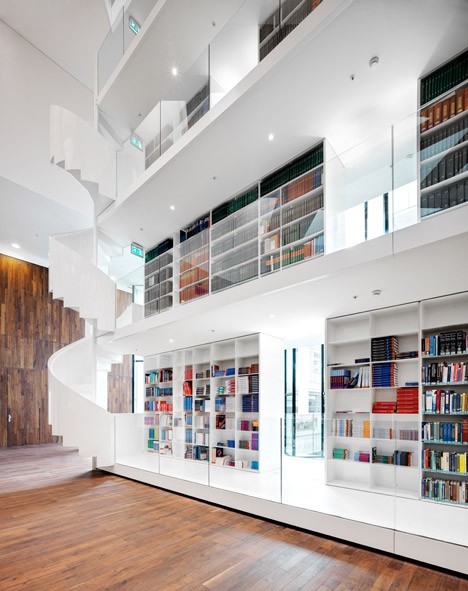
Soaring 115 feet toward the elevated ceiling, this glossy white building-within-a-building adds a library to a modern medical research center at a Rotterdam hospital. It basically functions like one very big bookcase within the large open space, featuring spiraling staircases on either end.

4-Story Living Staircase

modern stairs planted circle

modern stairs planted circle 2

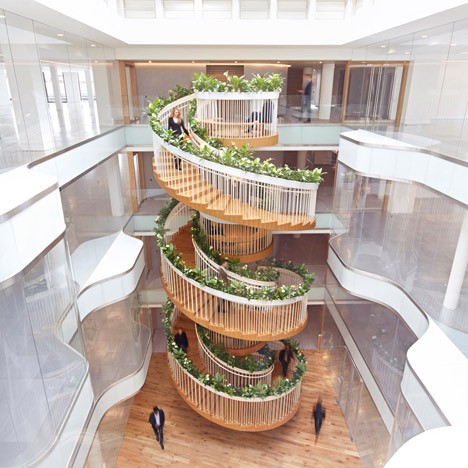
A garden, tea bar and library can be found within a stunning four-story spiraling staircase by designer Paul Cocksedge at the Ampersand office building for creative technology businesses in London. Designed to encourage interaction between workers, it features a different function at every level, including a small curated selection of books on the first floor. Pick your own mint from the garden boxes along the railing to make tea at a hot water machine once you’ve reached the top.

Floating Staircase in an All-Black Room

modern stairs floating

modern stairs floating 2

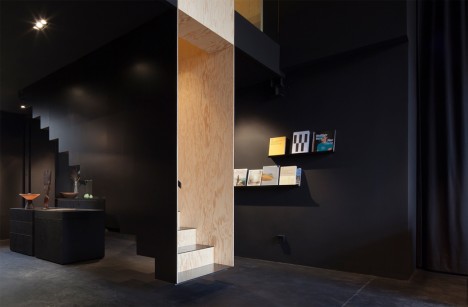
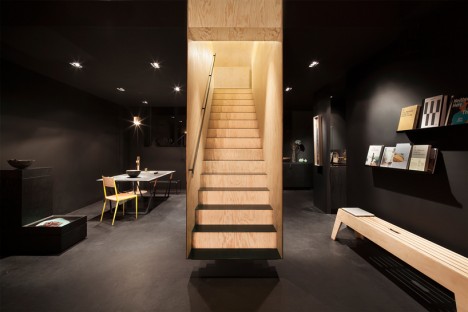
The warm wood lining the interior of this floating staircase by Hidden Fortress makes it glow against the black surfaces of a Berlin concept store, giving it the feel of an optical illusion. The maritime pine used throughout the store is left in its natural state upstairs, so the staircase serves as a visual connection to the next level as well as a literal one.

Partially Suspended Staircase

modern stairs partially suspended

modern stairs partially suspended 2

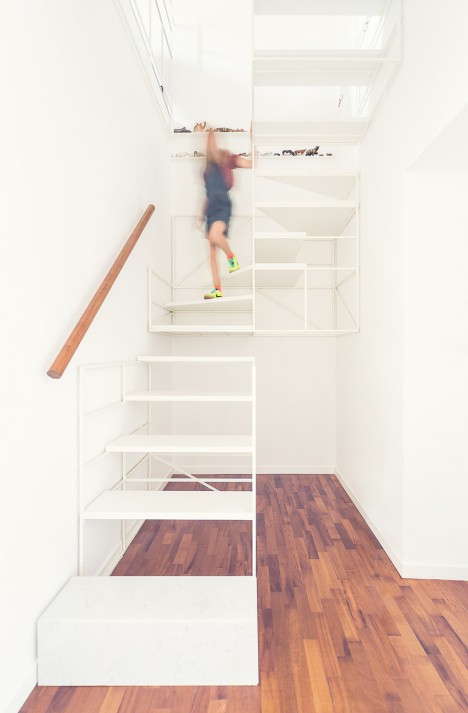
Italian architecture firm Francesco Librizzi Studio suspends most of a white-framed staircase from the stairwell, making it seem as if it’s supported by nothing but the walls. A separate section stands on its own at ground level. The designers were trying to use the stairs as a narrative scheme, asking questions like “Can a staircase tell us that time passes and children grow up?”

Next Page – Click Below to Read More:
A Step Above The Rest 15 Spectacular Modern Staircases

Share on Facebook


[ By Steph in Design & Fixtures & Interiors. ]

[ WebUrbanist | Archives | Galleries | Privacy | TOS ]


WebUrbanist

 
Comments Off on A Step Above The Rest: 15 Spectacular Modern Staircases

Posted in Creativity


8 Simple Guidelines for Capturing Spectacular Sunrise and Sunset Images

26 Mar

When we are asked to think of popular subjects for landscape photography, images of beautiful sunsets immediately come to mind. What outdoor photographer worth his or her salt doesn’t have at least a couple of images of the sun dipping below the horizon? In most people’s minds, it is an easy thing to capture; the beauty and scale of the event itself should carry the photo, with minimal interaction from the photographer.
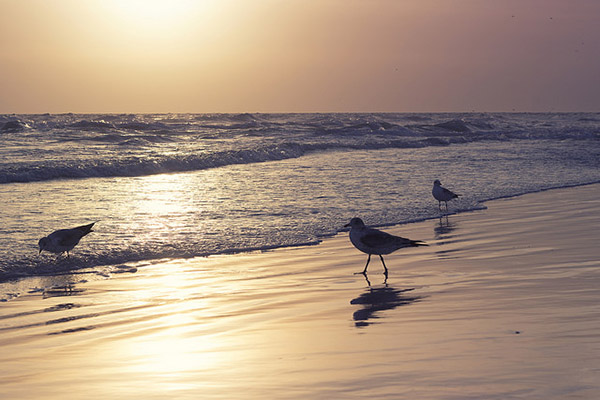
bird_trio

But is this really the case?

Unfortunately, it’s not. Unless you’re relying on luck alone, you’ll need to possess a few seeds of knowledge (eight in this case) to get you started in capturing that epic sunrise or sunset. None of these guidelines are difficult to comprehend, and can vastly improve your chances of properly capturing one of mother nature’s most incredible events.

1. Scout the Location

As tempting as it is to just show up at a convenient location and start shooting, you greatly increase your chances of success by planning the shoot in advance. The first thing you’ll want to determine is the best location from which to shoot.

Pick a location that is out of the way of road and foot traffic, where you’re unlikely to be disturbed. Go to the location in broad daylight before the shoot, and ensure your view of the horizon will be unobstructed and free of any hazards.

The most important factor after the location is time of the day. Obviously, this will vary depending on whether you’re capturing a sunrise or a sunset. Is there a storm coming? If your shooting time coincides with an approaching or recently-ended storm, the results can be staggering. Rain and storm clouds can add a dramatic layer of dimension to the scene.

Lastly, you can pinpoint the perfect time to shoot by using an online tool or smartphone app to determine precise sunrise and sunset times for your exact location. Many low-cost (and sometimes free) solutions are out there, including SunSeeker, Daylight Free, and the excellent Photographers Ephemeris to name a few.
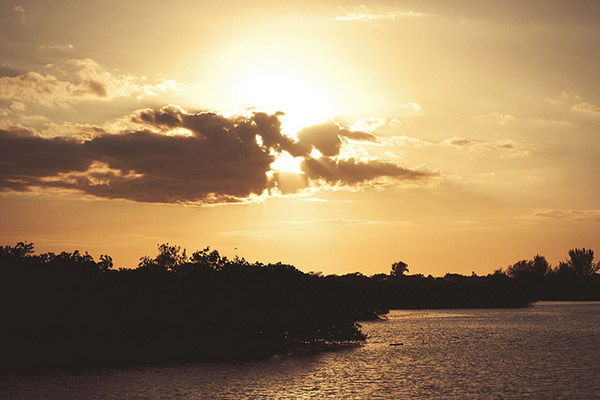
sunset_article3.jpg

2. Sunrise, or Sunset?

If you’re familiar with color temperature, you’ll know that there is a slight difference in the appearance of light at sunset versus what you’ll see at sunrise. Early morning light tends to be cooler (higher blue) than light in the late evening, which leans toward more warm color castings consisting of orange and red.

Since we know there are differing color temperatures at work here, you might need to adjust for this, depending on what feel you’re going for, either through warming or cooling filters, or adjustments in post-production to add or remove warmth into the color profile of the final photograph.

Be aware that physical filters used on your camera will degrade image quality slightly, due to the addition of another obstacle for light to pass through between your subject and your camera’s sensor
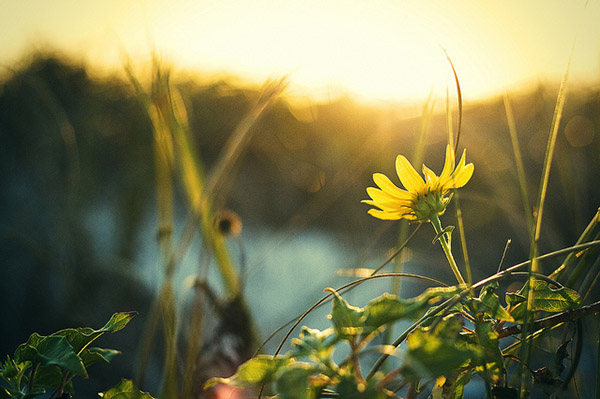
daisy

3. Plan your Shots

Another important step to accomplish before heading out is to plan out what you hope to achieve in the photo. What look are you going for?  Is there a definitive subject lit by the sunlight, or will the sunset itself be the star of the show?

This is also a great time to determine any other special considerations, such as the possibility of shooting an HDR (High Dynamic Range) photo. If that’s the case, you’ll need to prepare your camera for bracketed exposures to capture the full range of tones in the scene. Since these type of scenes normally consist of bright spots and shadows, this is a great way to produce some truly dramatic images.

4. Gather the Proper Gear

Obviously you can’t capture the right shot without the right gear; so make sure you have it all ready to go before you head out. First and foremost, you’ll want to bring your tripod. Sunrises and sunsets are potentially low-light situations (depending on what part of the sunset you’re trying to capture), so you want a steady base for your camera.

Secondly, you’ll want to determine what lens to use for the shot.  Even though beautiful landscapes can be captured using a 35mm or 50mm focal length (for sensors with a 1.6 crop factor – 56 to 80mm on a full frame system), a wide angle lens is preferred, including any zoom lenses that can capture a length of 25mm and below (40mm on a full frame system).  If you have a prime lens at these lengths, you will have a better chance of catching an even sharper image.  Using a wide angle lens will allow you to capture a more vast, sweeping portion of the scene.

Do you own and use screw-on filters for your camera?

Although using filters can degrade image quality a bit, due to the addition of another obstacle for light to pass through between your subject and your camera’s sensor, there are some that could be useful here, such as a GND (graduated neutral density) filter, to darken the upper portion of the sky a bit. Filters such as UV (ultraviolet) or polarizing filters may actually be a hinderance in these situations, and should be avoided. These filters reduce the amount of light coming in to the sensor, further increasing the required exposure time, which may not be idea if you’re trying to freeze any motion in the shot.
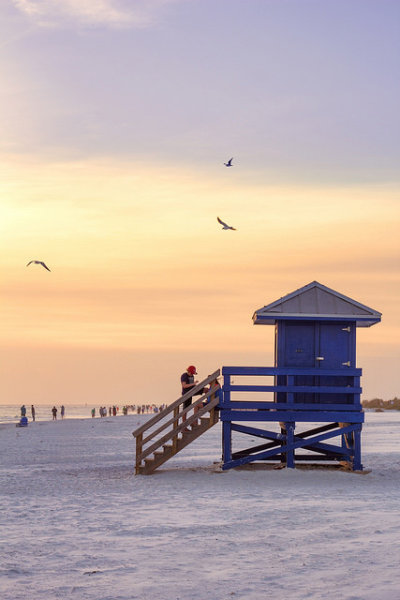
lifeguard_shack

5. Use the Right Settings

Another item that can be set up before you arrive to your shoot is the settings on the camera itself.

Since you’re shooting landscape, you’ll want to use a smaller aperture such as f/8, f/11 or even higher to maximize the depth of field and capture a sharp image throughout. If you’re using a tripod, this isn’t a problem.

Although shooting in manual mode is the norm here, to allow for minor changes in exposure compensation, I prefer to shoot almost everything in A/Av (aperture priority mode). This way I can lock in my aperture and let the camera choose a proper shutter speed. Since low-light situations like this can confuse the camera and you run the risk of overexposure, you can use your camera’s exposure compensation settings to fine-tune the exposure a bit lower.

A low ISO should also be used such as 100 or 200, to ensure there isn’t a lot of noise in the final shot. Again, with a tripod this isn’t an issue, but if you’re hand-holding for the shot, you will need to bump the ISO up to get a shutter speed that’s fast enough to avoid a disappointingly blurry photo.
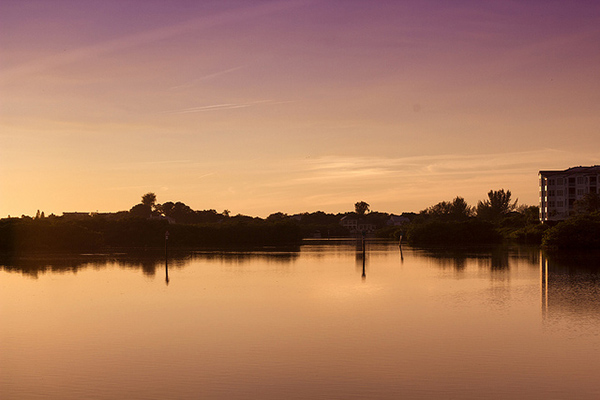
inlet_sunset

Another useful trick to increase warmth in your final shot is to set WB (white balance) to the “sunny” or “cloudy” setting instead of “auto”. Although you can certainly add warmth in post-processing, your initial image from the camera will be warmer if you make this adjustment now.

And of course, ALWAYS shoot in RAW! To a certain extent, shadows and highlights that are lost in a shot can be recovered in post-processing later.

6. Compose for Interest

Alright, the preparation is over, now we get to the fun part! Once you’re on location, and are ready to take the shot, you’ll want to make considerations for composition.

The most common error in shooting sunsets or sunrises is composing the horizon exactly in the middle of the photo. While this can work in some cases, it normally causes a bit too much symmetry and can make the picture uninteresting.

Take a moment to look the scene over; what part is the most dramatic? Are there any parts that aren’t as interesting of a focus?

Once you have identified that, simply compose the shot to include more of the most dramatic scenery. If you have an angry, cloudy sky that accentuates the sunlight, let that occupy the upper 2/3 of the scene. If you have an interesting foreground or landscape below the sun, and a less-intriguing sky, let that occupy the bottom 2/3 of the image. You want to draw the viewer into the horizon, and then let their eyes drift to the most dramatic part of the image.
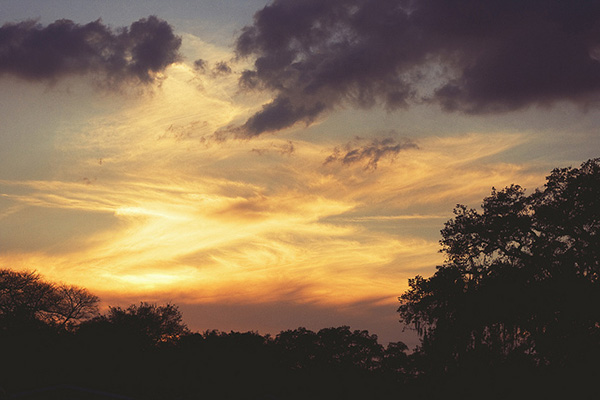
purple_sunset

7. Waiting for the Right Shot

If you already have experience shooting landscapes, you know that sometimes waiting is the name of the game. Because of the dynamics of natural lighting, a scene can completely change from one hour to the next, and sometimes even one minute to the next.

Now is the time to be creative! Try different exposure times, play with your exposure compensation settings for different tones. Let the clouds and sun change positions, and reshoot, or try a slightly different angle.

Maybe even allow different subjects to come in and out of frame, and shoot them in the foreground against the sunrise or sunset. The longer you’re at the location shooting, the more variety of shots you’ll end up with.
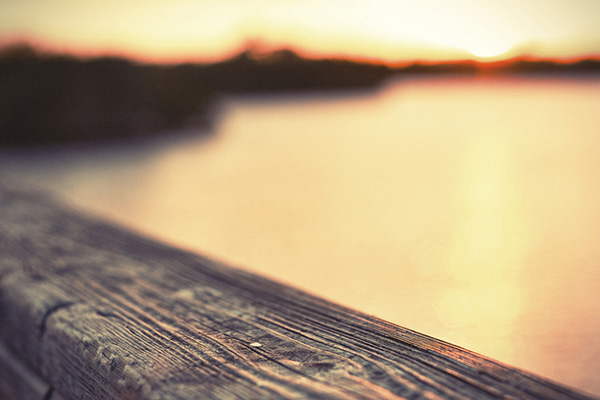
pier

Sunset article4

8. Don’t Leave Too Early

Lastly, one of the most common things you’ll hear about capturing sunsets, in particular, is to stick around after the sun dips below the horizon. This is certainly true, as the entire dynamic of a scene changes at this point.

Tones, colors and hues in the sky usually become more saturated and dramatic. You’ll need to allow for the loss of your main source of light, but it’s hard to deny some of the most beautiful images can be shot right after the sun is out of sight.

The post 8 Simple Guidelines for Capturing Spectacular Sunrise and Sunset Images by Tim Gilbreath appeared first on Digital Photography School.


Digital Photography School
 
Comments Off on 8 Simple Guidelines for Capturing Spectacular Sunrise and Sunset Images

Posted in Photography


8 Simple Guidelines for Capturing Spectacular Sunrise and Sunset Images

26 Mar

When we are asked to think of popular subjects for landscape photography, images of beautiful sunsets immediately come to mind. What outdoor photographer worth his or her salt doesn’t have at least a couple of images of the sun dipping below the horizon? In most people’s minds, it is an easy thing to capture; the beauty and scale of the event itself should carry the photo, with minimal interaction from the photographer.

bird_trio

But is this really the case?

Unfortunately, it’s not. Unless you’re relying on luck alone, you’ll need to possess a few seeds of knowledge (eight in this case) to get you started in capturing that epic sunrise or sunset. None of these guidelines are difficult to comprehend, and can vastly improve your chances of properly capturing one of mother nature’s most incredible events.

1. Scout the Location

As tempting as it is to just show up at a convenient location and start shooting, you greatly increase your chances of success by planning the shoot in advance. The first thing you’ll want to determine is the best location from which to shoot.

Pick a location that is out of the way of road and foot traffic, where you’re unlikely to be disturbed. Go to the location in broad daylight before the shoot, and ensure your view of the horizon will be unobstructed and free of any hazards.

The most important factor after the location is time of the day. Obviously, this will vary depending on whether you’re capturing a sunrise or a sunset. Is there a storm coming? If your shooting time coincides with an approaching or recently-ended storm, the results can be staggering. Rain and storm clouds can add a dramatic layer of dimension to the scene.

Lastly, you can pinpoint the perfect time to shoot by using an online tool or smartphone app to determine precise sunrise and sunset times for your exact location. Many low-cost (and sometimes free) solutions are out there, including SunSeeker, Daylight Free, and the excellent Photographers Ephemeris to name a few.

sunset_article3.jpg

2. Sunrise, or Sunset?

If you’re familiar with color temperature, you’ll know that there is a slight difference in the appearance of light at sunset versus what you’ll see at sunrise. Early morning light tends to be cooler (higher blue) than light in the late evening, which leans toward more warm color castings consisting of orange and red.

Since we know there are differing color temperatures at work here, you might need to adjust for this, depending on what feel you’re going for, either through warming or cooling filters, or adjustments in post-production to add or remove warmth into the color profile of the final photograph.

Be aware that physical filters used on your camera will degrade image quality slightly, due to the addition of another obstacle for light to pass through between your subject and your camera’s sensor

daisy

3. Plan your Shots

Another important step to accomplish before heading out is to plan out what you hope to achieve in the photo. What look are you going for?  Is there a definitive subject lit by the sunlight, or will the sunset itself be the star of the show?

This is also a great time to determine any other special considerations, such as the possibility of shooting an HDR (High Dynamic Range) photo. If that’s the case, you’ll need to prepare your camera for bracketed exposures to capture the full range of tones in the scene. Since these type of scenes normally consist of bright spots and shadows, this is a great way to produce some truly dramatic images.

4. Gather the Proper Gear

Obviously you can’t capture the right shot without the right gear; so make sure you have it all ready to go before you head out. First and foremost, you’ll want to bring your tripod. Sunrises and sunsets are potentially low-light situations (depending on what part of the sunset you’re trying to capture), so you want a steady base for your camera.

Secondly, you’ll want to determine what lens to use for the shot.  Even though beautiful landscapes can be captured using a 35mm or 50mm focal length (for sensors with a 1.6 crop factor – 56 to 80mm on a full frame system), a wide angle lens is preferred, including any zoom lenses that can capture a length of 25mm and below (40mm on a full frame system).  If you have a prime lens at these lengths, you will have a better chance of catching an even sharper image.  Using a wide angle lens will allow you to capture a more vast, sweeping portion of the scene.

Do you own and use screw-on filters for your camera?

Although using filters can degrade image quality a bit, due to the addition of another obstacle for light to pass through between your subject and your camera’s sensor, there are some that could be useful here, such as a GND (graduated neutral density) filter, to darken the upper portion of the sky a bit. Filters such as UV (ultraviolet) or polarizing filters may actually be a hinderance in these situations, and should be avoided. These filters reduce the amount of light coming in to the sensor, further increasing the required exposure time, which may not be idea if you’re trying to freeze any motion in the shot.

lifeguard_shack

5. Use the Right Settings

Another item that can be set up before you arrive to your shoot is the settings on the camera itself.

Since you’re shooting landscape, you’ll want to use a smaller aperture such as f/8, f/11 or even higher to maximize the depth of field and capture a sharp image throughout. If you’re using a tripod, this isn’t a problem.

Although shooting in manual mode is the norm here, to allow for minor changes in exposure compensation, I prefer to shoot almost everything in A/Av (aperture priority mode). This way I can lock in my aperture and let the camera choose a proper shutter speed. Since low-light situations like this can confuse the camera and you run the risk of overexposure, you can use your camera’s exposure compensation settings to fine-tune the exposure a bit lower.

A low ISO should also be used such as 100 or 200, to ensure there isn’t a lot of noise in the final shot. Again, with a tripod this isn’t an issue, but if you’re hand-holding for the shot, you will need to bump the ISO up to get a shutter speed that’s fast enough to avoid a disappointingly blurry photo.

inlet_sunset

Another useful trick to increase warmth in your final shot is to set WB (white balance) to the “sunny” or “cloudy” setting instead of “auto”. Although you can certainly add warmth in post-processing, your initial image from the camera will be warmer if you make this adjustment now.

And of course, ALWAYS shoot in RAW! To a certain extent, shadows and highlights that are lost in a shot can be recovered in post-processing later.

6. Compose for Interest

Alright, the preparation is over, now we get to the fun part! Once you’re on location, and are ready to take the shot, you’ll want to make considerations for composition.

The most common error in shooting sunsets or sunrises is composing the horizon exactly in the middle of the photo. While this can work in some cases, it normally causes a bit too much symmetry and can make the picture uninteresting.

Take a moment to look the scene over; what part is the most dramatic? Are there any parts that aren’t as interesting of a focus?

Once you have identified that, simply compose the shot to include more of the most dramatic scenery. If you have an angry, cloudy sky that accentuates the sunlight, let that occupy the upper 2/3 of the scene. If you have an interesting foreground or landscape below the sun, and a less-intriguing sky, let that occupy the bottom 2/3 of the image. You want to draw the viewer into the horizon, and then let their eyes drift to the most dramatic part of the image.

purple_sunset

7. Waiting for the Right Shot

If you already have experience shooting landscapes, you know that sometimes waiting is the name of the game. Because of the dynamics of natural lighting, a scene can completely change from one hour to the next, and sometimes even one minute to the next.

Now is the time to be creative! Try different exposure times, play with your exposure compensation settings for different tones. Let the clouds and sun change positions, and reshoot, or try a slightly different angle.

Maybe even allow different subjects to come in and out of frame, and shoot them in the foreground against the sunrise or sunset. The longer you’re at the location shooting, the more variety of shots you’ll end up with.

pier

Sunset article4

8. Don’t Leave Too Early

Lastly, one of the most common things you’ll hear about capturing sunsets, in particular, is to stick around after the sun dips below the horizon. This is certainly true, as the entire dynamic of a scene changes at this point.

Tones, colors and hues in the sky usually become more saturated and dramatic. You’ll need to allow for the loss of your main source of light, but it’s hard to deny some of the most beautiful images can be shot right after the sun is out of sight.

The post 8 Simple Guidelines for Capturing Spectacular Sunrise and Sunset Images by Tim Gilbreath appeared first on Digital Photography School.


Digital Photography School
 
Comments Off on 8 Simple Guidelines for Capturing Spectacular Sunrise and Sunset Images

Posted in Photography


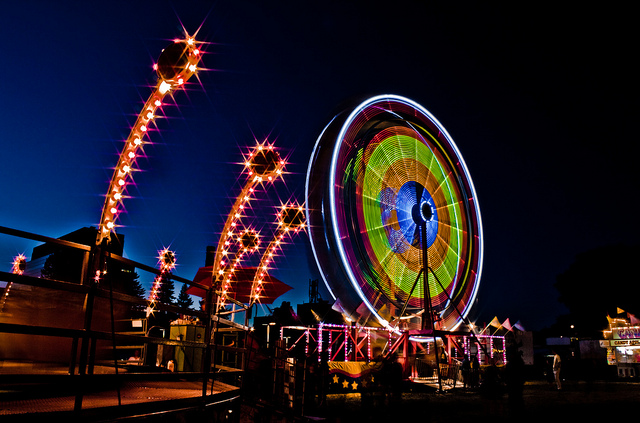
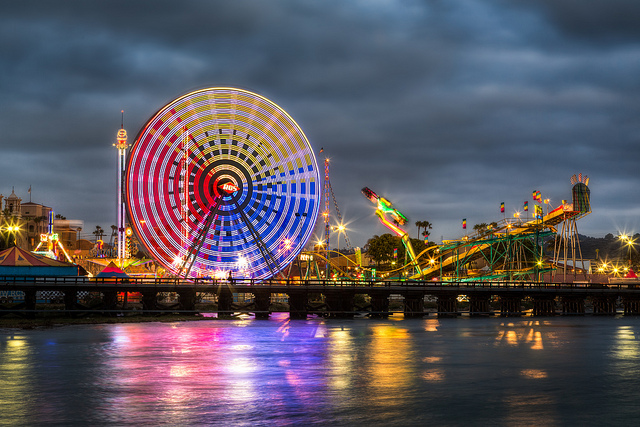
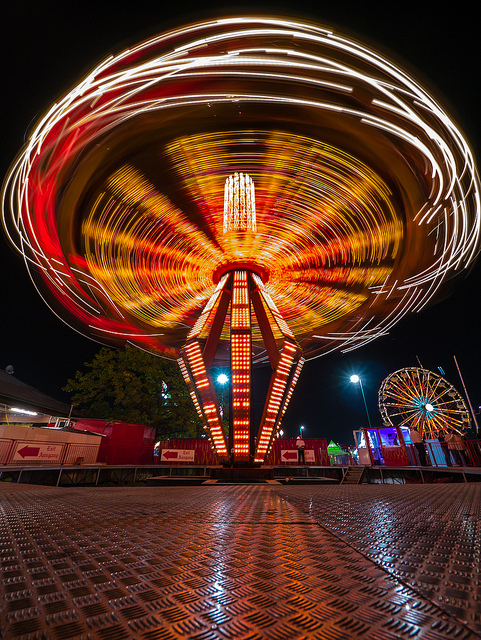
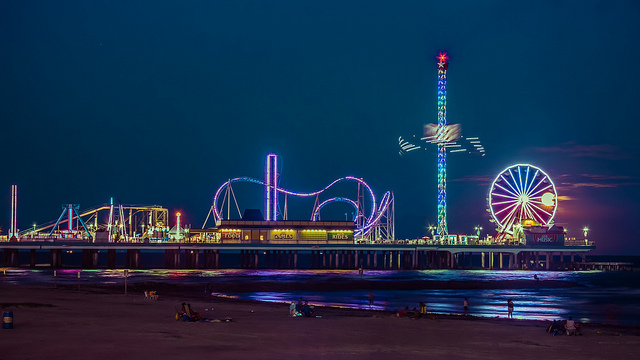
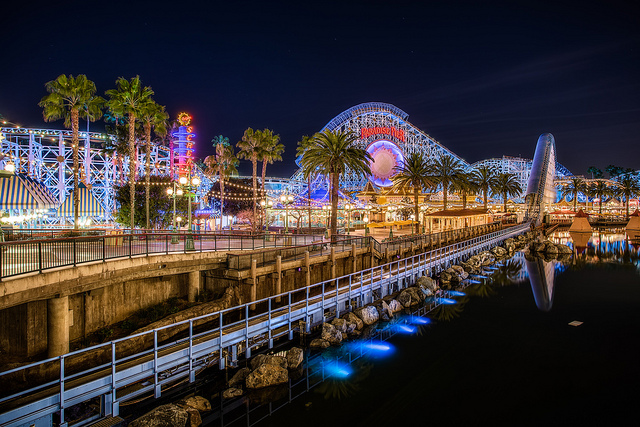
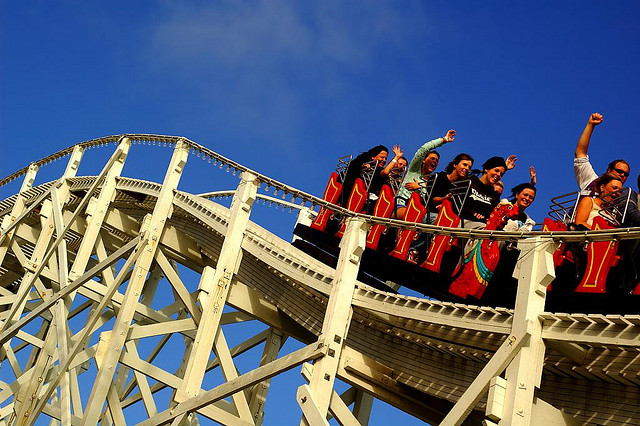
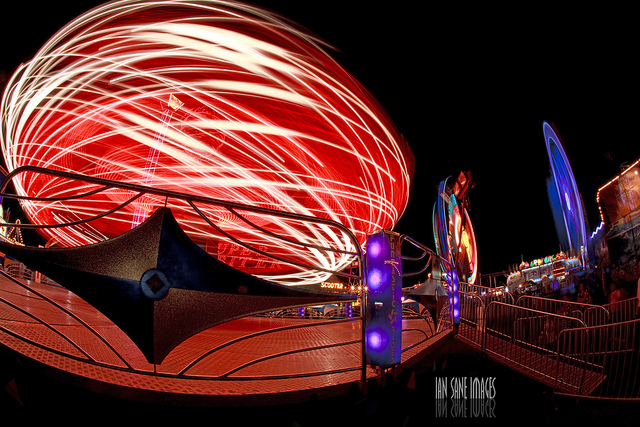
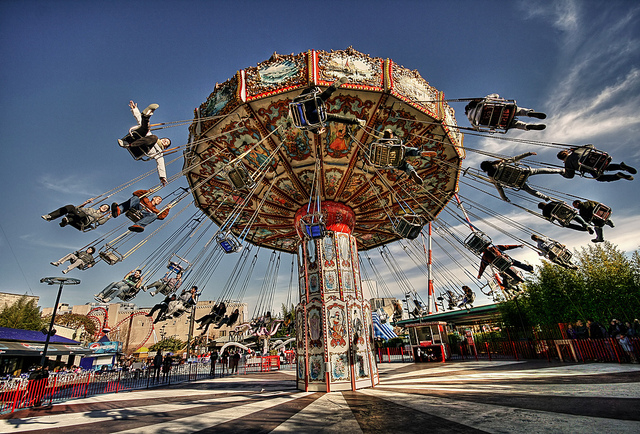
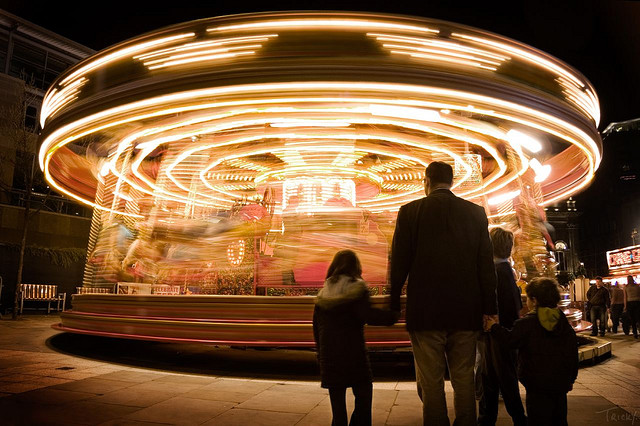
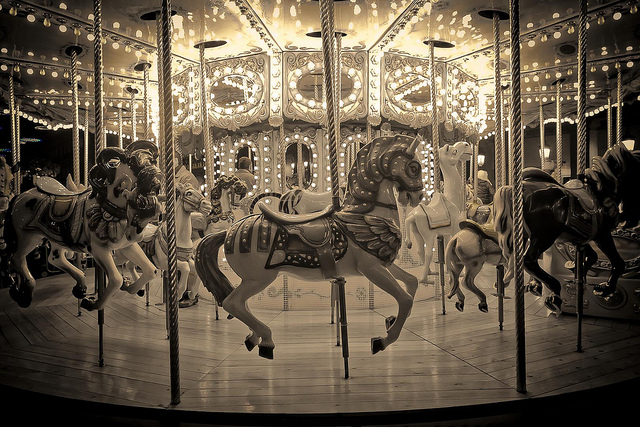
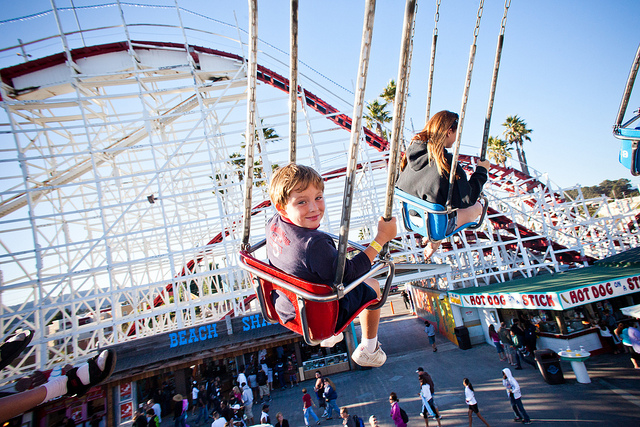
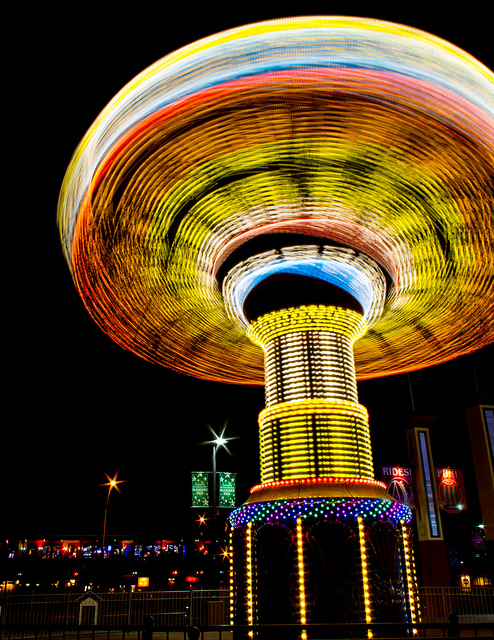
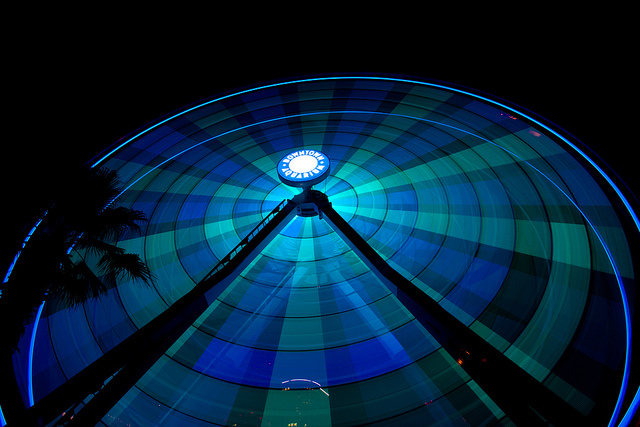
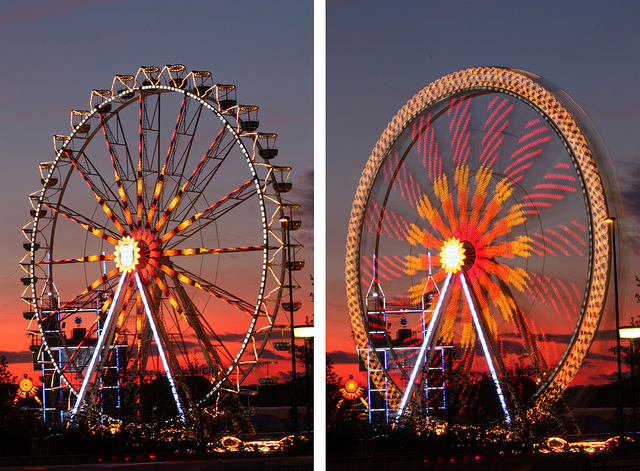
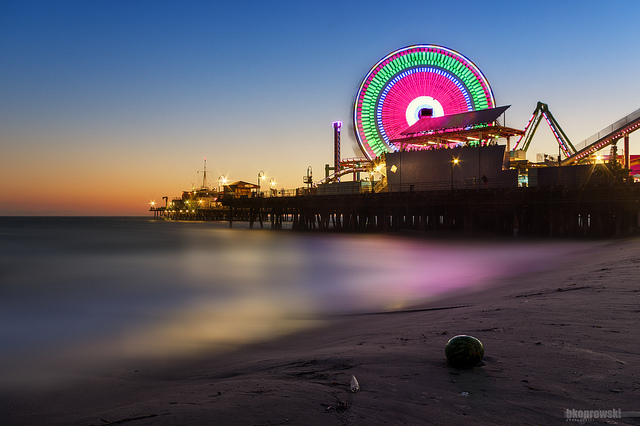
29 Spectacular Images of Carnival and Amusement Park Rides

14 Feb

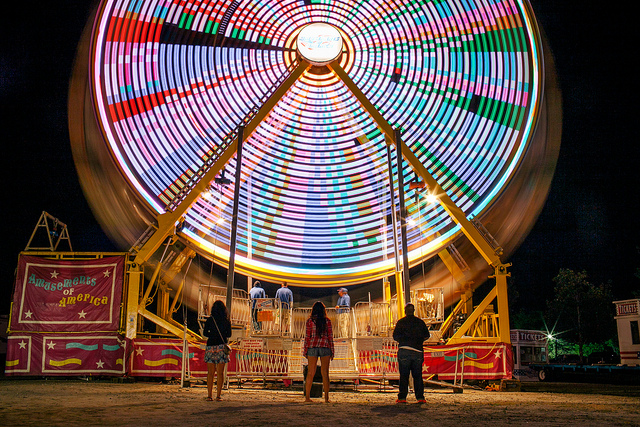
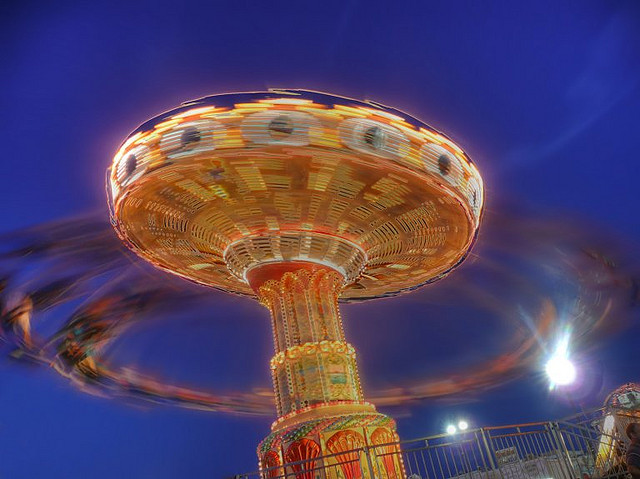
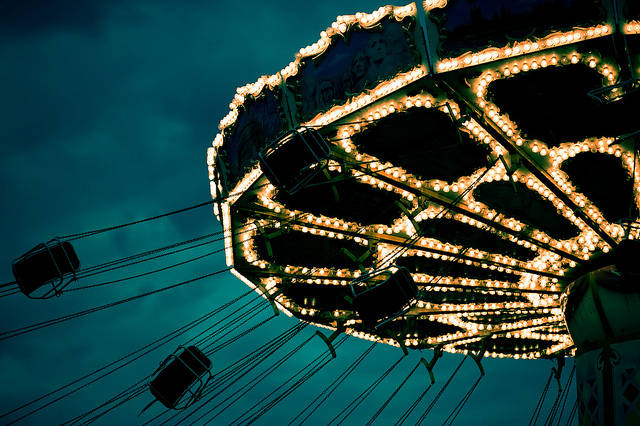
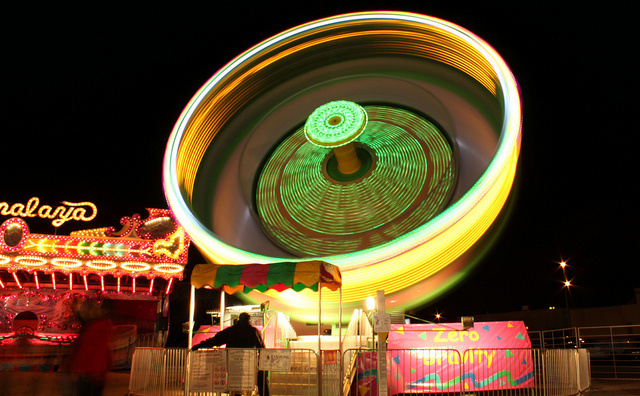
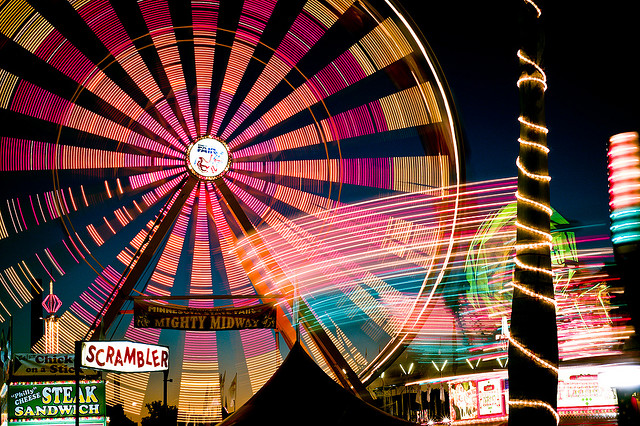
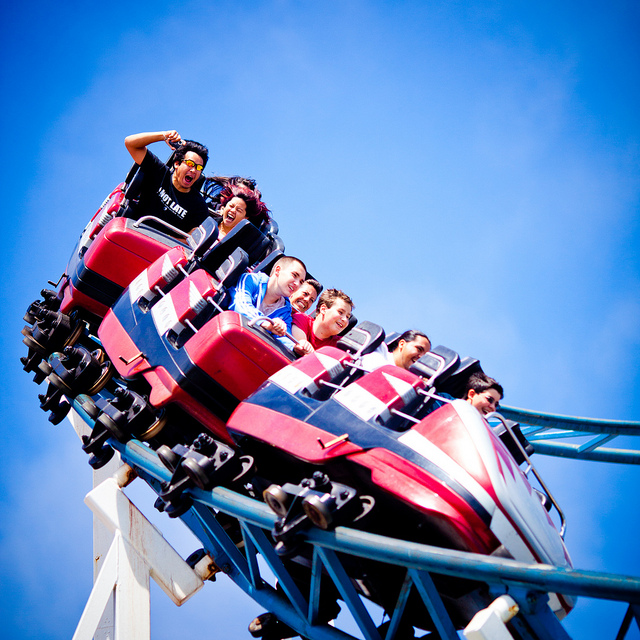
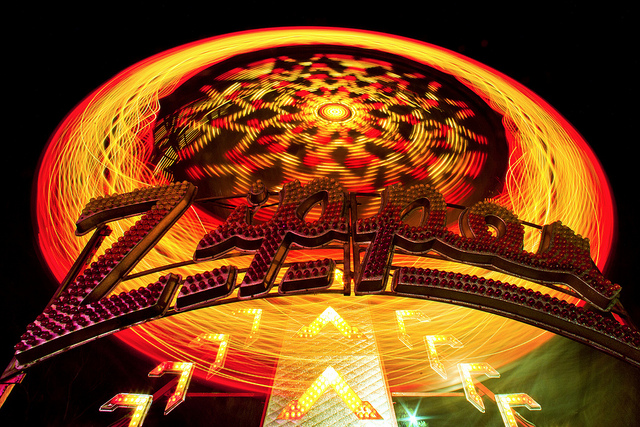
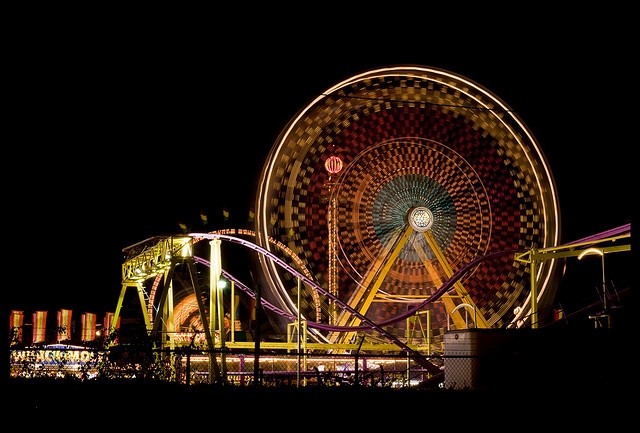
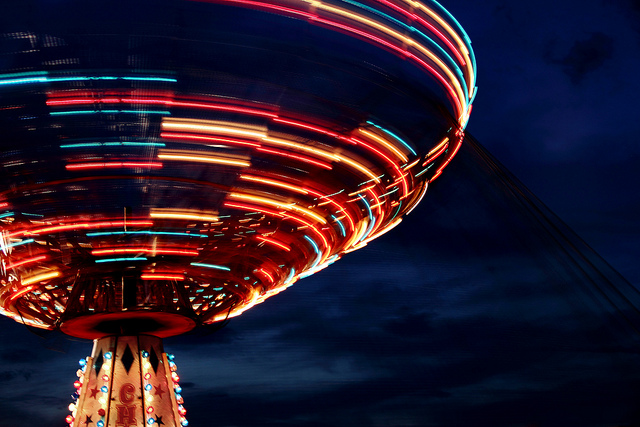
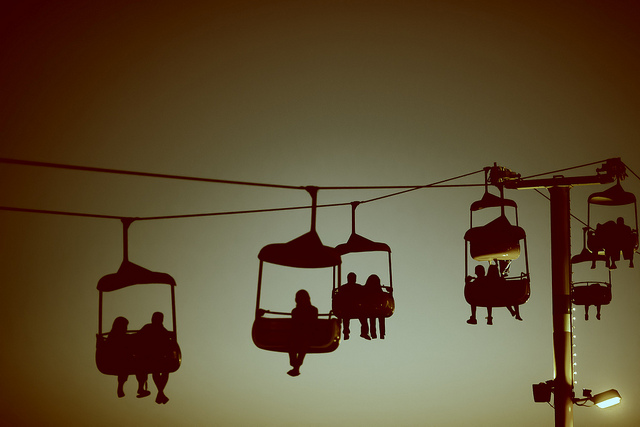
Who doesn’t love amusement park rides? Even if they make you dizzy or nauseous they are still fun to watch and even more fun to photograph!

Here are 29 carnival and amusement park ride images for a little fun this week!

Enjoy!

By Jorge Quinteros

By joiseyshowaa

By Mark J P

By Robby Ryke

By Karlina – Carla Sedini

By smcgee

By Thomas Hawk

By Billy Wilson

By Justin Brown

By J.Bower

By Lotus Carroll

By Justin Brown

By Jes

By Ian Sane

By Joe Penniston

By José María Pérez Nuñez

By Rick Harrison

By Javier

By Thomas Hawk

By Lotus Carroll

By Thomas Hawk

By Vlasta Juricek

By Nathan Harper

By Clint Mickel

By Thomas Hawk

By Victoria Pickering

By Thomas Hawk

By Rémi Lanvin

By Brian Koprowski

The post 29 Spectacular Images of Carnival and Amusement Park Rides by Darlene Hildebrandt appeared first on Digital Photography School.


Digital Photography School
 
Comments Off on 29 Spectacular Images of Carnival and Amusement Park Rides

Posted in Photography


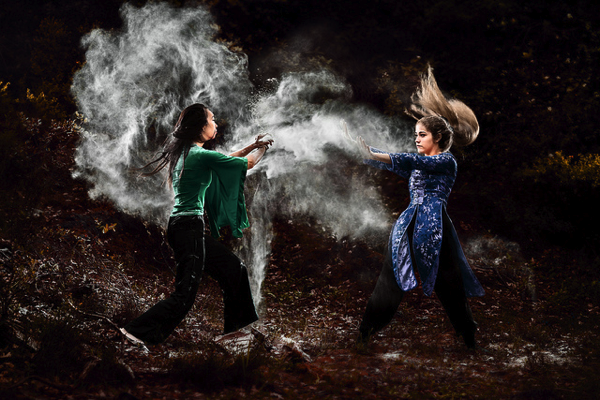
Dust and Fight: Behind the Scenes of This Spectacular Photo Series

06 Aug

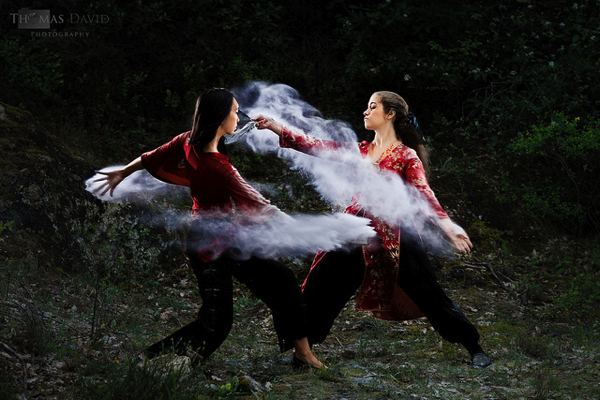
Last year we shared a behind the scenes video that showed some of what went into shooting this amazing ‘dust’ and ‘dance image’.

dust-dance.jpeg

Since then photographer Thomas David has shot another great series of dust photos – this series was shot outside and has more of a martial arts/fight theme.

NewImage

NewImage

See the full series of images here on Flickr.

And as with last time – here’s a behind the scenes video to show you a little more of how it was taken:

Behind the Scene video for the “Dust and Fight” photoshoot from Tom on Vimeo.

Update: check out this post at The PhoBlographer with a heap more information on how the series was shot.

Post originally from: Digital Photography Tips.

Check out our more Photography Tips at Photography Tips for Beginners, Portrait Photography Tips and Wedding Photography Tips.

Dust and Fight: Behind the Scenes of This Spectacular Photo Series


Digital Photography School
 
Comments Off on Dust and Fight: Behind the Scenes of This Spectacular Photo Series

Posted in Photography


Cassini spacecraft takes spectacular pictures of Saturn (oh, and Earth)

24 Jul
9333049834_45b6e7c965_b.jpg

Last Friday, while orbiting Saturn, the Cassini spacecraft turned its camera lens on earth from almost a billion miles away. NASA has released the images, which show not only Saturn and its rings, but also the Earth in the (very far) distance. The original ‘raw’ images taken by the spacecraft are grayscale, but astronomy enthusiast Valerie Klavans has converted some of them and added color. The results look pretty spectacular. Check them out after the link.

News: Digital Photography Review (dpreview.com)

 
Comments Off on Cassini spacecraft takes spectacular pictures of Saturn (oh, and Earth)

Posted in Uncategorized