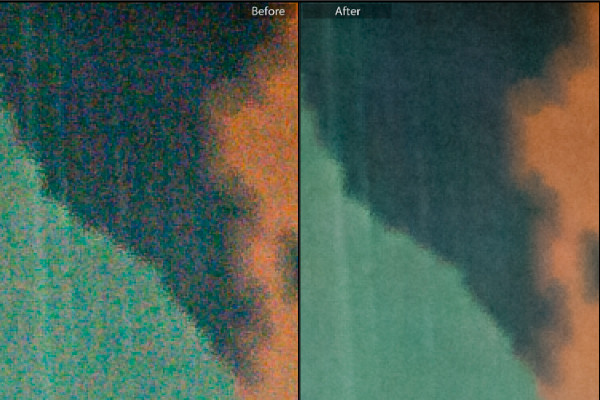
When you capture images using a high ISO setting you will invariably end up with some noise in your photos. If the noise is distracting and if you want to remove it, then Lightroom can help.
A word of warning
Before start using any noise removal tool it will pay to understand that noise removal is generally achieved at the expense of losing some detail in the photo. This is because the noise removal process involves smoothing the image pixels, and this in turn compromises fine detail. In addition, the main Lightroom noise removal tool applies the fix to the entire image not just the areas where it is most visible, meaning that you can’t mask the result and limit it to only those areas you want to apply it.
Because of this, if you are a purist and noise reduction is an ongoing and significant need, then you may consider a dedicated and specialist noise reduction program such as Topaz DeNoise, Neat Image or Photo Ninja a worthwhile investment. However, for most photographers, the tools in Lightroom judiciously applied will suffice.
Identifying noise
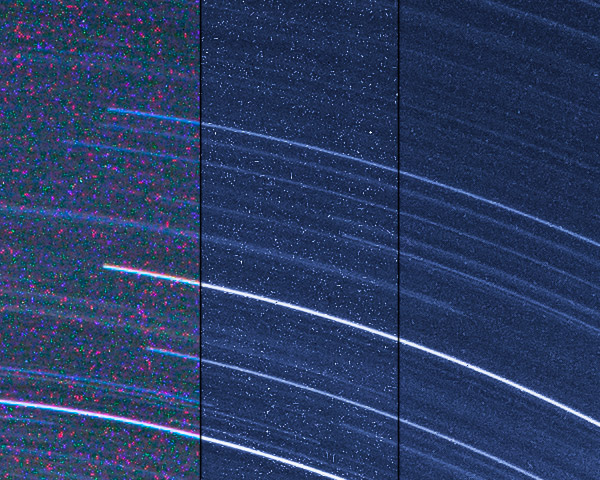
Noise in photos comes in two types; color noise and luminance noise. Color noise is evidenced by multicolored pixels in an area of the photo that should show as a flat color. In the image below you can see that there are multicolor pixels in an area which should be solid blue.
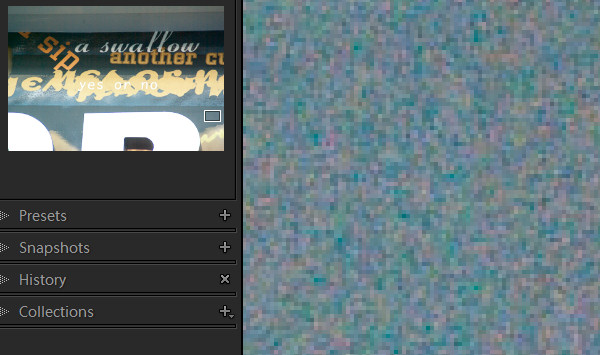
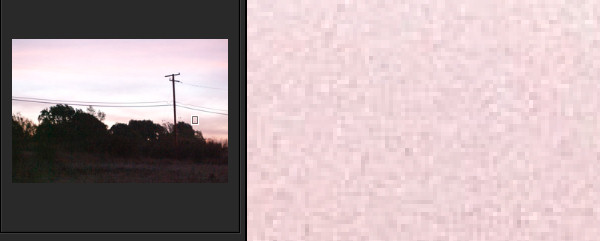
Luminance noise is monochromic so it will be less colorful and more like grain. Here is luminance noise in the sky of a photo captured at an ISO of 6400 in early morning light:
Process versions
Whenever you import an image into Lightroom some noise removal will be performed automatically by the process version which is the camera raw technology Lightroom uses to adjust and render your photos. In each process version the technology has improved over that of the earlier versions. So each will render your photos differently and, in particular, Process Version 2010 included better noise reduction technology than the earlier 2003 version. This was carried forward to the 2012 version.
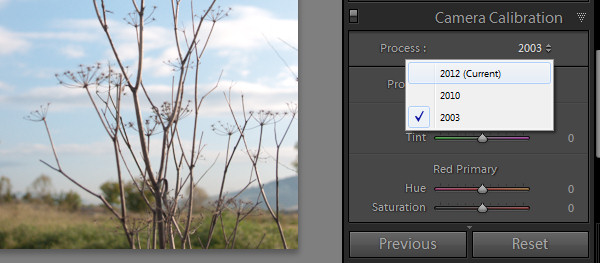
The current process version for Lightroom 4 and 5 users is 2012 so, if you have images in your catalog that you imported using an earlier version of Lightroom (versions 1, 2 or 3) which are still set to process version 2003 then you can achieve some immediate benefits in noise reduction by simply updating those images to the new process version. To do this select the images and in the Develop module from the Camera Calibration panel select 2012 (Current) as the process version (use the Sync option to copy the setting to all selected images).
Removing noise
To remove noise from a photo, open the Detail Panel in the Develop module to display the noise reduction sliders. There you will find sliders for Luminance noise and for Color noise.
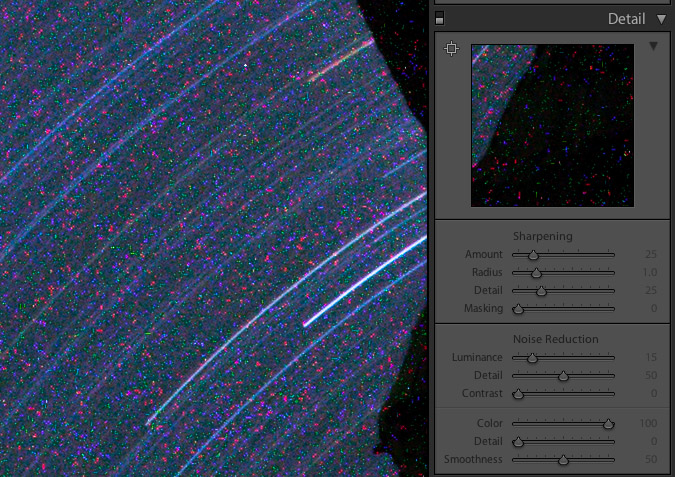
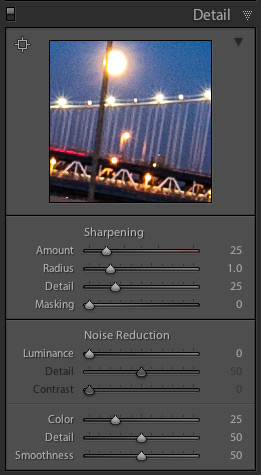 For raw images Lightroom automatically applies color noise reduction in the import process. So the Color Noise Reduction slider will be set, by default, to 25 with Detail and Smoothness set at 50 for all raw images. The Luminance noise slider will be set at 0, with Detail at 50 (see screenshot on the right)
Adjust the slider for the type of noise you are seeing in the image, either color or luminance. If you are unsure what type of noise you have, adjust each slider in turn to the maximum value to see which removes the noise. In some cases you may have both types of noise, in other cases one type may predominate.
Once you know what type of noise you are trying to remove, adjust the slider for that type of noise by dragging it to the right. Aim to reduce the noise to an acceptable level, but avoid going beyond that point because, in doing so, you will lose some detail in the image.
Once you have adjusted the Luminance Noise slider you can then adjust its Detail and Contrast sliders. The Detail slider controls the luminance noise threshold – the higher the value the more detail in the image but, as a result, you may experience some residual noise. If you use a lower value you will get a smoother result but with less detail.
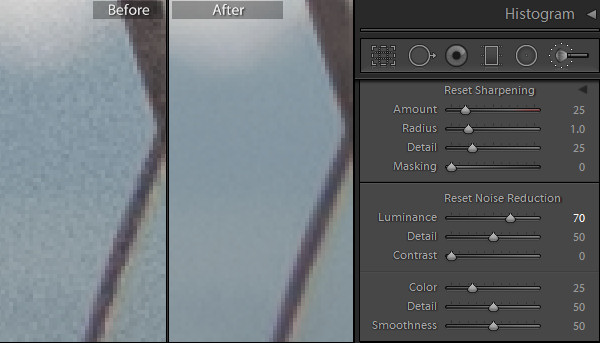
The Contrast slider controls luminance contrast so high values will retain more contrast but you may also see more noise and mottling in the image. Lower values will give you a smoother result but again at the expense of reducing contrast.
For Color Noise there are two additional sliders: Detail and Smoothness (the latter was added in Lightroom 5.2). The Detail slider controls the color noise threshold, so adjusting this to a higher value will protect detail in thin colored edges but often at the expense of removing speckled color. Lower values will give you some added smoothing of the color noise but, as a result, you may notice that colors bleed into each other. Adjust the Smoothness slider to help reduce low-frequency color mottling artifacts.
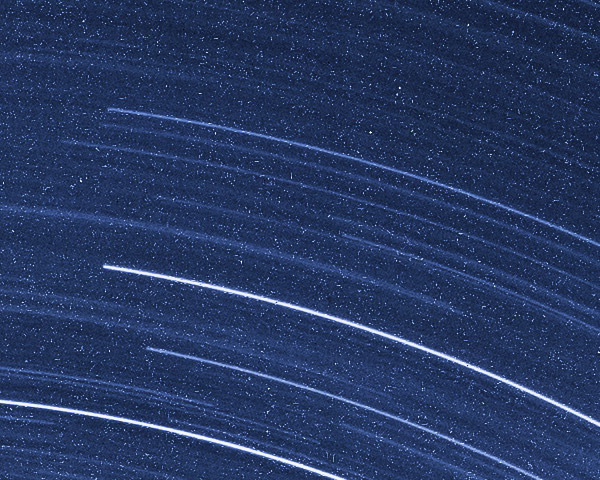
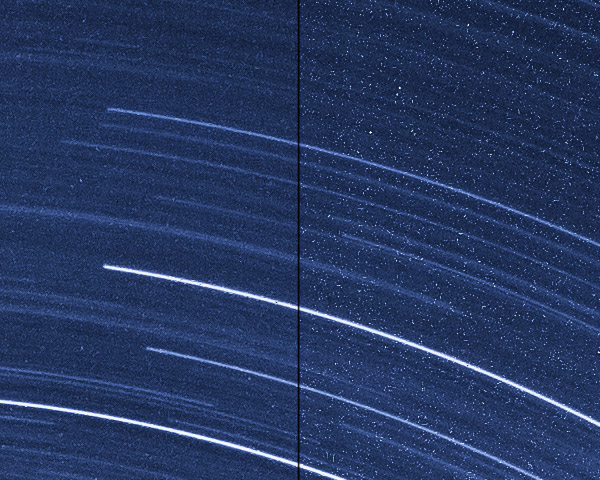
In this image, removing Color noise leaves some Luminance noise apparent:
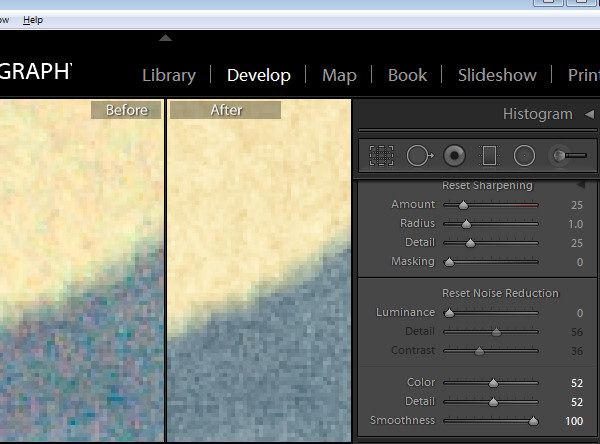
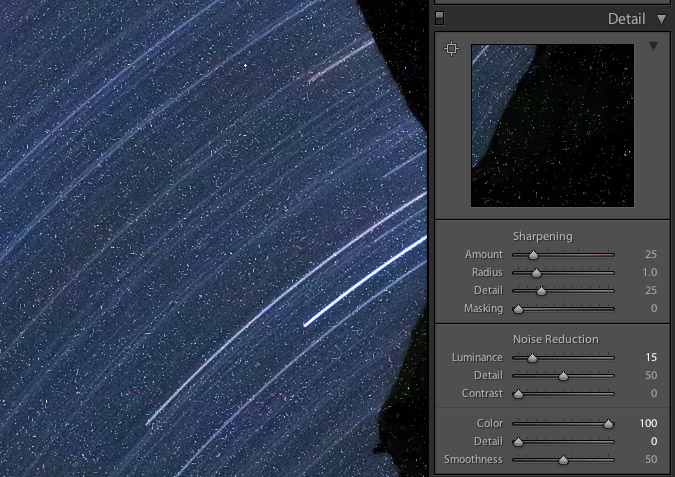
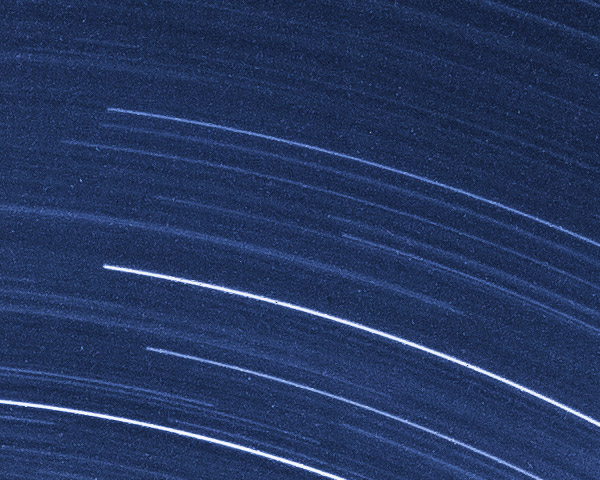
Once the color noise is removed, the Luminance slider will remove the remaining Luminance noise:
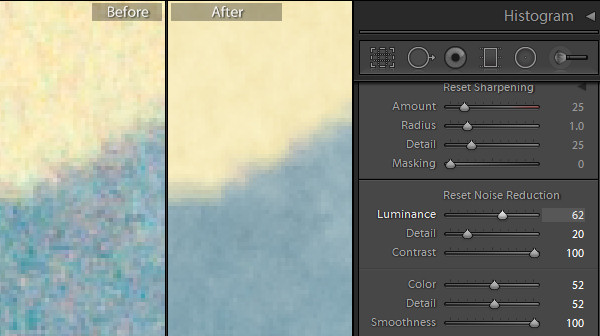
When you are removing noise from an image it helps to be viewing the image at a 1:1 size ratio so you see clearly what is happening. Periodically zoom out to check the result.
Local Noise Reduction
If your image has luminance noise you can remove this from selected areas of the image using any of the three local adjustment tools: the Adjustment Brush, the Radial Filter or the Graduated Filter. These tools let you limit noise reduction to only those areas you want to affect, leaving other areas of the image unchanged. The downside to this feature is that there is no additional Detail or Contrast slider to fine tune the result, and it only works to remove luminance noise (not color noise).
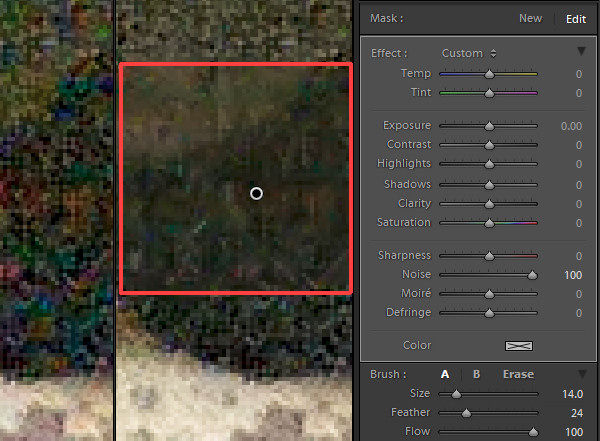
Using any of these tools select the area from which to remove noise, and then adjust the Noise adjustment slider. Drag to the right to remove luminance noise from the image. If you drag to the left then you will add noise to the image.
When you go to sharpen an image that you have removed noise from, pay attention to the Masking slider in the Detail panel. Using this you can apply sharpening to only the edges in the image and avoid sharpening areas of flat color where the noise was most apparent.
Here is a video tutorial showing how to reduce noise in photos in Lightroom:
If you have questions or comments please leave them in the space below. Hope this helps you with removing some of the noise in your images.
The post How to do Noise Reduction in Lightroom by Helen Bradley appeared first on Digital Photography School.



You must be logged in to post a comment.