Over the past four years as my wife and I have done more family photography we have learned quite a bit. Going through some of those early shots I’m sometimes amazed that anyone paid us money for them at all! Self-reflection is critical not just for photographers, but any artist and indeed anyone who wants to improve at a given skill over time. In thinking about what has worked and what hasn’t worked I repeatedly noticed four key elements that I wanted to share with you. Hopefully, these will be useful to you if you are just starting out as a family portrait photographer, and you won’t have to make the same mistakes I did as I was learning them!

1. Location, location, location
I live in Stillwater, Oklahoma, and there’s a spot in the middle of our town that a lot of people think is the ideal location for photography. It’s called Theta Pond and sits in the heart of the campus of our very own Oklahoma State University.
When you go there for an afternoon stroll it’s almost impossible not to be taken in by the beautiful flowers, towering trees, and flocks of waterfowl that dot the serene landscape. There are stone paths, wooden bridges, and several fountains sending water high into the air. They all combine to create a scene which practically screams “Do your family portrait photography here!” So a lot of people do just that, and it’s how I started out as well.

You might think a location like this would be ideal for family photos. But you’d be wrong.
Your town probably has a Theta Pond too; a park, garden, waterway, or another setting that seems like it has been tailor-made for capturing poster-size prints of happy families with cute kids. However, if your town is anything like mine, your Theta Pond is probably one of the last places you really want to shoot.
Great for a picnic, not always optimal for portrait sessions
While locations like these are ideal for getting out and enjoying nature, they are often plagued by a host of other issues that make it quite difficult for taking good pictures. There’s traffic whizzing by in the background, people walking around and getting in the way of your shots, and trash bins and informational signs scattered all about. And then there’s the matter of all those ducks and geese you’ll find at just about any pond, lake, or river. You might think they’re fun to have around but they leave some nasty messes behind that can stain jeans and ruin dresses if you ever want your clients to sit on the ground.

The kids look great in this photo, but there are way too many distractions in the background including a person walking through the frame between the boys. I actually gave this shot to a client and even though she liked it, I have since learned that I prefer to go to other locations for photo sessions.
When I started getting more serious with family portrait photography I began looking at other places besides just what was popular, and found that a whole new world of opportunities opened up for me. I found places off the beaten path that were much more convenient for me and my clients to meet, much less crowded, and often just as scenic and pretty.
Your subjects take priority over the background
Also, it’s important that you find locations which complement your subjects and don’t distract the viewers. The local botanical garden might seem like a great place for a photo session. But you may end up taking your viewers’ attention away from the people and putting it on the plants and flowers by accident. Nowadays I like simple groves of trees, empty fields, or old barns and farm settings that aren’t flashy but make for great photography. Wherever you shoot your photos, choose your locations intentionally such that they fit your photography and your subjects, not just because a friend thinks it would be pretty.
Wherever you shoot your family portrait photography, choose your locations intentionally such that they fit your style and your subjects, not just because a friend thinks it would be pretty.

This location may not be as flashy, fancy, or popular as a park with fountains, but that’s exactly why I like it so much for photography sessions.
2. There’s no substitute for good lighting
This second rule works in tandem with the first regarding location. Wherever you choose to do your photo sessions, you need to make sure to pay attention to lighting. Great photographers can wrest beautiful images from the most challenging lighting conditions. But for the rest of us mere mortals, it’s essential to stick to the fundamentals. For family sessions that usually comes down to two basic tips: be careful when shooting in broad daylight, and make sure your subjects are evenly lit.
Avoid direct sunlight
Bright sunlight is, contrary to what some beginning photographers may think, far from ideal in terms of taking good photos of people. The harsh overhead lighting often creates shadows, causes people to squint, and results in uneven lighting across the entire frame with some parts of a picture being very bright and others ending up quite dark. You don’t want Grandma looking perfect while Grandpa is squinting to keep the sun out of his eyes, or bright patches of light showing up on shirts and ruining haircuts.
Use even diffused light
Fortunately, it’s not too difficult to make sure your subjects are well-lit even if you are shooting at high noon, as long as you are aware of your surroundings and use the elements to your advantage. Look for buildings that cast nice long shadows, overhangs that you can stand beneath, or even trees that block out a lot of the sun and allow for nice even lighting.

I had this family sit in a park shelter to combat the harsh overhead sun. They’re evenly lit and properly exposed, which is what really mattered to me when taking the shot.
You can also use accessories like a diffusion panel to cast a pleasing shadow on your subjects which help mitigate the effects of harsh, bright sunlight.

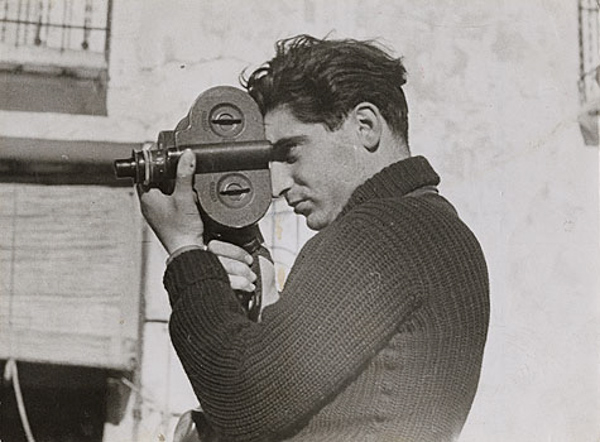
These videographers are using a diffusion panel to make sure their subject is evenly lit, despite the harsh overhead sunlight. The background will be overexposed, but that’s fine because the person being filmed is going to look fantastic.
Shoot at golden hour
Another option is to forego the afternoon hours entirely and shoot photos during what’s known as the golden hour. This generally starts about an hour prior to sunset (or from sunrise to an hour after) but can vary depending on your exact location.
During this short window of time, the sun is low on the horizon and it bathes your scene in a rich, warm light that is amazing for portraits. You can have your subjects stand almost anywhere and face any direction, or ask them to face the sun which will make their eyes sparkle nice and bright. Everything looks so rich and beautiful during this time, but it passes quickly so make sure to use your time wisely and work efficiently to get the shots you want.

I shot this as the sun was setting which resulted in rich, deep colors. I also put these kids in the shadow of a tree to make sure they were evenly lit, which resulted in a pleasing picture overall.
The message that I hope I’m conveying here is that there’s just no substitute for good lighting. I didn’t touch on things like off-camera flash which can also be used to manipulate the light in a scene. But if you’re looking to get started with family, child, or senior portraits one of the best things you can do is use the tools you already have to make sure your subjects are evenly lit and properly exposed.
You can fix a lot of things in Lightroom and Photoshop afterward, but poor lighting isn’t really one of them.
3. Know your camera settings and how to change them
There’s an old Greek amorphism, gnothi seauton, which has been the basis for countless philosophical discussions over the ages. Roughly translated, it means know thyself and often functions as an exhortation for an individual to be intimately aware of who they are, what makes them tick, what their goals in life are, etc.
Even in the most controlled studio environment, things can change at a moment’s notice, and often there isn’t much you can do about it. So it’s important to know your camera settings and how to change them if you need to fast.

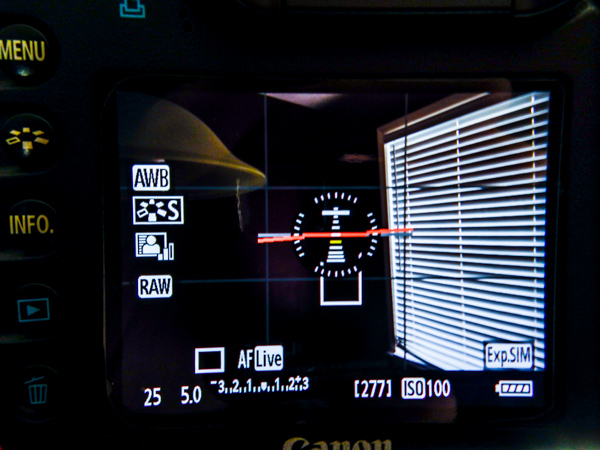
Your camera might have so many buttons and menu options that it seems overwhelming. It’s good to figure out how they work on your own time, not when you’re on location with clients.
It’s not enough to simply know about fundamentals like aperture, shutter speed, and ISO when you are doing formal photo sessions. You need to know how to control these parameters on your camera and when to change them if you need to in a hurry. The former comes from reading your manual, looking at articles online like the ones we have here at dPS, and a lot of experimentation. The latter often comes only from years of experience.
Get up to speed with your camera on your own time
I’m a big proponent of poring over your camera’s manual. But when you’re on location with clients that is not the time to try and figure out how to use your exposure compensation button or in which menu the auto-ISO setting is buried. You need to be intimately familiar with how to access and alter the settings on your camera in order to get the shots you want and deal with conditions as things change.
One of my favorite tricks to help learn the camera better is to do a practice session with a friend or family member. Go out to a location and make sure you know how to adjust various camera settings on the fly. Then tell your helper to try something you aren’t expecting which could require a faster shutter, higher ISO, etc. Practice changing your camera settings in this type of environment before you go out with clients, so when the unexpected happens you’re as ready as you can possibly be to deal with it in the moment.

Remember that Theta Pond example from earlier? When this moment came up during that same session I was able to think on my feet and quickly adjust my aperture and ISO to get this impromptu headshot which the boy’s mom really liked.
4. Make the experience memorable
One of the most important aspects of doing a photo session for clients is that it’s about much more than the end product. Wells, Valacich, and Hess (2011) found that the quality of a website is related to the perception of quality regarding the products being sold on the website. A higher-quality website, their data tended to show, meant that consumers perceived the things they were buying as being higher quality than the same products purchased from lower-quality websites.
The same holds true for photography, in that how your clients view the final photos you deliver to them is directly related to how they feel about the session itself. If you make the experience fun, enjoyable, and stress-free while engaging your clients in friendly conversation they will be more likely to enjoy, appreciate, and share the pictures when they receive them. Conversely, if your clients get top-notch pictures but you showed up for the session late, unprepared, and stressed-out, then they will likely have a lower opinion of the photographs.

This family’s dog wandered into the photo shoot totally uninvited. I’m not much of a dog person but I set that aside, went with the flow, and got some shots that the family really liked. It also helped put the kids at ease and so they enjoyed the rest of the session more.
The overall experience is important
To put this in a different context, let’s say you are looking to buy a new microwave. Two stores in town have the one you want at the exact same price. One store has a clean parking lot and interior, bright lights, neat shelves, and friendly employees. The other store has a dirty trash-filled parking lot, dim and flickering lights, haphazard shelves, and employees who will barely give you the time of day. From which store are you likely to purchase the appliance? If you’re like me you’ll go to the first store. Then if your friends are ever looking for a similar appliance you will probably recommend the same store with great enthusiasm. Budding family photographers would do well to remember this concept and apply it to their approach to dealing with clients.
Taking photos is not just about the end product but the whole photographic experience. Make it fun for your clients from the time you first interact with them to when you deliver the final products. Get to know them, and don’t be afraid to show your own personality too. Make the photo session fun and enjoyable, and if there are kids involved, make sure to spend time getting to know their names and finding a bit more about them. (This has a couple of bonus side effects too – parents are thrilled when photographers spend time getting to know their kids, and the children will be more likely to listen to you and follow directions during the session.)
Don’t underestimate the value of providing a good experience
The point is that if your clients enjoy the photo session, they are likely to assign a high perceived level of quality to the end product and will recommend you to their friends, coworkers, and especially their acquaintances on social media.

This couple invited me into their home for a rather emotional photo session due to a medical condition their daughter has. While I had a job to do as a photographer, that was only a small part of the whole experience.
It’s not your job to be your clients’ best friend, but it is your job to make the photo session something they will remember in a positive light. Do what you can to earn their trust and respect, as this can pay off in many ways long after you deliver the pictures.
Conclusion
One of my biggest weaknesses as a photographer, or even as a person, is that it’s difficult for me to go back and look through things I’ve done in years past. I often find it more than a little embarrassing to read things I’ve written, examine things I’ve built, and look at photographs I’ve taken because I think the work I’m doing now is so much better. Yet in five years I’ll probably dust off a few of the pictures I’m taking now and wonder what in the world I was thinking when I took them!
However, this type of self-reflection is essential for growth in any profession, hobby, or craft. It’s only by learning from our previous experiences and examining our mistakes as well as our successes that we can truly grow and refine our skills.
The four lessons I have detailed in this article are by no means comprehensive, but they are things that have turned out to be extremely important to me over the years and I hope they prove helpful for you also. I’m also curious to hear from you, especially those of you who have been doing family portrait photography for a long time. What are some of the important lessons you have learned over the years? Please share in the comments below and I look forward to reading them.
The post 4 Lessons for Aspiring Family Portrait Photographers by Simon Ringsmuth appeared first on Digital Photography School.




















You must be logged in to post a comment.