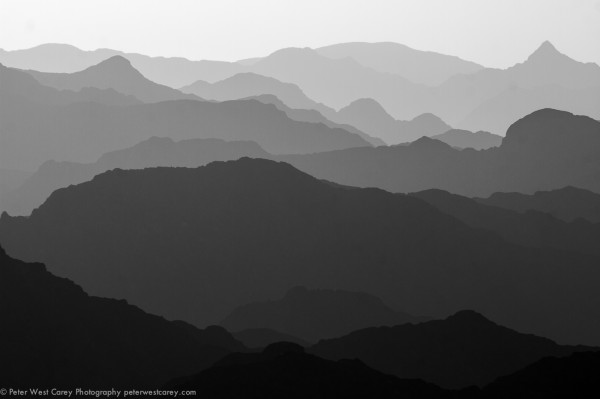
The image above was shot in Oman near sunset and I have received a number of requests to explain how it was shot and processed. I hope this post helps you understand the process I used so it may be of service to you.
Starting at the start, I got lucky. This image is not too far off what I captured while standing on the side of the road, sweating in 100F+ heat. My girlfriend and I were driving the mountainous regions of Oman on holiday with very few particular objectives so it was hapenstance that we came upon this scene about an hour before the sun set. This shot is facing East to North with the sun coming in slightly off to the side.
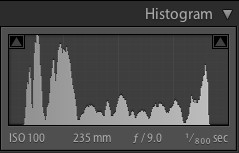
The shot was taken with a Canon 7D and Canon 28-3400mm L lens. The settings were: ISO 100, 235mm, f/9 and 1/800the of a second. No tripod was used.
I downloaded the image into Lightroom 4 and it was pretty decent from the start. (Click on any image for a larger version.)
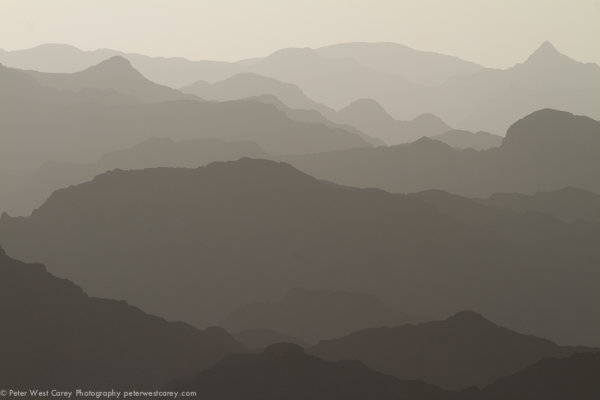
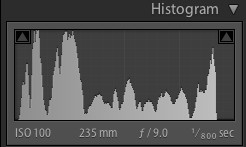
I was happy with the range in the capture. Here is the histogram for it at the start.
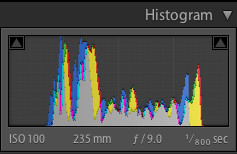
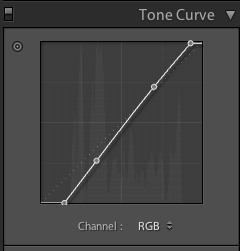
After removing some spots that showed up with the f/9 setting, I adjusted the Tone Curve to bring in the white and black point.
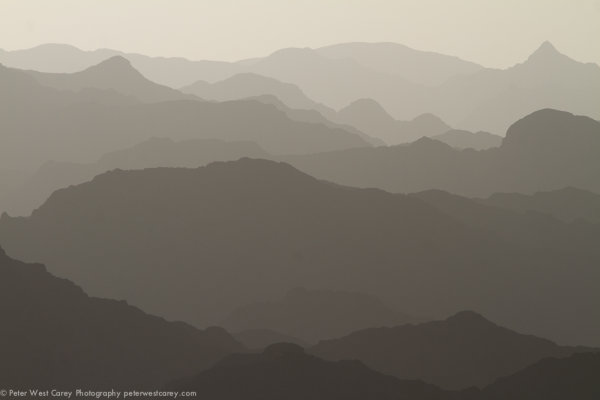
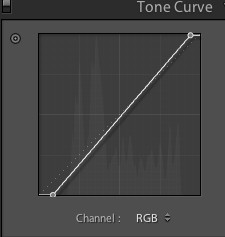
This expanded the histogram a little.

So far, so good. A few more spots showed up and I removed them (I’m not showing that part so as to not completely bore you). I also adjusted the Luminance Smoothing by +12 because, even with ISO, I wanted things even smoother when it came to tone.
It was at this time I decided to use Seim Effects Silver Shadows 2 to change the image to black and white. Having played with this product for a while, I knew the Dynamic Silver effects would render a great result. There are over 100 presets and I’m not patient enough to go through them all, so I stick with a few tried and true favorites. In this case, it was specifically 3:01 Dynamic Silver I.
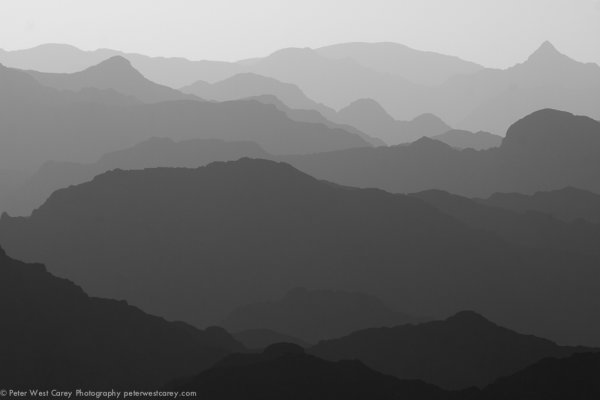
Then, I gave a slight curve to the Tone Curve to accentuate the contrast. I have had a problem as of late of going overboard with curves, so I kept this one subtle.
The curve looked like this and the result is after it.
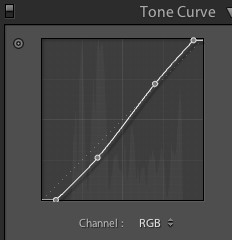
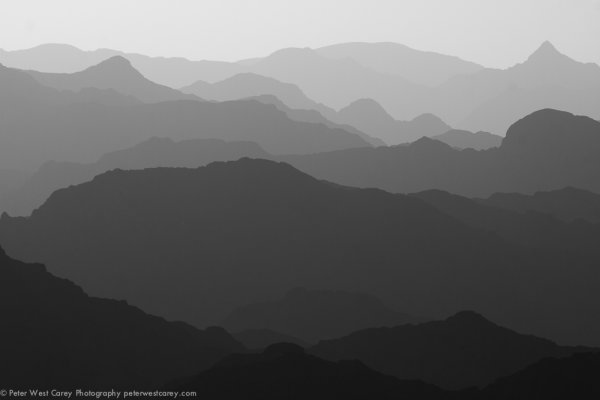
It’s hard to tell the difference without flipping between the two images, I realize, but that is good in my book.
I found another spot (tip: clean your sensor before your next trip) and then decided on one last change. I brought the black and white points even more to stretch the tonal range as such:

Not every photo needs to have a ton of edits in post production. And thankfully this image was pretty nice to start with, fitting well within the sensors capabilities.
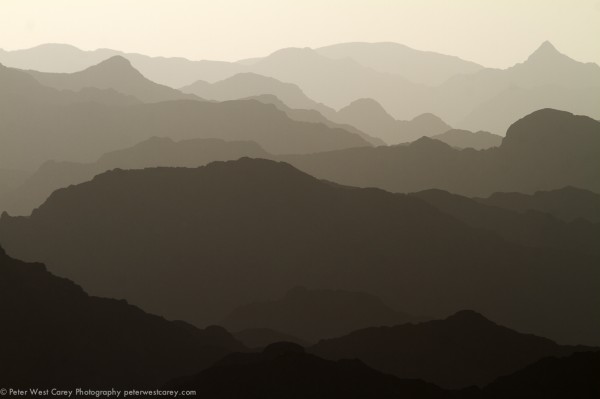
The problem with an edit like this is it’s impossible to please everyone. After I posted this image on my Facebook page, I received requests for the original color version with edits. To that end, I submit it here for your opinion.
Which do you like better, the B&W version or the color?

Post originally from: Digital Photography Tips.
Check out our more Photography Tips at Photography Tips for Beginners, Portrait Photography Tips and Wedding Photography Tips.
How I Shot And Edited It – Layers, Oman


Digital Photography School


You must be logged in to post a comment.