
Notice something about the title of the article? It doesn’t say how to take “portraits” of kids! Kids, especially those five and under, pretty much dictate how the photography session is going to unfold, and it usually involves moving. Fast! Over the years my style has evolved from format portraiture with medium format film camera (which is NOT conducive to movement) to 35mm, and finally to digital. Digital allows much more freedom of motion and with a few tips you should be on your way to some great photos of kids.
THE SEVEN TIPS :
- have patience
- be ready
- get down to their level
- using natural light or flash
- choose your focus mode carefully
- be a goofball
- let them run the session, don’t try and control it
#1 HAVE PATIENCE
When photographing kids sometimes you get a whole lot of nothing for a while, or they may be shy to start, or play coy. Even kids that know you may decide they don’t want you to take their picture and say so. My three year old niece did just that when I spent the day photographing her. “Don’t take my picture Auntie!” she said as soon as I pointed the camera at her. She’s a regular ham for the camera usually and I knew she’d warm up. Eventually she was giving me “the wave” that you see below which sort of means “don’t take my picture but I’m going to act like I’m the star anyway just in case you do”.
So if you get this kind of behaviour don’t rush or force it. Just keep hanging out with them, play and interact and eventually they’ll come around. A couple hours later she was telling me to take her photo. 
#2 BE READY
This is almost a given, but be ready for anything with kids! Expect the unexpected and be ready to shoot it. One of the things I say to my students is that photography is about being in the right place, at the right time, with the right lens on – there’s a lot of truth to that! So learn to anticipate what might happen, and where you need to be to capture it. Have the right lens on and make sure your settings are all good. Be ready technically, and in all other aspects. Be ready to move fast if this happens:

Oh yes she did!
I fired off two shots and then she fired right at me with the water gun and I had to turn to protect the camera. I however, took a direct hit in the backside. Luckily it was a nice warm day and it was refreshing. I got the shot, saved the camera from drowning and had a lot of fun with her.
Here’s another of my nephew at the same age. My sister was watering the flowers, nobody knew he was going to do this. Be ready!

Part of being ready also means to stop looking at the images on the back of your camera! If you are looking there you are missing something happening live. You can review them later, so stop chimping!

We set her up with the streamers. So being ready here meant making sure I got it all in the frame and captured it when she threw it up in the air.
#3 GET DOWN ON THEIR LEVEL
When you photograph little ones doing so from an adult perspective makes them look even smaller. Getting down to their level puts you more on equal ground. Get in the mud or sandbox with them, don’t stand over top looking down. Crawl around on the floor and play trucks.
Get down to their level literally, and figuratively. You nee also to get skilled at holding your camera and playing, coloring, or any number of other interactive things with the child.

We tied the dinosaurs together, I had to hold them sometimes while I was shooting.
#4 USING NATURAL LIGHT AND FLASH
“When should I use flash?” is a common question I get in my photography classes. My answer to that is two part:
- if there isn’t enough light, add flash
- if the light isn’t “good”
Part one, not enough light, is fairly obvious. It’s too dark if you have the aperture on the lens as wide open as it goes, and you are still getting a shutter speed that’s slower than your lens focal length (see Tips for getting Sharper images for more info on that). It helps to use a lens with a large aperture either an f/2.8 zoom lens (but they’re pricey) or even better an f/1.8 prime lens like the handy little 50mm f/1.8 or 85mm f/1.8.
But what about part two, what is “good light”? How do you know if you have bad light?
That part is a bit subjective but tough lighting situations like backlighting, or strong overhead light would be some times where you might want to add flash to balance out the light or overpower the natural light entirely. I tend to use flash to supplement natural light whenever possible, and to try and correct the lighting where necessary. Notice the image above – there is NO flash used for that image. The light coming from the windows in the living room on the right provided a nice soft directional light on his face. Selecting a large aperture allowed me to use that light.
Now look at the image below. Can you tell if there was flash used or not?

Flash was used here, bounced off the ceiling but aimed slightly back.
Flash was used for the image above because the windows behind him were leaving his face in deep shadow. So I used a flash bounced off the ceiling, angled slightly behind me. Avoid direct flash whenever possible as it flattens out the subject and produces harsh shadows. Bouncing off walls and ceilings is ideal if you can do so. In this case I aim my flash backwards slightly as well so the result isn’t light coming straight down on him and making dark eyes. I use this technique a lot at events, even with 15-20′ high ceilings.
#5 CHOOSE YOUR FOCUS MODE CAREFULLY
Capturing moving subjects of any kind requires the right camera settings, practice and trial and error. Most cameras have different Focus Modes – read your manual to find out more. Select the one for continuous or tracking focus. What that means is the camera does not lock focus when you push the shutter button halfway down. Instead it “tracks” any moving objects as they come nearer and farther away from you. If you hold the shutter button down the camera continues to look for focus and if the object is moving towards you some cameras actually anticipate their speed and prefocus in front of them so when you press the shutter fully your image is sharp. There are too many camera brands and models and each are different and offer different choices, so I can’t tell you what to choose. Just know that when shooting moving objects you want the tracking option.
You may also want to shoot in burst or high speed shooting mode. That’s when you press the shutter all the way down and hold it, the camera takes multiple images until you let go or the camera can’t hold any more information. Most SLRs have this feature but vary in the frames per second rate they are capable of shooting. Even three frames per second will give you more options than just shooting a single frame at a time.

This was shot using the tracking focus mode – on my Canon that’s called Servo

Another example using focus tracking. I keep the camera pointed at him and the button partly pressed and it follows him with focus. Make sure to get out of the way of errand water sprays during water fights!
#6 BE A GOOFBALL
I’ve often been told that I’m good with kids during sessions because I get silly with them. I make fart noises and silly faces. I play with puppets with them. I get down in the sand and play. Too often we adults worry about our dignity and how we “look” – throw all that out the window and get over yourself and let go a little, Give yourself permission to be a GOOFBALL for a little while. Who knows you might actually have some fun!
The image below happened because we were blowing raspberries at each other and having a face making competition of sorts. He won, but I got the shot! He was also soaking wet from running through the hose several times and the read dye in his hair was running down his forehead, which just adds to the image!

#7 LET THE CHILD RUN THE SESSON
Really, you will never be in control anyway so why not relinquish it right from the start and call a spade a spade. The child is in charge and will run the session, so the sooner you accept that the more fun you’ll both have. Here’s a few DOs and DON’Ts.
- DON’T try and make them do anything
- DON’T get upset with them if they don’t follow your plan
- DON’T, for heaven’s sake yell at them, especially if they are your kids or family. That will only serve to make them hate getting photos done and they will make it even harder next time. That only leaves the child feeling like they’ve been bad and you frustrated.
- DO go with the flow. Take whatever happens and go with it.
- DO be ready. See #2 above!
- DO approach it from a perspective of having fun, not one of getting the best photos. The second is a product of the first.

You must test the chalk to make sure it writes don’t you know! So serious.
I was literally putting my bag in my car to leave, camera all packed away when the sidewalk art began and the light was so perfect. So out came the camera again! This image follows pretty much all the points above: be ready, get down on their level, use the natural light when it’s good, play with them.
I just can’t resist good light! I have a slight case of Photography Compulsion Syndrome, perhaps you suffer from it too?
ACTION PLAN
If you photograph kids or have some of your own, go out and practice using these tips and tell me how you did. Do you have any additional tips you’d like to add, please share in the comments below.
Now get out there and go do some photography! Happy shooting.
Cheers, Darlene
Post originally from: Digital Photography Tips.
Check out our more Photography Tips at Photography Tips for Beginners, Portrait Photography Tips and Wedding Photography Tips.
7 Tips for Photographing Kids

Digital Photography School



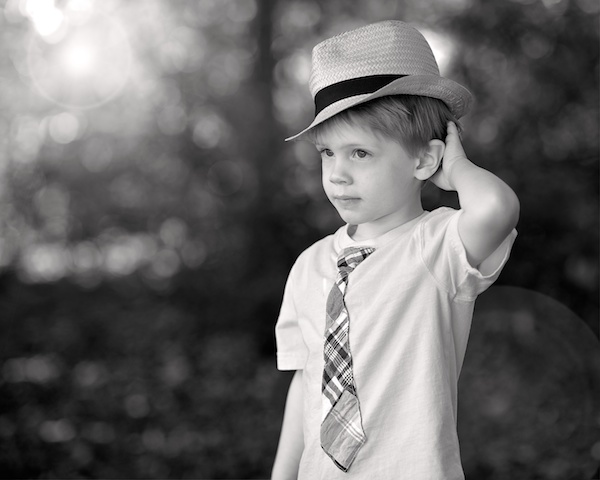
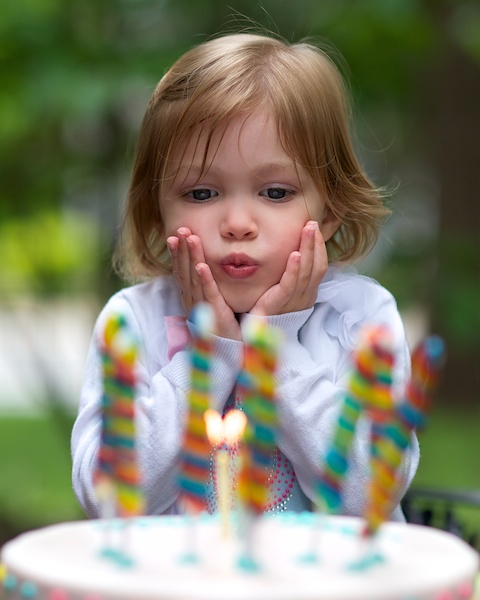
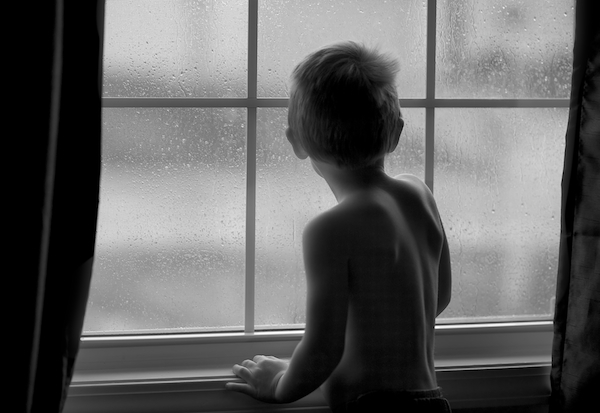
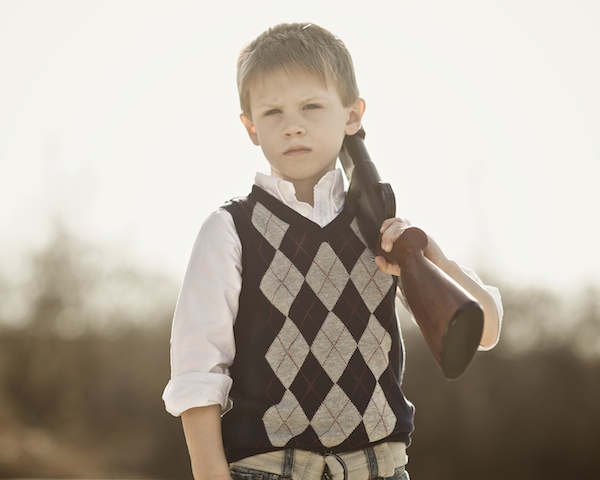
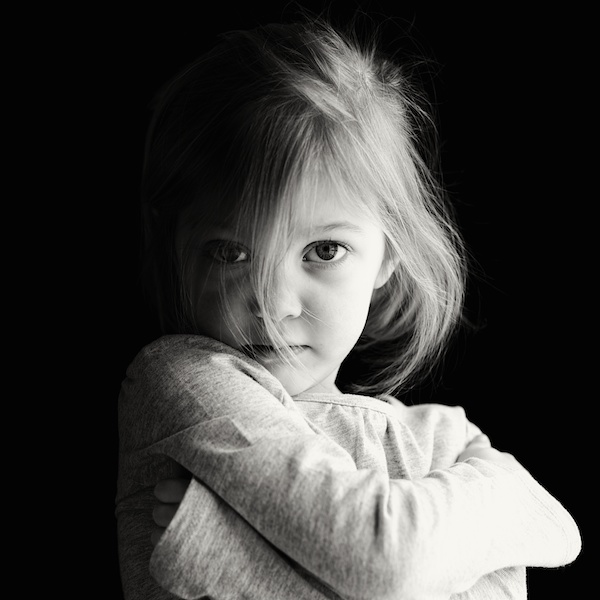
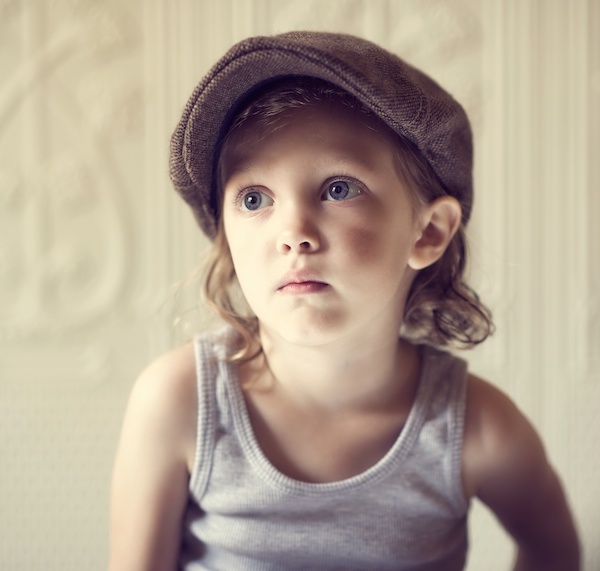
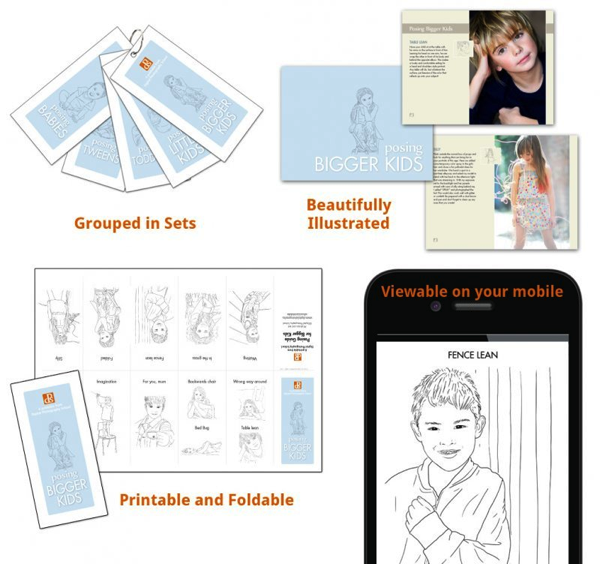
 A few weeks ago we launched a brand new Kids Portraiture Printables collection in the dPS store with a 25% off Early Bird Discount (40% off if you get it with the companion eBook).
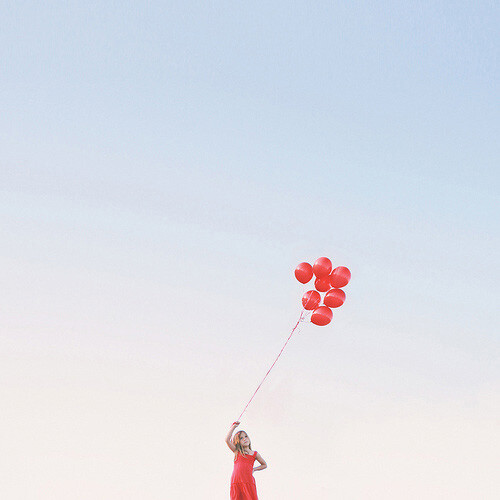
 Over the last couple of weeks we’ve published a few posts that touch on the topic of photographing kids – so we thought that this week it might be fun to focus our weekly challenge upon the topic of photographing children.




You must be logged in to post a comment.