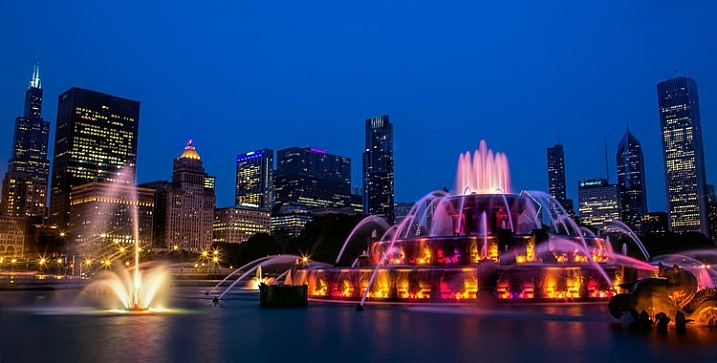
Buckingham Fountain, Chicago (Shutter Speed: 10 seconds; Aperture f/18; ISO 100; focal length 21 mm)
Louis Pasteur famously said that “chance favors the prepared mind.” This statement definitely applies to photography, as there is always an element of chance, with the odds of success growing with preparation. The quote seems particularly applicable to night photography, which has unique requirements for exposure and stability. Preparation is everything.
Your odds of getting a great night photograph are greatly improved if you have taken the time make sure you have the tools needed to get the job done. In this article, you’ll learn the tools of the trade for the night photographer. You many not need all of these, but you will find most of them helpful – and some essential – for getting great pictures at night.
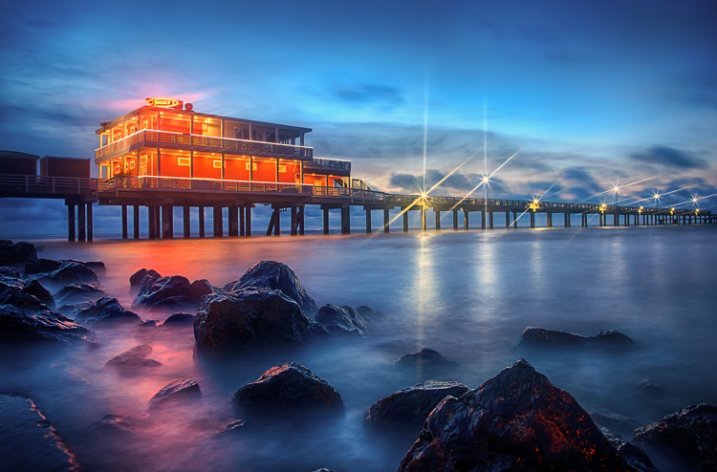
Fishing Pier, Galveston, Texas (Shutter Speed: 3 image bracketed HDR of 5, 13, and 30 seconds; Aperture f/16; ISO 200; focal length 24 mm)
1. The Right Camera
It is perfectly obvious that you will need a camera for your night photography. But not just any camera will do. The adage that “the best camera is the one you have with you” does not apply to night photography. The first part of making sure you have the right camera is ensuring that it gives you the right amount of control. You will need one that:
- Is capable of Raw capture, so that you can get the best image quality possible and keep digital noise to a minimum
- Has manual controls, including manual exposure settings and manual focus, as sometimes it will be too dark for your camera’s auto-focus to work
- Has Bulb mode for taking super-long exposures.
Beyond that, you will need a camera with good low-light performance. How do you tell that? It isn’t really that simple, and there is no particular specification you can check. Even if your camera is capable of shooting at high ISOs, that doesn’t necessarily mean that your pictures will look good at those levels. In other words, it doesn’t matter if your camera is capable of shooting at ISO 25,600 if pictures shot at ISO 1600 are full of digital noise.
Fortunately, there has been some testing done of cameras and their low light performance. Check out the testing done by DxO mark and DP review (check the review on their site for your particular model) to make sure your camera measures up.
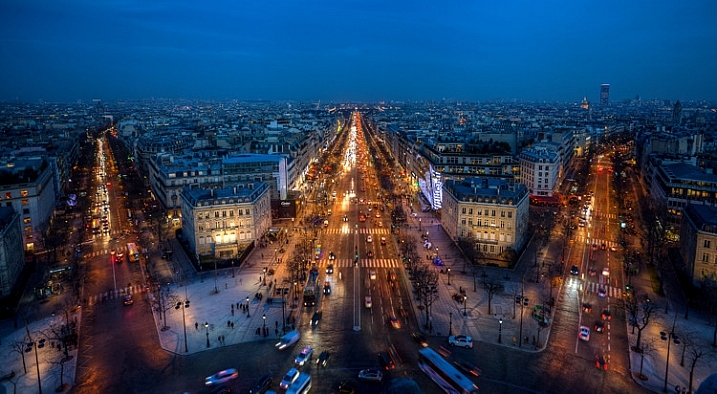
Champs Elysees from atop the Arc de Triomphe, Paris (Shutter Speed: 3 image bracketed HDR of 1/4, 1/15, and 1 seconds; Aperture f/5.6; ISO 200; focal length 17 mm – note that these settings were used only because tripods are not allowed here)
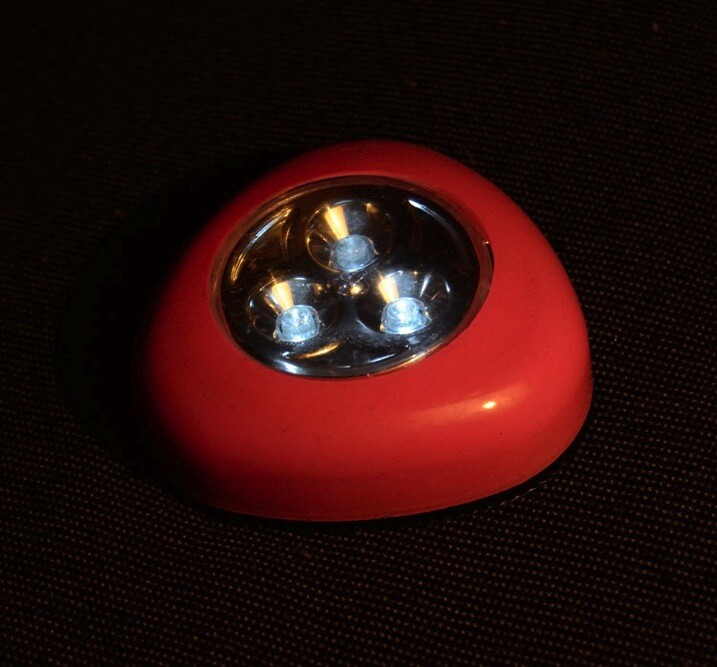
2. A Small Flashlight
The next thing you’ll need is a flashlight. This will serve many purposes, one of which is helping you see your camera’s controls. That said, you should become extremely familiar with your camera before heading out, such that you can use the controls without even looking. You might even test yourself in a dark room before going.
In any case, having a flashlight with you will help with a variety of things, whether it be finding something in your bag, setting up your tripod, dealing with straps and other attachments, etc. There is no end of uses for a small flashlight, and flashlights are cheap, so you should definitely stash one (or perhaps a few) in your bag.
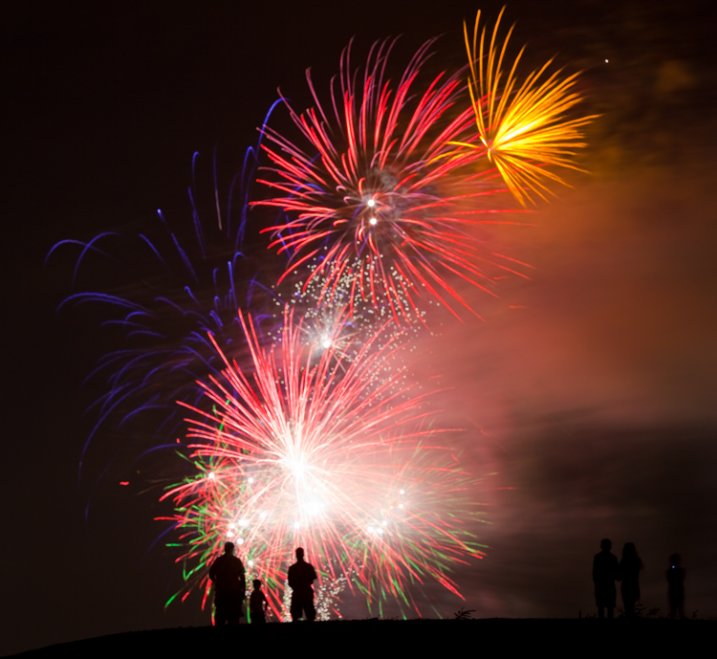
Fireworks in Southlake, Texas (Shutter Speed: 8 seconds; Aperture f/14; ISO 100; focal length 135 mm)
3. Spare Batteries
The long exposures that are inherent in night photography drain your camera battery at an alarming rate. In addition, when photographing at night, quite often you will be shooting using Live View, which will cause batteries to drain even faster. If you are dealing with cold temperatures, the battery power will be further limited. Therefore, night photography always calls for spare batteries.
Even if you have a battery grip with two fully-charged batteries, bring a couple of spares. Don’t take any chances. There is no getting around dead batteries – it means your night is over.
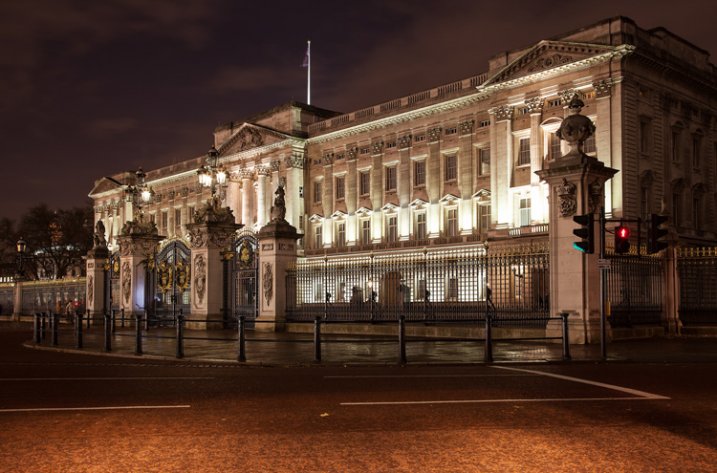
Buckingham Palace, London (Shutter Speed: 3 image bracketed HDR of 1.3, 5, and 20 seconds; Aperture f/8; ISO 400; focal length 35 mm)
4. Tripod
It is probably already obvious that you will need a tripod for your night photography, in order to keep the camera steady during the long exposures necessary due to the low light conditions. But what kind of tripod?
Most will recommend that you buy a very expensive, large, carbon-fiber tripod to keep your camera as steady as possible. To be sure, those sorts of tripods work great. In fact, if you aren’t going to do much walking – and you can afford it – you should definitely invest in a tripod like that.
Oftentimes, however, night photography involves a lot of walking around. Lugging around a big tripod when you are walking for miles is difficult, and limits your mobility as well. Why not start out with a lightweight, smaller, cheaper tripod? Check out something like a Me-Foto travel tripod or a Manfrotto BeFree. Unless you are using big, heavy lenses, they will hold your rig steady and are supremely portable. They don’t cost that much either. If you later decide you need a bigger, more substantial tripod (and you might) one of these smaller models will still make a great travel tripod.
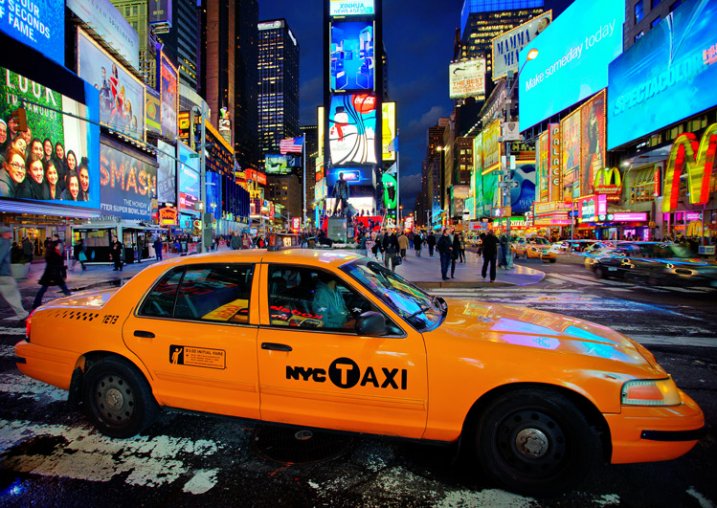
Times Square, New York (Shutter Speed: 1/100 seconds; Aperture f/4; ISO 800; focal length 17 mm – note that I used these settings only because I was forced to hand hold during this picture)
5. Remote Shutter Release (or intervalometer)
The idea behind a remote shutter release is that you are able to trigger the shutter without touching the camera, thereby avoiding shaking the camera during the exposure. They are a necessity for many photographers – especially night photographers.
The good news is that these are relatively cheap (really cheap if you don’t buy the Canon or Nikon models). What’s more, while they used to be nothing more than a way to click the shutter, there are models available now with many additional features, such as:
- Timers and Exposure Length: These are useful when shooting in Bulb mode, which does not have a timer for shutter speed.
- Intervals: Most models provide for shooting at intervals, which will also allow you to do time-lapse and star trails photography.
- Delay: They will allow you to set delays (besides the 2 and 10 second delays built into most cameras).
6. Lens Hood
Night photography often involves harsh lights coming from different directions. Light hitting the front lens element from the side can lead to unwanted lens flare. A lens hood is designed to avoid this problem.
Many lenses came with a hood, but some do not. If your lens did not come with one, you can order one from the manufacturer or pick one up at a camera store. They are not too inconvenient to carry because you can store them on the lens by attaching it in a reverse position when you are not using it. When it comes time to shoot, turn the lens hood around to its proper position.
In addition, remember that a lens hood may do more to protect your lens than a UV filter. They protect the lens in the event that it is dropped or you bump into something.
7. Neutral Density Filters
It may come as a surprise that you will sometimes need neutral density filters at night. The low-light environment of night photography might make you think that you can always use as slow of a shutter speed as you want. However, this is not always the case. Sometimes you want an even longer exposure than available light (or darkness) allows, such as when you are trying to catch streaking tail lights, blur moving water, or to remove people walking through your picture.
For this reason, a collection of neutral density filters is a handy thing to have for night photography. You will want different strengths for different conditions and effects. I carry a 3-stop and a 10-stop neutral density filter (although lately I have been considering adding a 6-stop filter as well). Don’t forget that a polarizing filter will reduce the amount of light coming into your camera by 2-stops as well, so you can use that in a pinch.
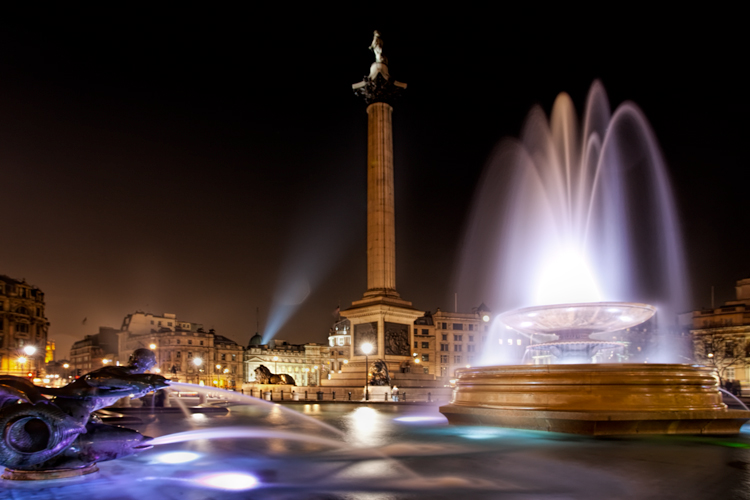
Trafalgar Square, London (Shutter Speed: 15 seconds; Aperture f/10; ISO 200; focal length 21 mm)
8. Fill Lighting
Night photography inherently involves extreme contrasts, with bright lights and very dark portions of the image. Sometimes you can add light and increase the tone of the dark portions of the image through HDR or other post-processing. Other times, it pays to get it right in the field. For this, you will want some sort of fill light. You could carry a flash unit for this purpose, but they have very limited ranges.
For fill light, a small flashlight (as mentioned in the last section) might work. However, a small flashlight designed to help you see your way around might not provide enough strength for fill lighting. Therefore, you might also want a larger light source. A larger flashlight or spotlight will work for this. If you will have your vehicle close by, you can use a model that plugs into a 12 volt outlet.
Just shine the light at the areas you want to brighten up during the exposure. You don’t have to shine the light the entire time, and you can vary the amount of light you use. Use a little trial and error to get it right. This will save you a lot of post-processing time later. It will also save you from trying to lighten very dark portions of your image, which always leads to noise and other problems.
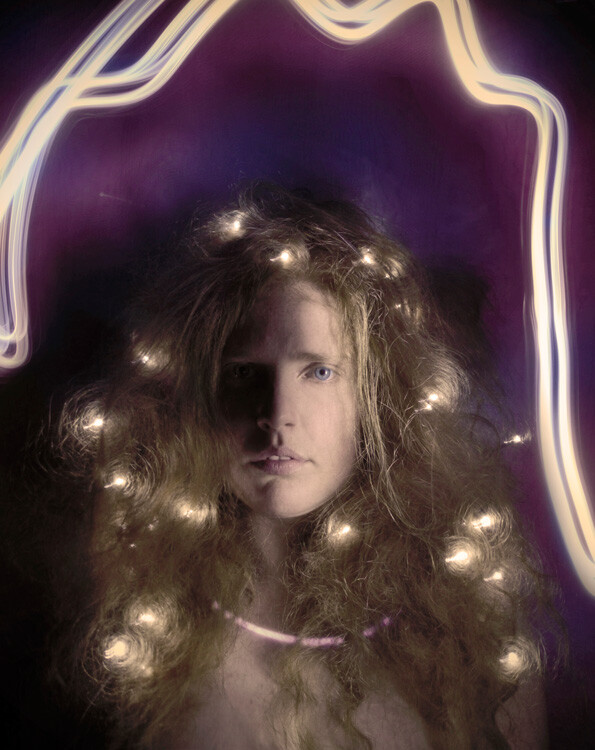
9. Colored Lighting
You might also want to add some colored lighting to the scene. There are two ways to do so:
- Coloring an area: If you want to add colored lighting to an area of your picture, get some colored gels that attach to the front of your flashlight or fill lighting. These are just colored transparencies that fit over the the front of your light. You may not use these very often, but they take up very little space or weight in your bag.
- Discrete lines/shapes/words: If you want to paint discrete lines, shapes, or even words in your picture, get some colored glow sticks and move them around in the frame during the exposure. This is not the sort of thing you are likely to use every day (or night), but they are small and lightweight so they will not be any trouble to keep in your bag.
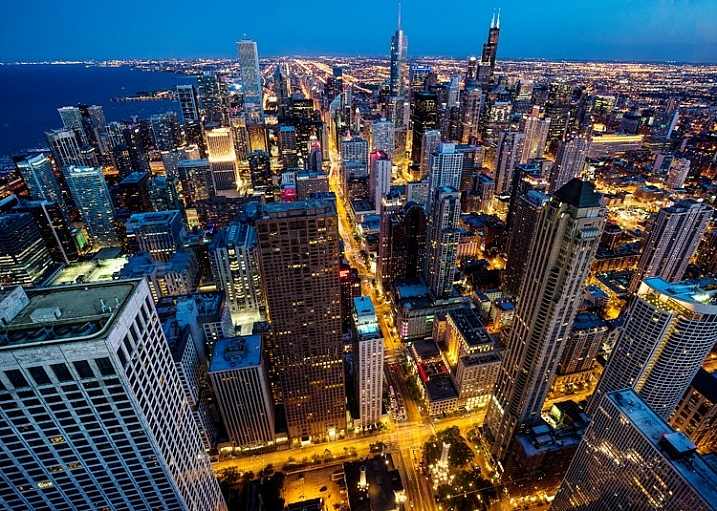
Chicago from the Hancock Observatory (Shutter Speed: 6 seconds; Aperture f/9; ISO 200; focal length 17 mm)
10. Smartphone
Here’s another item to bring with you – your phone. While it might be obvious to you, I want to stress it because it is such a useful item. Some people might not bring it with them on the premise that their time photographing is their time to get away from everything. Do not leave your smartphone at home when doing night photography. The phone serves a variety of functions for the night photographer, such as:
- Timer: You will often be using Bulb mode in your camera, in which you set the exposure time. If your remote shutter release does not already have a timer built-in, the Smartphone will do it for you.
- Map: Getting lost or turned around at night is easy to do. You don’t want to end up in the wrong place at night.
- Safety: Obviously, you want to be able to call for help if necessary.
- Applications: There are a variety of apps, such as The Photographer’s Ephemeris and PlanIt for Photographers, which contain useful information on the movement of celestial bodies and other items for the night photographer.
Checklist
In conclusion, here is a quick checklist of the items listed above:
Mandatory
- Camera
- Tripod
- Remote Shutter Release (or Intervalometer)
- Smartphone
Highly Recommended
- Spare Batteries
- Flashlight
- Lens Hoods
- Neutral Density Filters
Optional
- Fill Lighting
- Colored Lighting (Gels or Glow Sticks)
Do you have your own tools for night photography that aren’t on this list? If so, let’s hear them in the comments below!
googletag.cmd.push(function() {
tablet_slots.push( googletag.defineSlot( “/1005424/_dPSv4_tab-all-article-bottom_(300×250)”, [300, 250], “pb-ad-78623” ).addService( googletag.pubads() ) ); } );
googletag.cmd.push(function() {
mobile_slots.push( googletag.defineSlot( “/1005424/_dPSv4_mob-all-article-bottom_(300×250)”, [300, 250], “pb-ad-78158” ).addService( googletag.pubads() ) ); } );
The post 10 Items You Need for Your Night Photography Kit by Jim Hamel appeared first on Digital Photography School.

Digital Photography School








You must be logged in to post a comment.