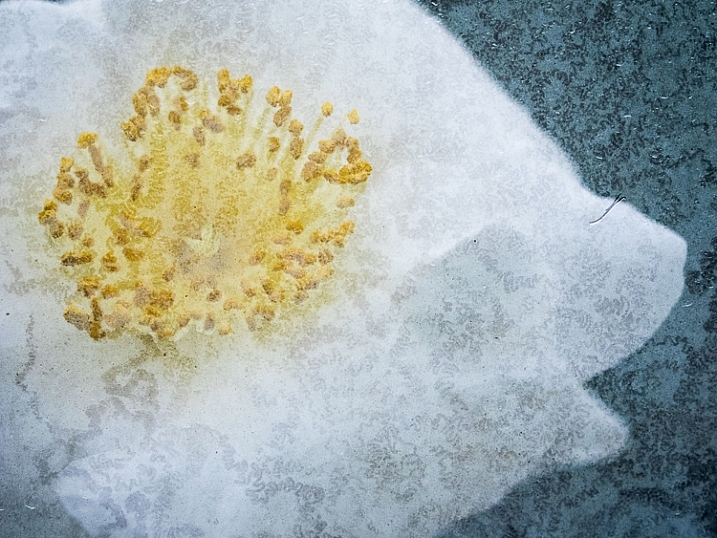
It was yet another snowy day in New York, so I headed to the Arboretum to work on macro photography. Tripod slung over one shoulder, with my Olympus mirrorless gear in tow, I approached the door only to be stopped in my tracks. “No tripods” she said, pointing to the sign.
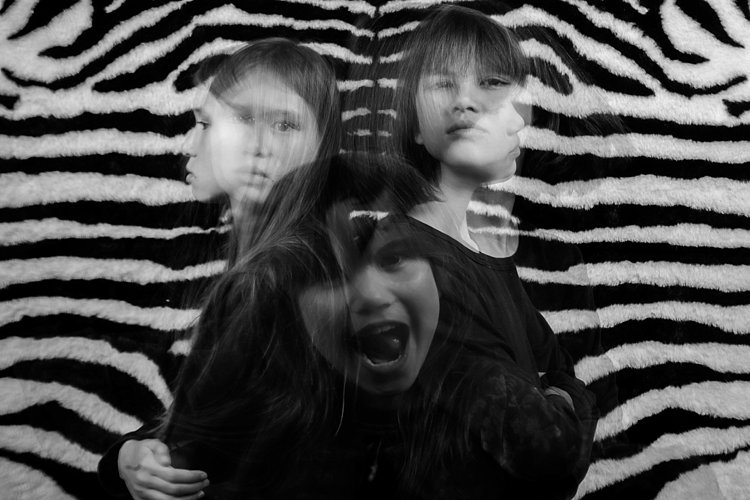
I’ve been here plenty of times with a tripod, but on holidays and weekends the rules change. Since it was President’s Day, the ban was in place. I put the tripod back in the car and decided to use the limitation as opportunity. Instead of close up studies, my plan changed to in-camera double exposures.
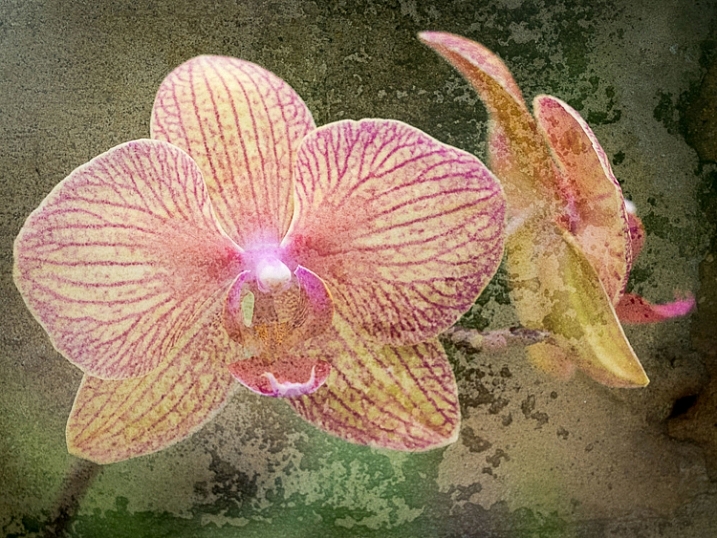
This is a feature that I loved with my old film camera (Canon Elan 7). While my switch to digital was a revelation, the lack of double exposure capability was a huge let down. It was only recently that camera manufacturers started including it again. Not only has it been added to most current bodies, but the functionality has been further enhanced. Some may consider it cheating, but I look at the updates as an opportunity to be even more creative.
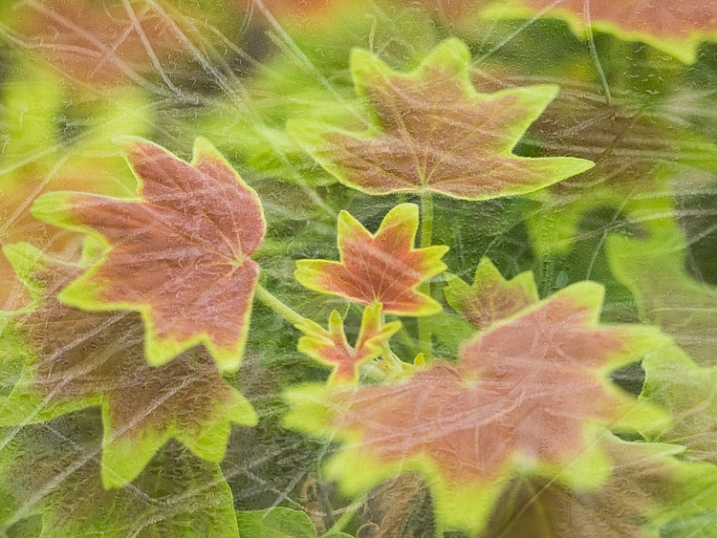
When you take your first shot, you can see an imprint of it in the viewfinder, while looking for shot number two. This makes it possible to line things up carefully, instead of leaving it to chance. It takes a little time to get used to it, sort of the way the depth of field preview button is a bit odd at first. After some practice however, you start to realize the incredible potential of this feature. Scenes that were once ordinary, become a treasure trove of artistic possibility.
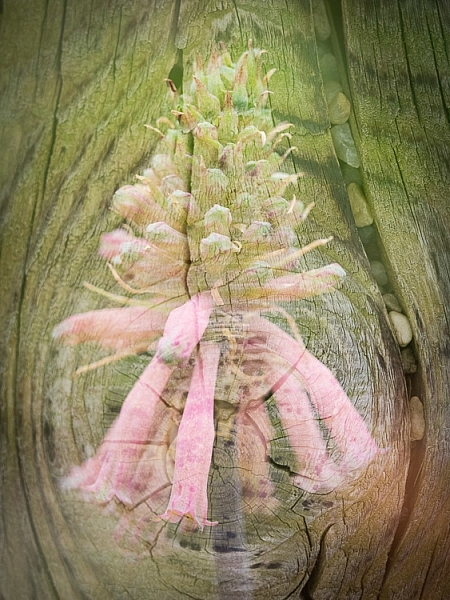
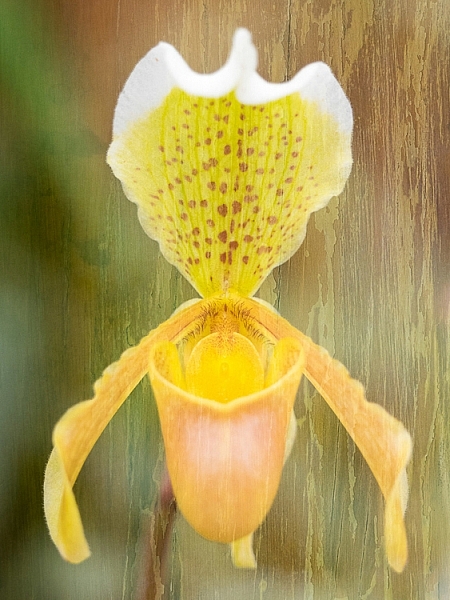
In addition to the standard double exposure mode, the Olympus E-M1 has an overlay feature that lets you choose a RAW file from your SD card as shot number one. You then shoot as many frames as you like, to find the perfect image for shot number two. I found this to provide even greater control over the final image. I’m not sure what other manufacturers offer this feature, so be sure to check your manual. With this setting turned on, I set out to create some interesting images.
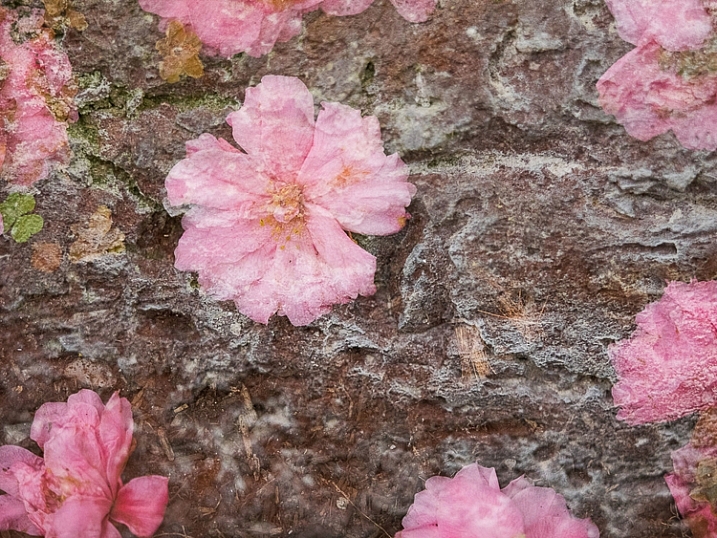
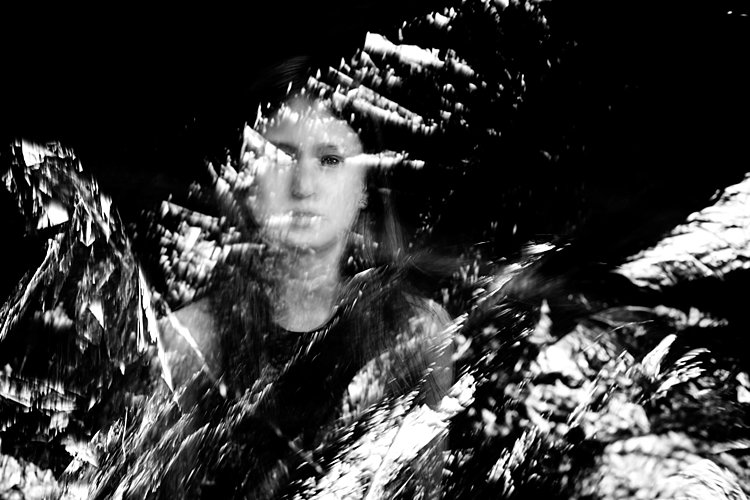
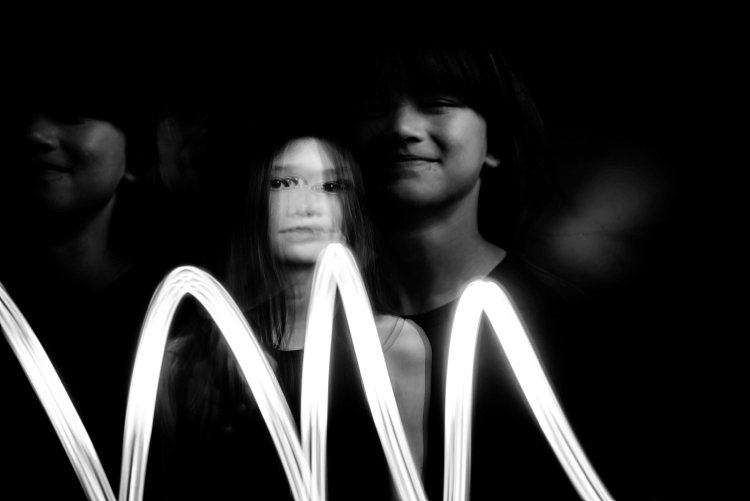
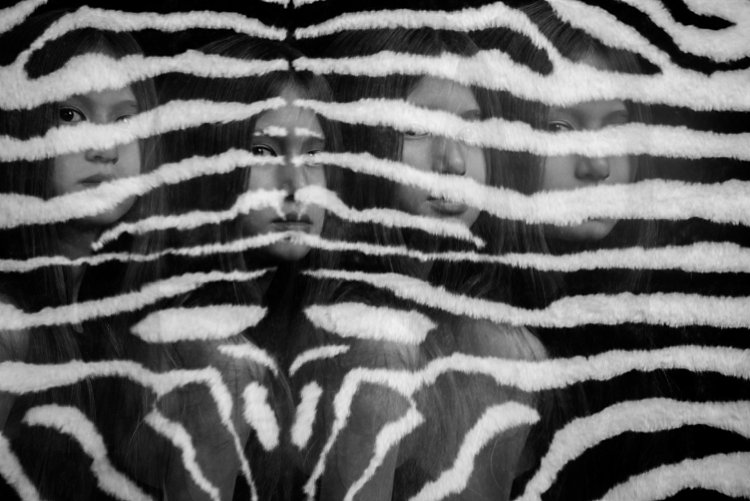
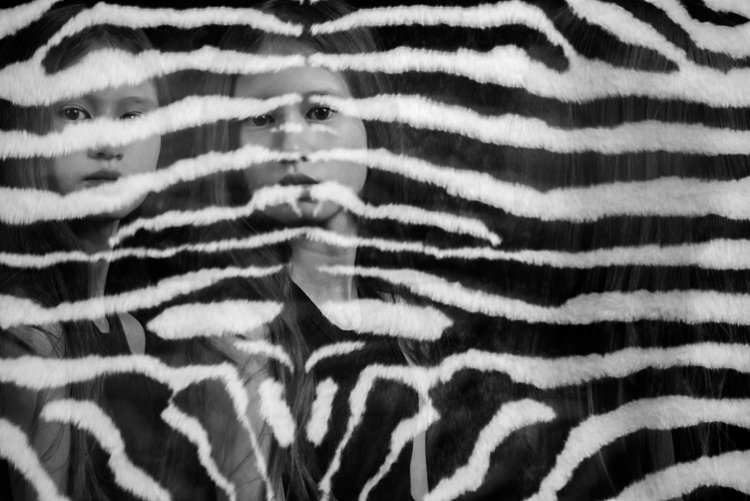
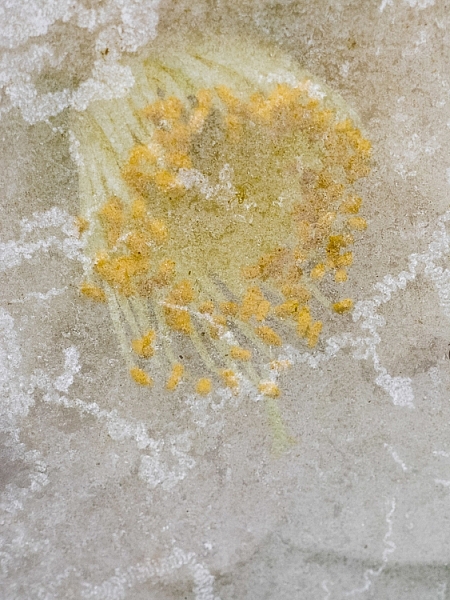
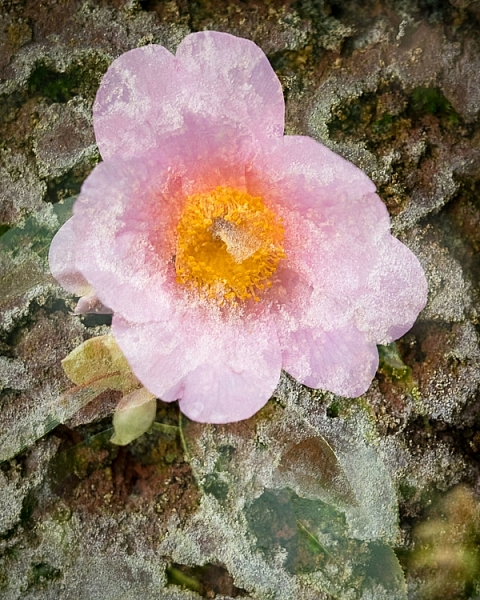
Ultimately I was looking for texture in shot one, as it would be complementary to the subject in shot number two. The possible outcomes are limitless, with every shot being completely unique. Rather than simply shooting a static flower, it’s possible to create a special piece of art. Today, as more people have cameras than ever before, the ability to make a shot has become even more important. This is not something you can do with a phone camera.
You may be wondering why I wouldn’t just do this in post-production by layering two shots in the computer. First, it wouldn’t be nearly as fun – I enjoy working with my camera more than pushing pixels around in Photoshop.
Next, there is something serendipitous about doing it in the field. You work harder, and really tune in to all the possibilities around you. A textured brick becomes more than a wall, but a perfect layer of texture. A crack in the pavement is not merely an imperfection in the floor, but a possible part of an exciting composition. By working deliberately like this, you have no choice but to slow down, and really exercise your vision. You pay attention to the smallest details, focusing on things that most people would walk right past. Isn’t that what creating art is all about?
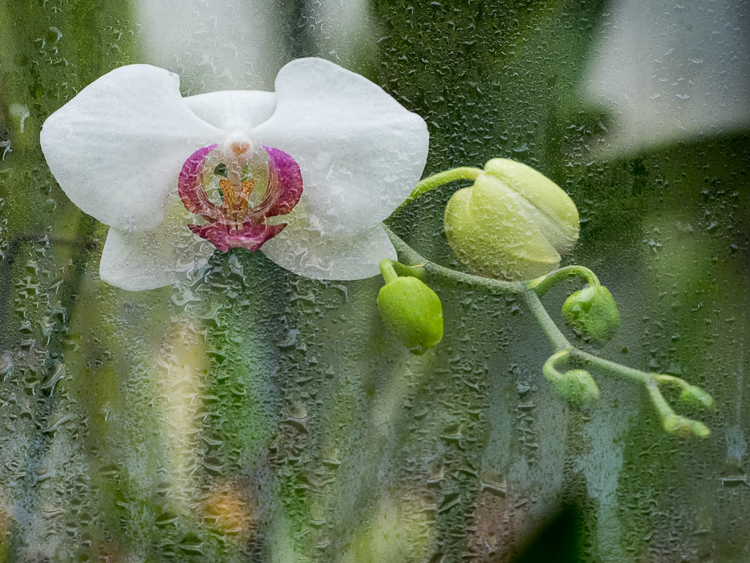
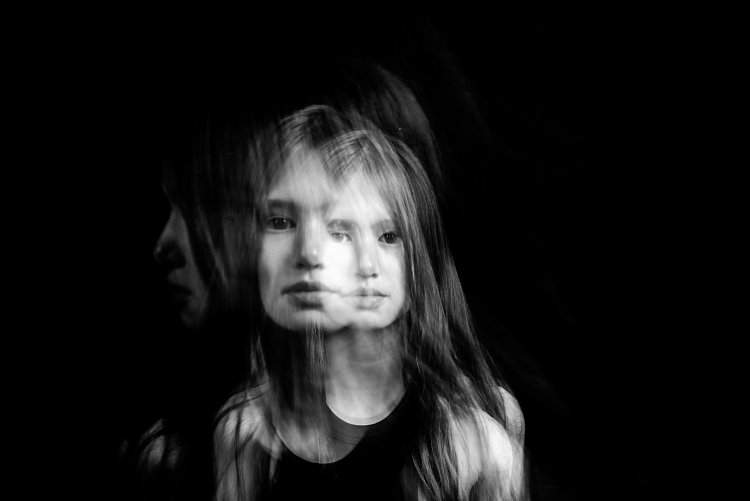
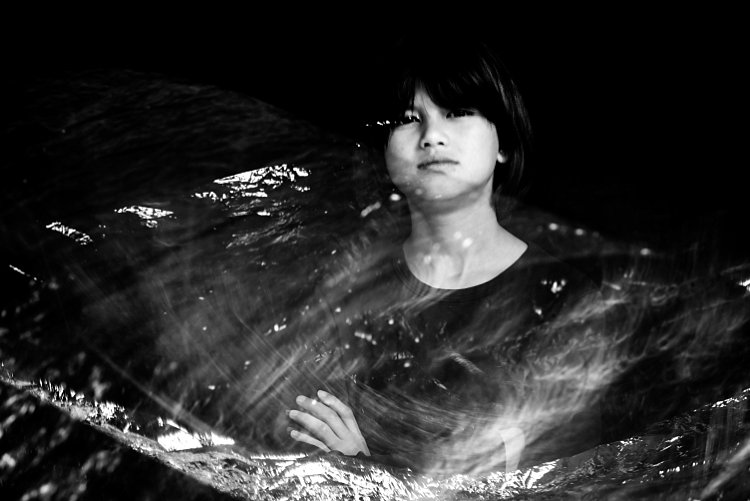
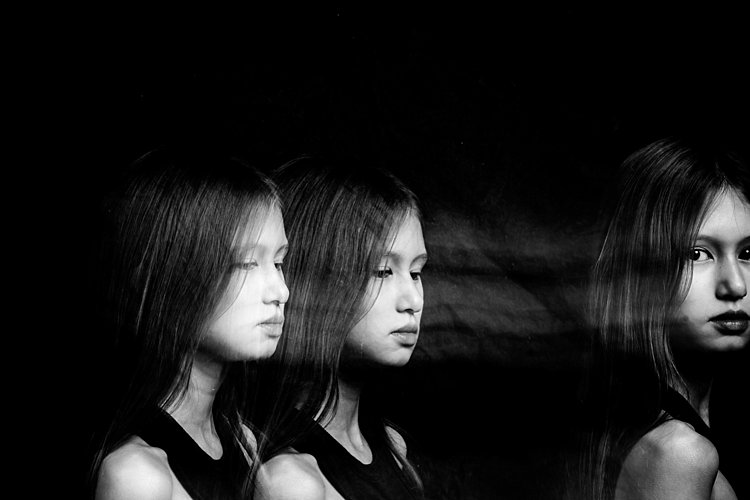
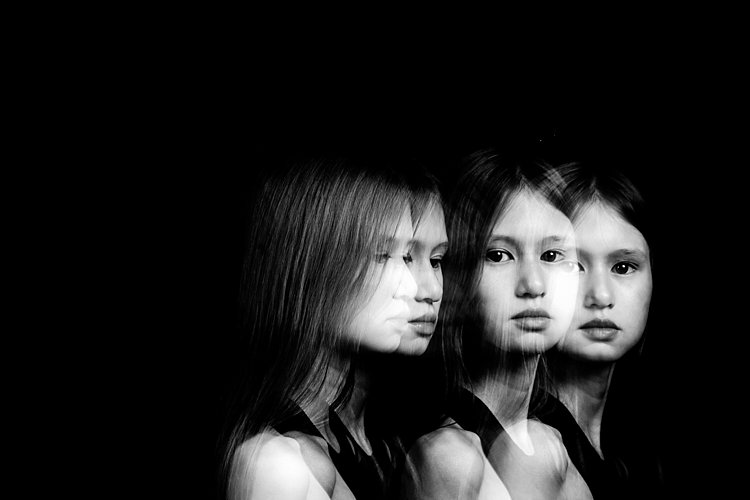
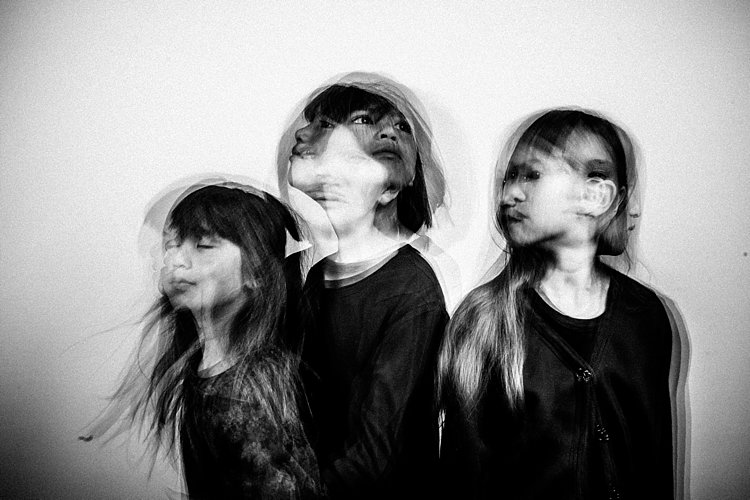
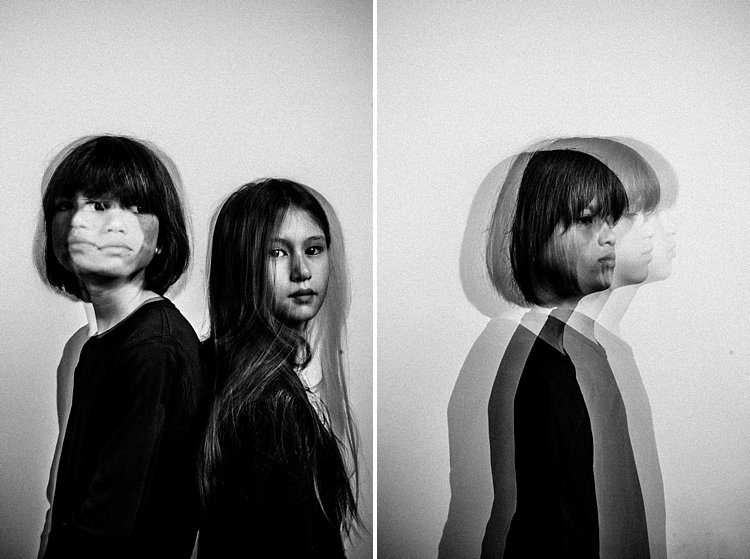
Will there be shots that don’t work? Absolutely! To create these six images I took 200 photos, over two hours. I don’t regret a single moment of this experience however. Each one is a unique work of art that can never be reproduced. Still, you must be patient, and set aside a good amount of time to do this. If you are rushing through, you’ll miss potentially great opportunities.
With winter upon us (spring coming soon in some areas of the Northern Hemisphere), and outdoor expeditions limited, now is the perfect time to explore this form of photography. You just may create something spectacular. The only way to find out is to give it a try.
Have you tried in-camera double exposures before? Please share your results and questions in the comments below. If your camera has a cool double exposure feature – please tell us about it.
This week on dPS we are featuring articles on special effects. Check out the others that have already been published here:
- How to Photograph the Full Band of the Milky Way
- Fire Spinning with Steel Wool – A Special Effects Tutorial
- Special Effect – How to Create Multiple Flash Exposures in a Single Frame
- Stacking Light Trails for Night Photography Special Effects
- 26 Unique Special Effects Photos to Spark Your Creativity
- Weekly Photography Challenge – Special Effects
- Tips for Shooting Through Objects to Create a Special Effect
- How to Add Vintage Frame Overlays Using Alien Skin Exposure X
- 8 Steps to Great Long Exposure Landscape Photography
googletag.cmd.push(function() {
tablet_slots.push( googletag.defineSlot( “/1005424/_dPSv4_tab-all-article-bottom_(300×250)”, [300, 250], “pb-ad-78623” ).addService( googletag.pubads() ) ); } );
googletag.cmd.push(function() {
mobile_slots.push( googletag.defineSlot( “/1005424/_dPSv4_mob-all-article-bottom_(300×250)”, [300, 250], “pb-ad-78158” ).addService( googletag.pubads() ) ); } );
The post How to Create In-Camera Double Exposures by Chris Corradino appeared first on Digital Photography School.

Digital Photography School










 Extra photos for bloggers: 1, 2, 3

You must be logged in to post a comment.