RSS
 

Posts Tagged ‘Developing’

Lighting 103: Developing a Framework

18 Aug

Abstract: Think about the reasons behind the color of your lights, and your palette will often take care of itself.

When you are placing a light source, it's pretty normal to ask yourself, "What color should this light be?"

If you step back a moment and think, the answer will often present itself. A better question to ask is, "What color would this light be?" Read more »
Strobist

 
Comments Off on Lighting 103: Developing a Framework

Posted in Photography


5 Tips for Developing an Eye for Details in Your Photography

20 Sep

I’m a firm believer in the power of photographing details. Take a particular scenario… let’s say you walk into a restaurant. It’s busy, packed with people, and perhaps a little on the noisy side, even. You have just been told by the staff that it’s a 30-minute wait for a table and you have seconds to make up your mind. You take another glance at the buzzing scene before you and decide you like the feel of the place so you wait patiently in the queue. And then you ponder why….what made you stay?

You made your decision on a whim, a gut feeling, a mere glance at the place. Surely, there has to be a reason why this place has evoked such feeling enough for you to stay and wait. So you look carefully and analyze why.

5-tips-photographing-details-tutorial_0003

What’s in the details

The lights, they are all moody, set at different heights and levels, in nooks and crannies, giving an atmospheric ambience to the room. The low slung sofas in the corners are covered with lush velvet cushions, inviting you to come sit and relax. You feel relaxed already just at the thought of hunkering down on one of those. You then notice the little fireplace, alit with slow burning crackling flames, some interesting contemporary art hung above it on the chimney breast.

Your eyes dart to and fro across the room as you see many mismatched chairs full of character and wear and tear from being loved over the years. Each one deserving of a good look and admiration. Wild flowers and plants on the tables, a shelf filled with books and another with vinyls next to a turntable. It’s like your eyes have been opened and the list of details goes on. Now you know why.

The details – they may seem small and insignificant but never underestimate their power. It is the details that make anything – a place, a wedding, a special birthday, an anniversary, a family photoshoot.

Training your eye to see details

However, it takes a special eye and some practice to notice details immediately. In fact, practice help make you look for details instantly. What is so unique about the place, the wedding, or your client’s home? What is the trademark of the couple that makes the photoshoot so them? The fabric and designs on the clothes they wear, their accessories, their props, the style they have decorated their home, the colors. What is the place known for, what makes them stand out from the crowd? Often, the answer is in the details.

I have been a professional photographer for eight years and over that time I have learned to see details so that they are the first things I look for at a location. If you are new to this concept of photographing details, here are five quick tips to get you started and you’ll be capturing places and people’s uniqueness in no time. You don’t need to practice on a photoshoot to see details. You can make your own detail-finding project, use a family day trip, or just go for a walk outside your house. Details are everywhere. The trick is in the selection and in the art of seeing them.

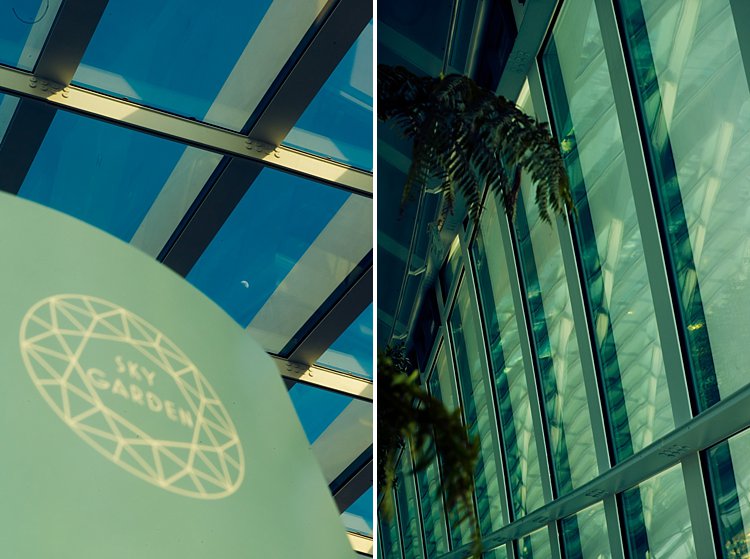
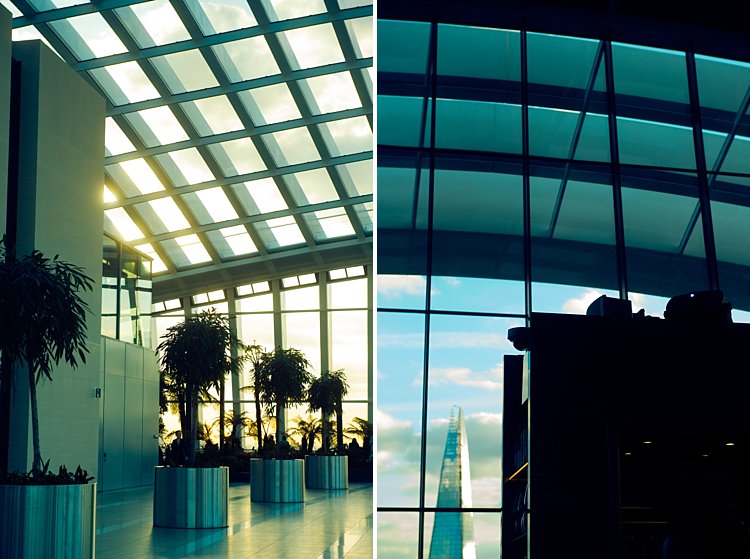
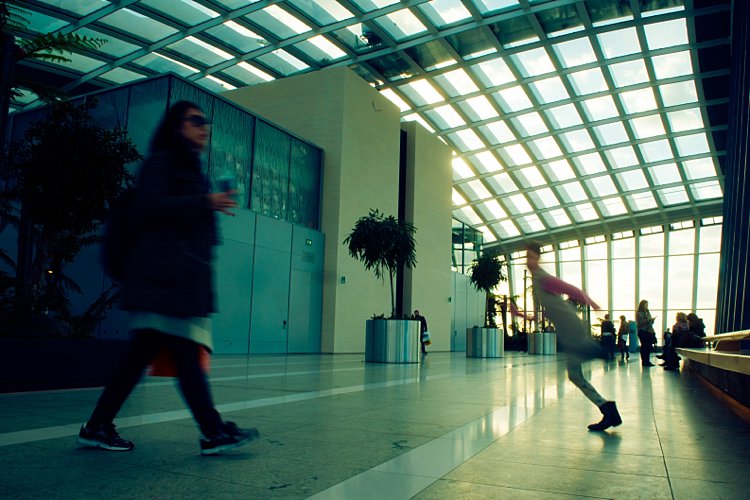
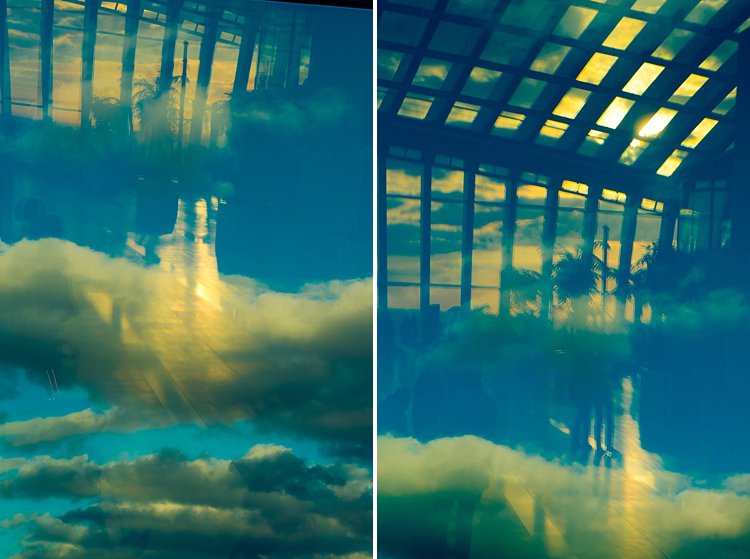
The photos below have been taken from a family visit to the Sky Garden in London.

#1 Follow the light

5-tips-photographing-details-tutorial_0000

Light is the most important element in photography. Study light, follow it, position yourself correctly in relation to the light when you take your image and you will be fine!

Soft light comes early and late in the day, filtering through at an angle, creating soft shadows. Adversely, harsh light often comes from when the sun is shining right over your subject or when they are facing the sun directly. This light creates harsh and dark shadows and is often avoided by photographers. Of course, there are ways you can counteract this effect by using strobes and light modifiers so that it is irrelevant at what time of day or night you shoot. It is important to understand light, its effect on your subject, and to look for light when you take your images.

#2 – Find patterns and shapes

Anything that looks interesting or repetitive can be a good starting point for a good image. The images below were simply table lamps and candlesticks waiting to be placed on the tables, that were arranged at the back of the bar. I liked the different textures at play here: shiny against matte, metallic against vinyl.


5-tips-photographing-details-tutorial_0002

5-tips-photographing-details-tutorial_0011

5-tips-photographing-details-tutorial_0006

#3 – Look for contrast

Contrast is so crucial in photography. Without it, you will have a very flat image. You want enough contrast going on in your image so that it looks more 3 dimensional, with details intersecting planes and adding more interest to your picture. Possible contrasts include:

  • Light and shadow
  • Round and straight
  • Warm light and cold steel
  • Silhouettes against clouds or sky
  • Solid against translucent or transparent
  • Opposing colors in the spectrum
  • Motion and a still structure

5-tips-photographing-details-tutorial_0015

5-tips-photographing-details-tutorial_0013

5-tips-photographing-details-tutorial_0014

#4 – Train your eye to see the unusual

This is one of my favorite challenges. Often I have to push myself to really see the unusual or have an original take on something that is otherwise cliche. Reflections help a lot here, as does layering. Positioning yourself at uncommon angles just to get a fresh view helps.

5-tips-photographing-details-tutorial_0005

5-tips-photographing-details-tutorial_0004

5-tips-photographing-details-tutorial_0008

#5 – Use juxtaposition

Quite possibly the most difficult thing to do out of these five tips is using juxtaposition. It is tricky and requires a strong sense of what goes together effectively. It is one of those times when you just have to trust your gut a bit more and listen to that inner voice that says ‘”That does not quite look right” or “Yes those two go perfectly together”.

This is difficult to describe and rationalize in my own opinion but something that will probably come to you naturally after training yourself at looking enough. So remember to be patient with yourself, take your time, and most of all enjoy the journey.


5-tips-photographing-details-tutorial_0012

5-tips-photographing-details-tutorial_0010

I hope you found these tips helpful. Do share in the comments below your images of details or any additional tips you may have.

googletag.cmd.push(function() {
tablet_slots.push( googletag.defineSlot( “/1005424/_dPSv4_tab-all-article-bottom_(300×250)”, [300, 250], “pb-ad-78623” ).addService( googletag.pubads() ) ); } );

googletag.cmd.push(function() {
mobile_slots.push( googletag.defineSlot( “/1005424/_dPSv4_mob-all-article-bottom_(300×250)”, [300, 250], “pb-ad-78158” ).addService( googletag.pubads() ) ); } );

The post 5 Tips for Developing an Eye for Details in Your Photography by Lily Sawyer appeared first on Digital Photography School.


Digital Photography School

 
Comments Off on 5 Tips for Developing an Eye for Details in Your Photography

Posted in Photography


FAA reportedly developing mandatory drone registration system

20 Oct

The U.S. government may soon require most drones to be registered, according to the Associated Press. Sources speaking on the matter state the FAA is working with unspecified industry and government officials to create a registration system. While the exact requirements aren’t known, it is believed small and toy drones will not require registration. Read more

Articles: Digital Photography Review (dpreview.com)

 
Comments Off on FAA reportedly developing mandatory drone registration system

Posted in Uncategorized


Panasonic reportedly developing focus-after-capture technology

15 Jul

According to a recent report, Panasonic is developing a technology for refocusing an image after it’s been shot, and will be commercializing the feature sometime in the next year. The technology achieves something similar to Lytro’s light field cameras but instead relies on 4K video capture. Read more

Articles: Digital Photography Review (dpreview.com)

 
Comments Off on Panasonic reportedly developing focus-after-capture technology

Posted in Uncategorized


Samsung developing 360 degree panoramic 3D camera for VR headsets

14 Nov

Samsung is showing off a prototype camera that captures 360-degree 3D images in an effort to provide content for its virtually reality headset, the Samsung Gear VR. Using cameras arranged into 8 stereoscopic pairs around the device’s perimeter, the prototype (called Project Beyond) can capture 3D still panoramas, with single frames measuring 35MP. Learn more

Articles: Digital Photography Review (dpreview.com)

 
Comments Off on Samsung developing 360 degree panoramic 3D camera for VR headsets

Posted in Uncategorized


Developing a Creative Eye – be Careful Before Deleting Your Photos

06 Apr
PhotoA Good Eye

Photo A: ‘Reflections On Land’ by Patrick Elliott

DEVELOP A CREATIVE EYE

The more you get out and use your camera, the more proficient you become as a photographer. In the process of learning and using your camera, you will develop a better eye from a creative perspective. It is important that you put this “creative eye” to use on a regular basis, not only to maintain it, but also to improve it.

Taking pictures isn’t the only time you have to use your creative eye. You can use it by looking at other people’s pictures to see what you could have done differently, or what factors you will take from their pictures to add to your photography. As you go through your daily routine, you can imagine that you are constantly looking through a viewfinder or LCD screen, and as your eye develops, you will have more and more ideas for creative shots everywhere you go.

You can especially put your eye to use by looking at your pictures before the editing process. Developing this creative eye will benefit you as you are sorting through the pictures after a photo shoot. Put your eye to use by carefully looking at all of your images before deleting any of them. Let me tell you why.

DELETE IT OR KEEP IT?

It is very common to come back to your computer after a photo shoot, dump the images into your computer, and start deleting all the “bad” shots. Or, you may be the type who deletes the “bad” shots in the camera before importing them into your computer. Either way, be careful as you do this because you could overlook a good thing in those shots. The photo above (Photo A) isn’t a planned shot that I took during a photo shoot. It is the result of using my eye before deleting a bad shot. If you look at the photo below (Photo B), it is a bad shot that was not the model’s fault. We were outdoors and the lighting kept changing constantly because the sky was rapidly going through changes. She was in the process of getting prepared for a shot, and I was taking test shots while adjusting my settings to get the correct exposure.

As I got the images from that photo shoot to my computer, the photo that you see below (Photo B) was a “bad” shot that would normally go to the trash bin. But, before deleting it, I put my creative eye to use by carefully looking over it and something caught my eye. I saw a photo within the photo, and decided to open it up in my photo editor to bring this vision to life. I put my crop tool to use, and the result was the photo that you see above (Photo A).

PhotoB Bad Shot

Photo B: Carefully look over a bad shot like this before deleting

HOW SHARP IS YOUR EYE?

Do all that you can to develop a creative eye. I have mentioned a few techniques for you to practice so that your eye can become sharper. It is more than likely that photography may have you spending more time sitting down at the computer rather than the actual photo shoot. Use that time to really put your eye to use. What ways do you develop your creative eye? Have you ever seen something special in a picture before deleting it?

PhotoC Bad Shot

A test shot that would normally be deleted

PhotoD Good Eye

‘Living Outside’ by Patrick Elliott. Using the creative eye to make good use of a ‘bad shot’ you see in the image just above.

The post Developing a Creative Eye – be Careful Before Deleting Your Photos by Patrick Elliott appeared first on Digital Photography School.


Digital Photography School

 
Comments Off on Developing a Creative Eye – be Careful Before Deleting Your Photos

Posted in Photography


Olympus developing 7-14mm F2.8 and 300mm F4 ‘Pro’ lenses

12 Feb

7-14.png

When Olympus announced the high-end OM-D E-M1, it promised that it would be making a wideangle zoom and super-telephoto prime in its matching ‘PRO’ line of lenses. Now it’s given a few more details for those products. The M.Zuiko Digital ED 7-14mm 1:2.8 PRO shares many design features with the current 12-40mm 1:2.8 PRO, while the M.Zuiko Digital ED 300mm 1:4 PRO offers a 600mm equivalent angle of view. Both lenses are dust- and splash-proof, and will be available next year. Click through for more details and pictures of the lenses

News: Digital Photography Review (dpreview.com)

 
Comments Off on Olympus developing 7-14mm F2.8 and 300mm F4 ‘Pro’ lenses

Posted in Uncategorized


Developing Your Photographic Style: Adding Power And Impact To Your Photography

14 Mar

I’ve been working as a photographer for almost 2 years now. And looking back at this time, I can see a number of stages I’ve grown through. Each stage is characterised by what I believed is the most important element of great photography. And in this post I decided to analyse them and come to a conclusion on the benefits Continue Reading

The post Developing Your Photographic Style: Adding Power And Impact To Your Photography appeared first on Photodoto.


Photodoto

 
Comments Off on Developing Your Photographic Style: Adding Power And Impact To Your Photography

Posted in Photography


Lightroom 3: Developing Images

31 Oct

In this 30+ minute Adobe lightroom 3 video tutorial we will go over basic developing practices on several recent photos I took using the Canon T3i , Sony a55 , and Canon 5D Mark II . I chose a nice variety of photos ranging from flowers, dogs, and waterfalls. We will cover basic developing, lens correction, discuss the tone curve a bit, vignette, adjustment brush, clone/ healing tool, cropping, and more…
Video Rating: 5 / 5

 
Comments Off on Lightroom 3: Developing Images

Posted in Retouching in Photoshop


Lightroom 4: Developing module overview | lynda.com tutorial

20 Oct

This Photoshop Lightroom tutorial describes a few tips and techniques you can use to get familiar with the Develop module. Watch more at www.lynda.com This specific tutorial is just a single movie from chapter one of the Photoshop Lightroom 4 Essentials: Enhancing Photos with the Develop Module course presented by lynda.com author Chris Orwig. The complete Photoshop Lightroom 4 course has a total duration of 5 hours and 32 minutes, and guides photographers through the process of improving images with creative color, sharpening, and other effects in the Lightroom Develop module. Photoshop Lightroom 4 Essentials: Enhancing Photos with the Develop Module table of contents: Introduction 1. Getting Started with the Develop Module 2. Develop Module Workflow Tips 3. Working with Color Temperature and White Balance 4. Masking Basic Tonal Adjustments 5. Improving Vibrance, Saturation, and Clarity 6. Basic Panel Workflow Reflections 7. Cropping and Composing 8. Retouching Tools 9. Using the Graduated Filter 10. Making Localized Adjustments 11. Modifying the Tone Curve 12. Changing HSL and Color 13. Converting to Black and White 14. Creative Color with Split Toning 15. Noise Reduction and Sharpening 16. Making Lens Corrections 17. Adding Vignette and Grain Effects 18. Using the Camera Calibration Controls Conclusion
Video Rating: 3 / 5

 
Comments Off on Lightroom 4: Developing module overview | lynda.com tutorial

Posted in Retouching in Photoshop