The first thought you will want to steer clear of is that architecture means buildings, as it actually encompasses most man-made structures. Architectural photography involves capturing an image of a physical structure in an aesthetically pleasing way for your viewers. Here are a few tips to consider if you are just getting into this category of photography.
1. Gear Up
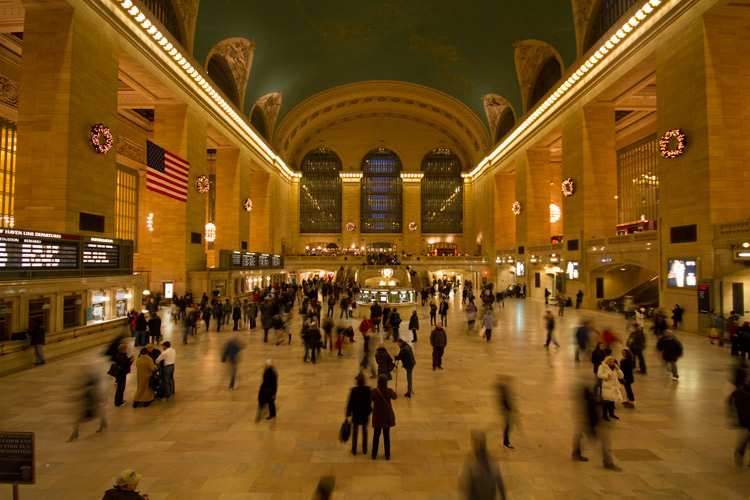
In any genre of photography, the right gear makes the difference and this also holds true for architectural photography.
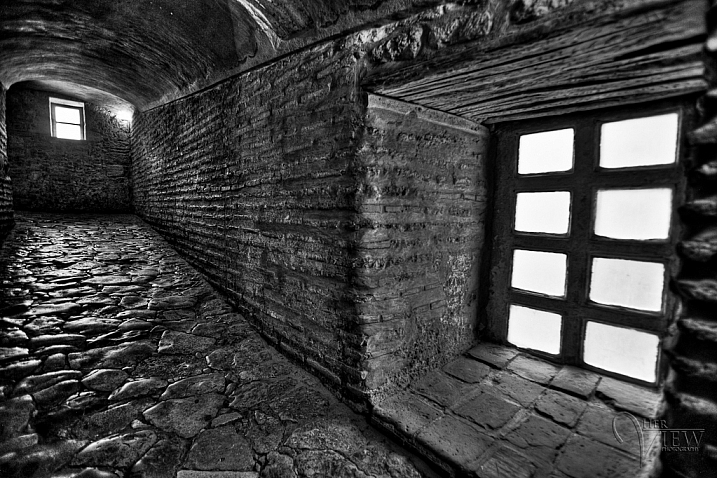
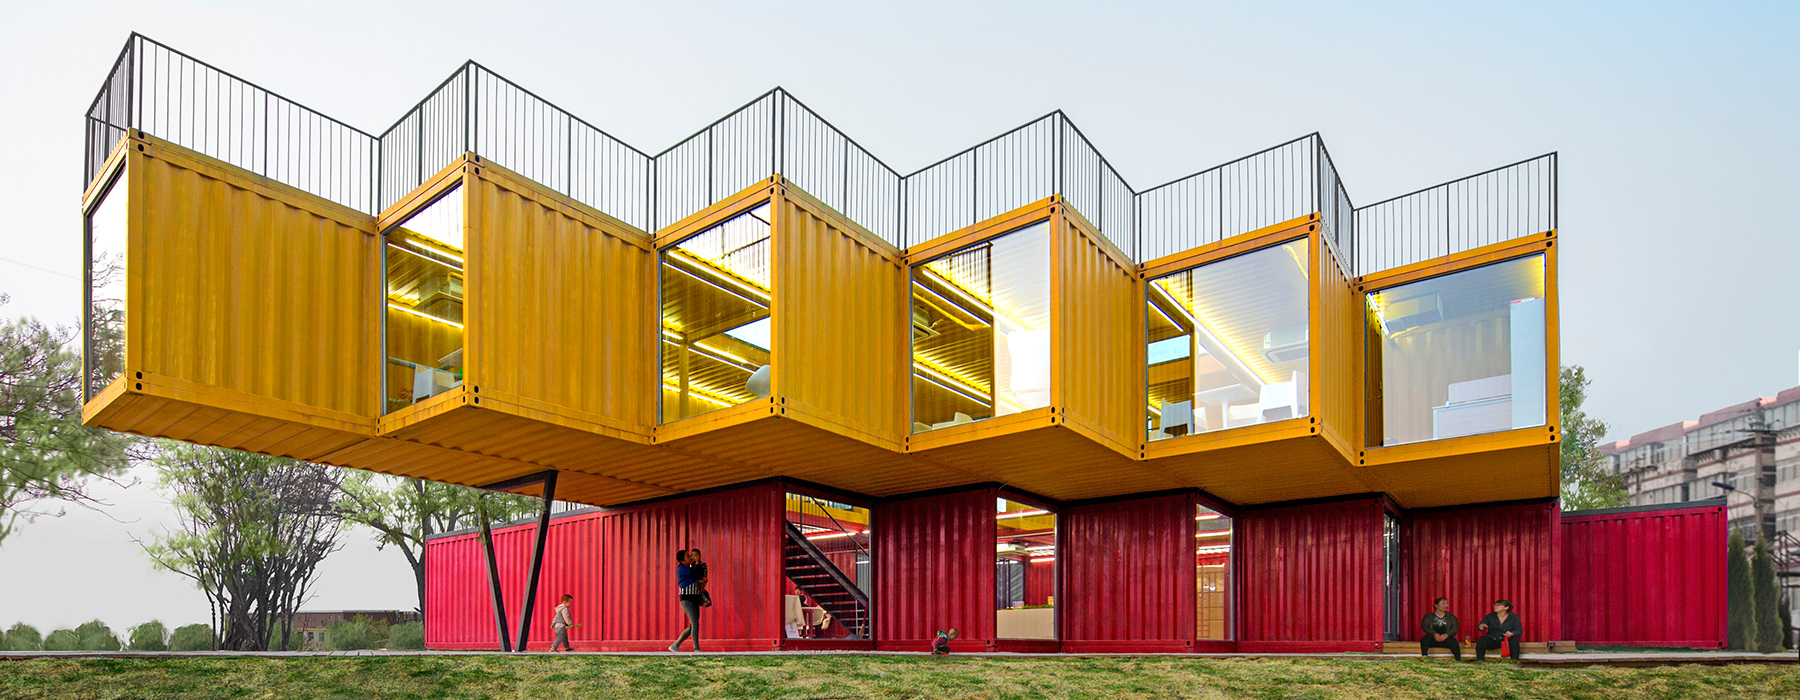
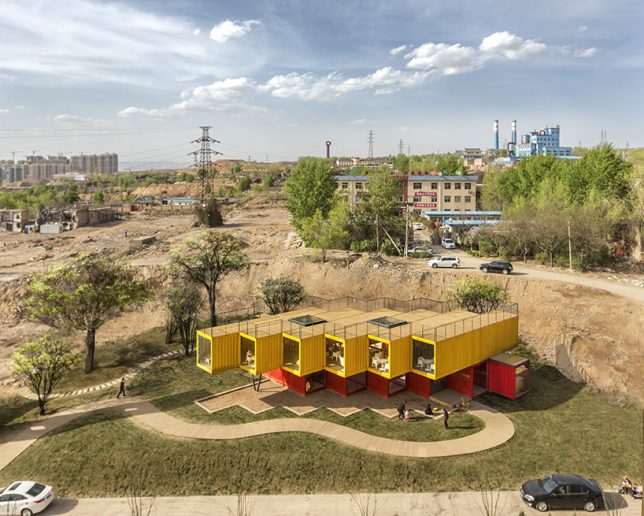
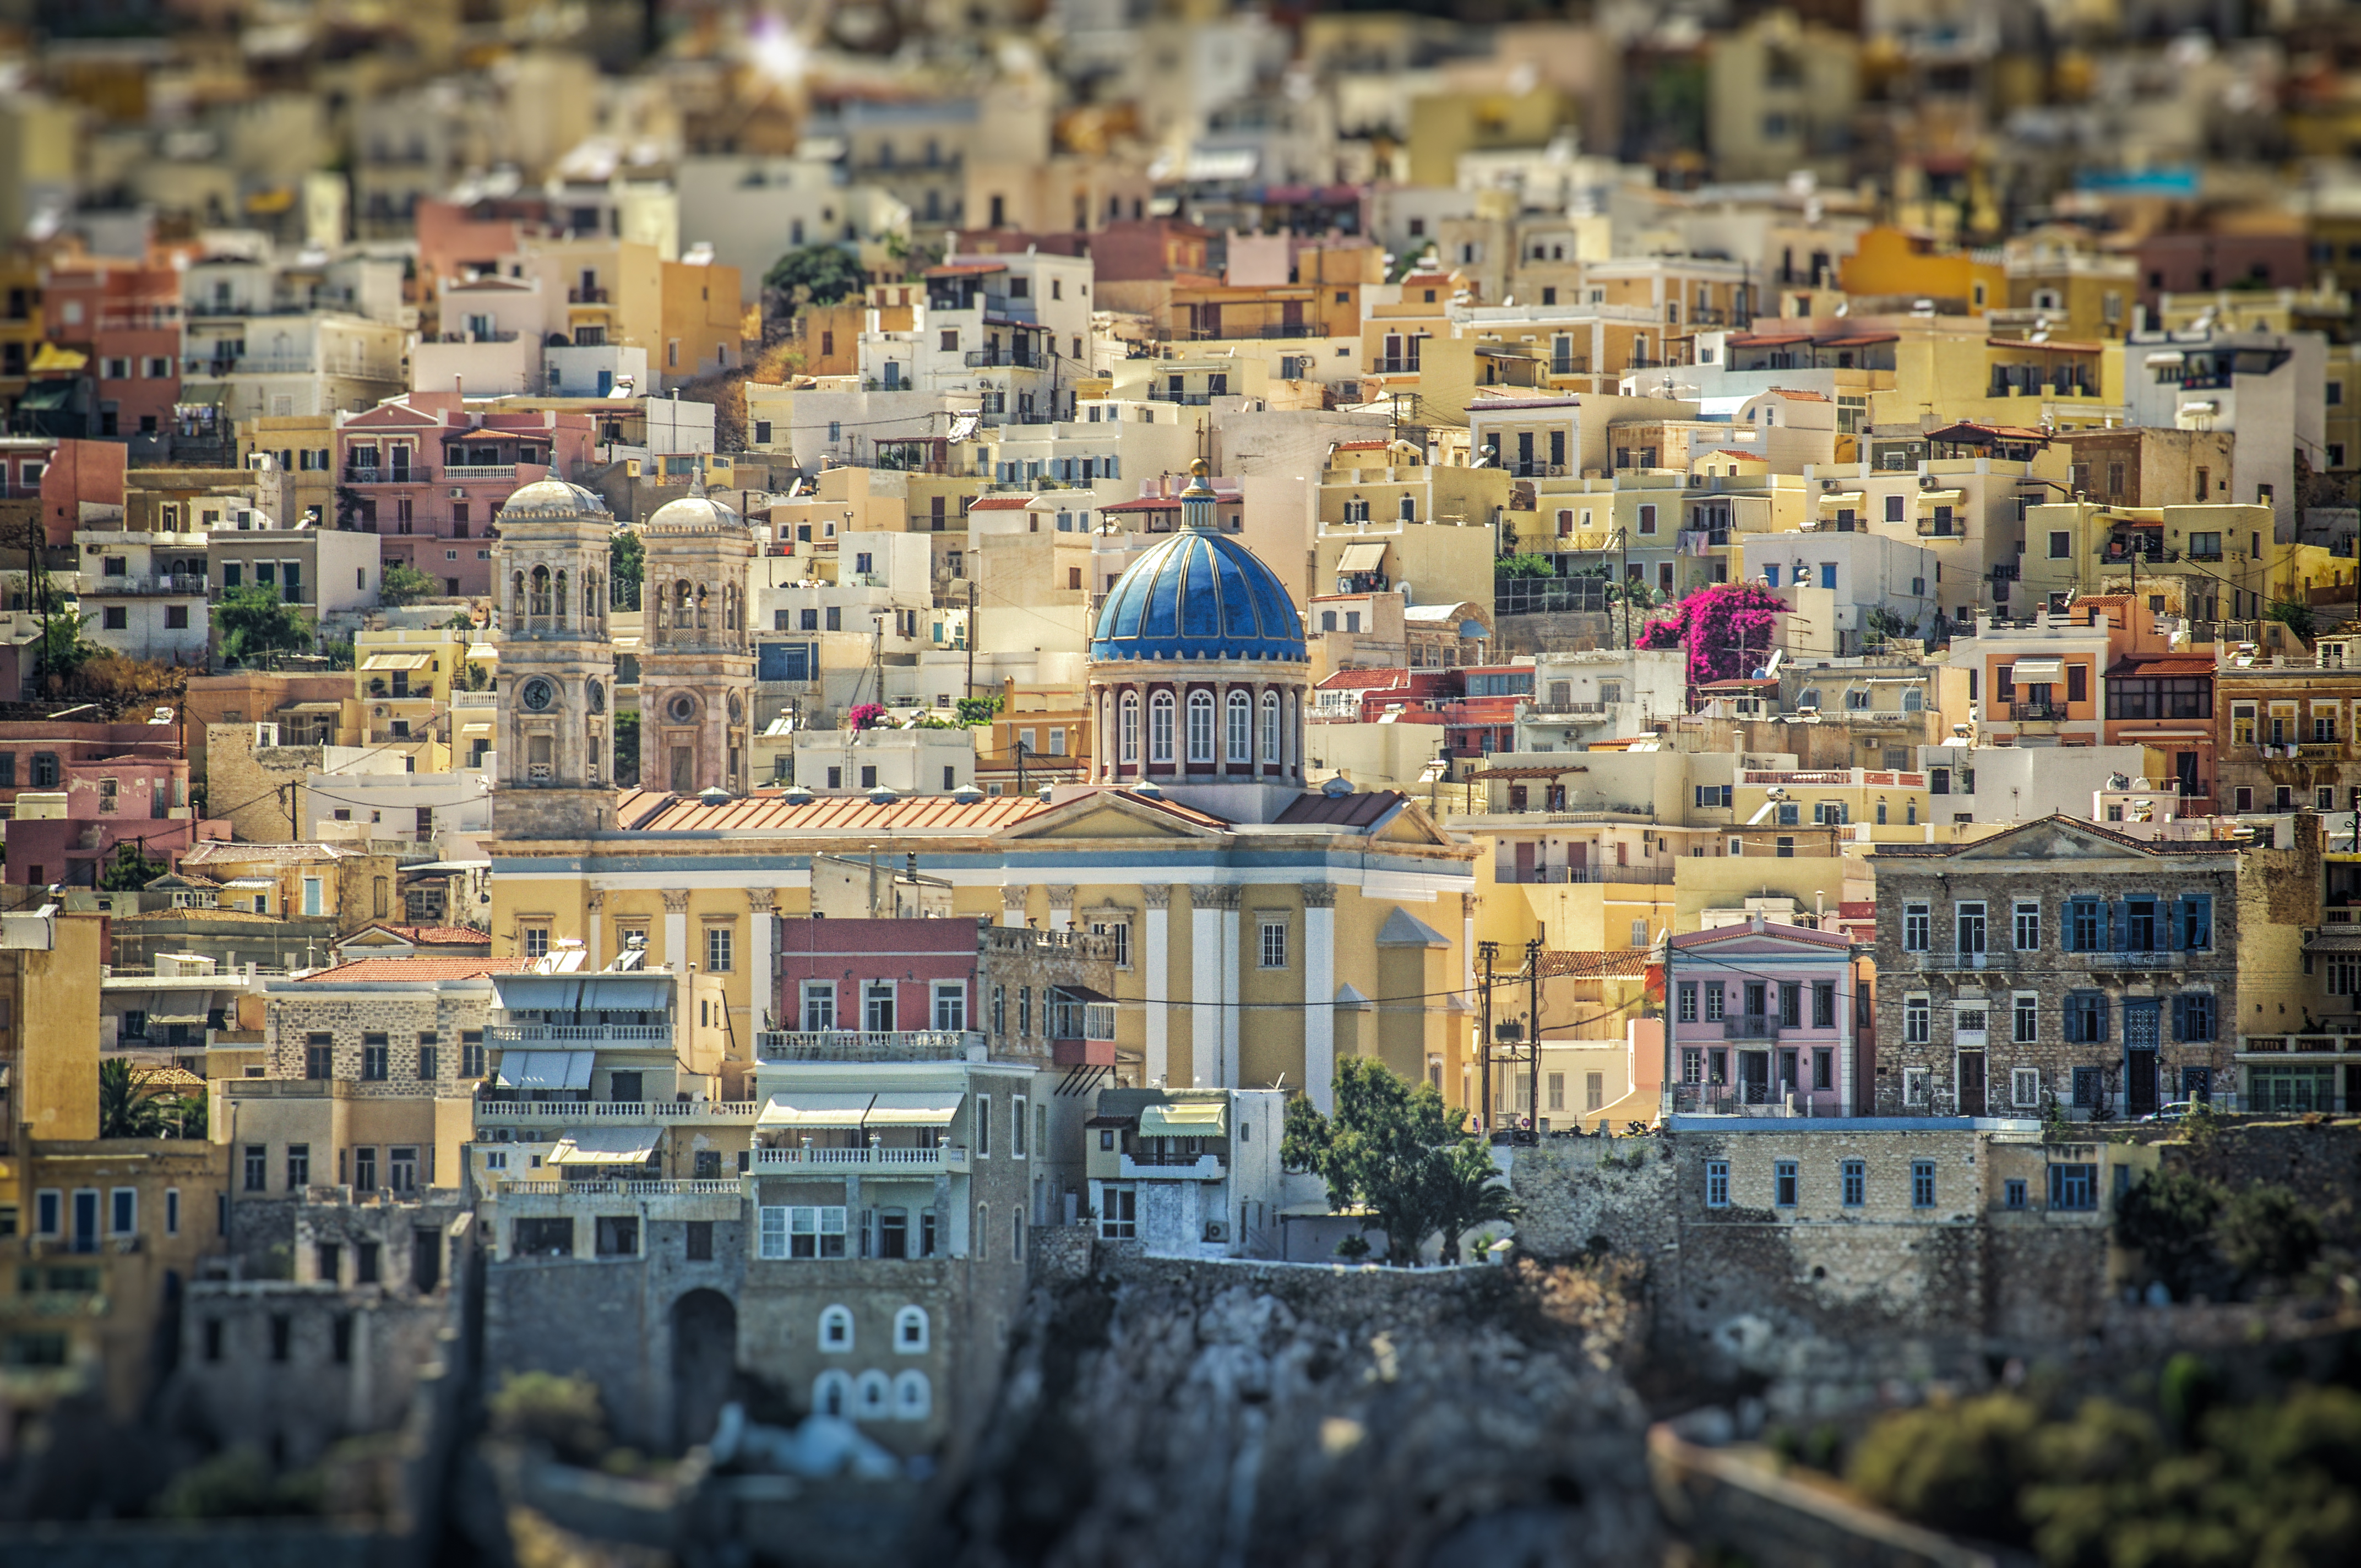
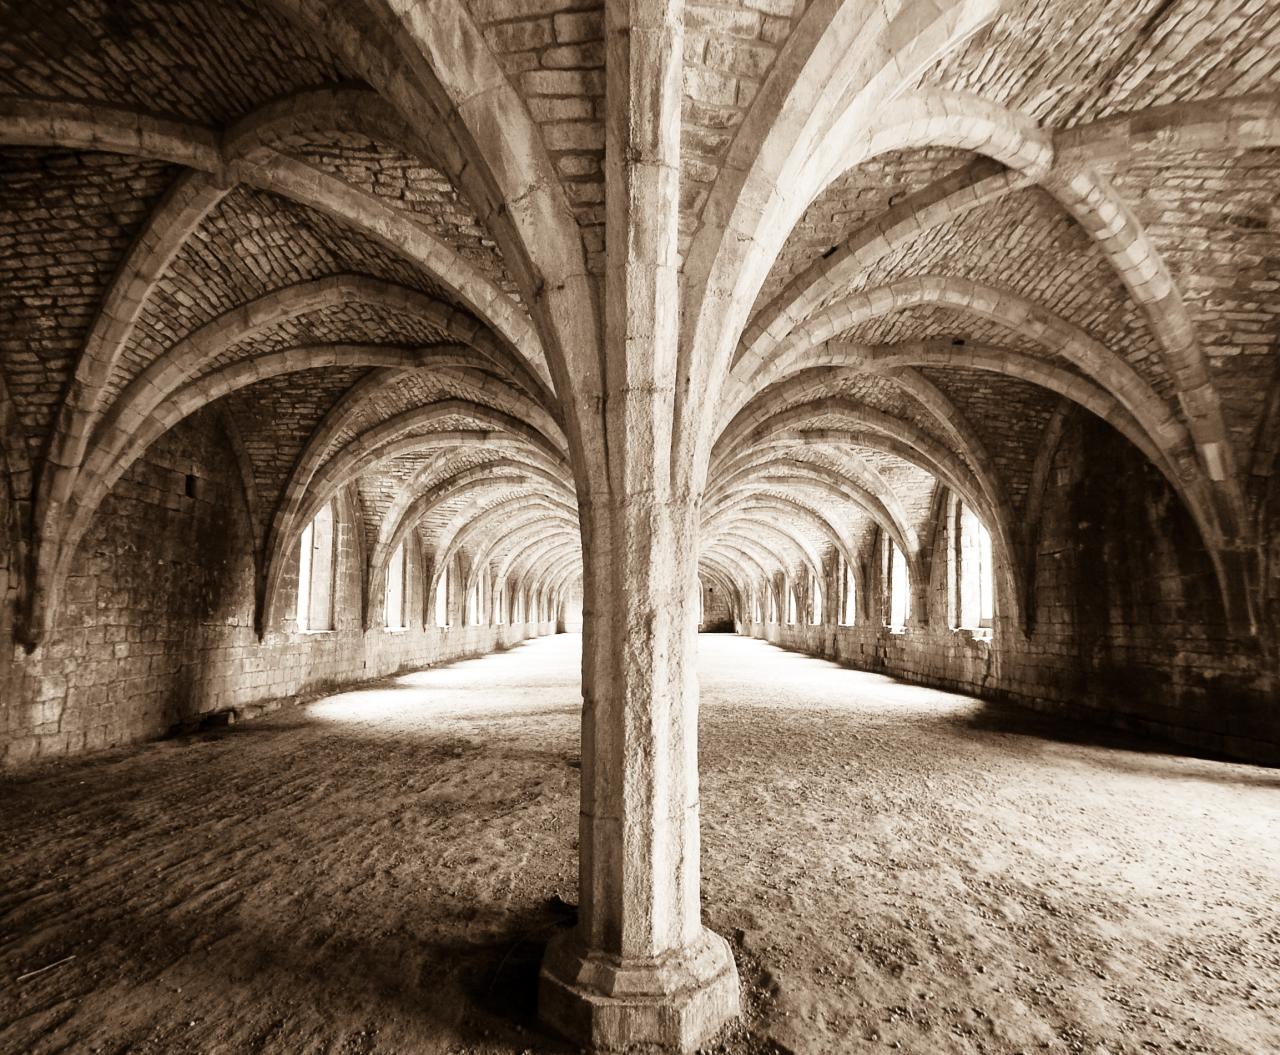
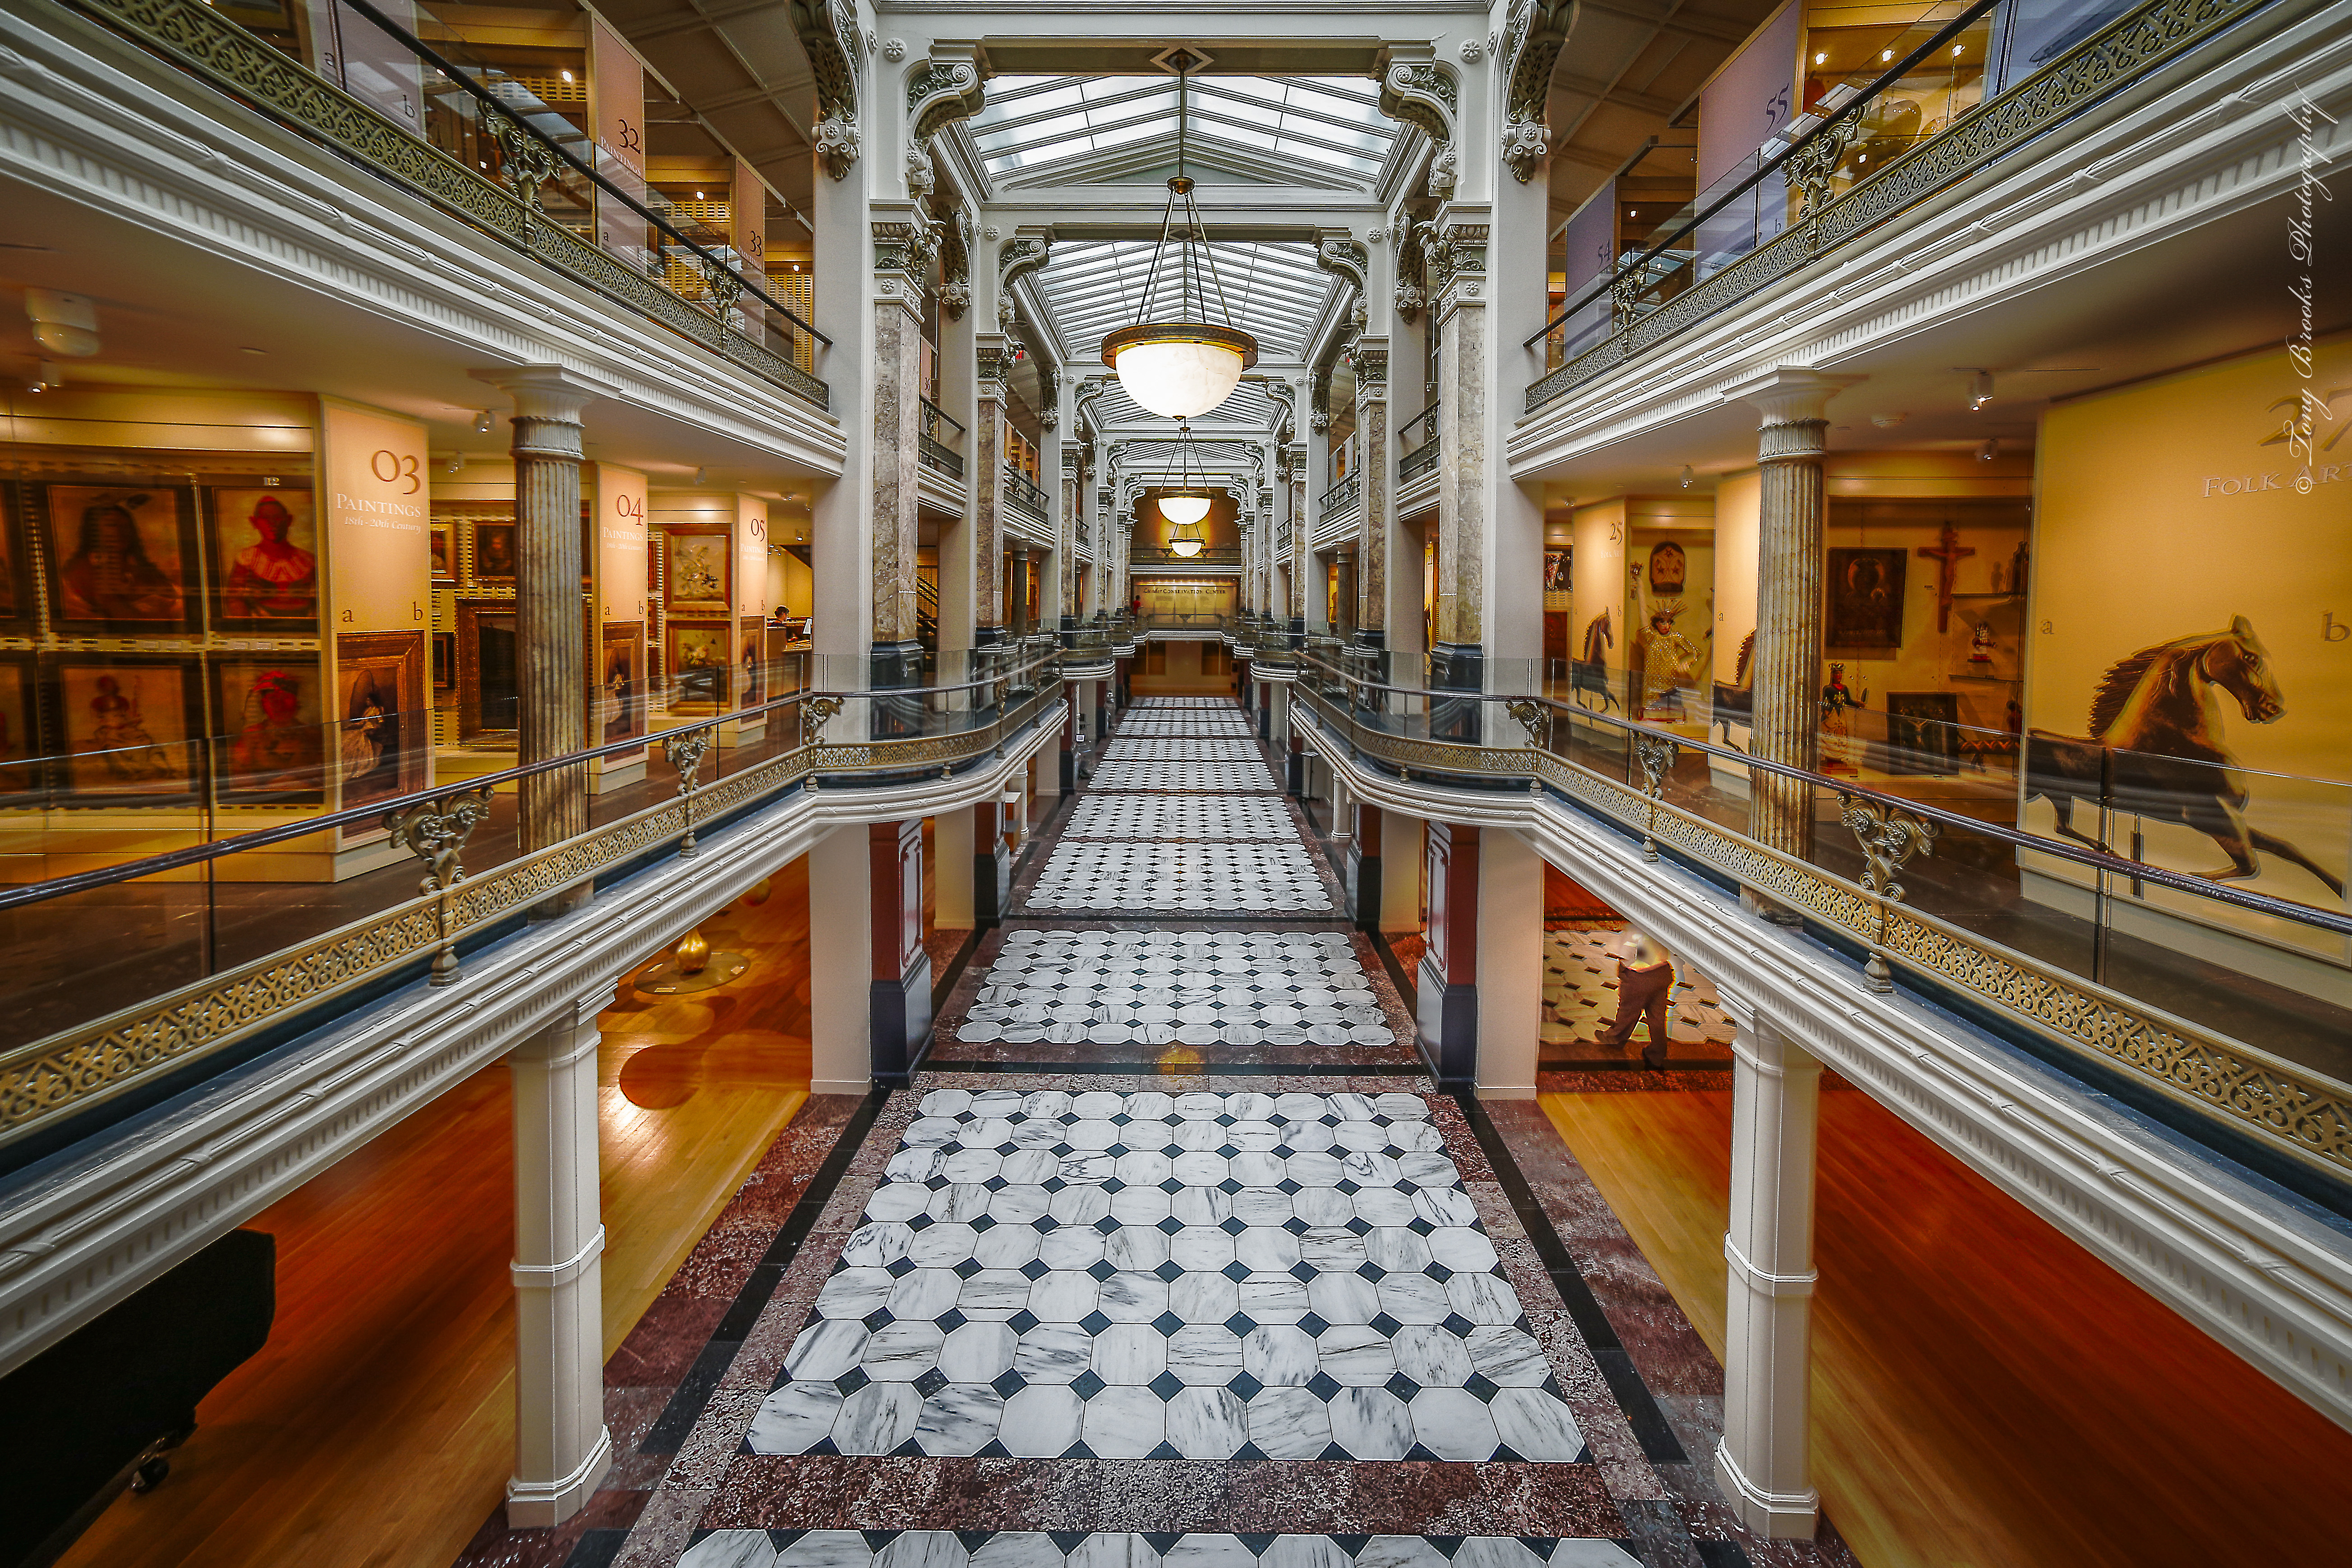
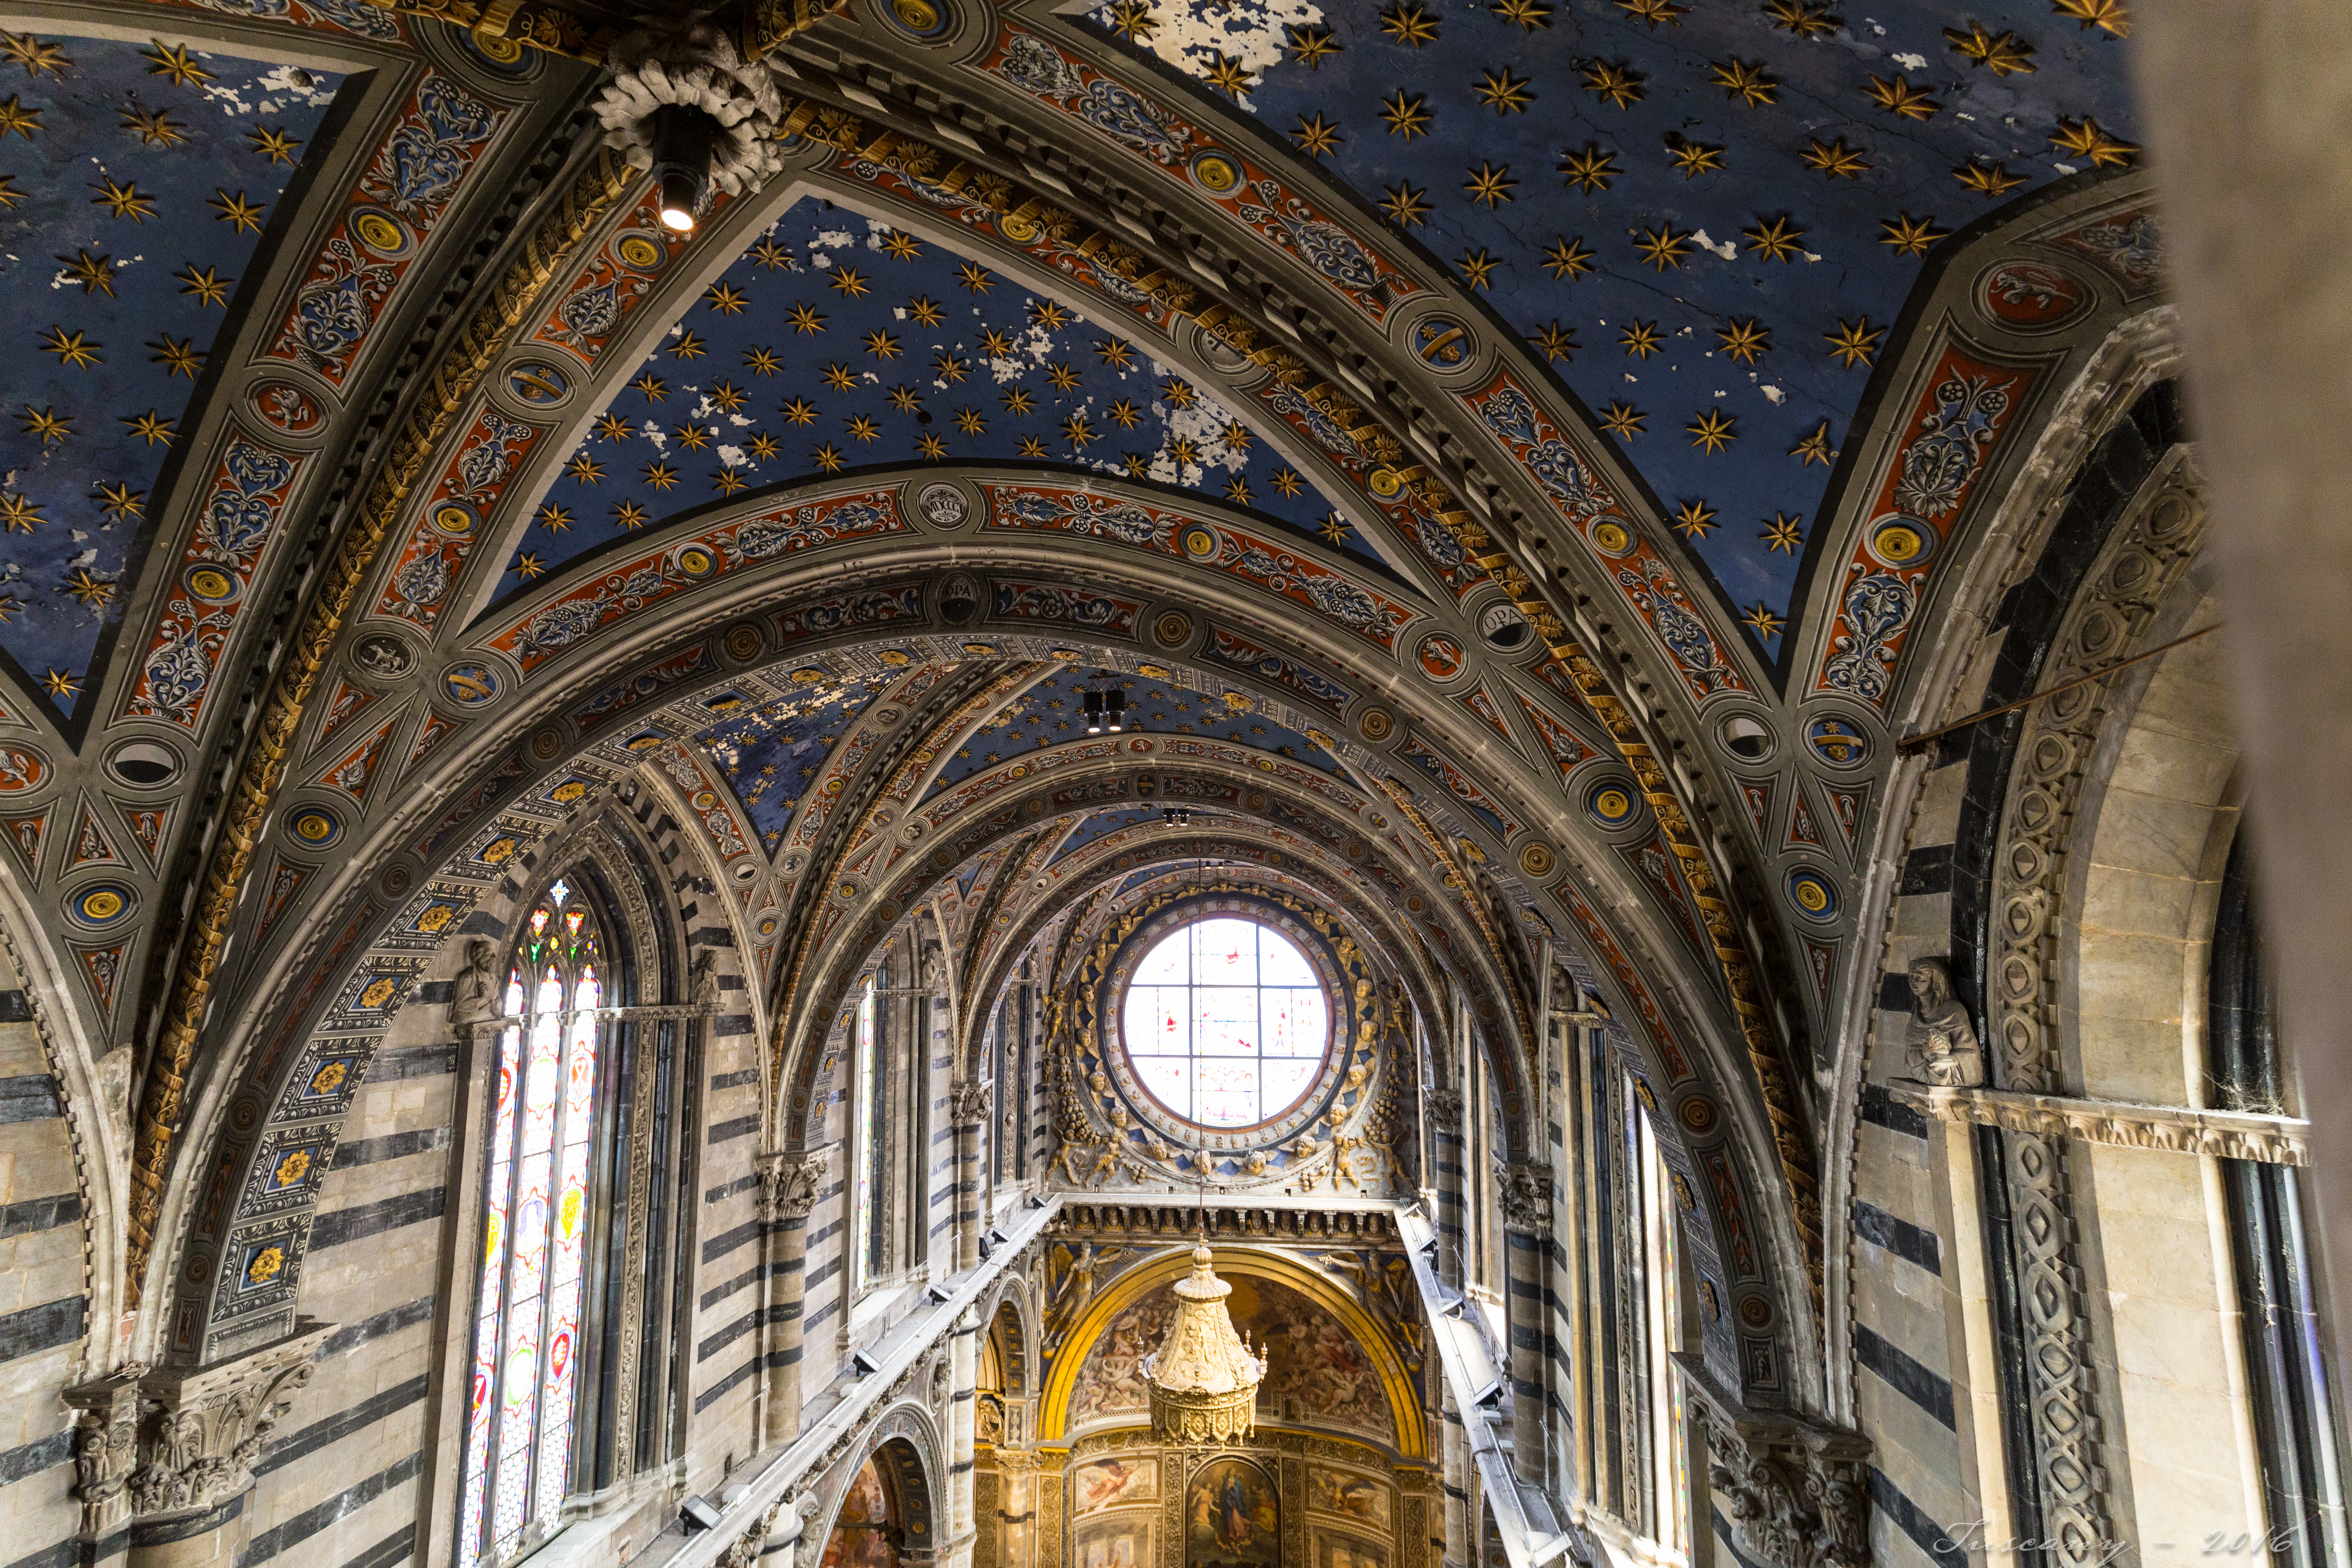
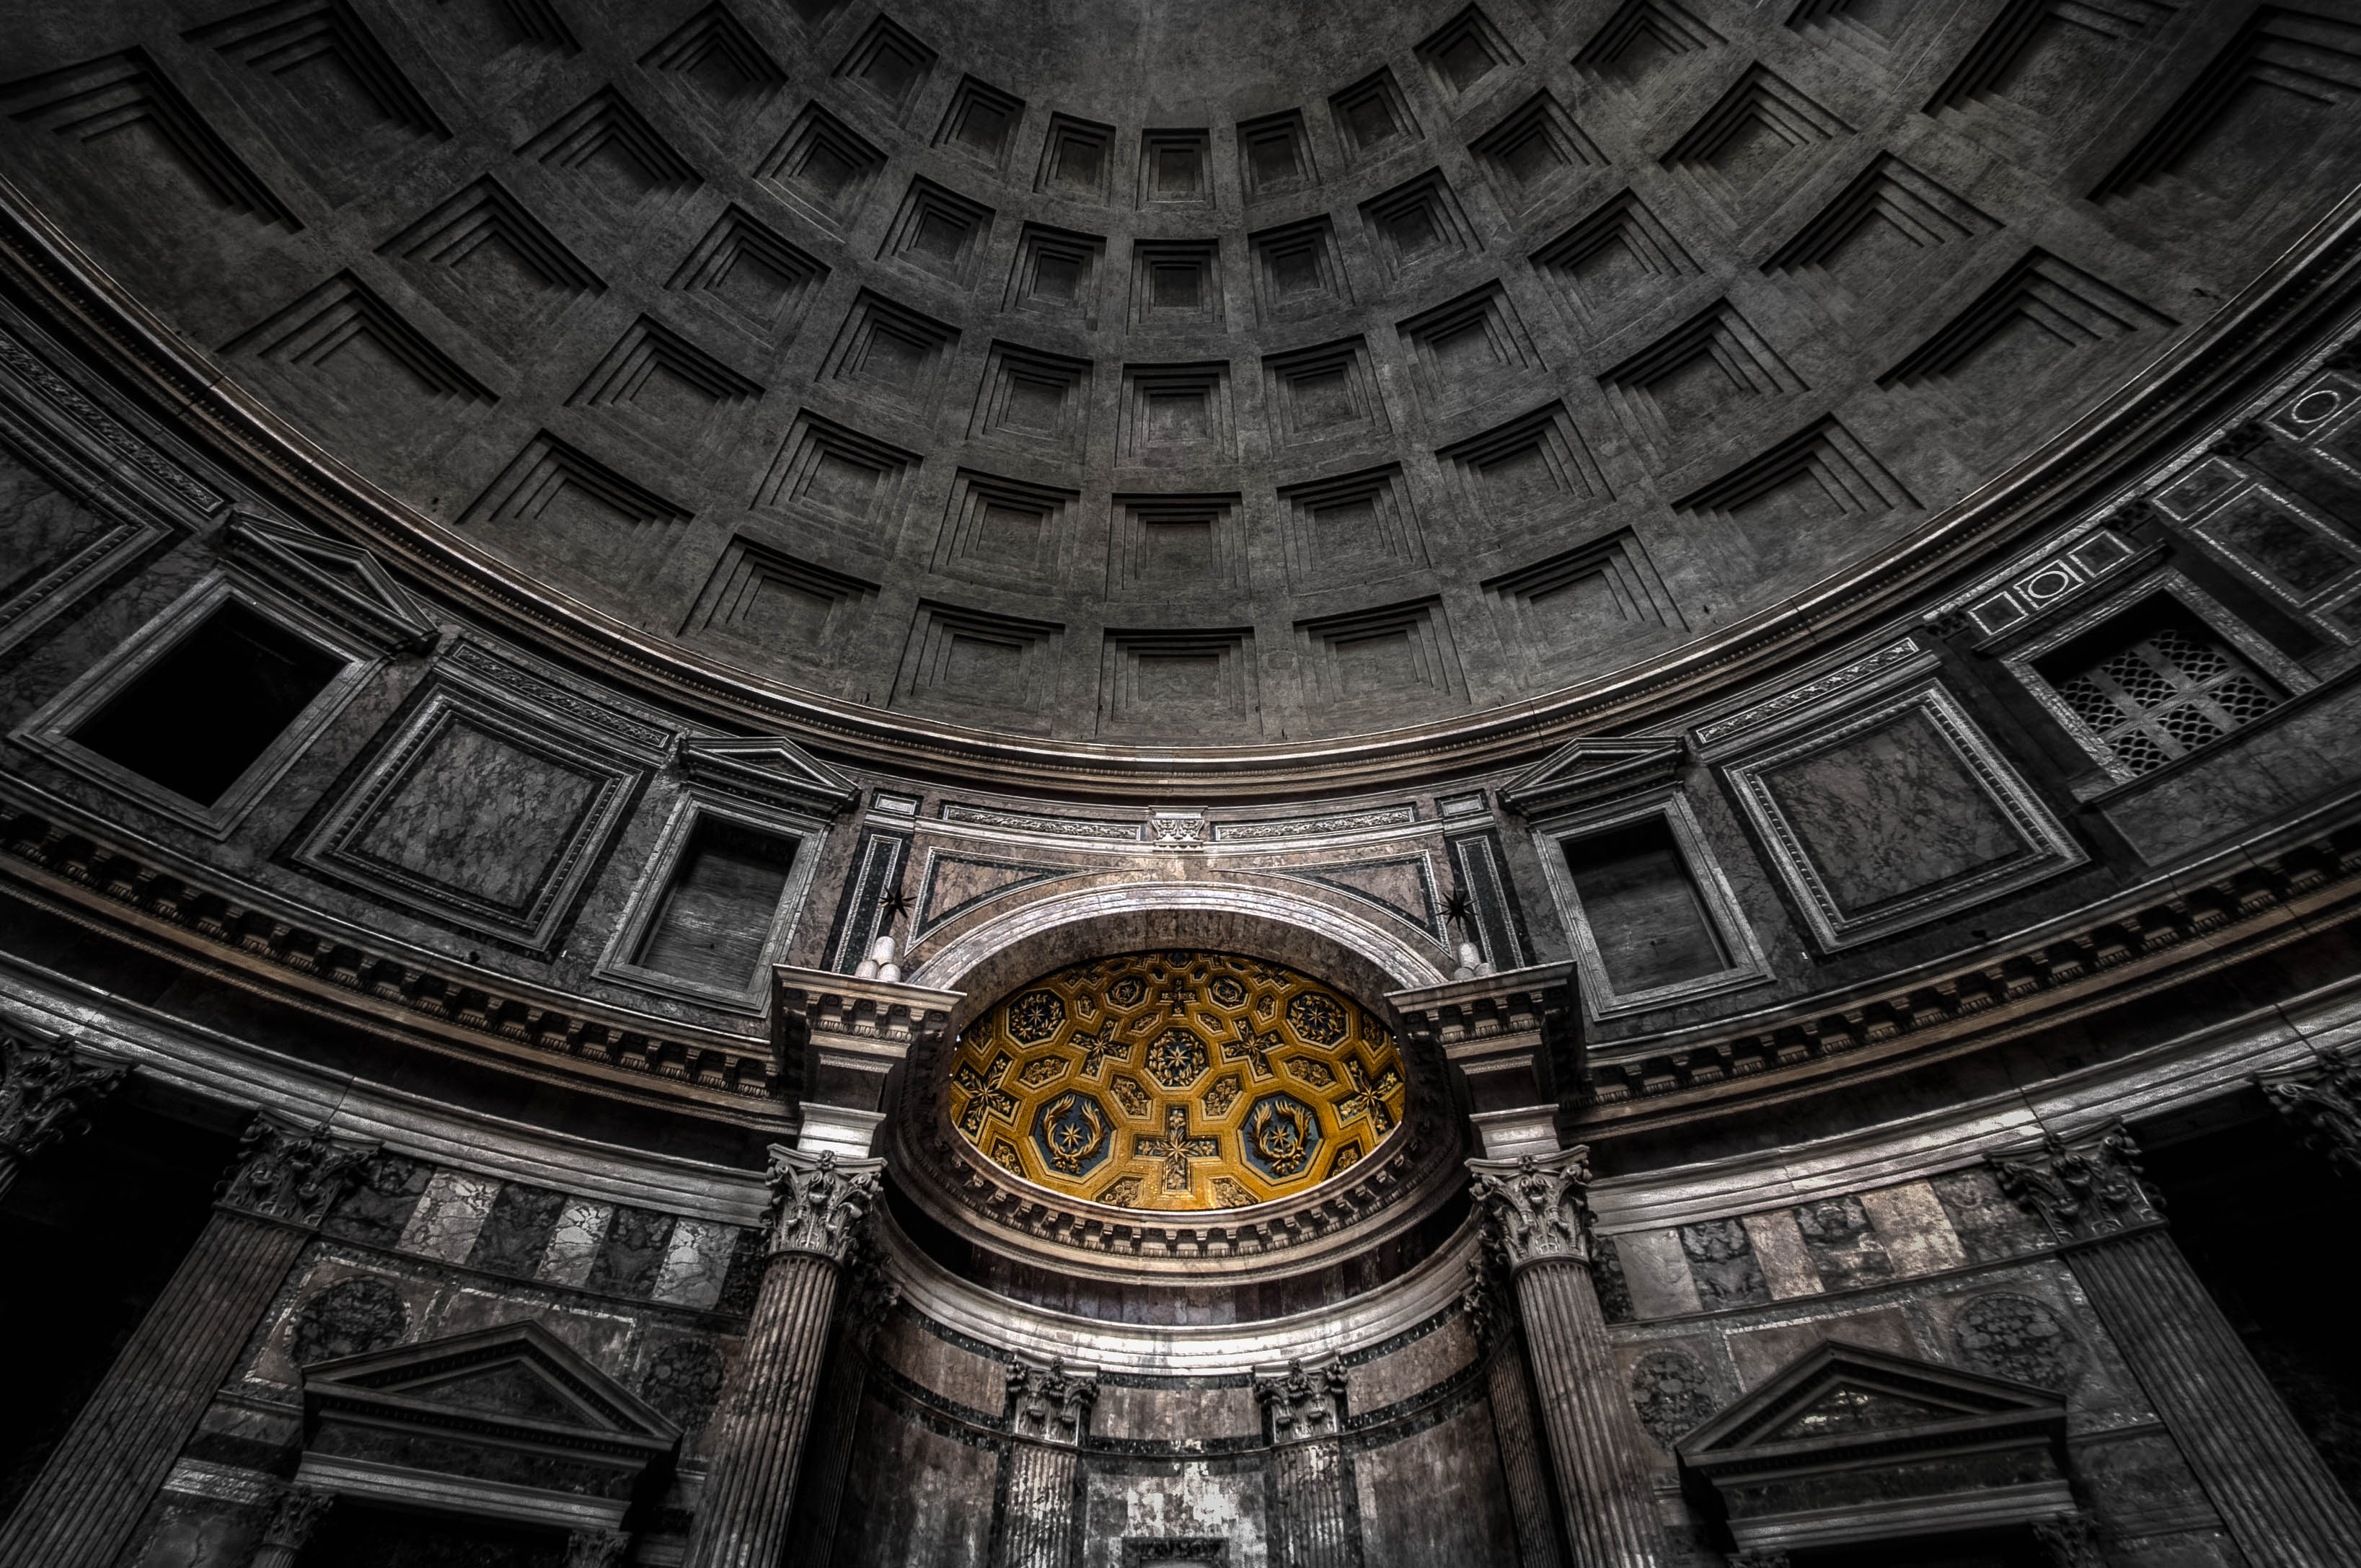
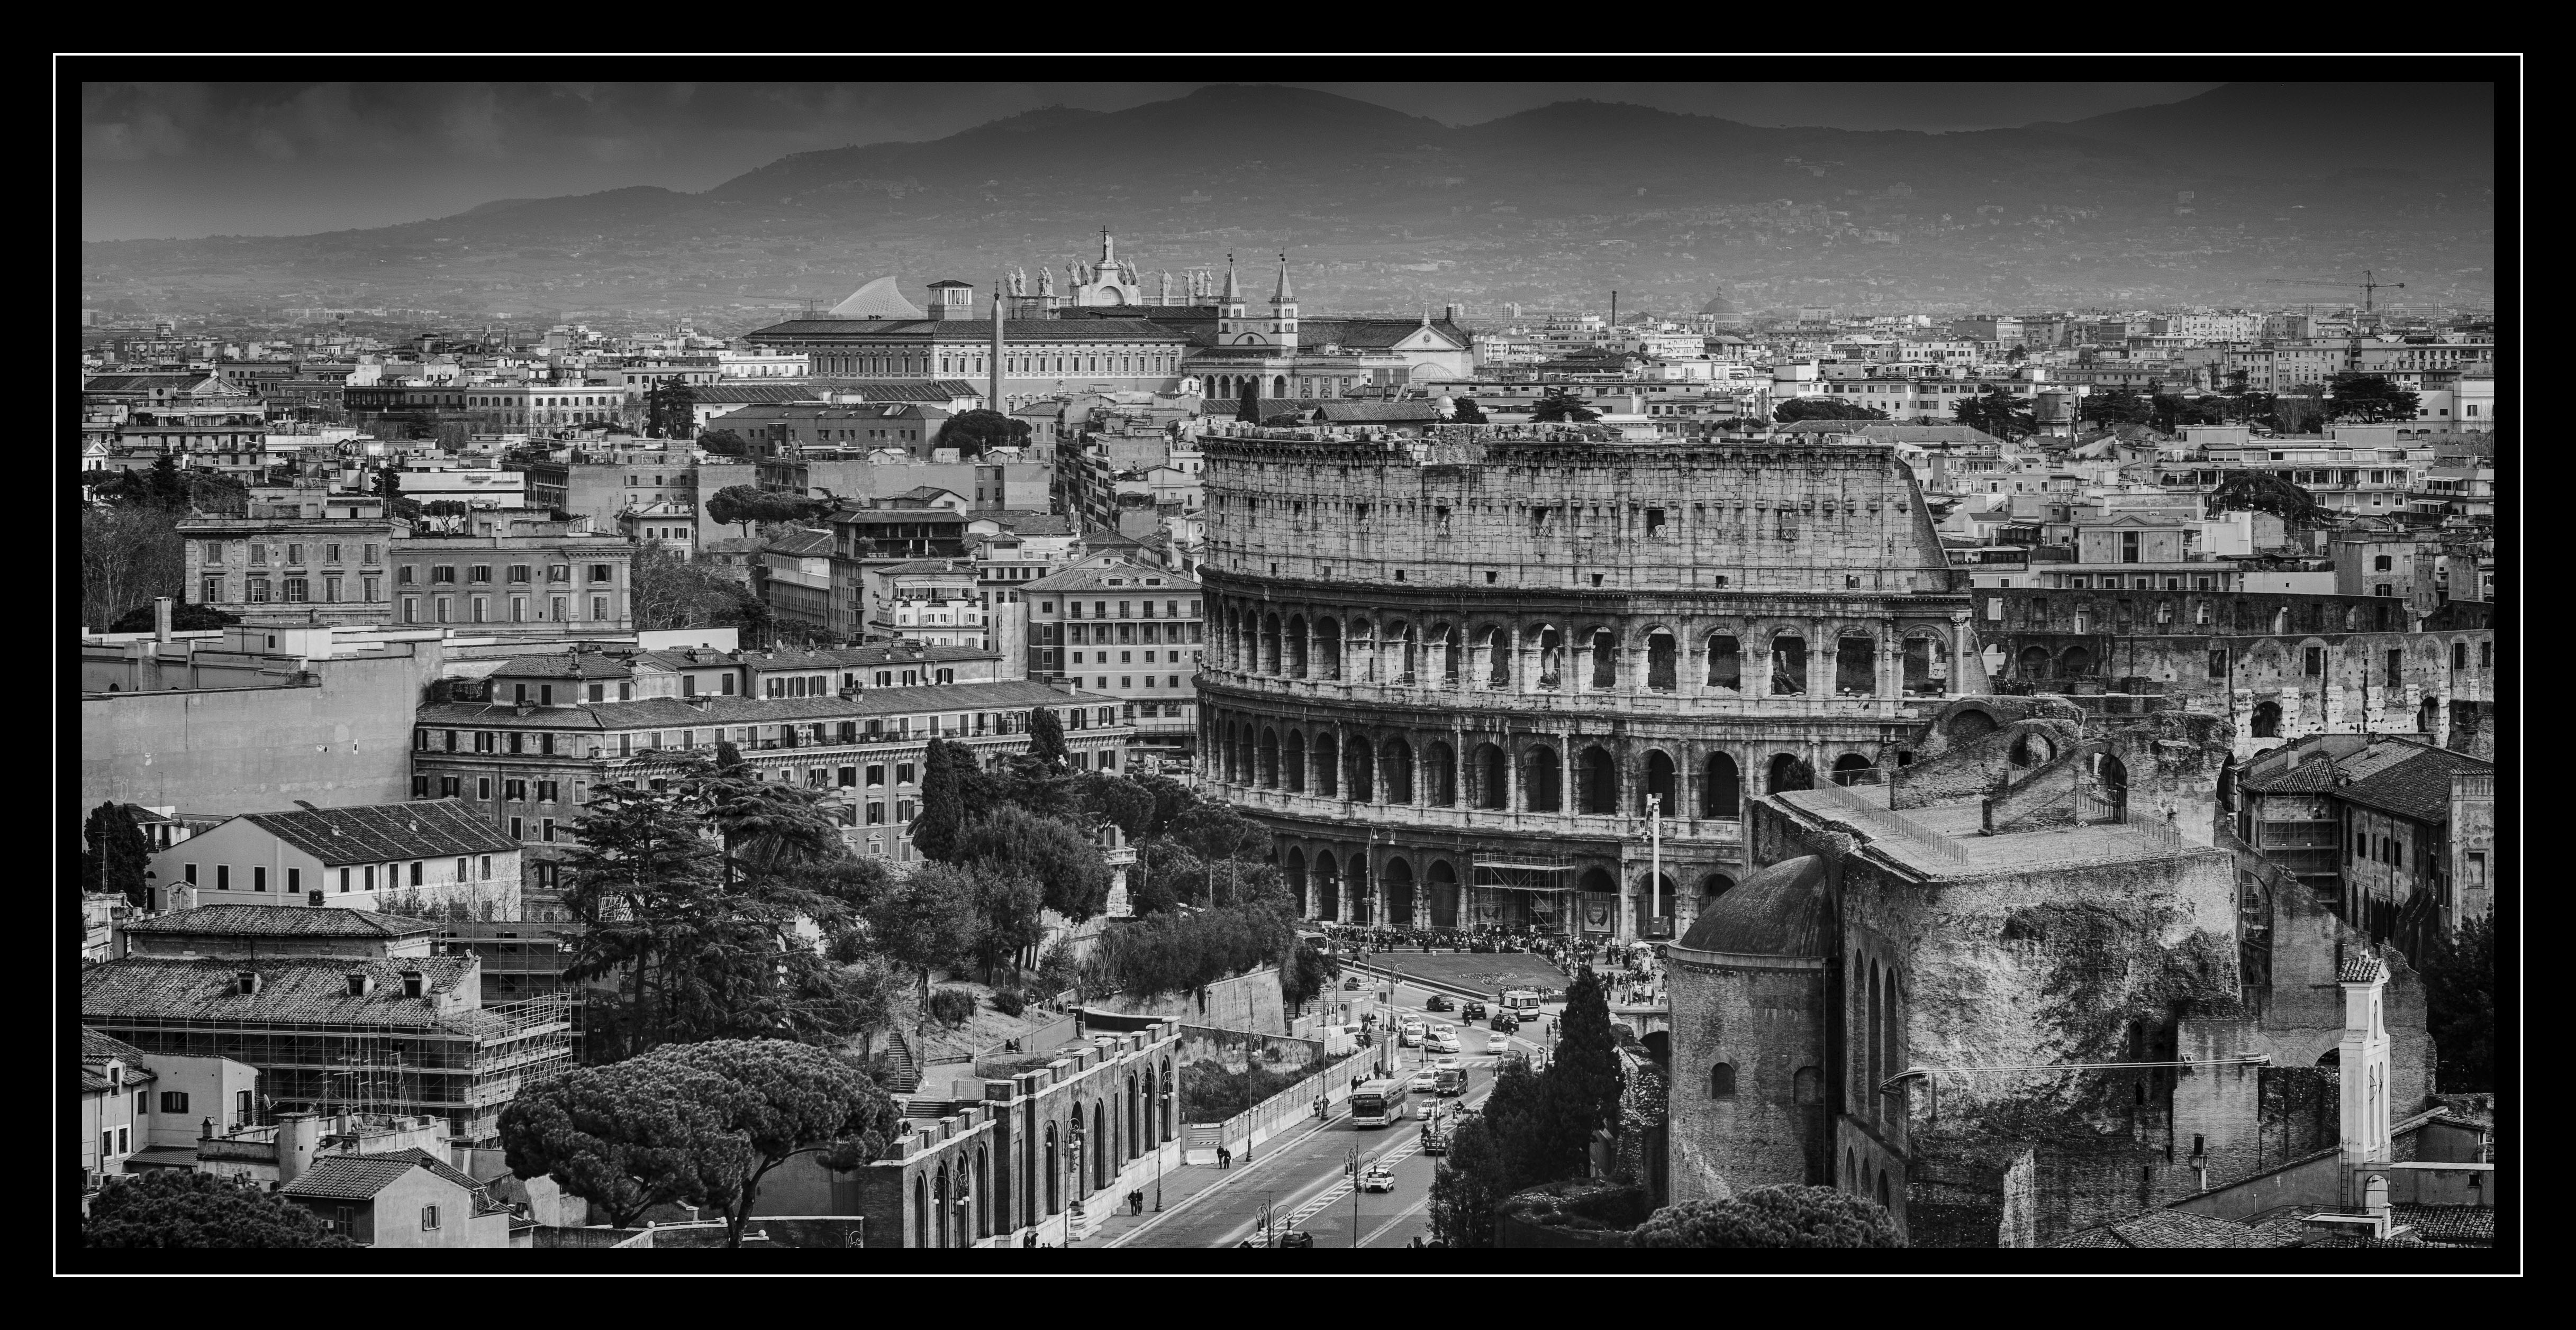
If you want to get an entire structure or room into your frame or opt for a dramatic composition, pack a wide-angle lens in your bag.
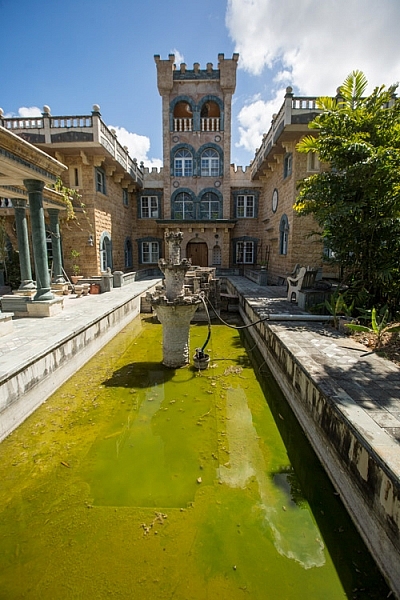
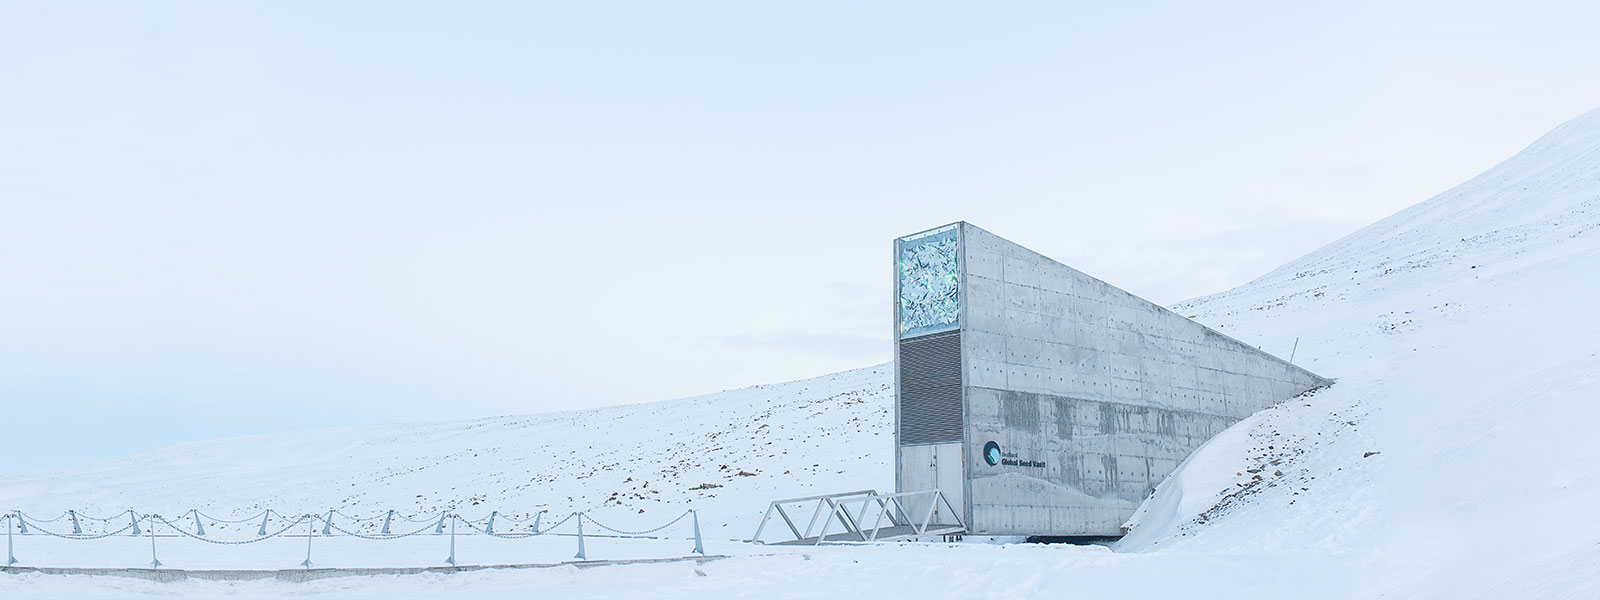
Keep in mind that there will be times when even a wide angle lens may not be adequate to capture an enormous structure or a sense of place – here the knowledge of shooting panoramic images can come in handy.

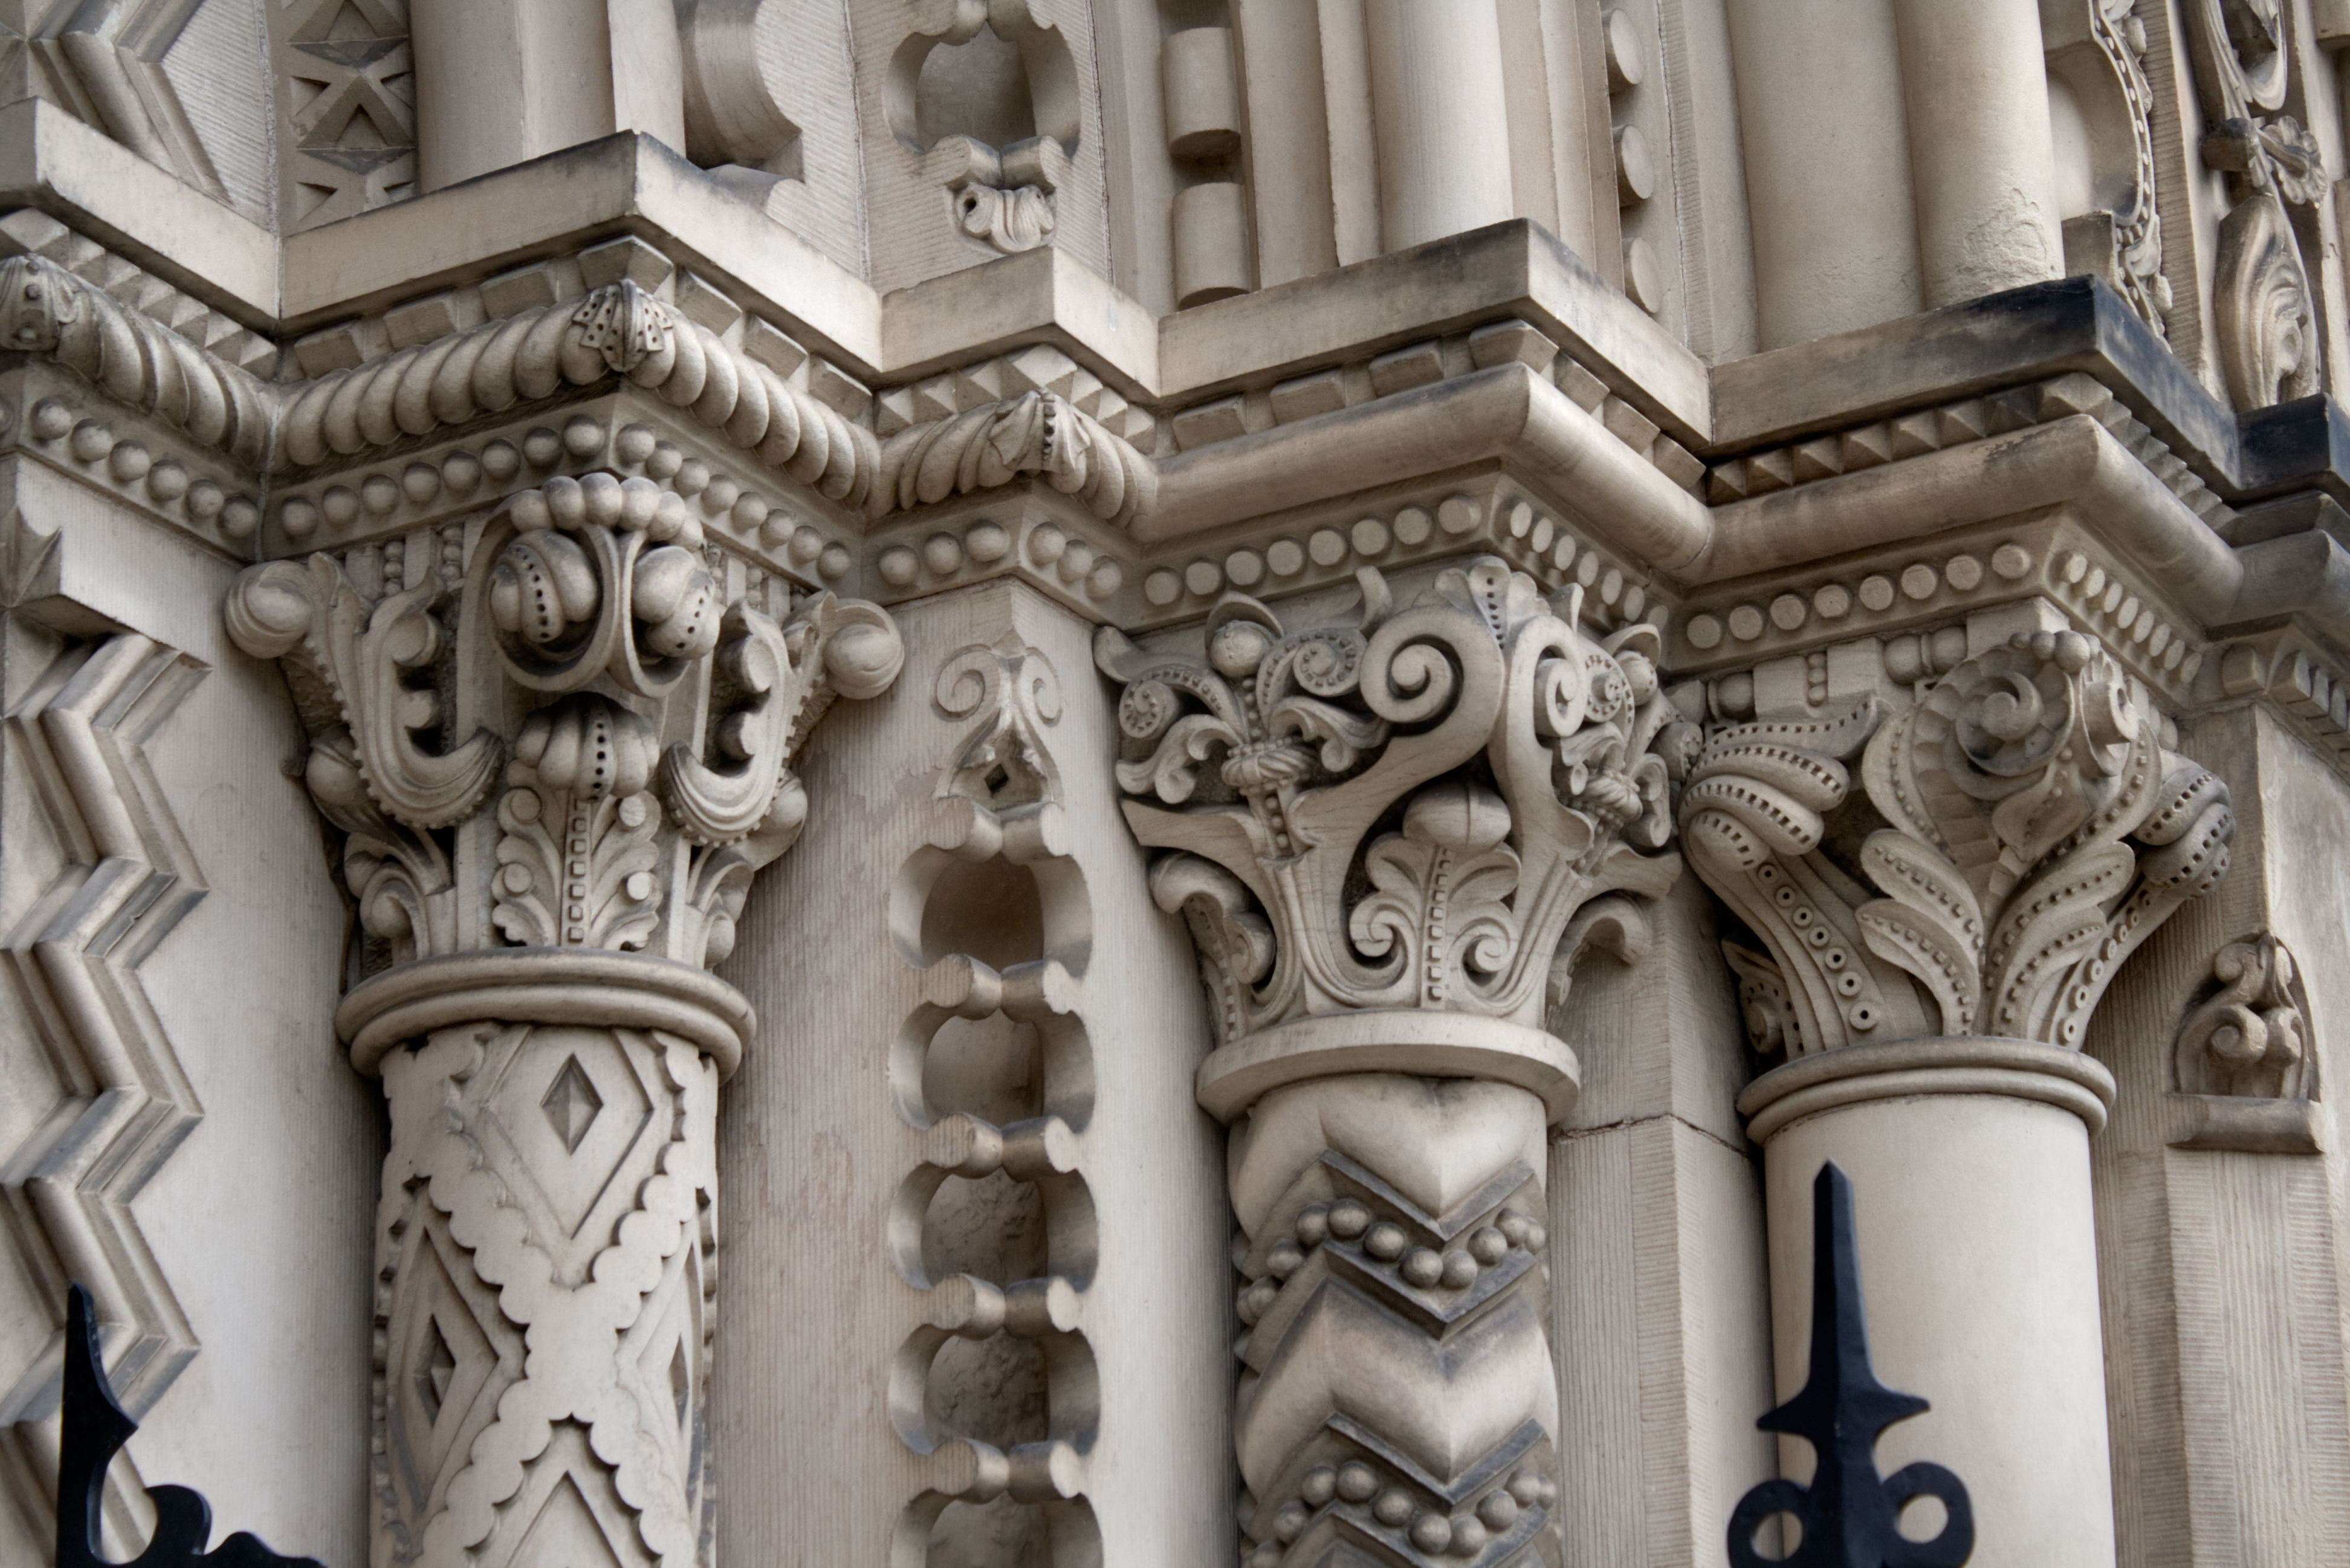
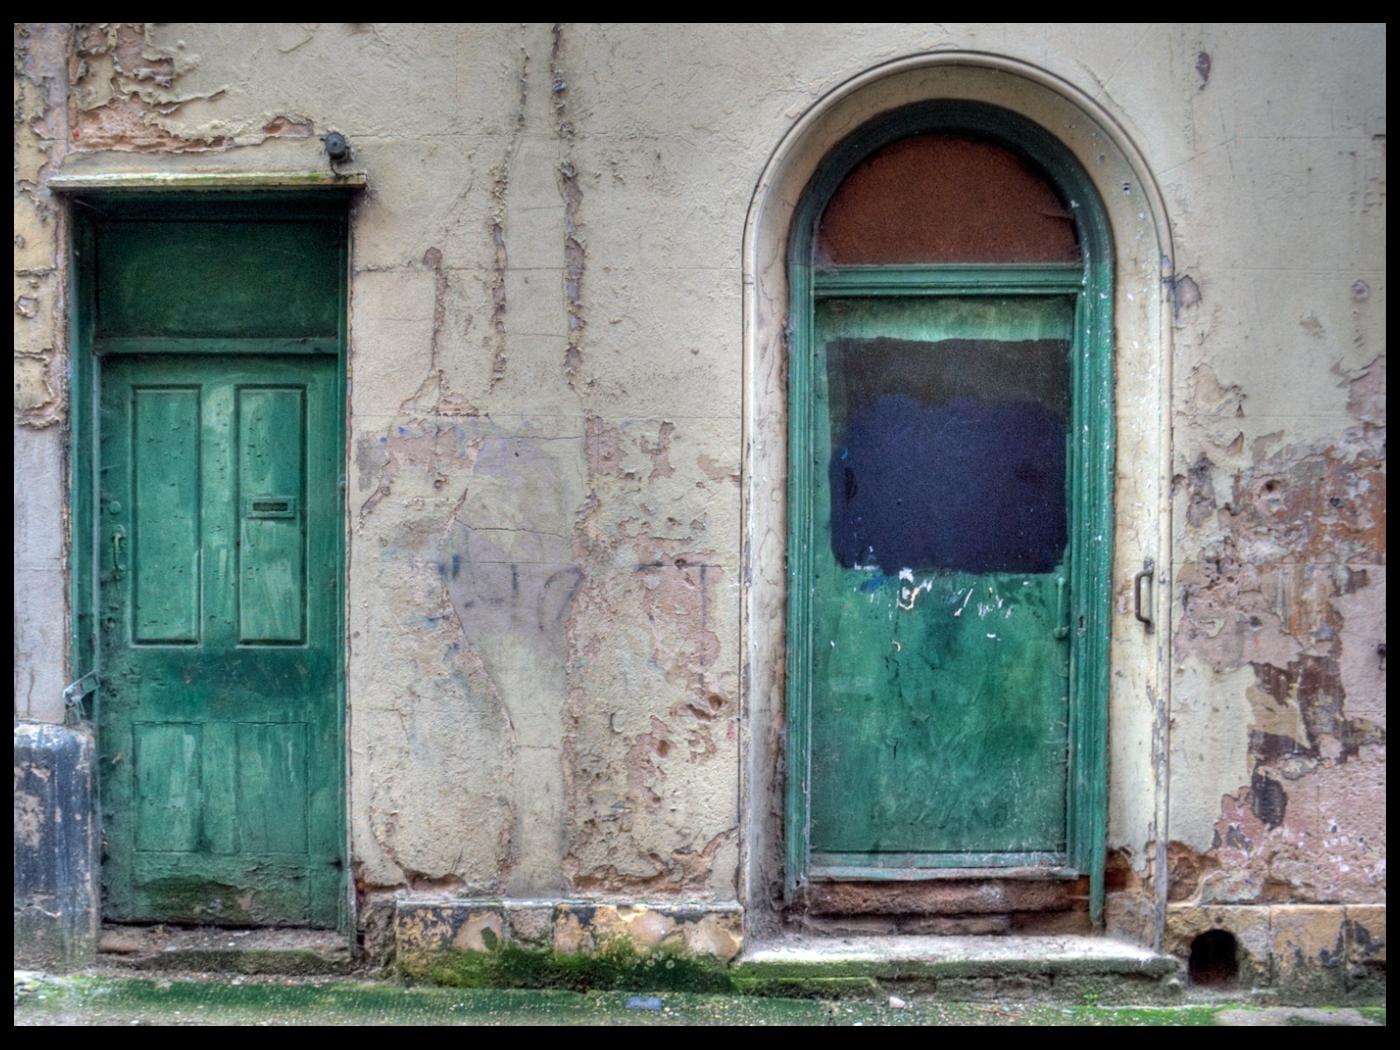
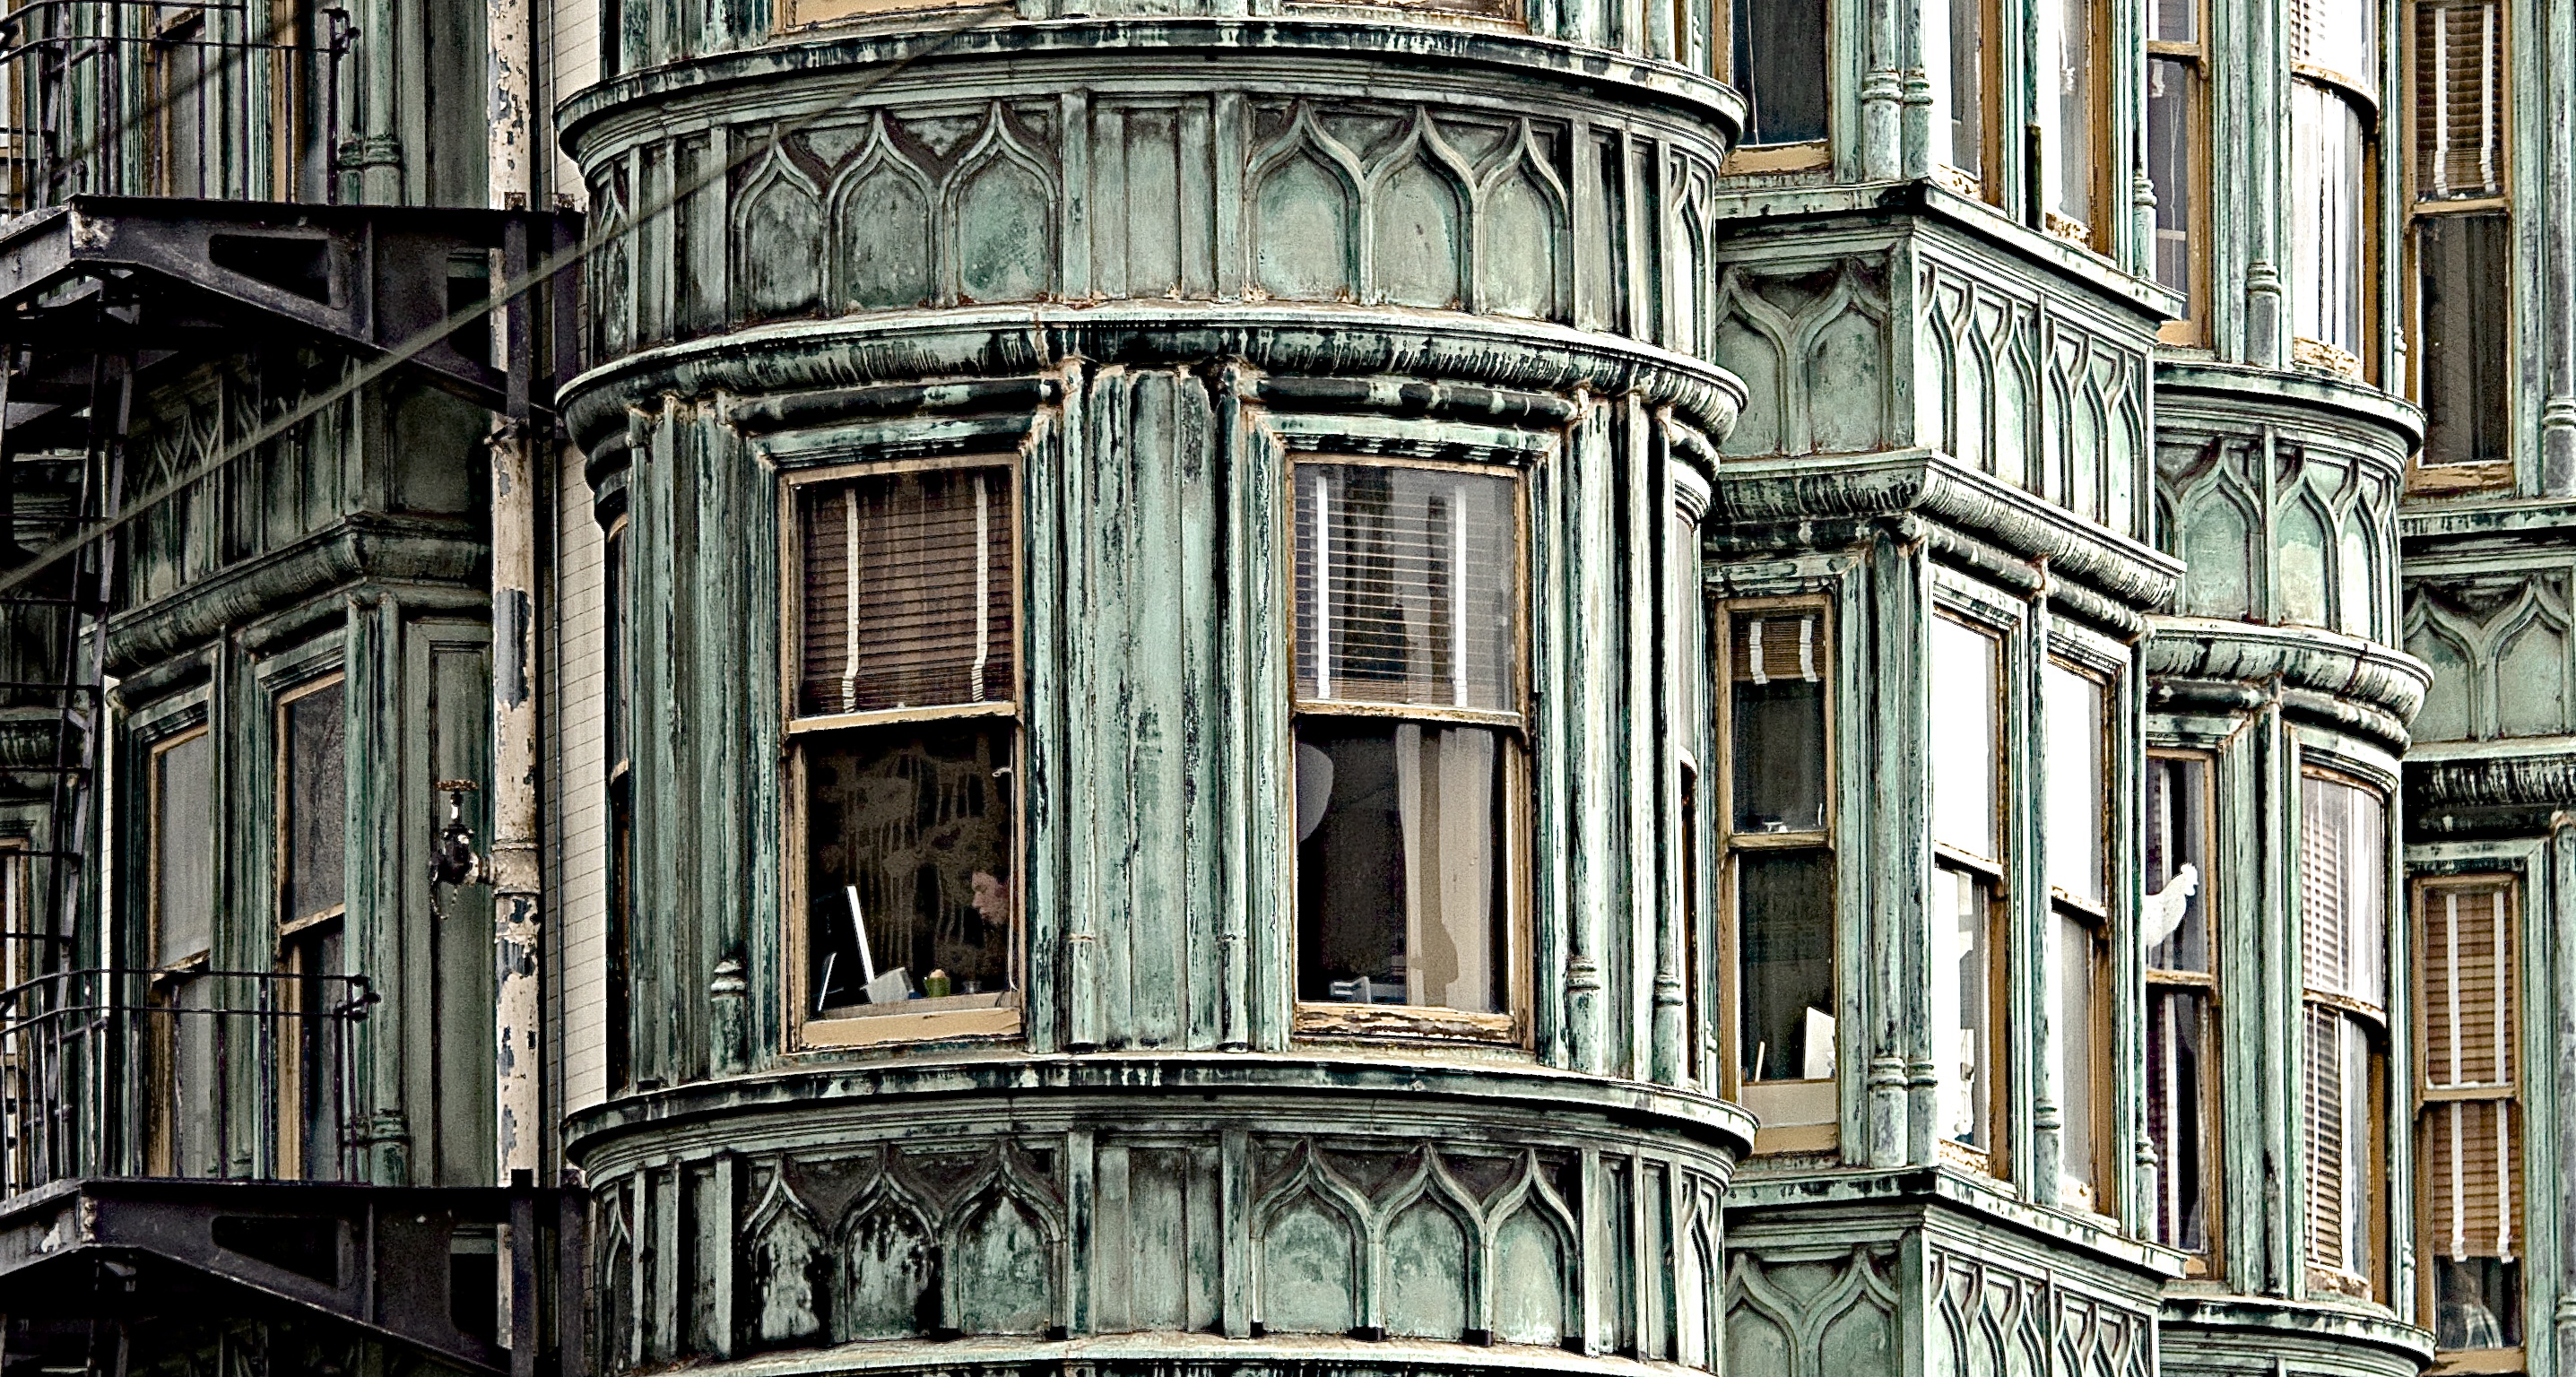
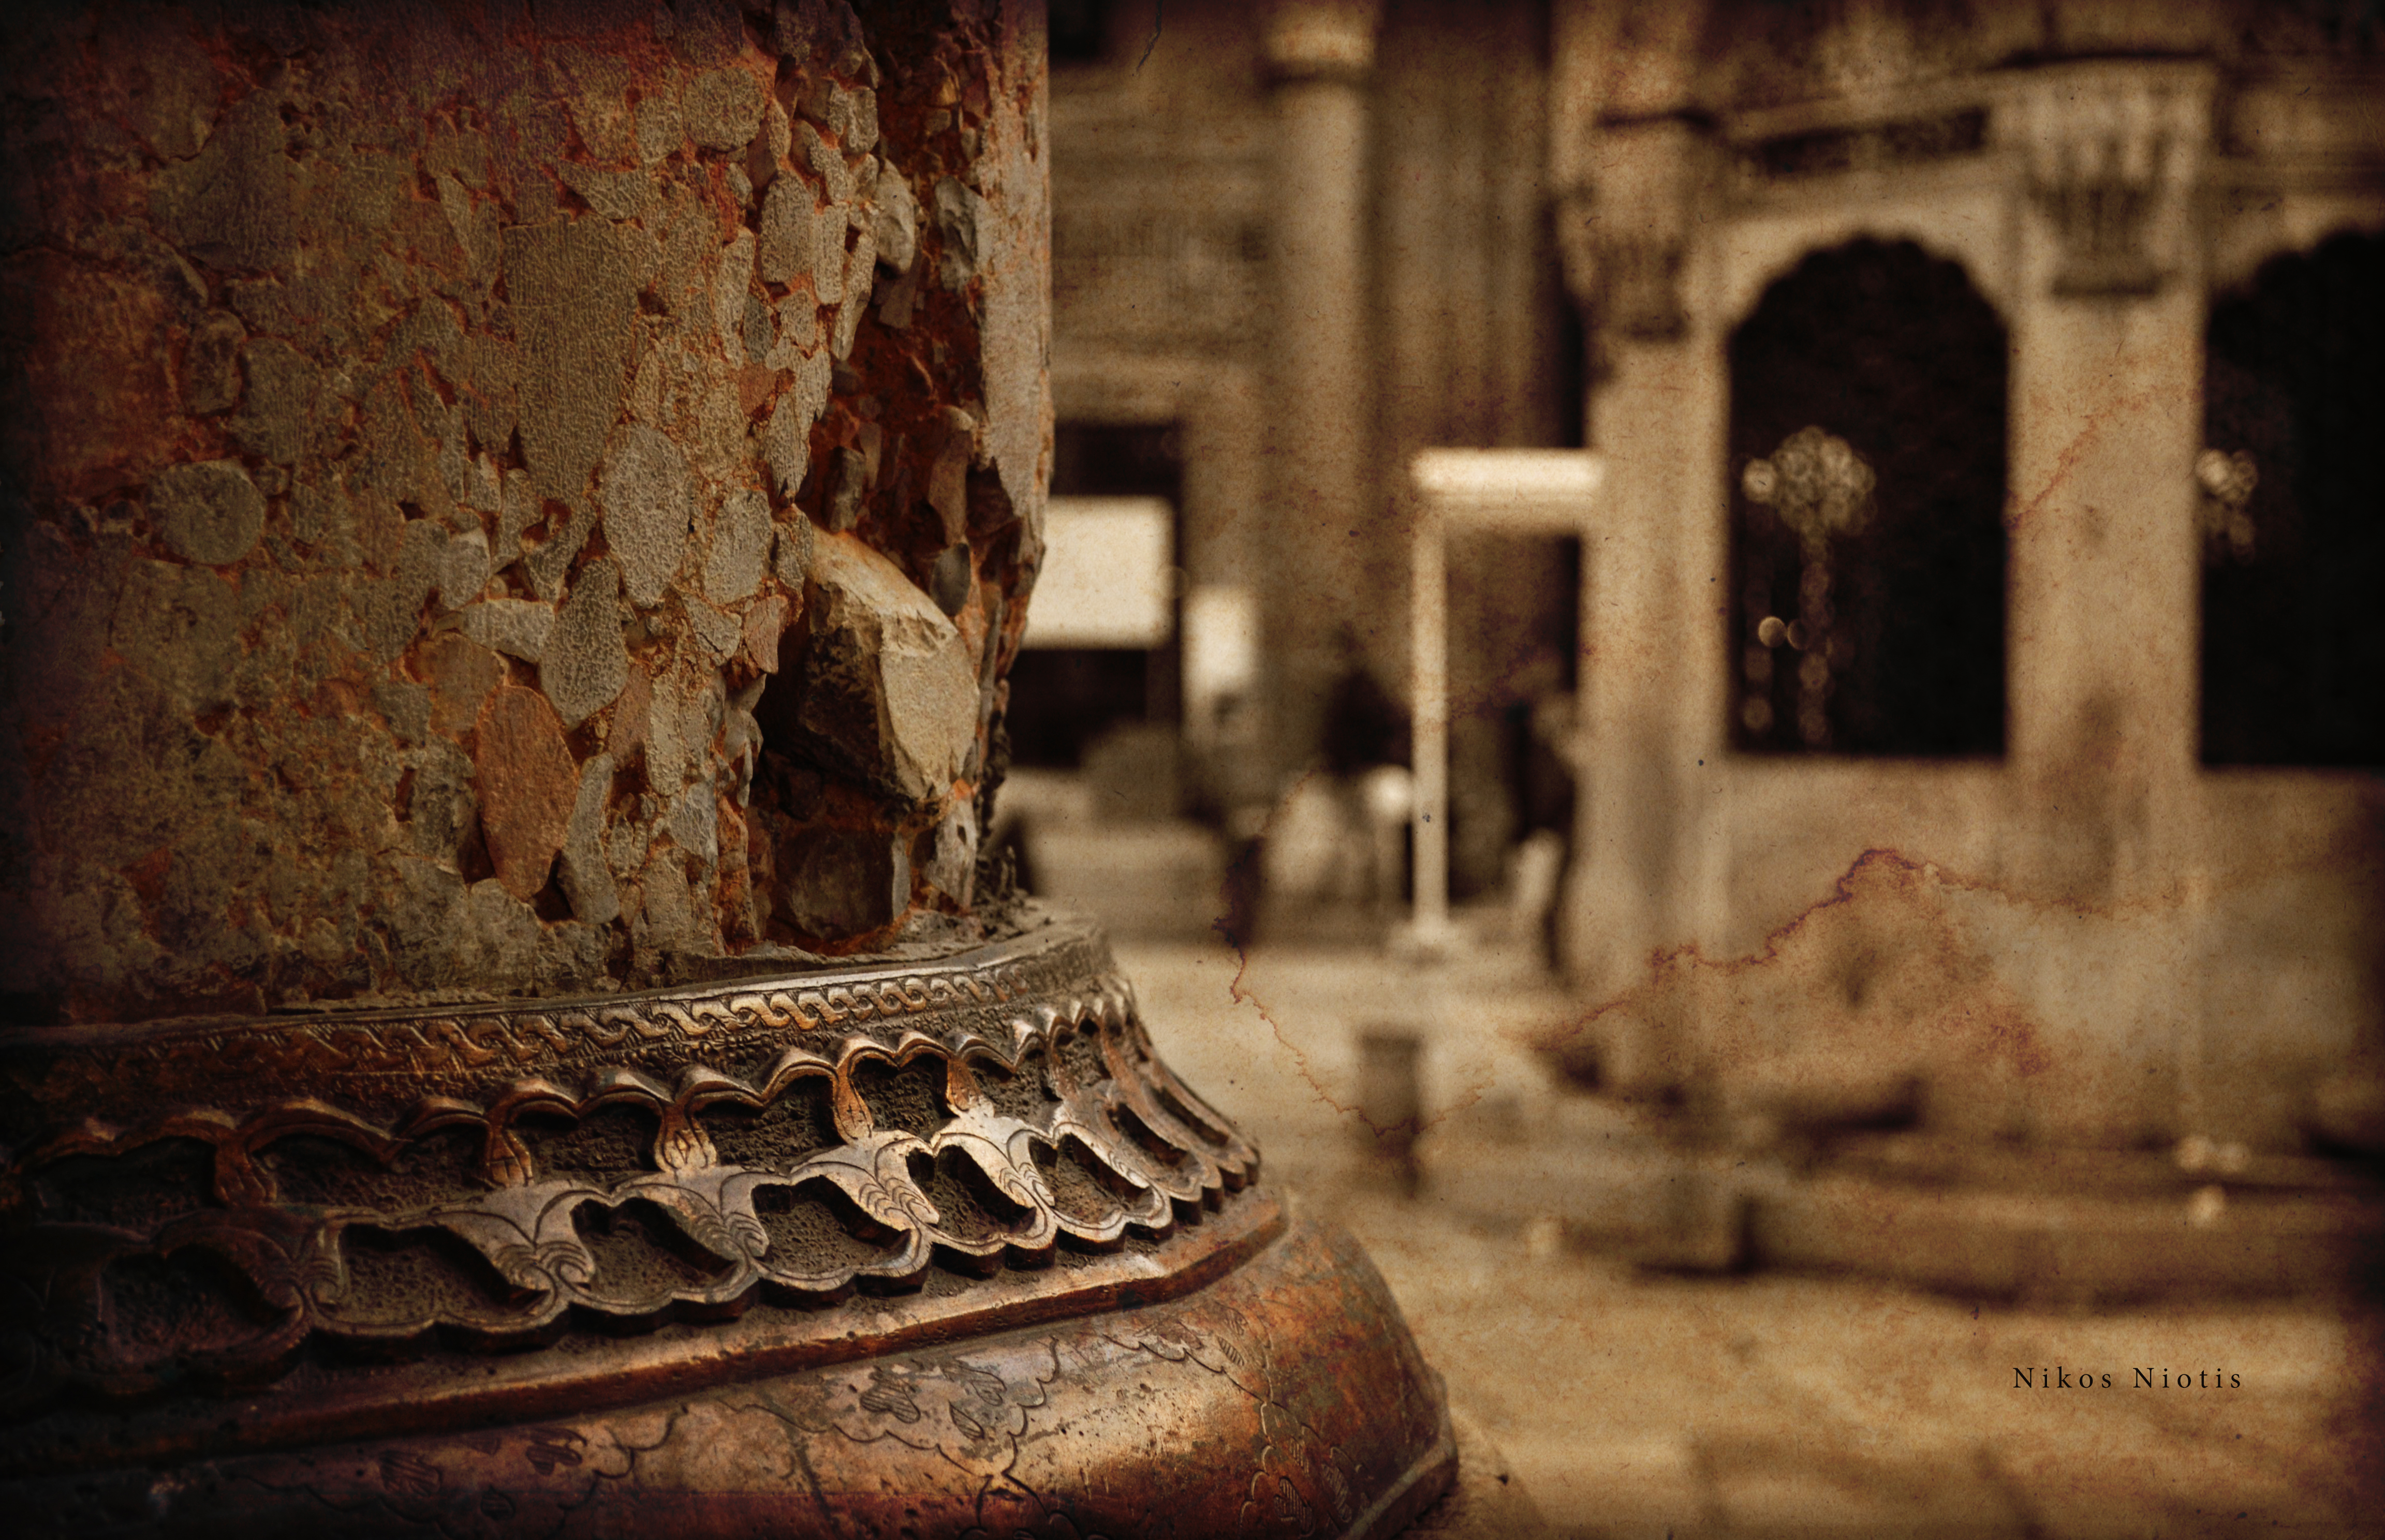
On the flip side, you may not want to show everything and just focus on some interesting details. Pack a zoom lens to capture those details which help to convey the more ornate and interesting characteristics of architecture.
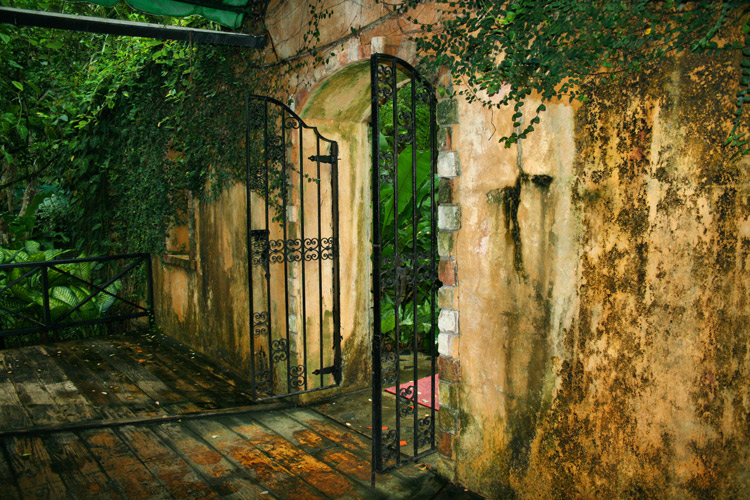
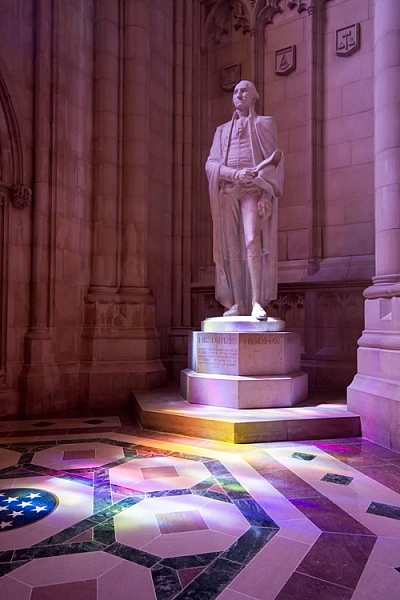
Also, a telephoto lens allows shooting your subject from further away and can help a building’s walls and lines appear straighter (with less distortion).
2. Compose Yourself
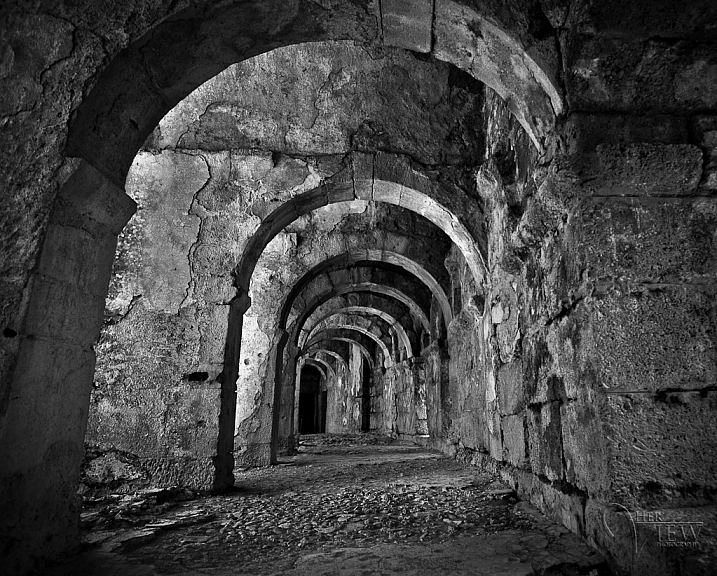
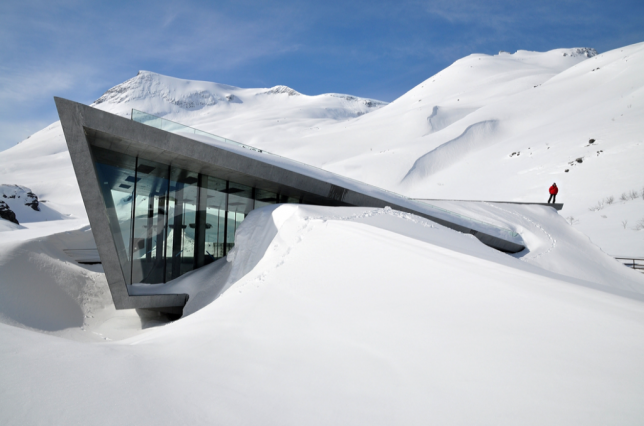
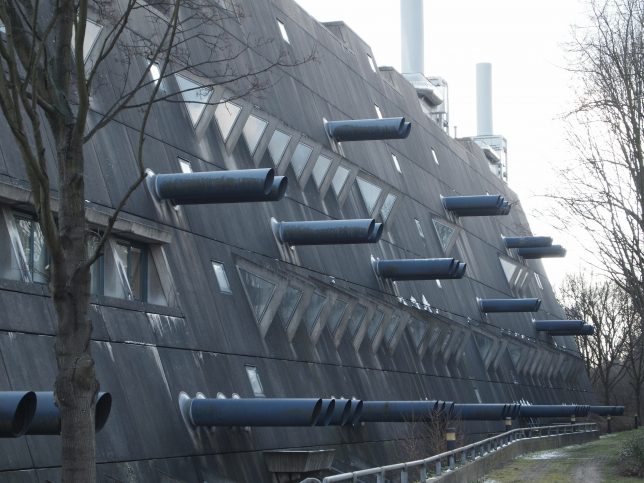
Interesting architectural photography benefits from good composition. While distortion can add drama and lend to that artistic feel, buildings leaning backwards or looking too distorted can be less appealing. Always consider your angles and how you want to convey your subject.
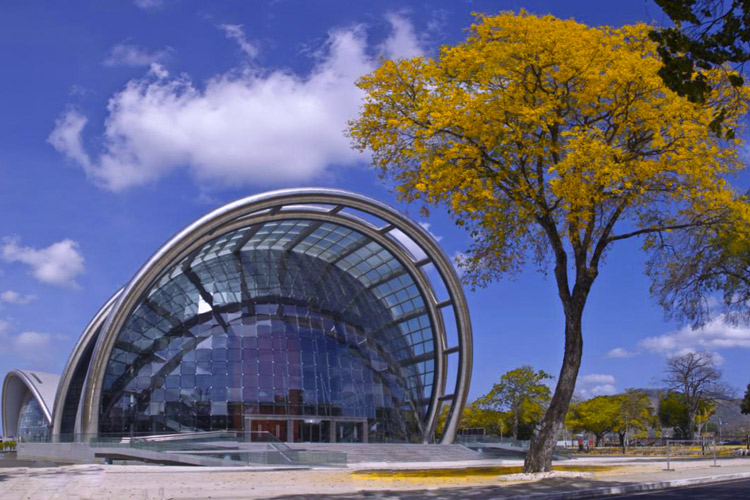
Photographers who specialize in architectural photography find themselves correcting skews in the post-processing phase or invest in a tilt-shift lens to avoid distortion in the first place.
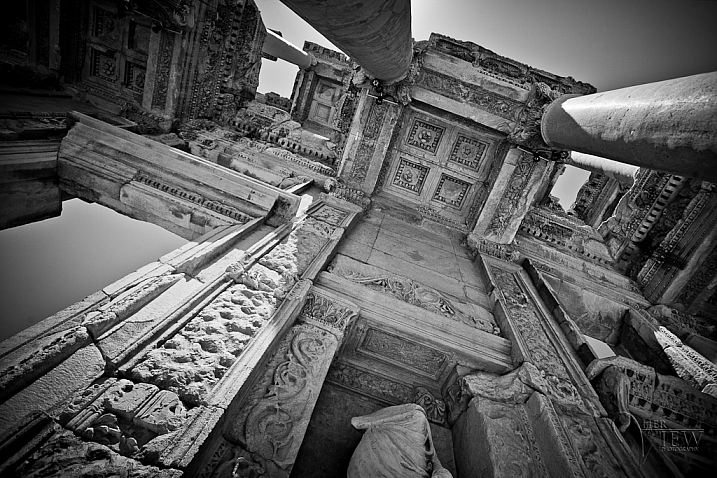
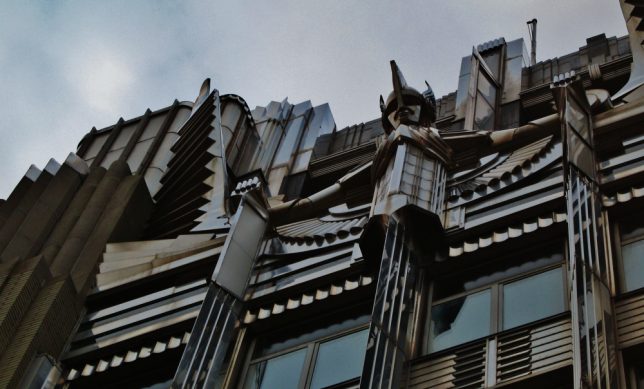
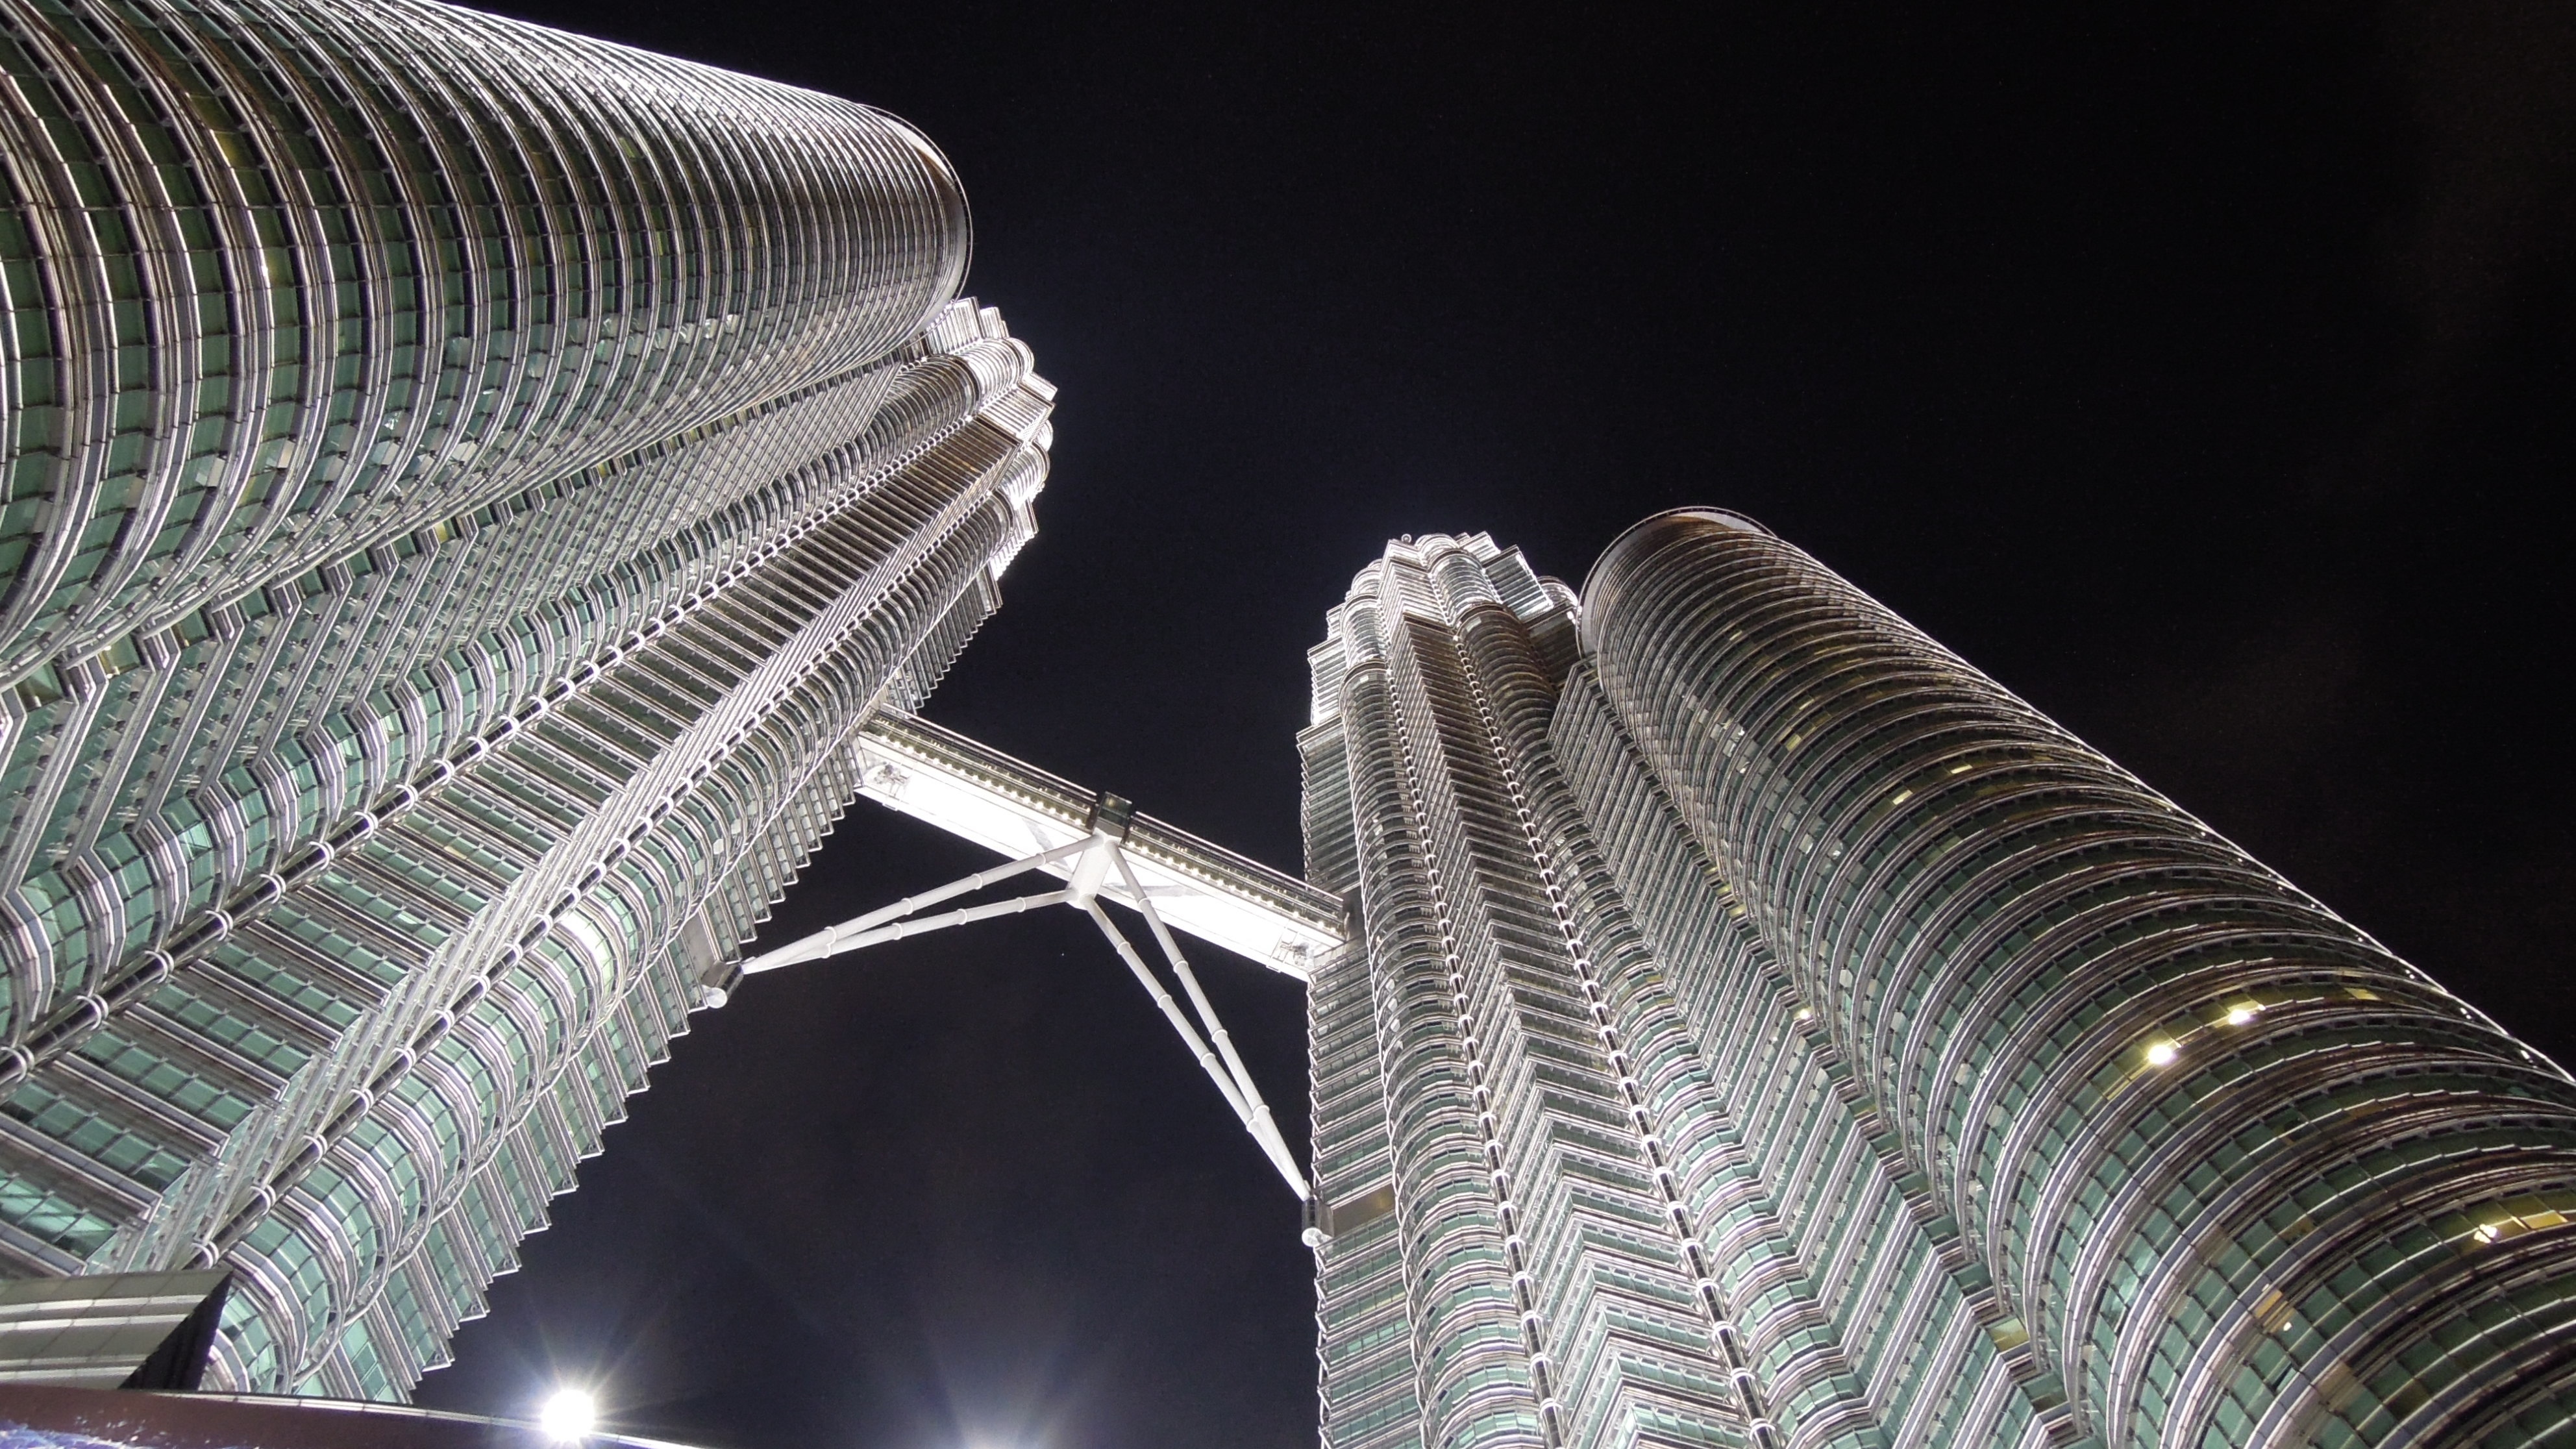
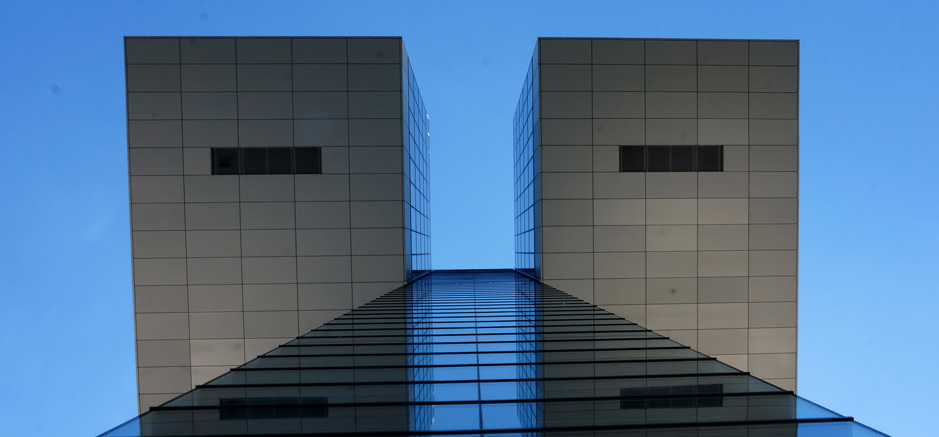
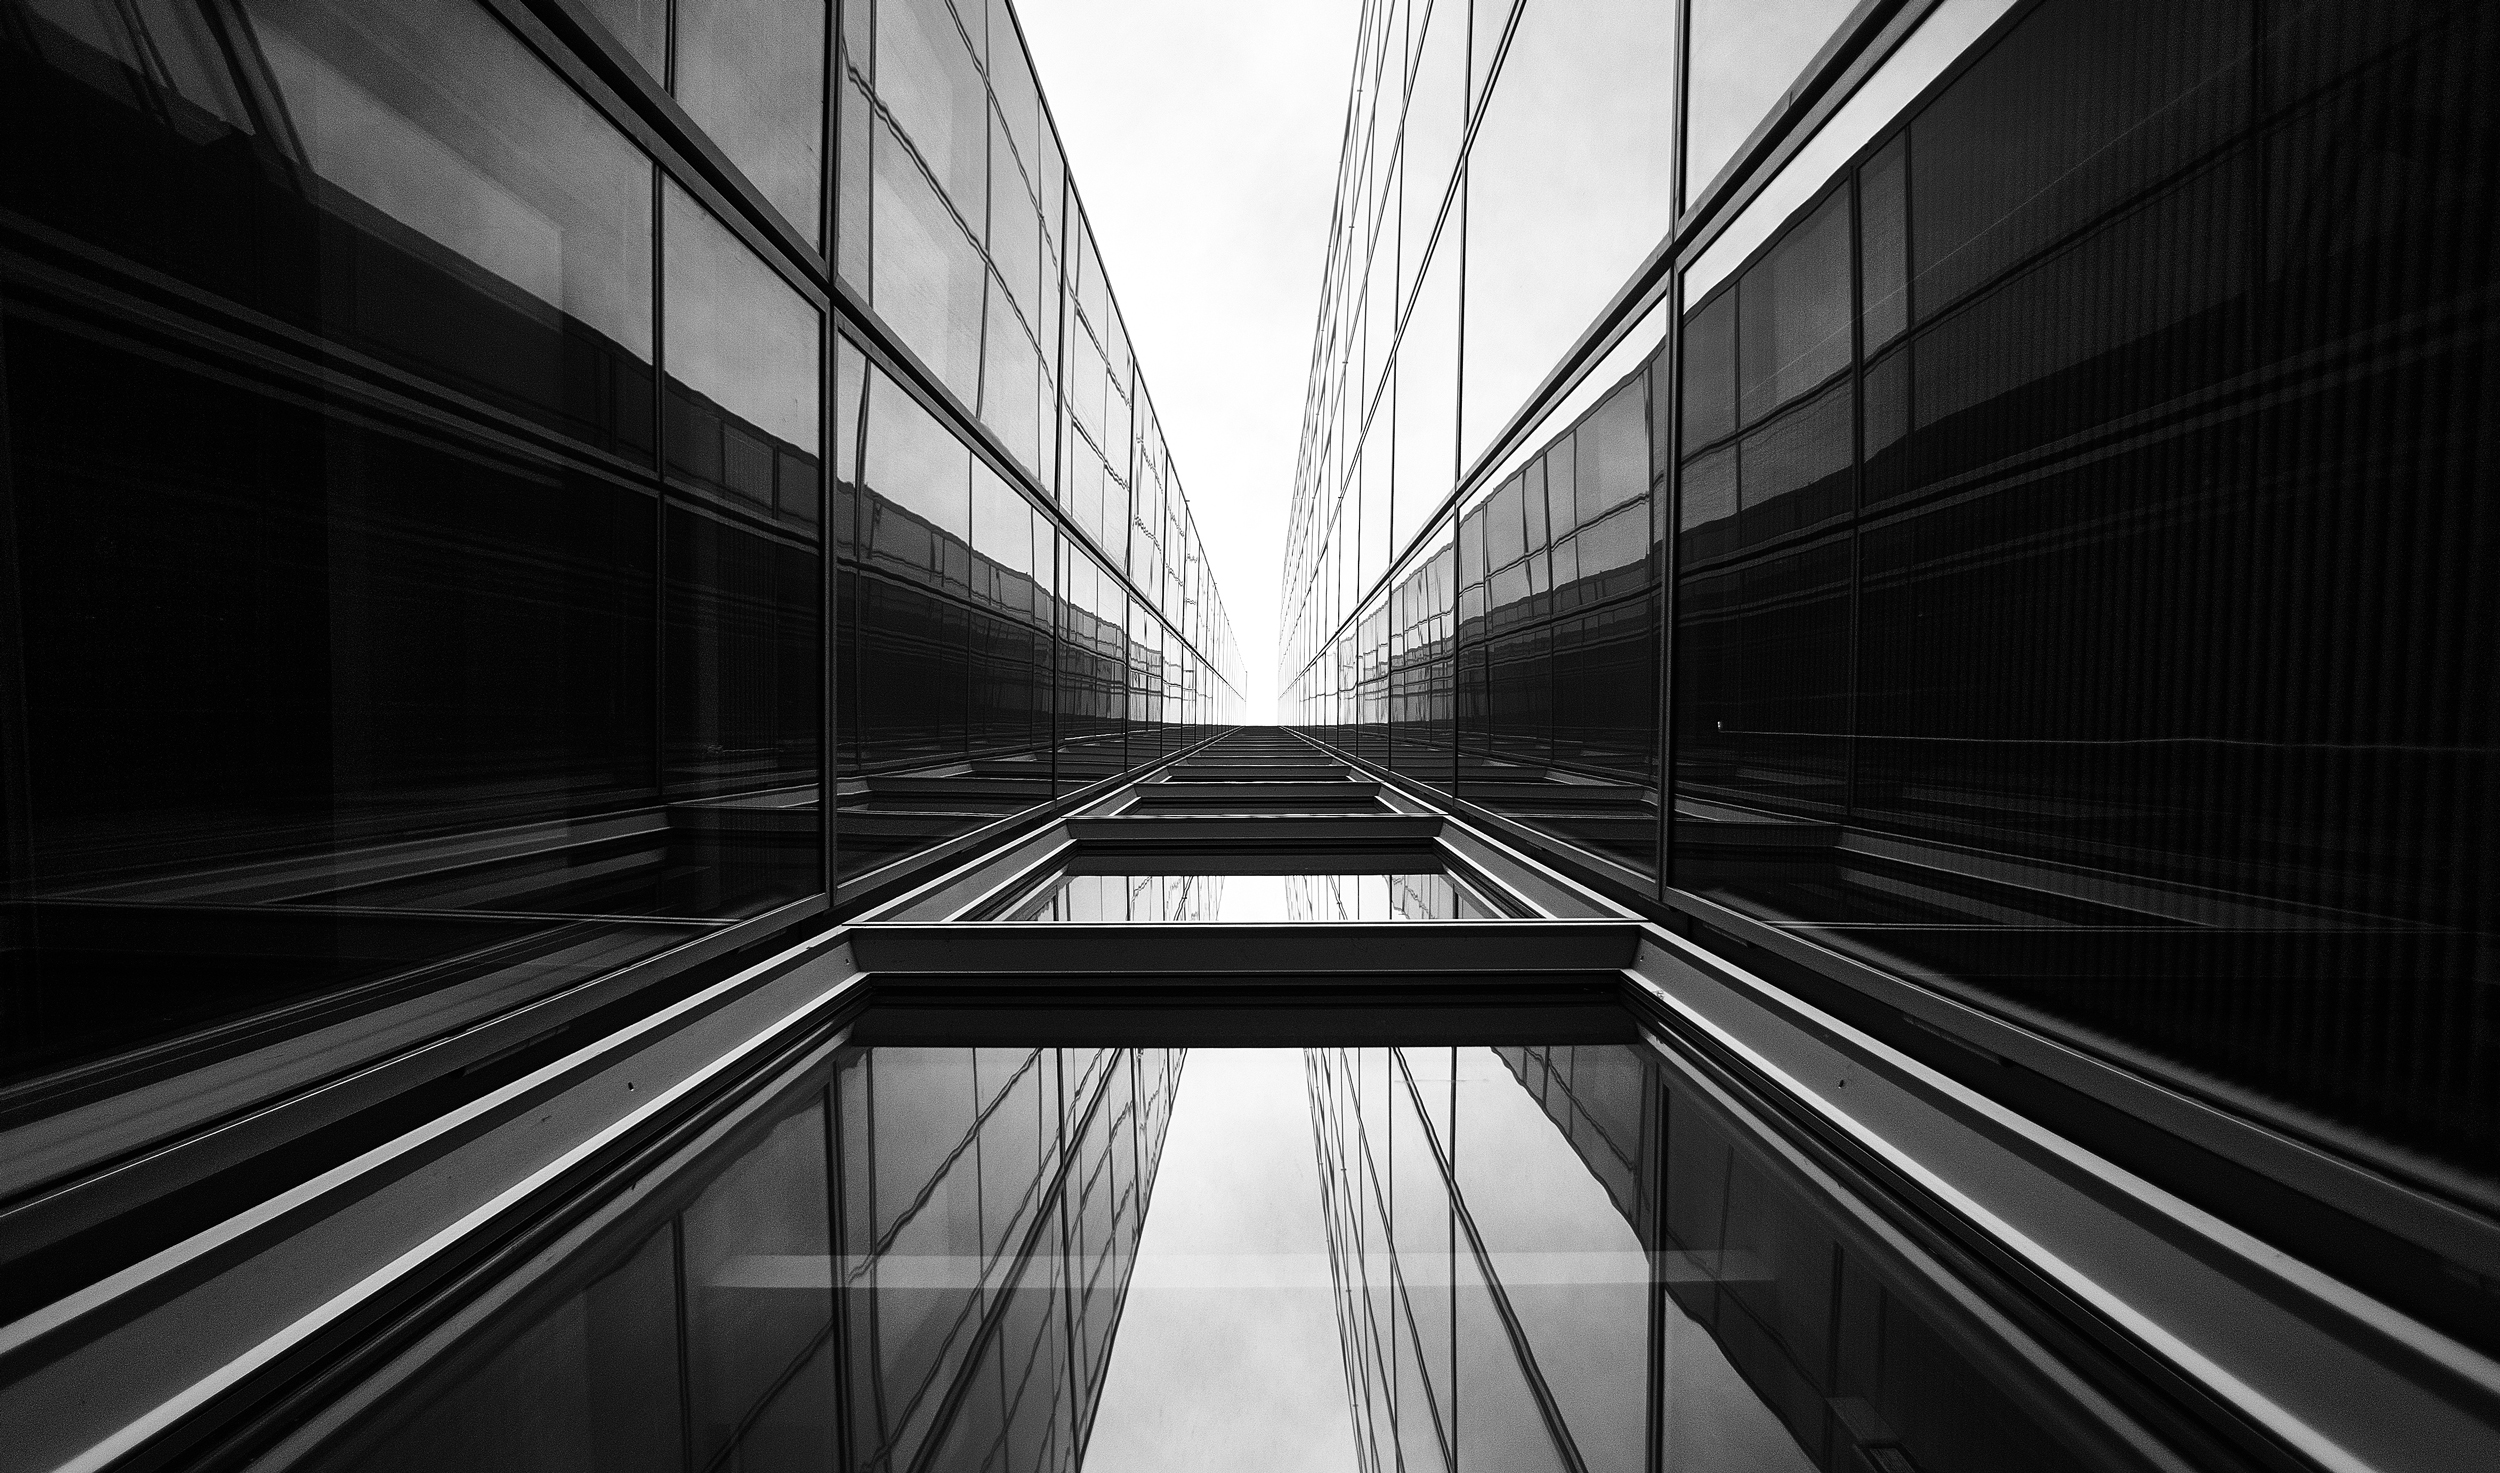
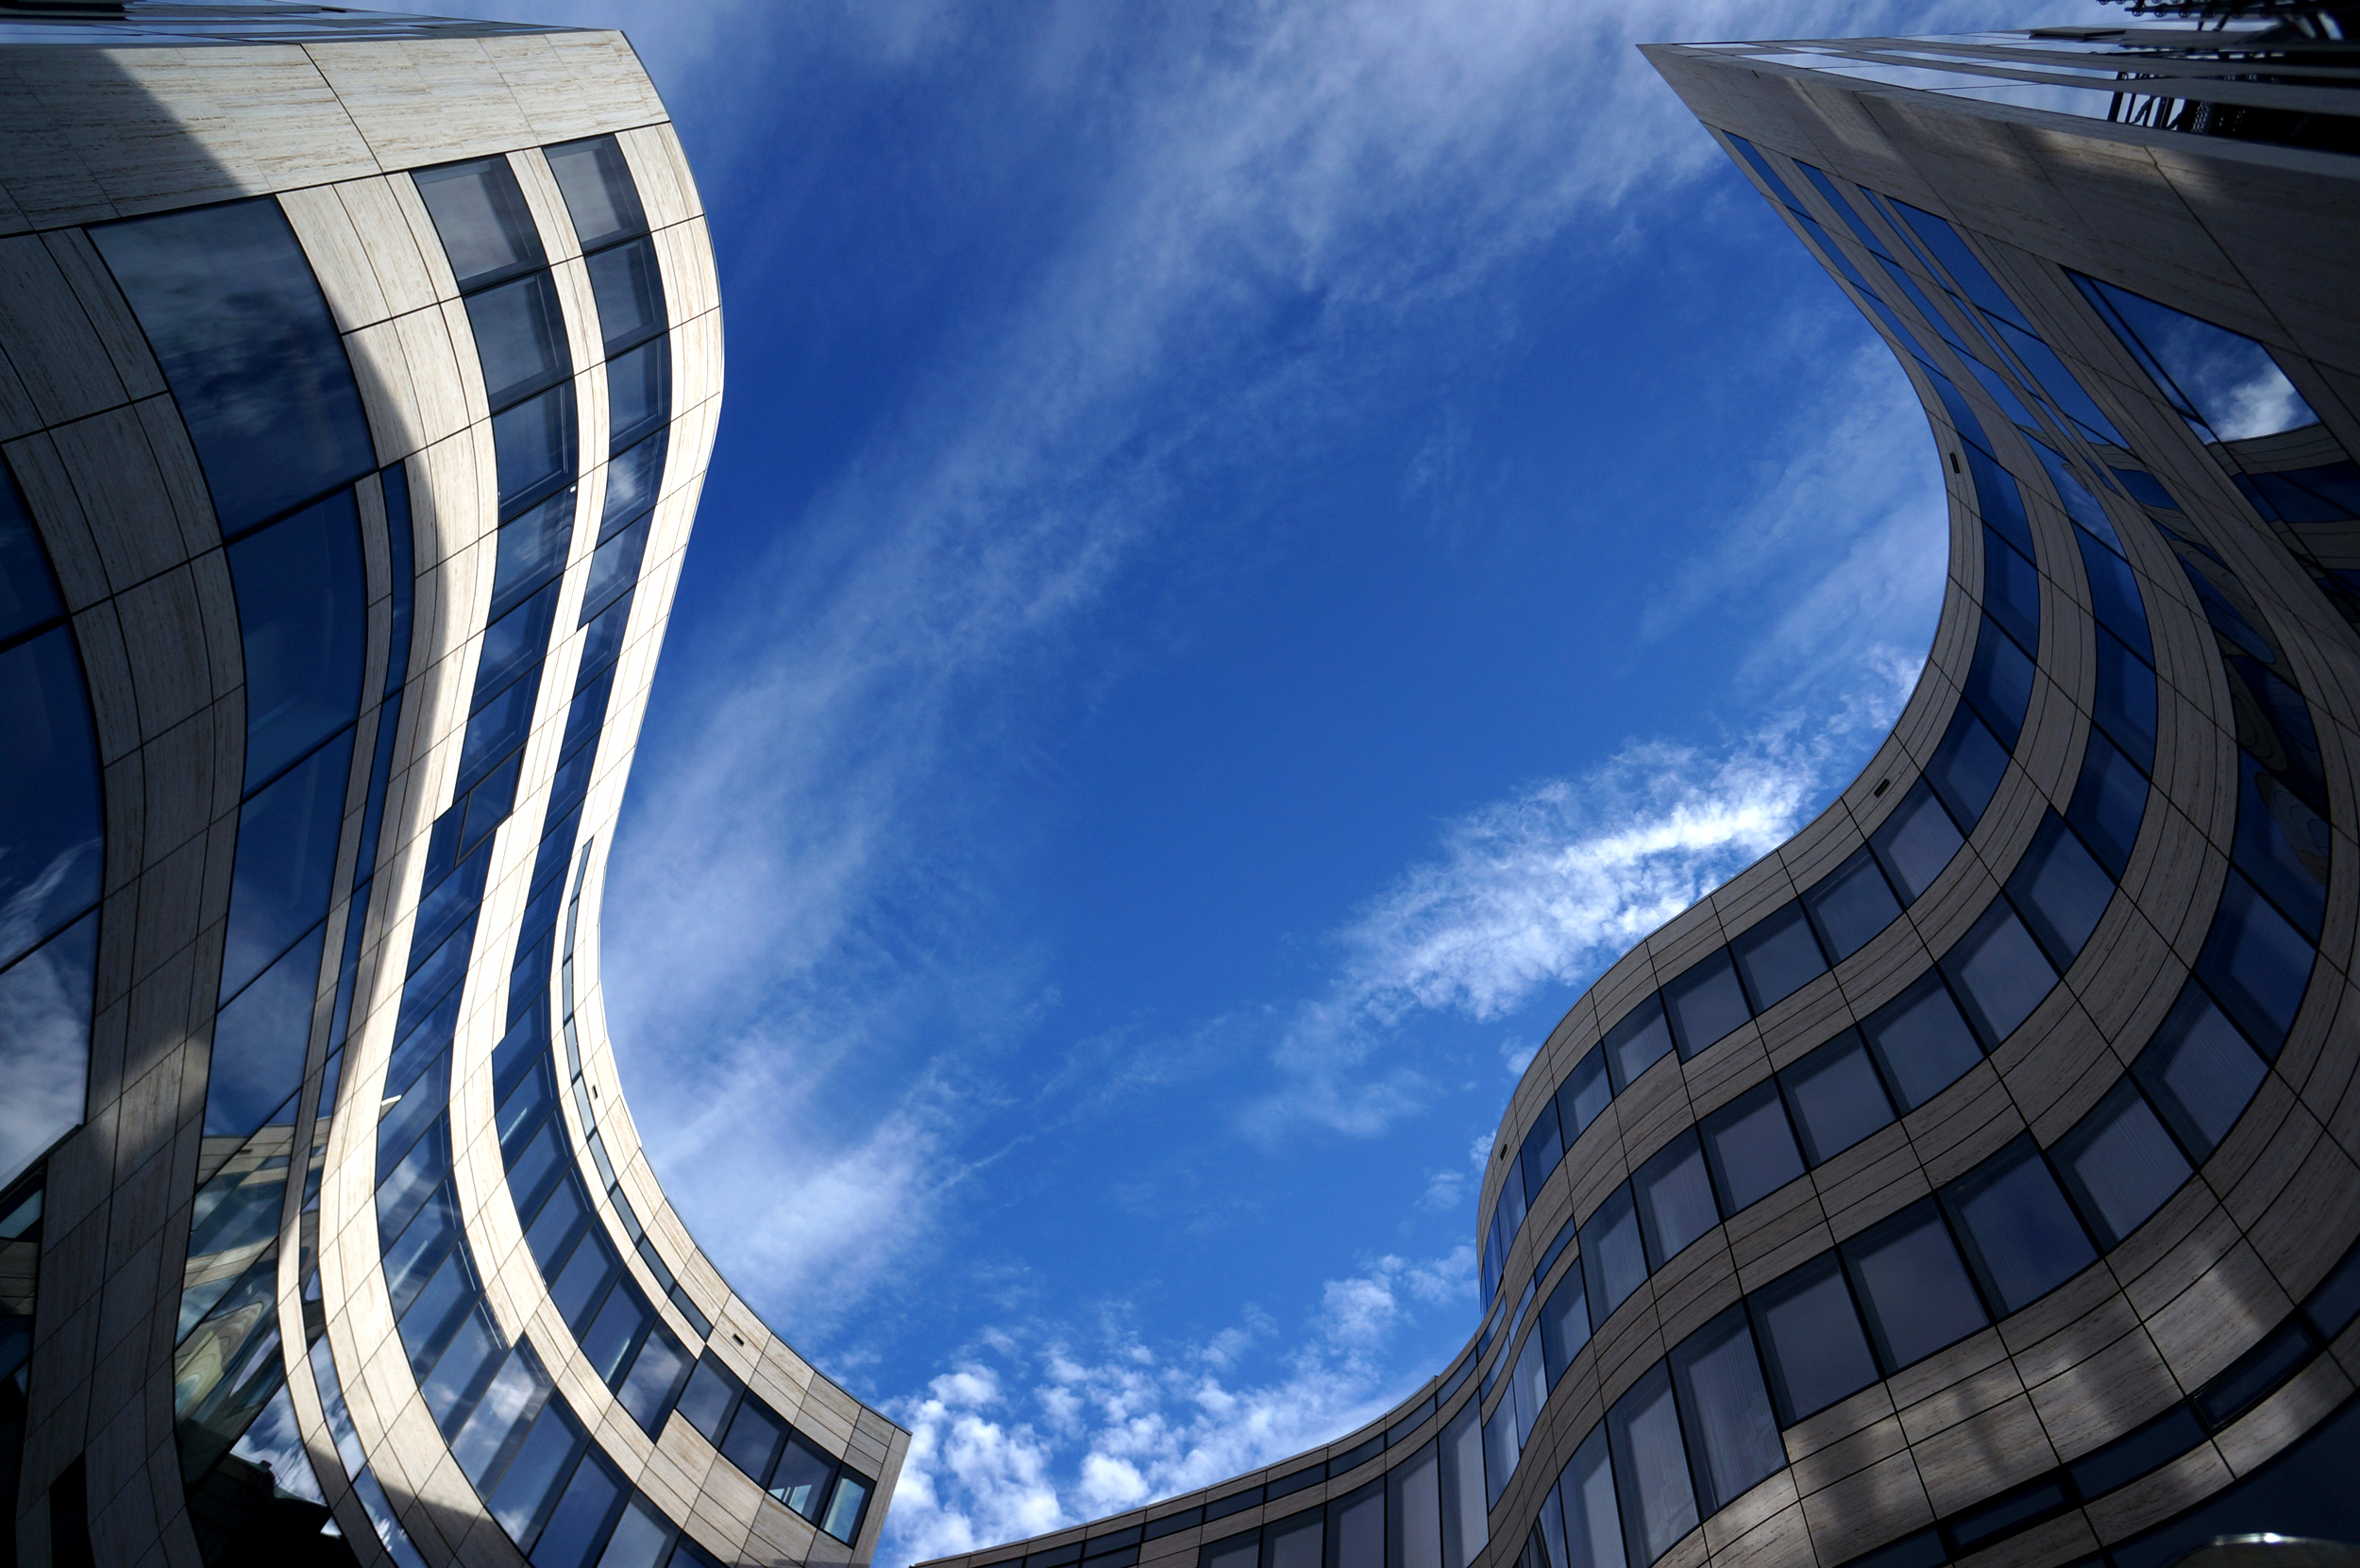
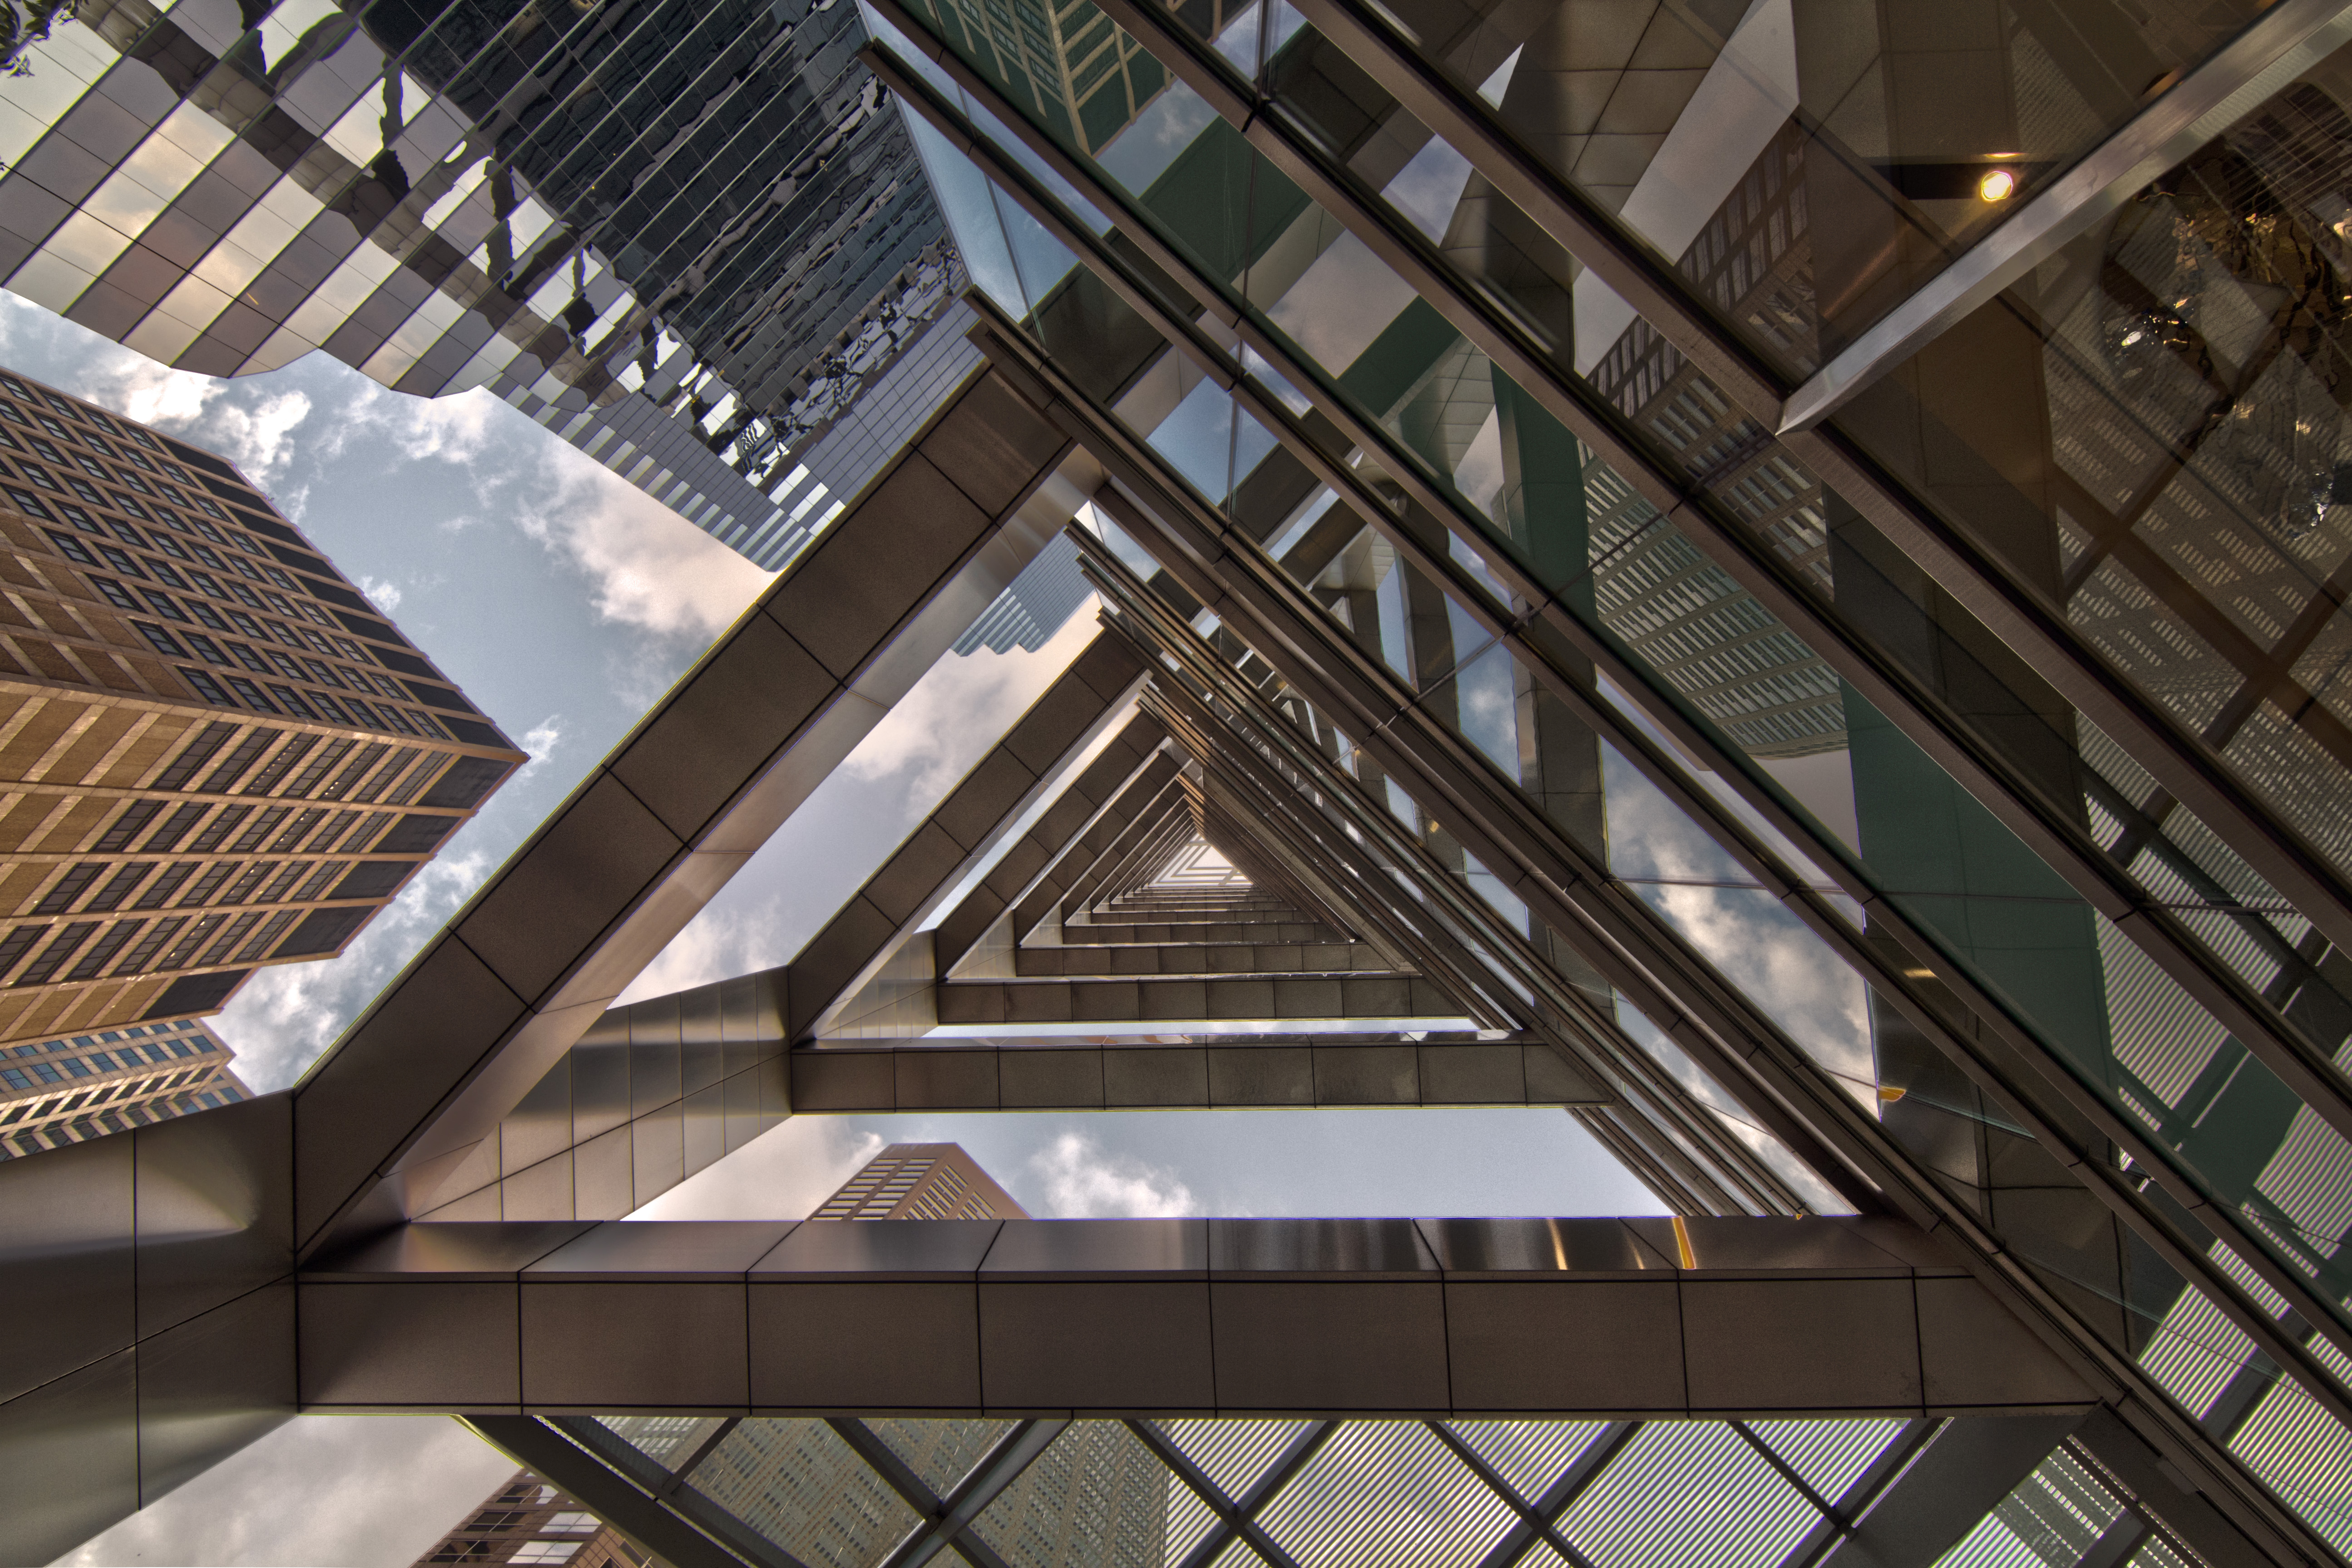
If you are starting out and want to play around with the dramatic feel, you can shoot from lower or higher angles to maximize the disfigurement. Remember while doing this can be interesting, it is recommended to reduce the effect so that it is not too distracting.
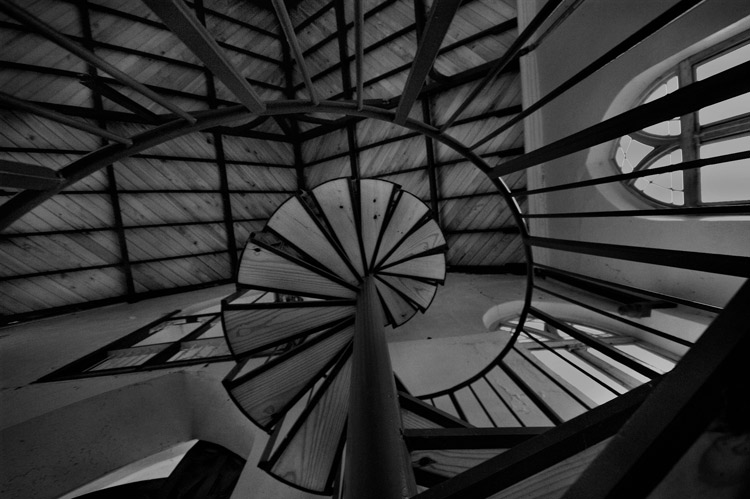
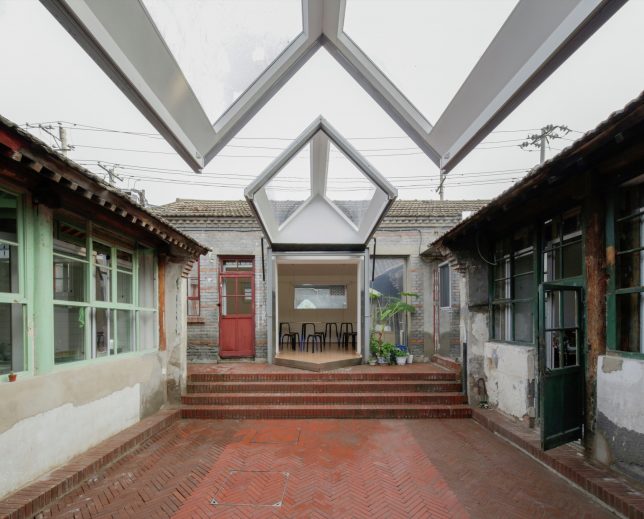
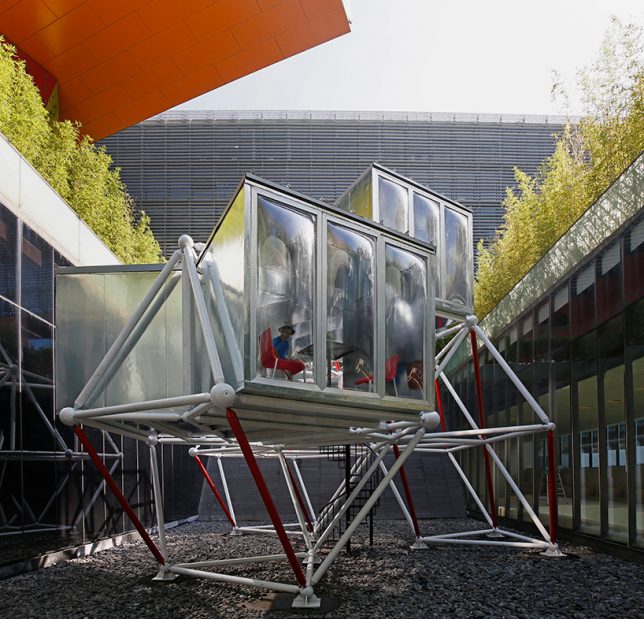
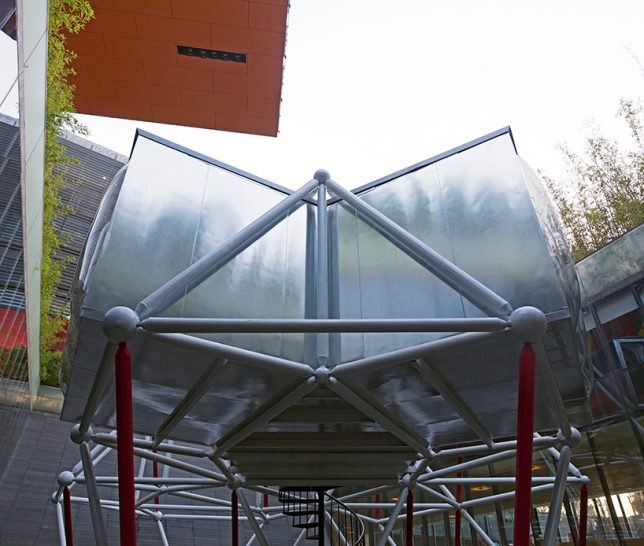
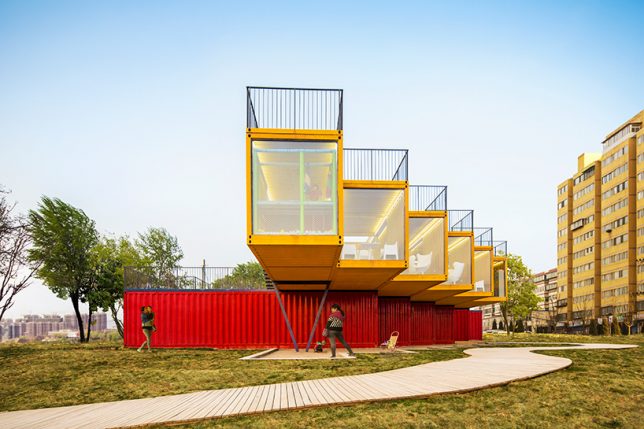
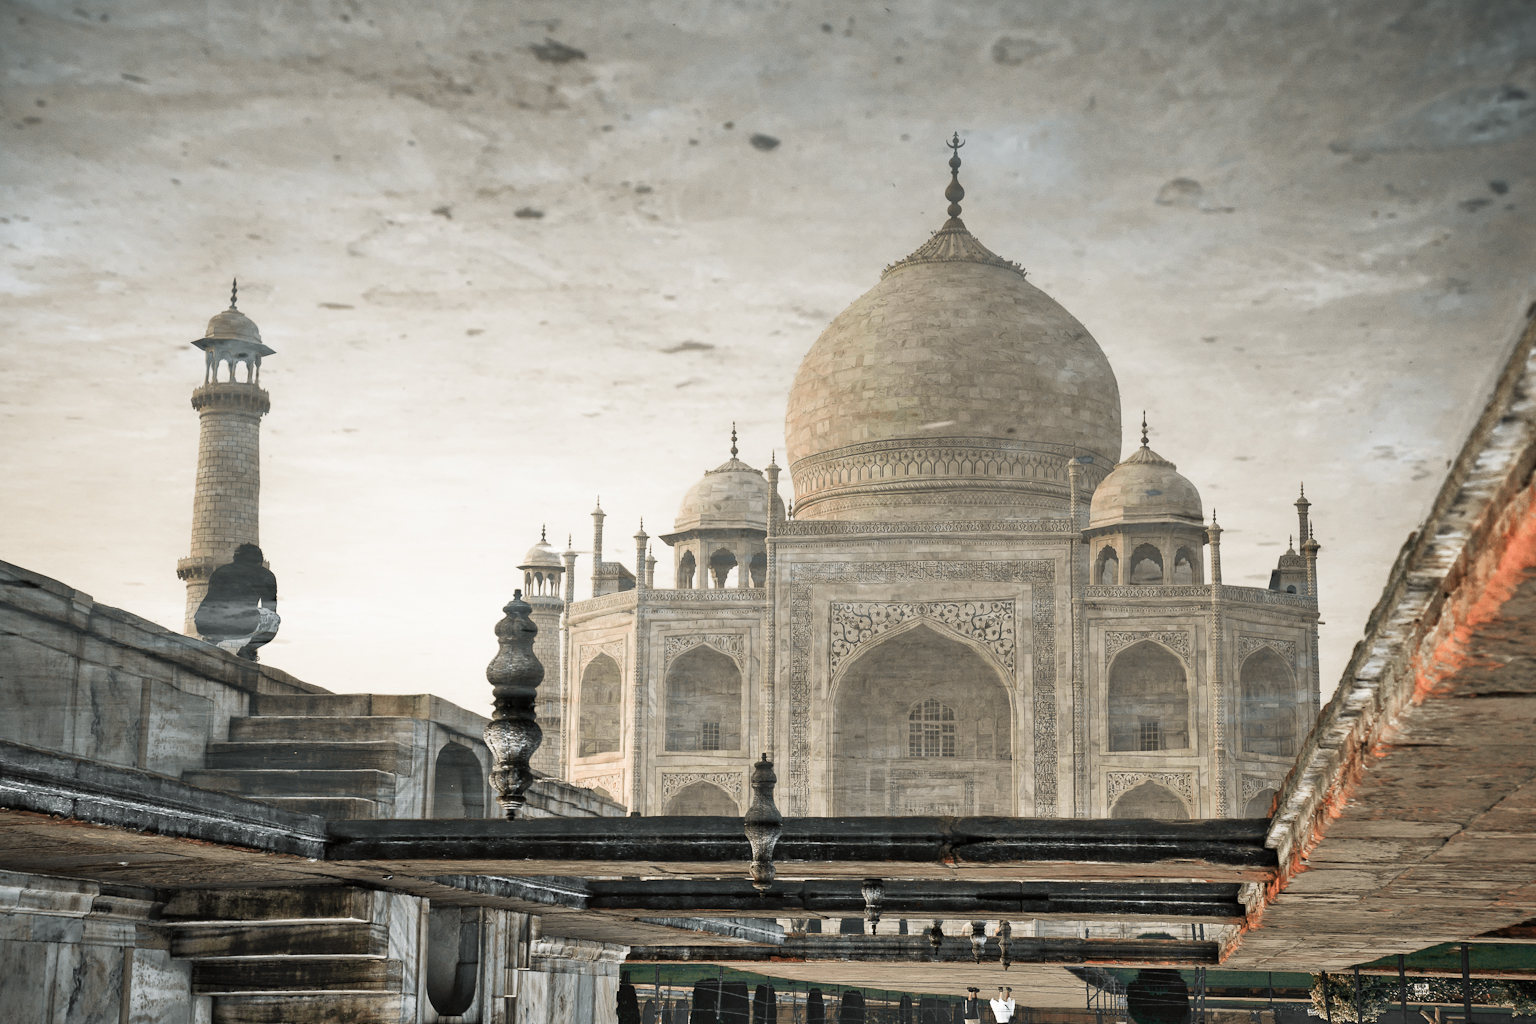
Move around and try different angles – shoot straight up, get closer or further away, go low to the ground or higher than the building if possible and see what enhances your architecture.
3. Lighting
A major challenge with architectural photography is that you have no control over the position and orientation of the subject (especially when it comes to buildings), so most times you have to make the most the available light.
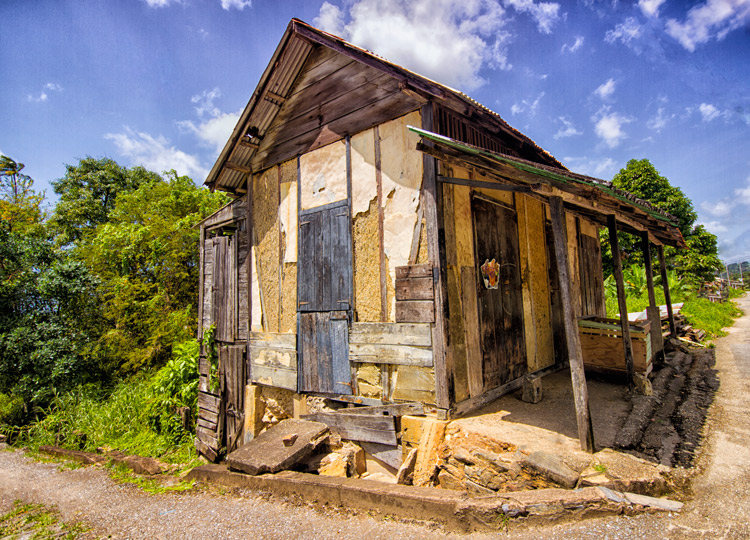
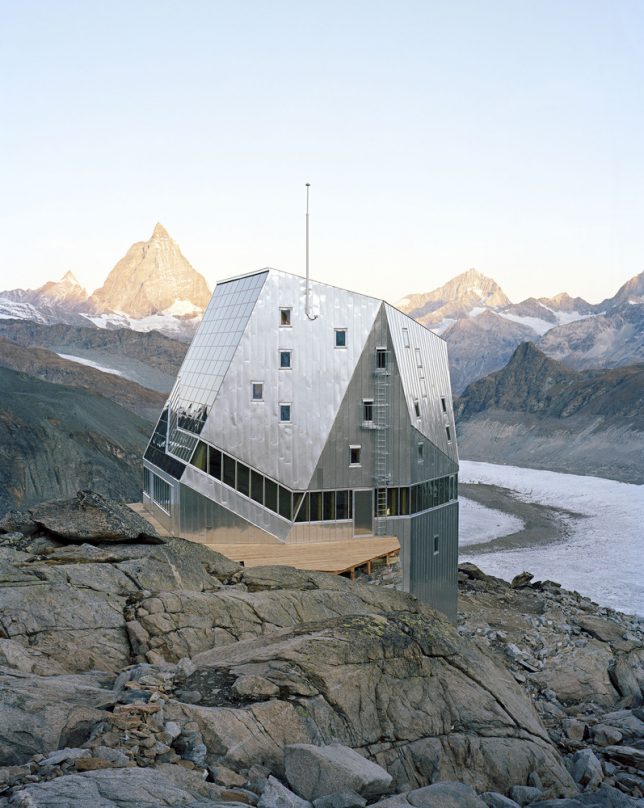
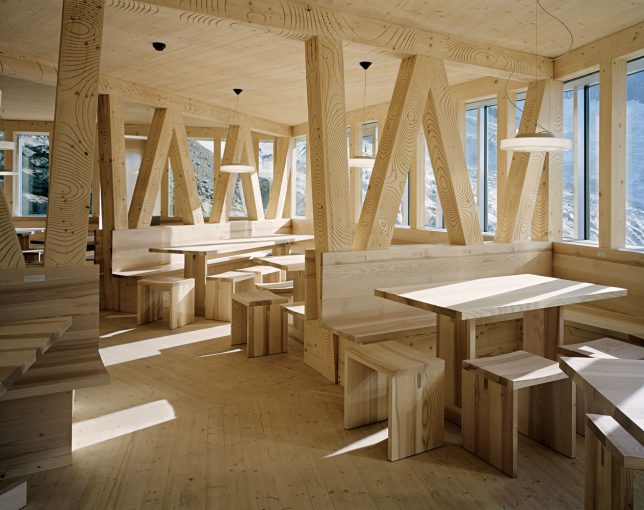
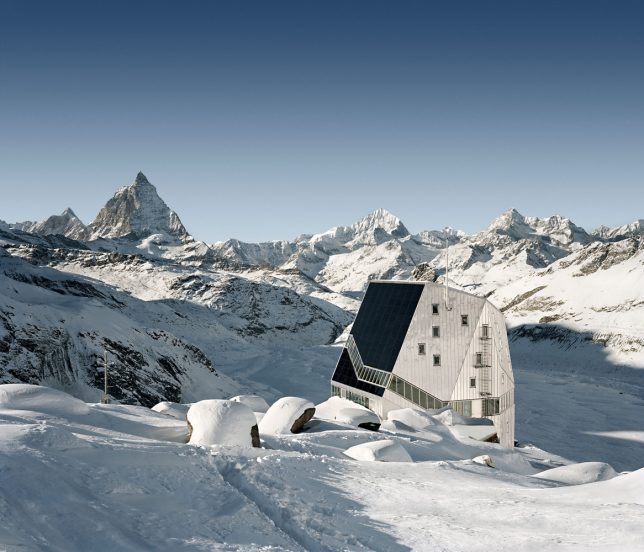
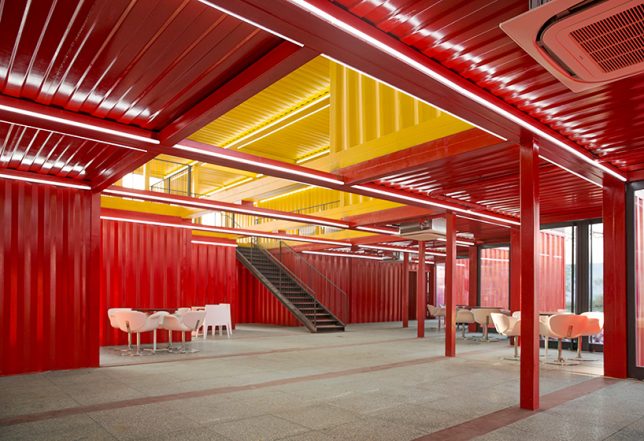
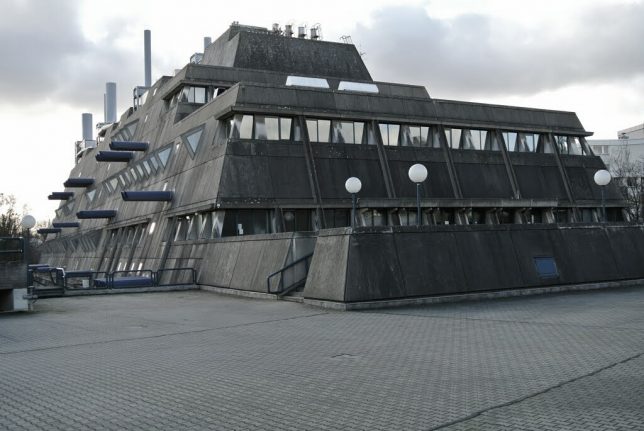
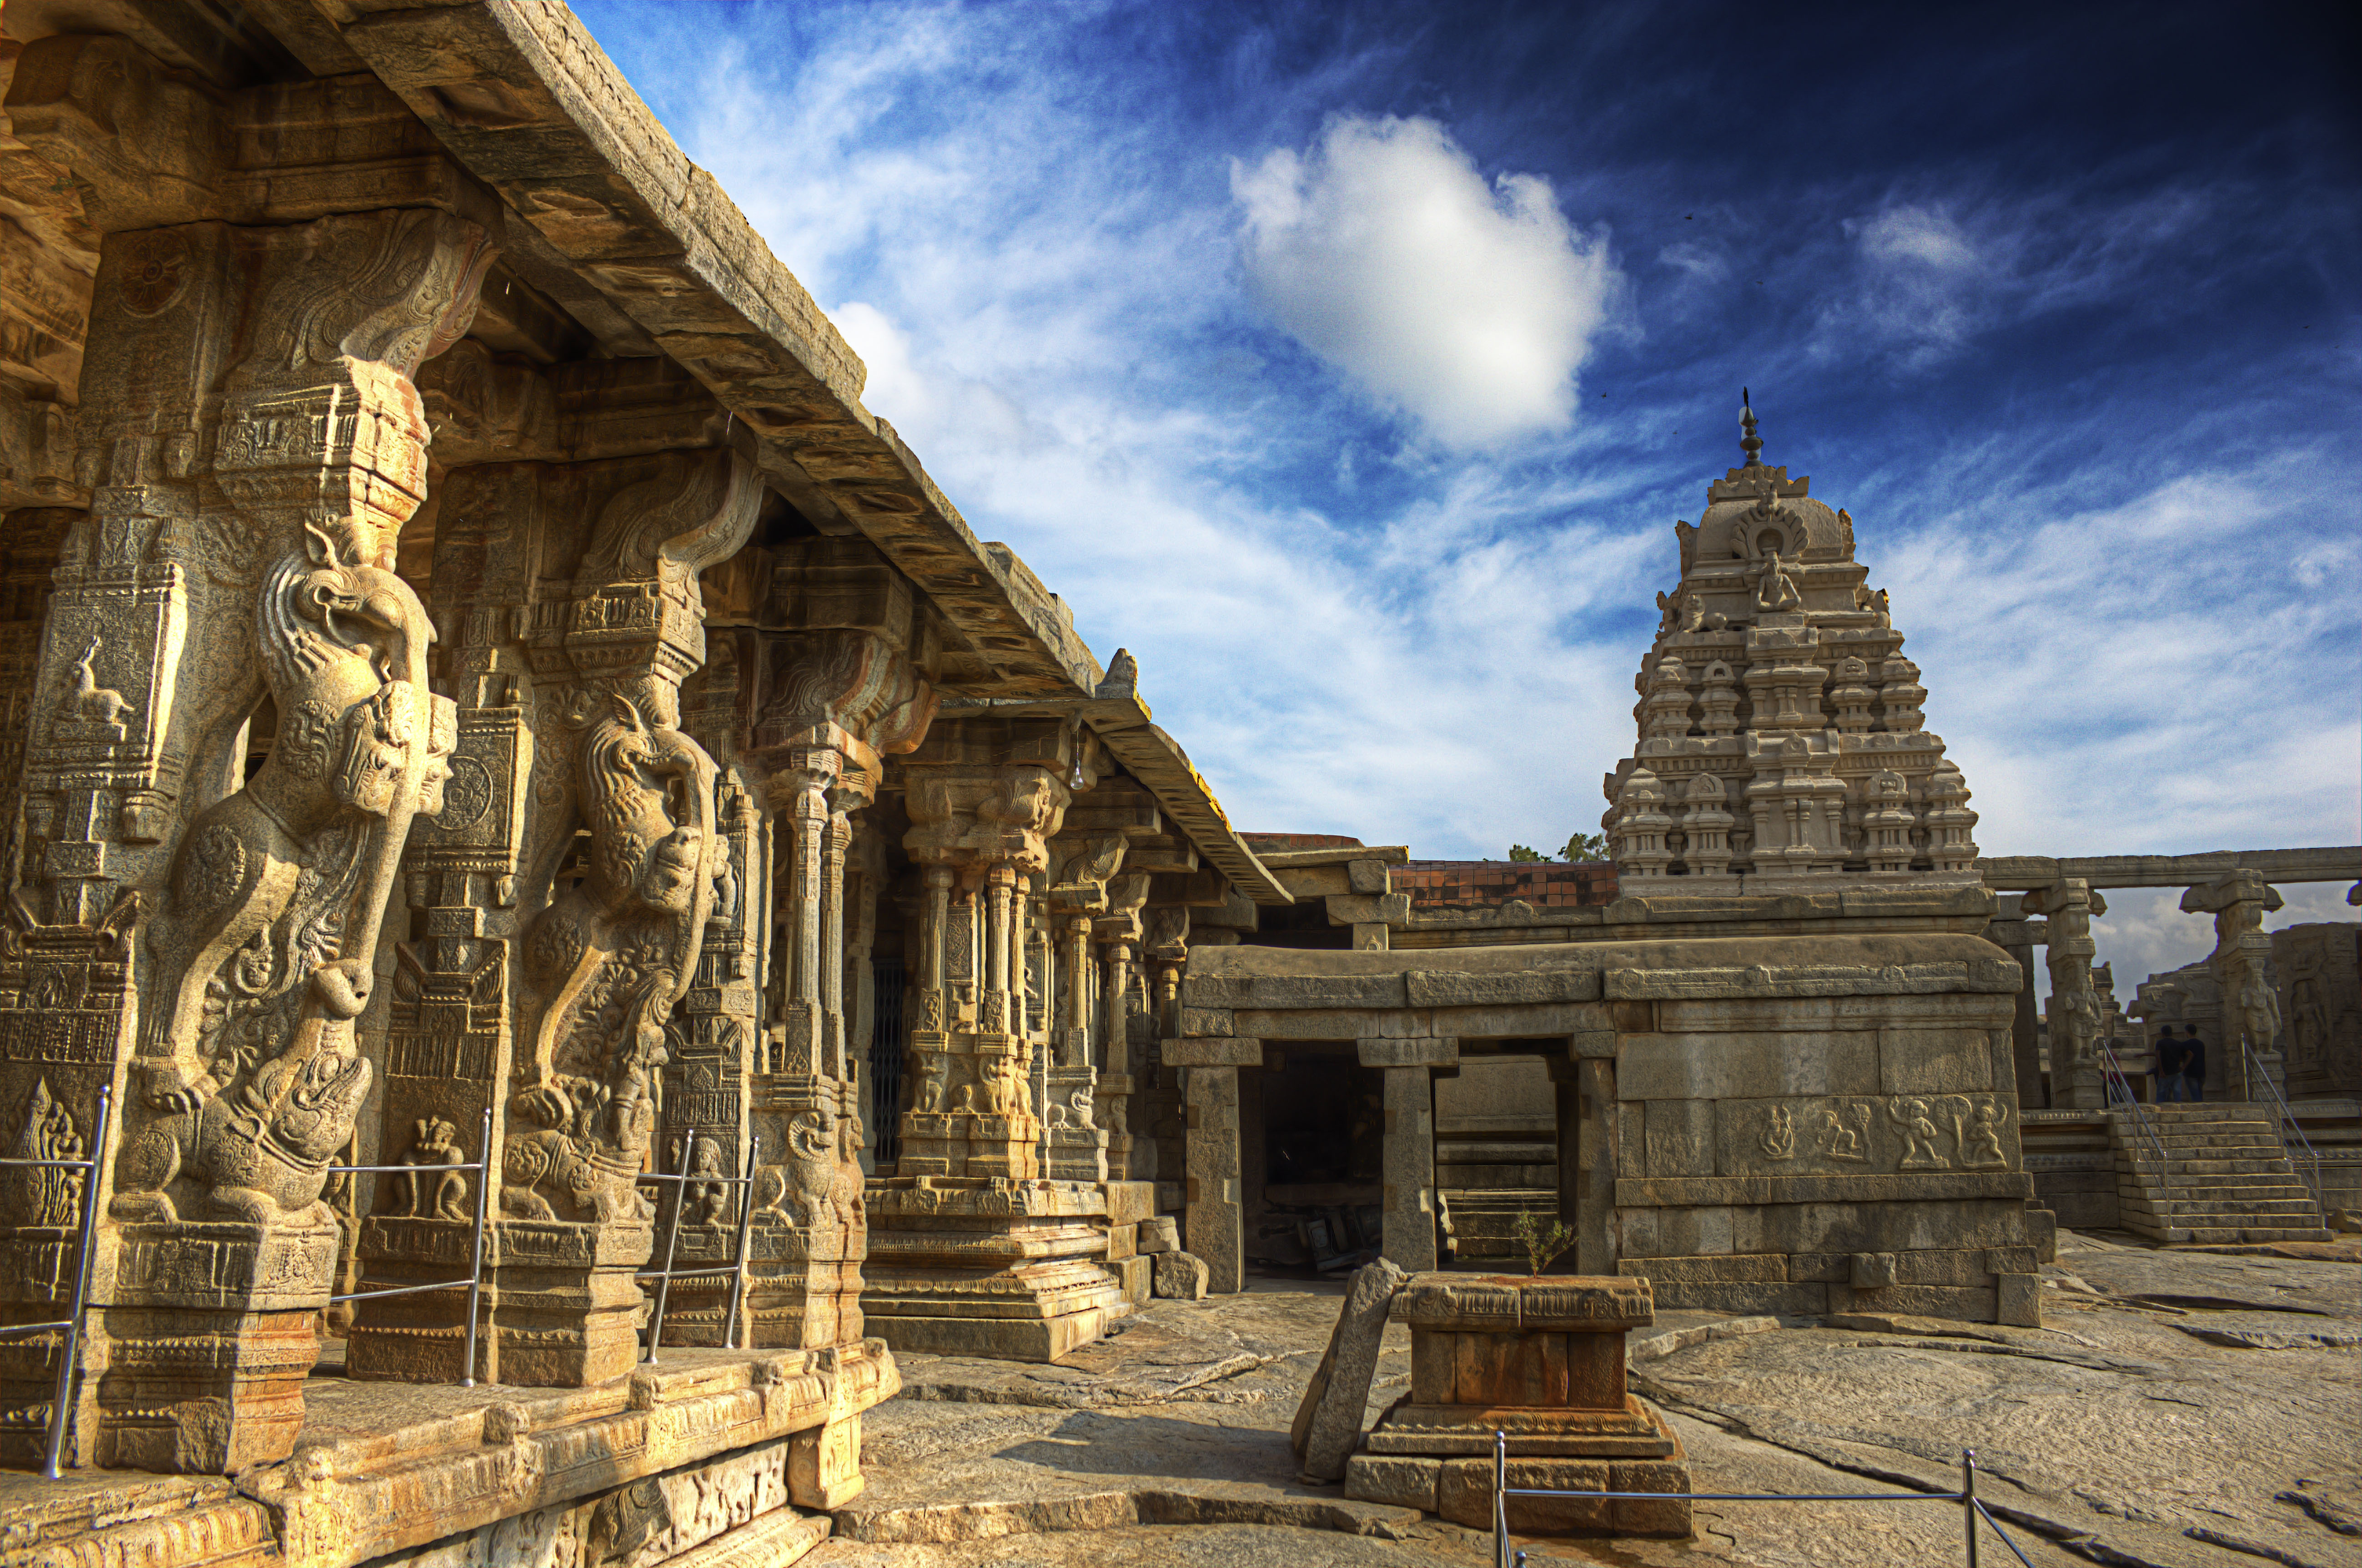
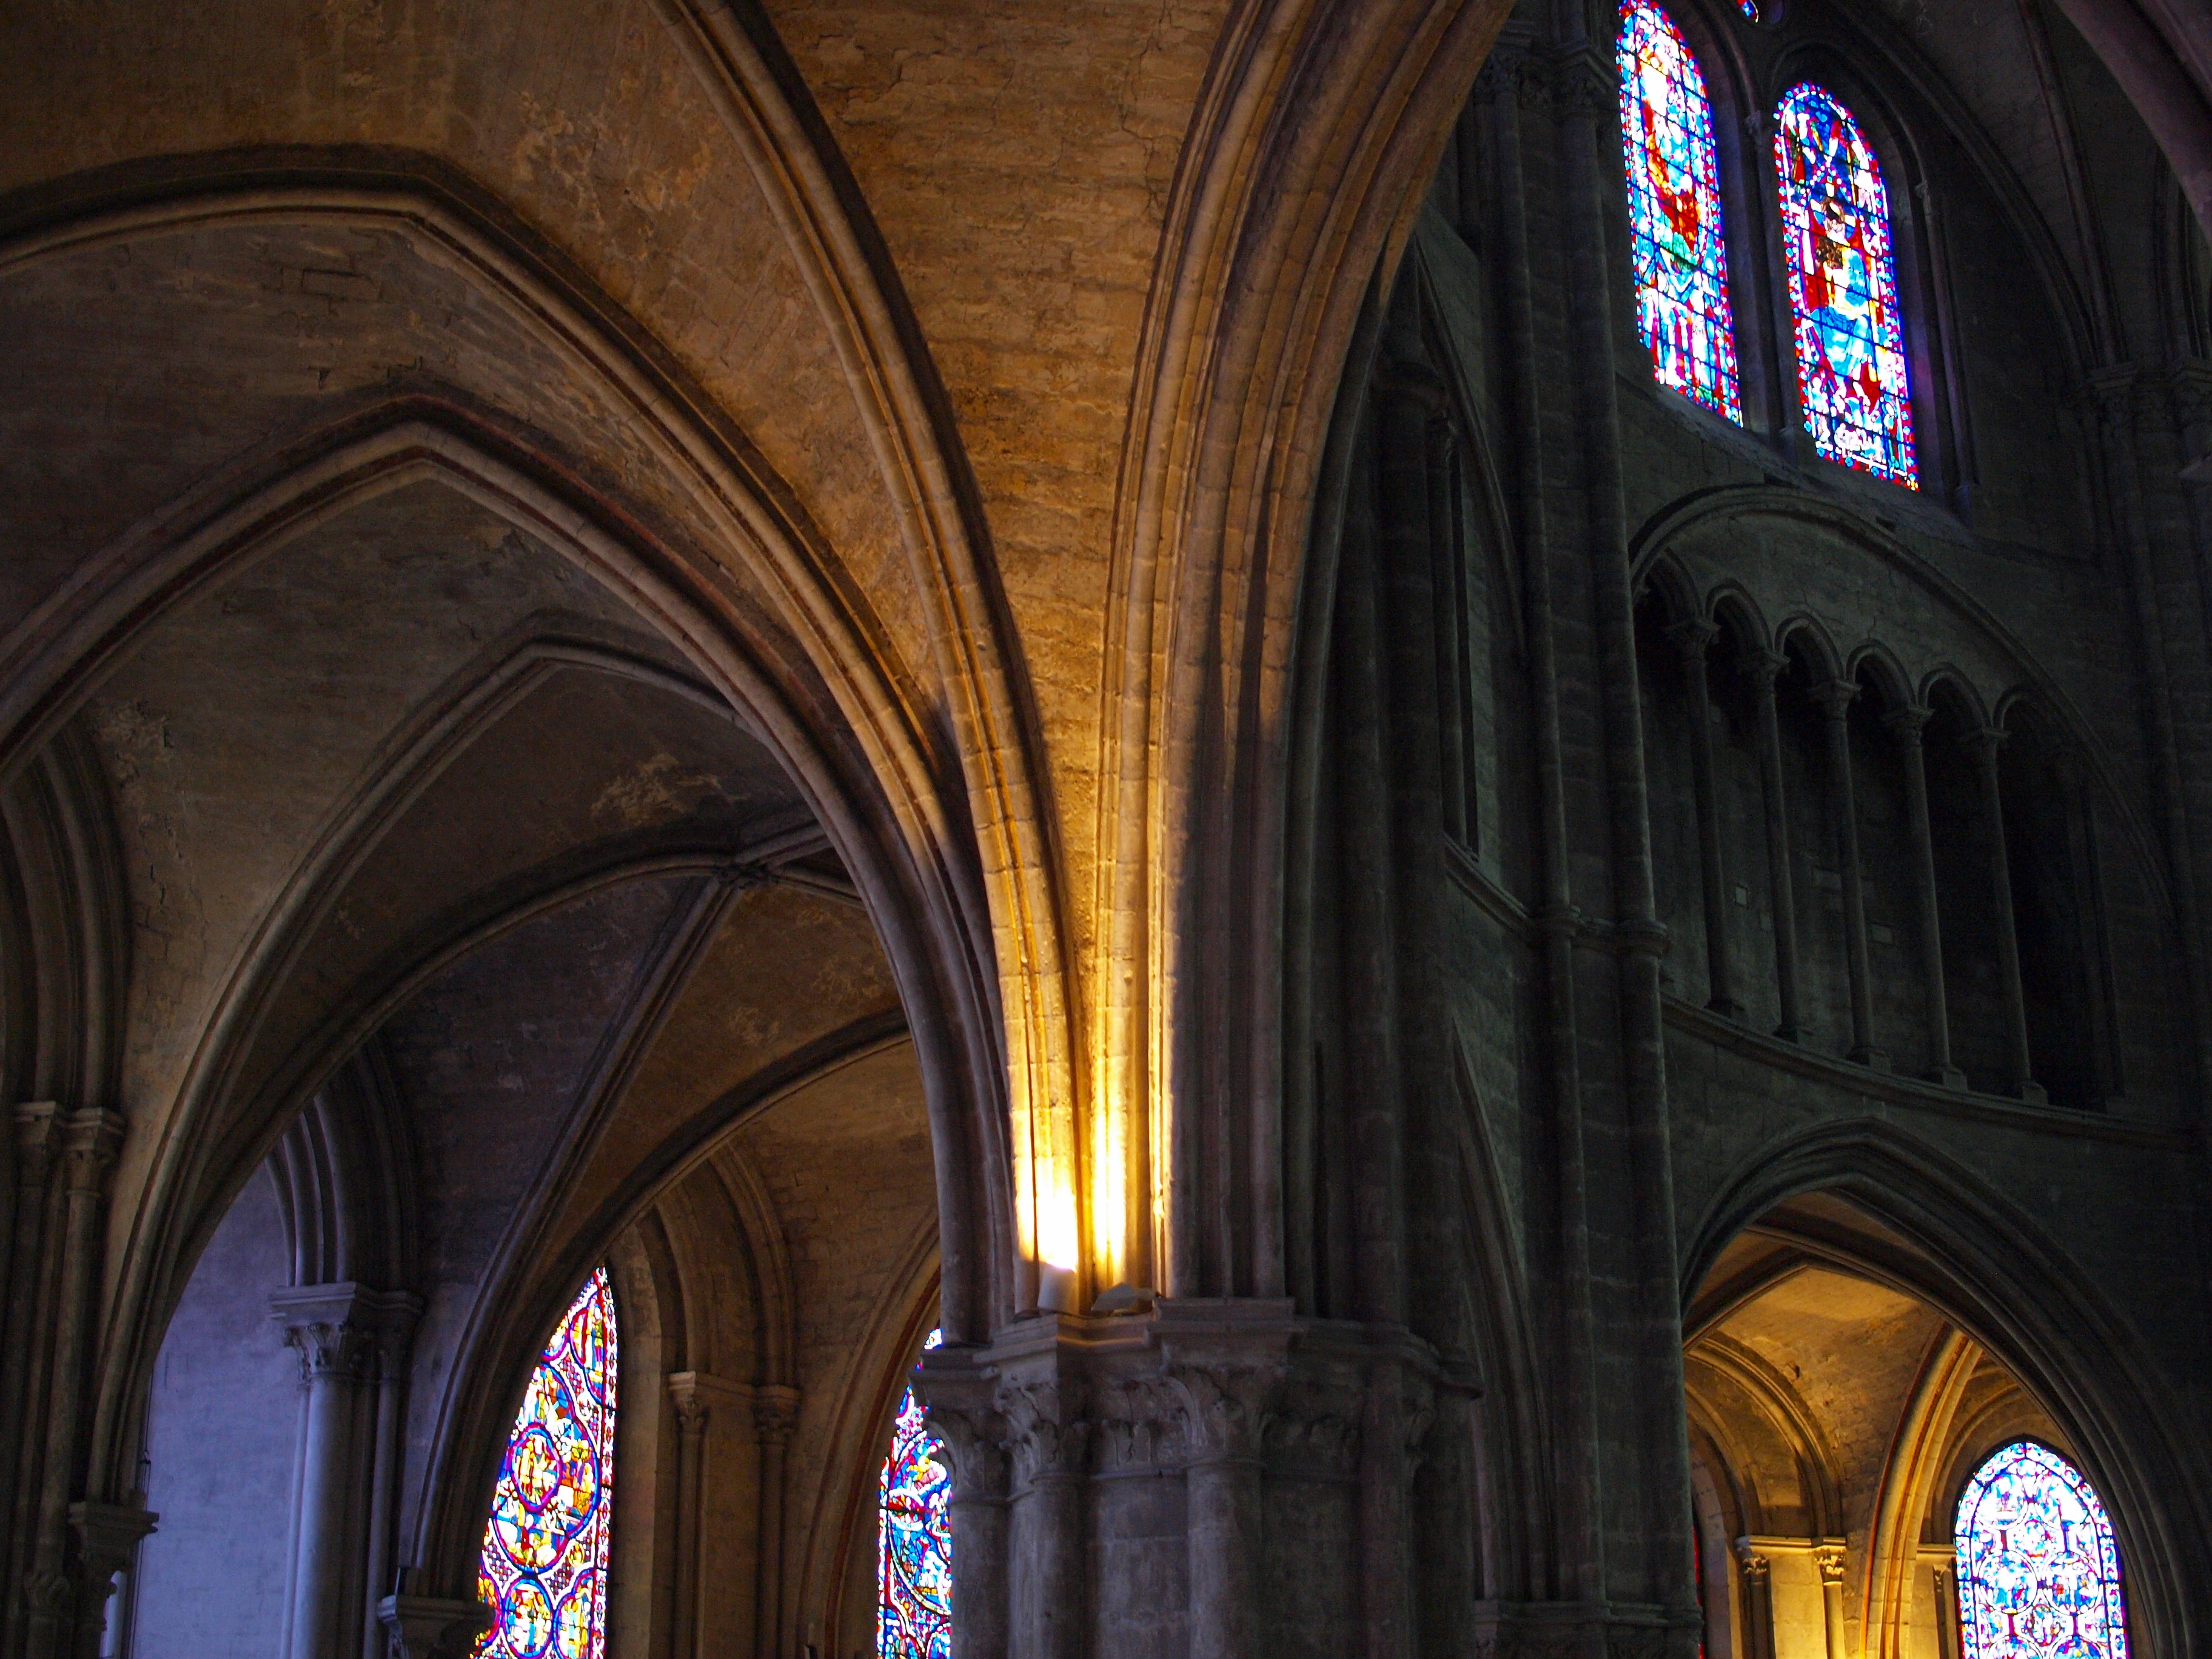
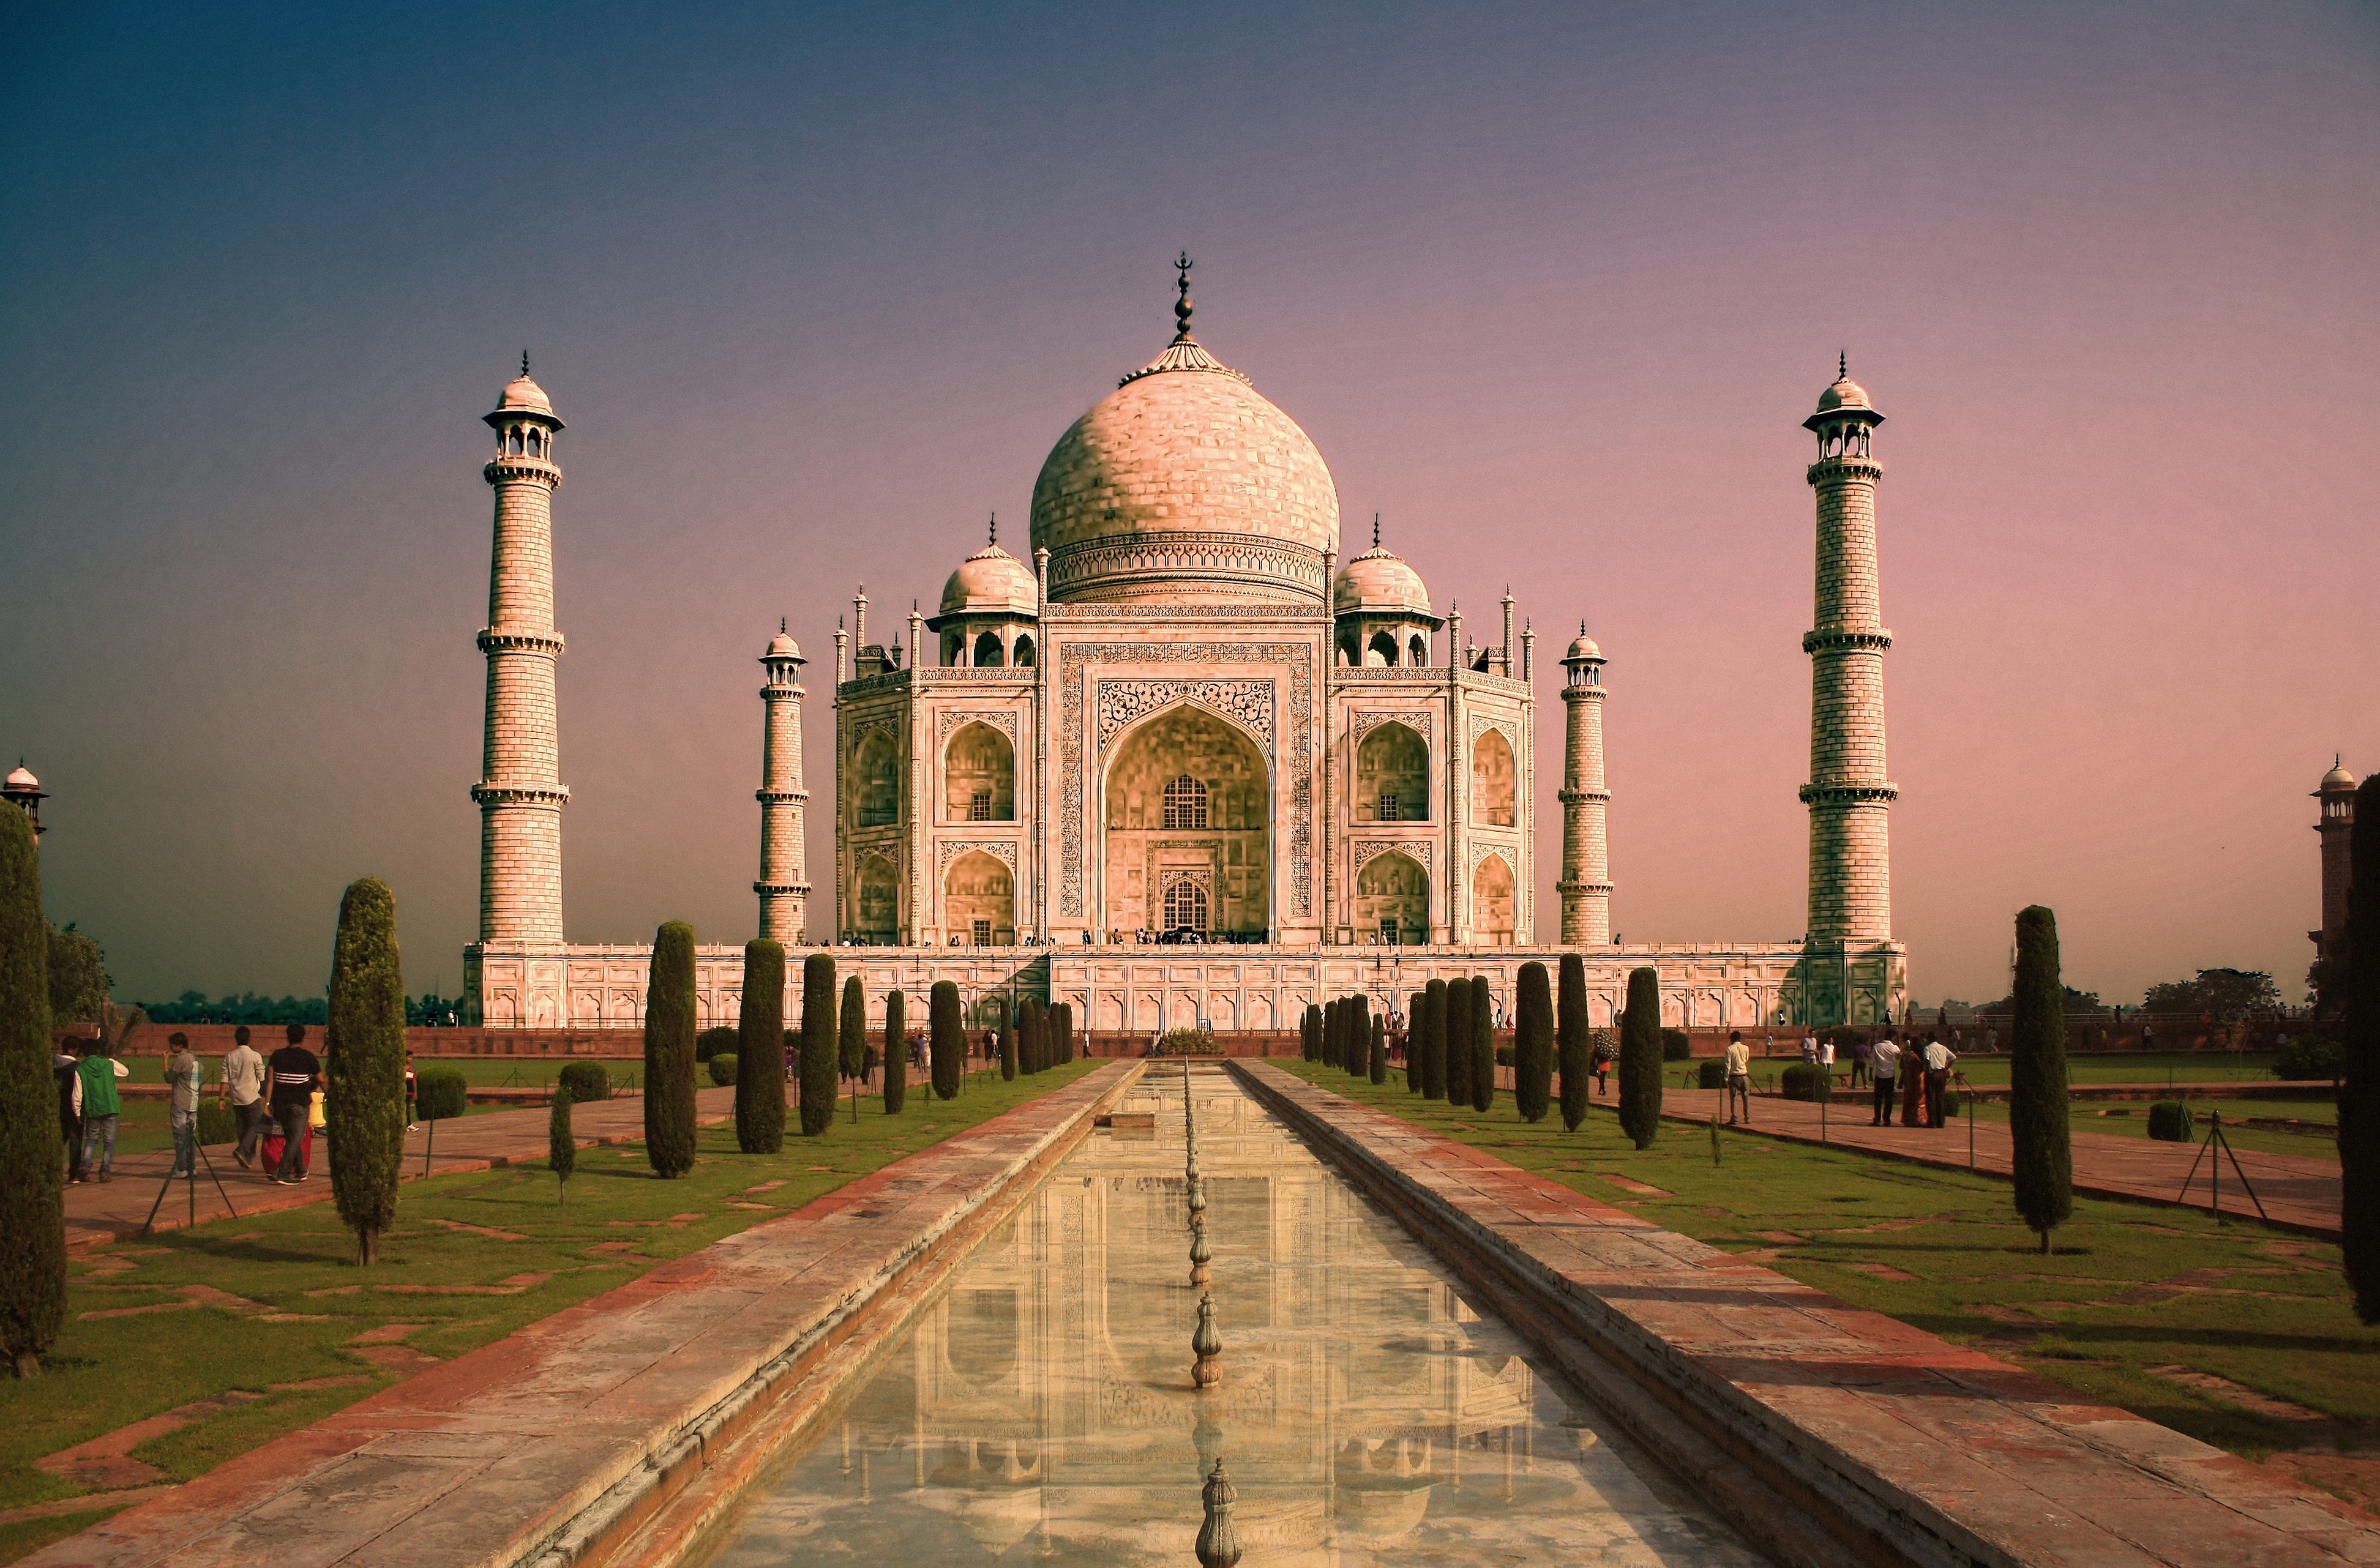
One of the most interesting (and recommended) lighting options for buildings is when light falls on its side and front (side-front lighting). This angle of lighting provides a decent amount of illumination and can cast interesting shadows across the face of a building, which gives it a more three-dimensional look. So scout out your location at different times and see how the light and shadows change the look and feel of your image.
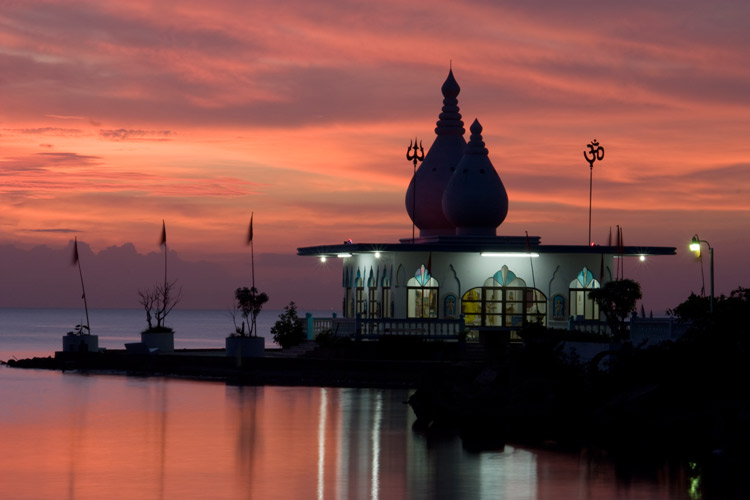
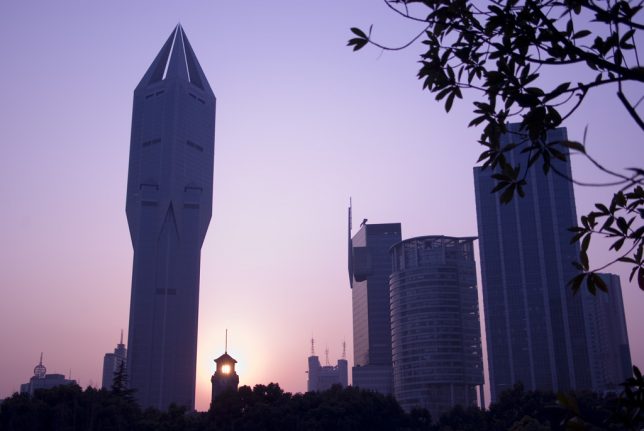
Be wary with strong back lighting when shooting buildings since it can create uniform dark surfaces, unless you are going for that silhouetted look. Again the time of day comes into play and if the structure itself has lights, it adds to the photo.
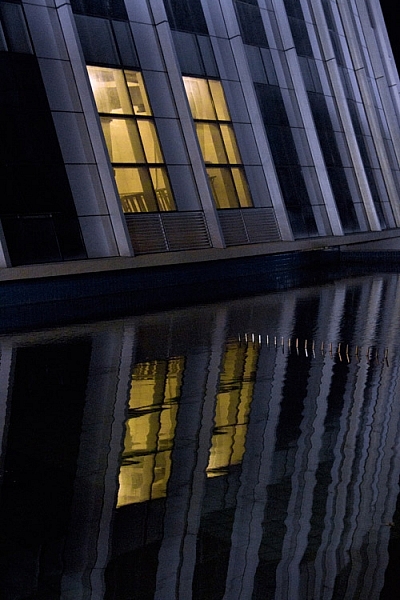
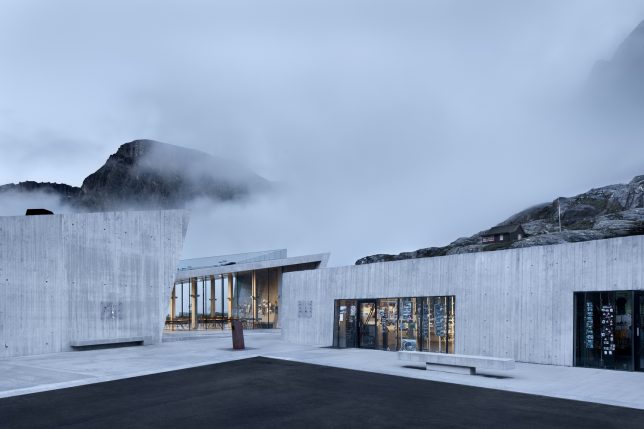
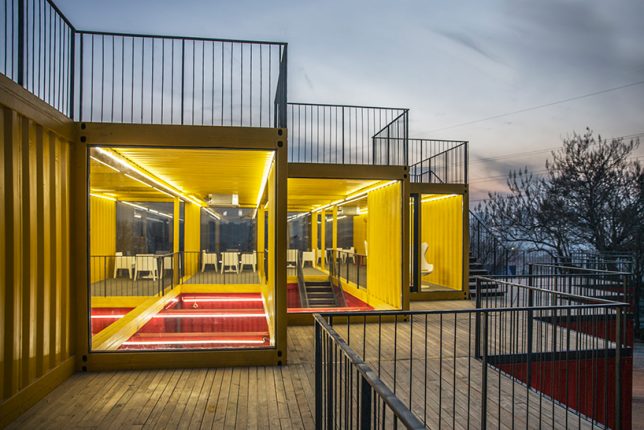
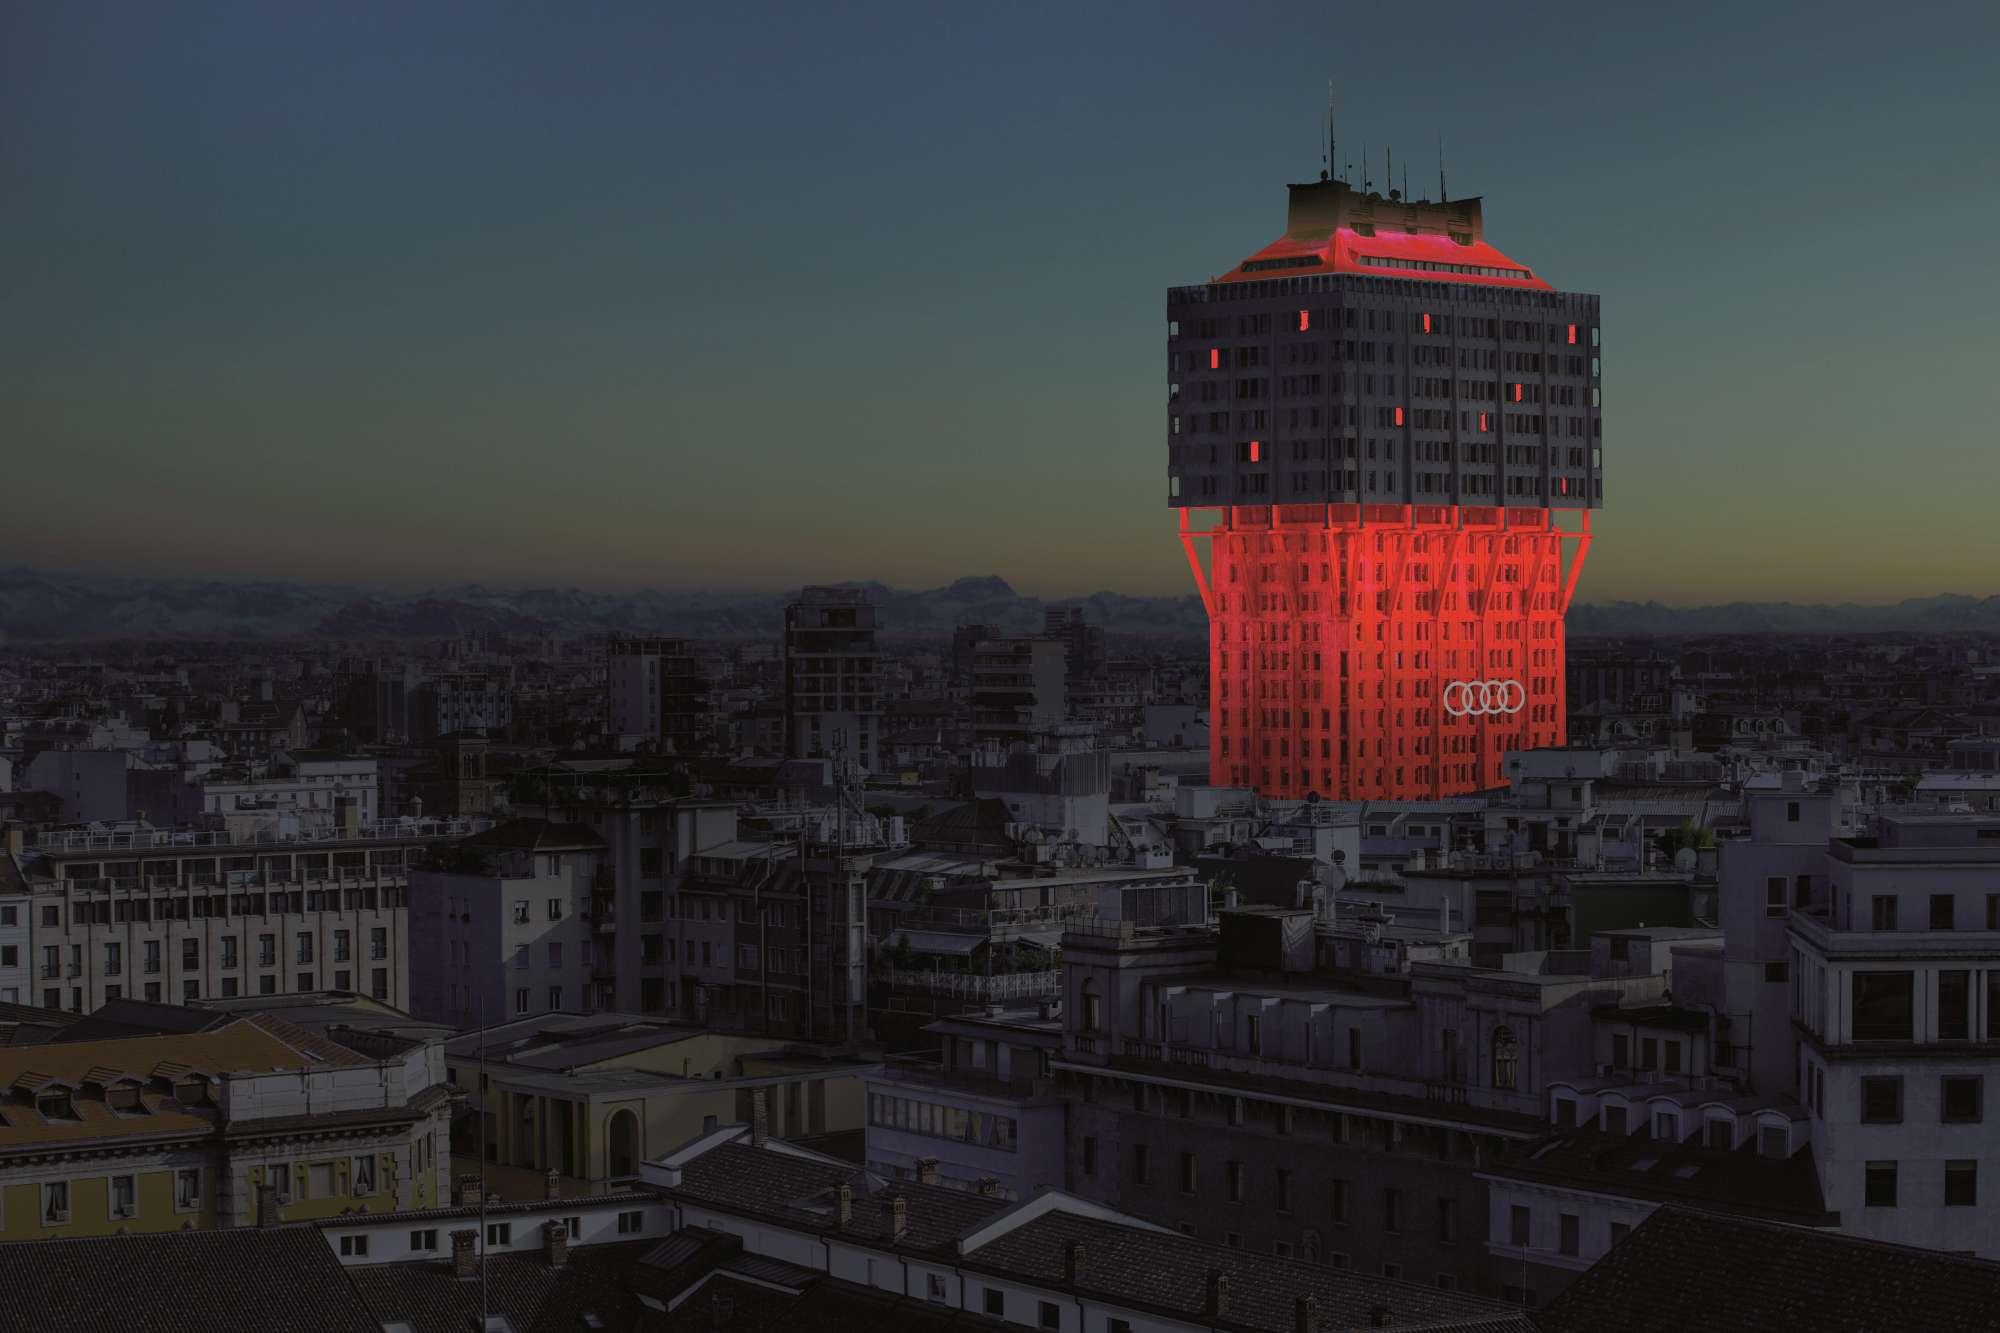
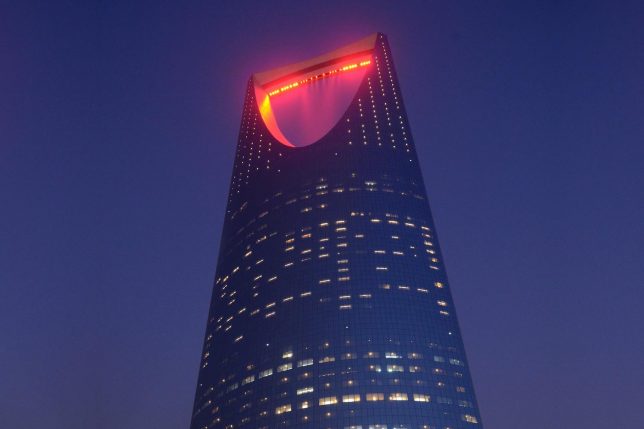
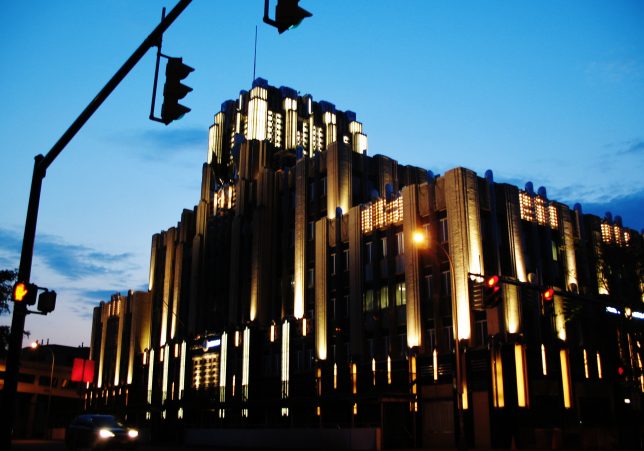
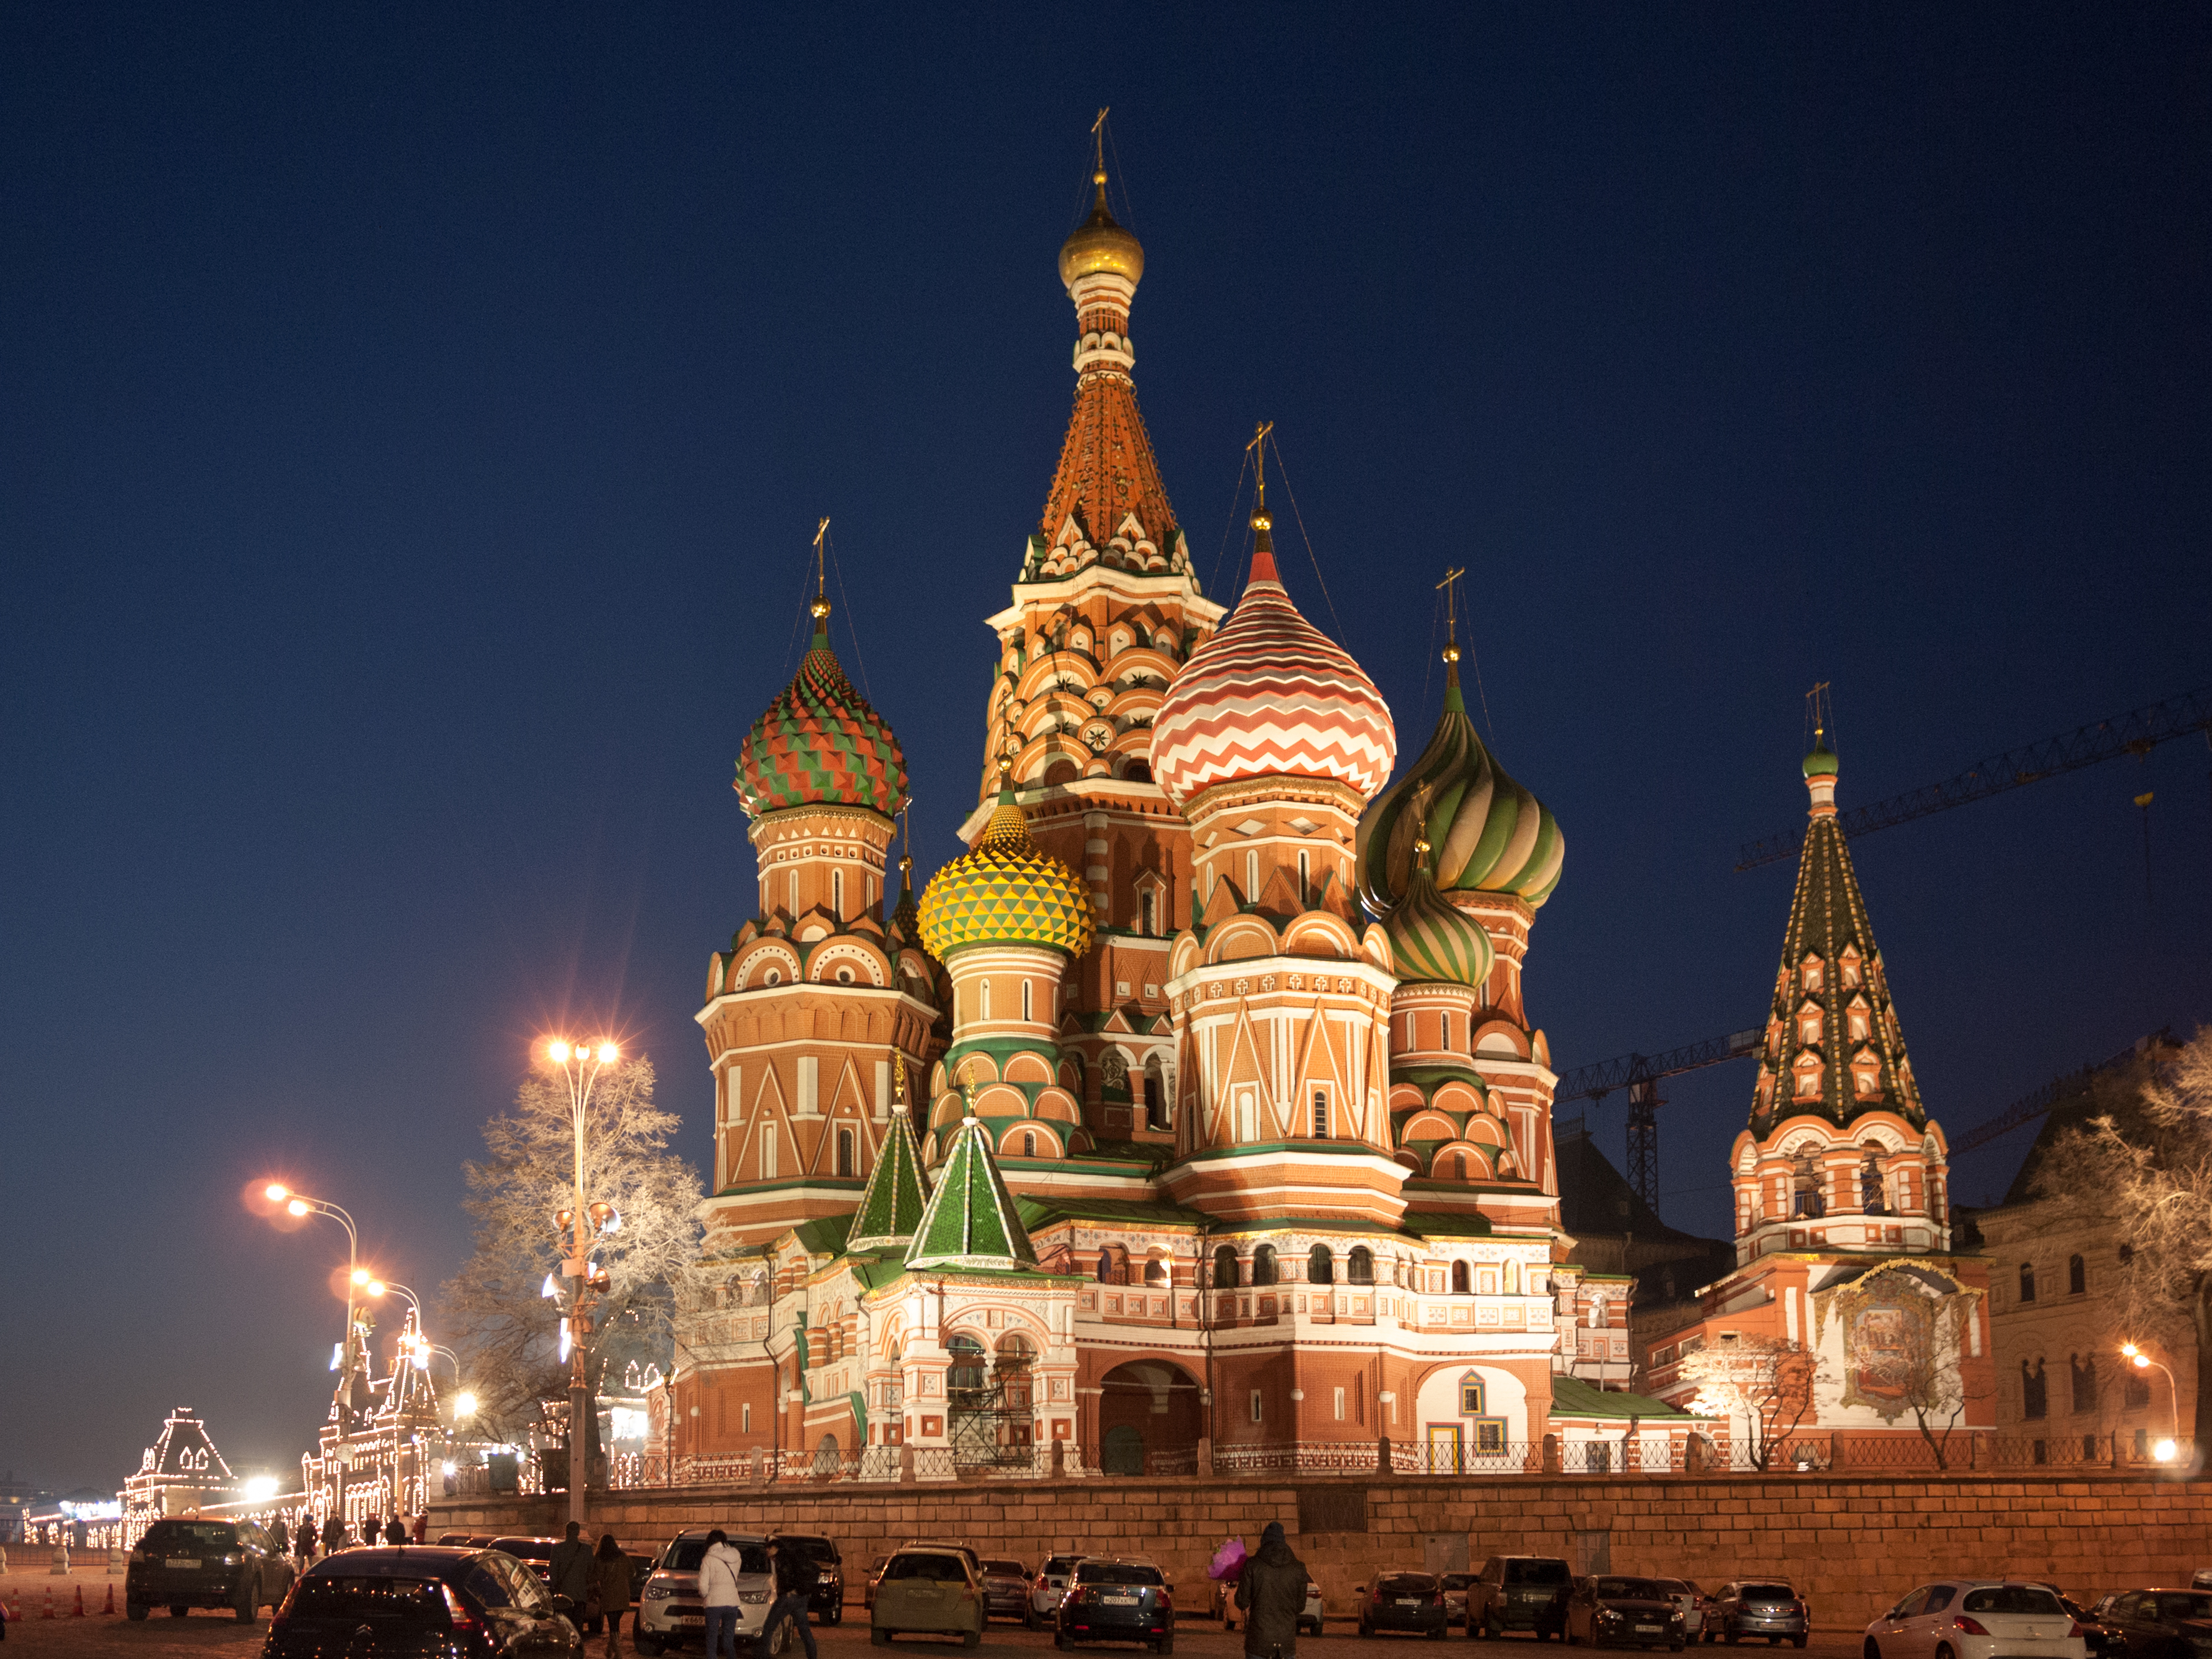
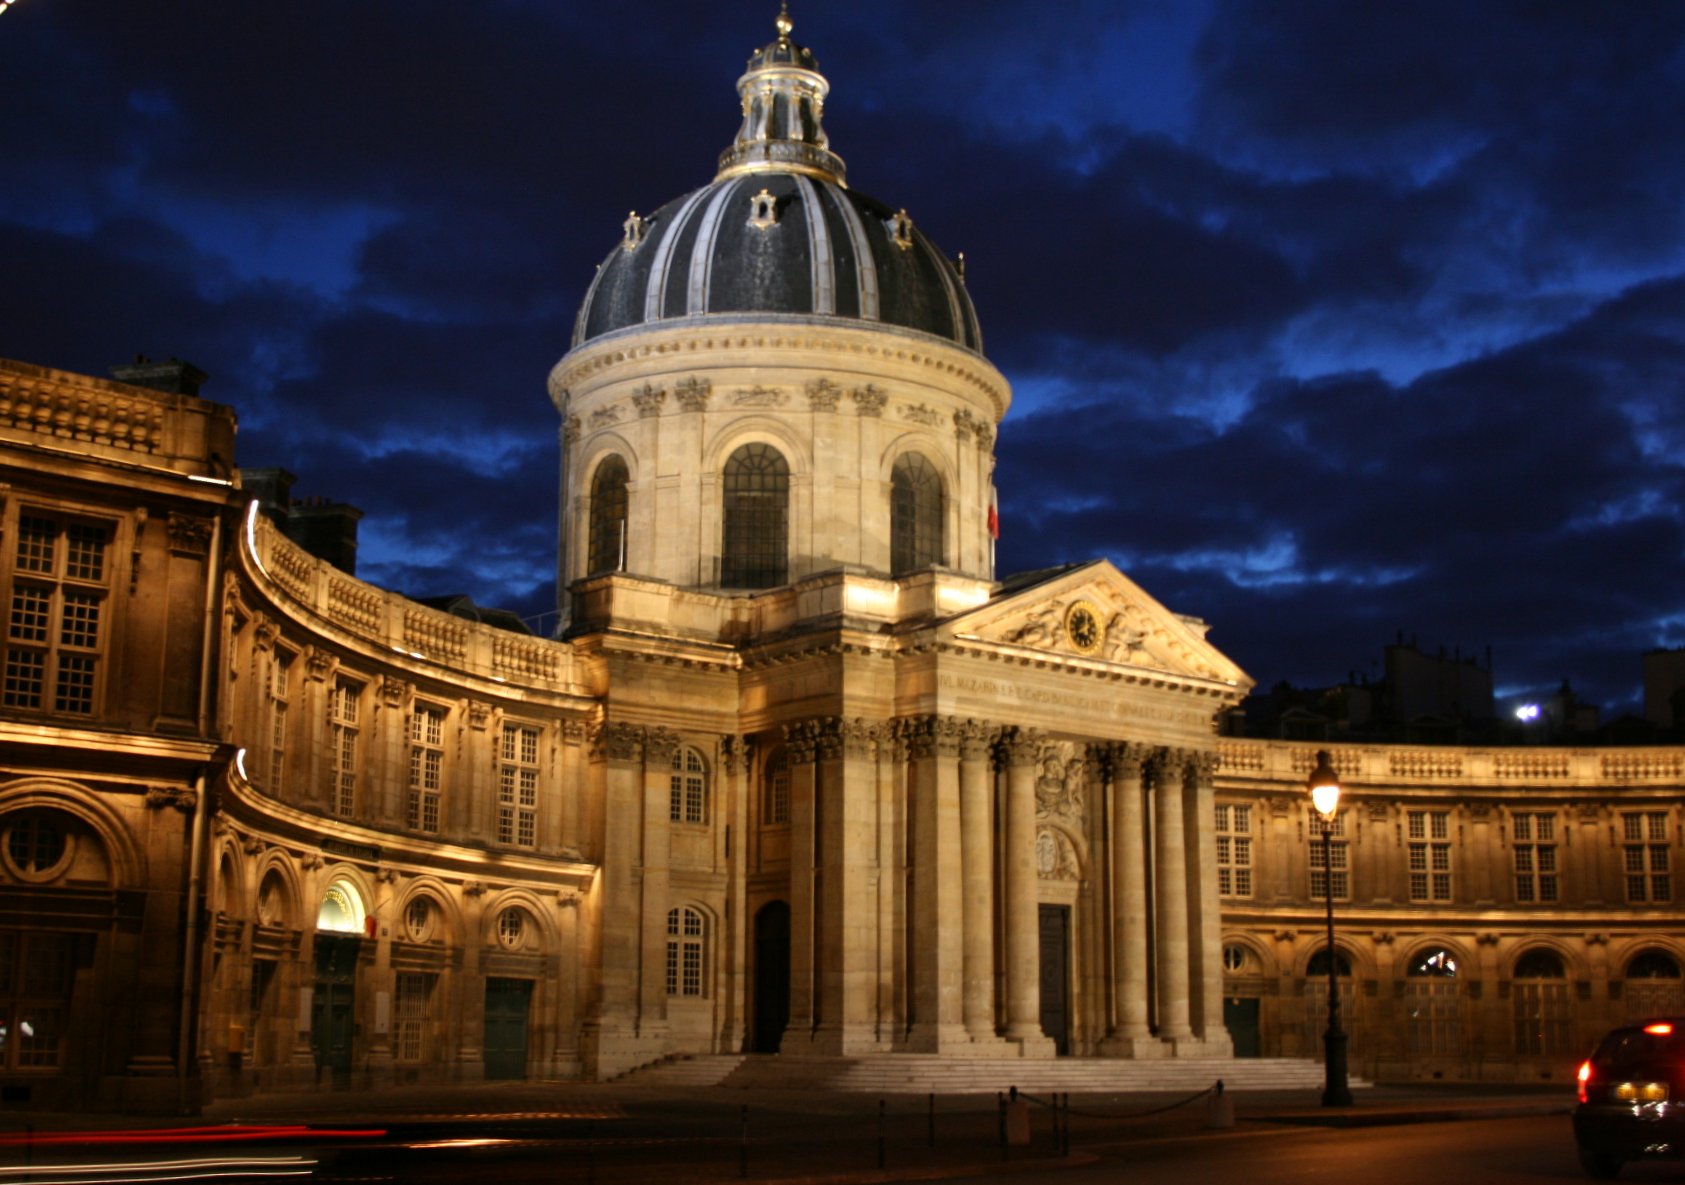
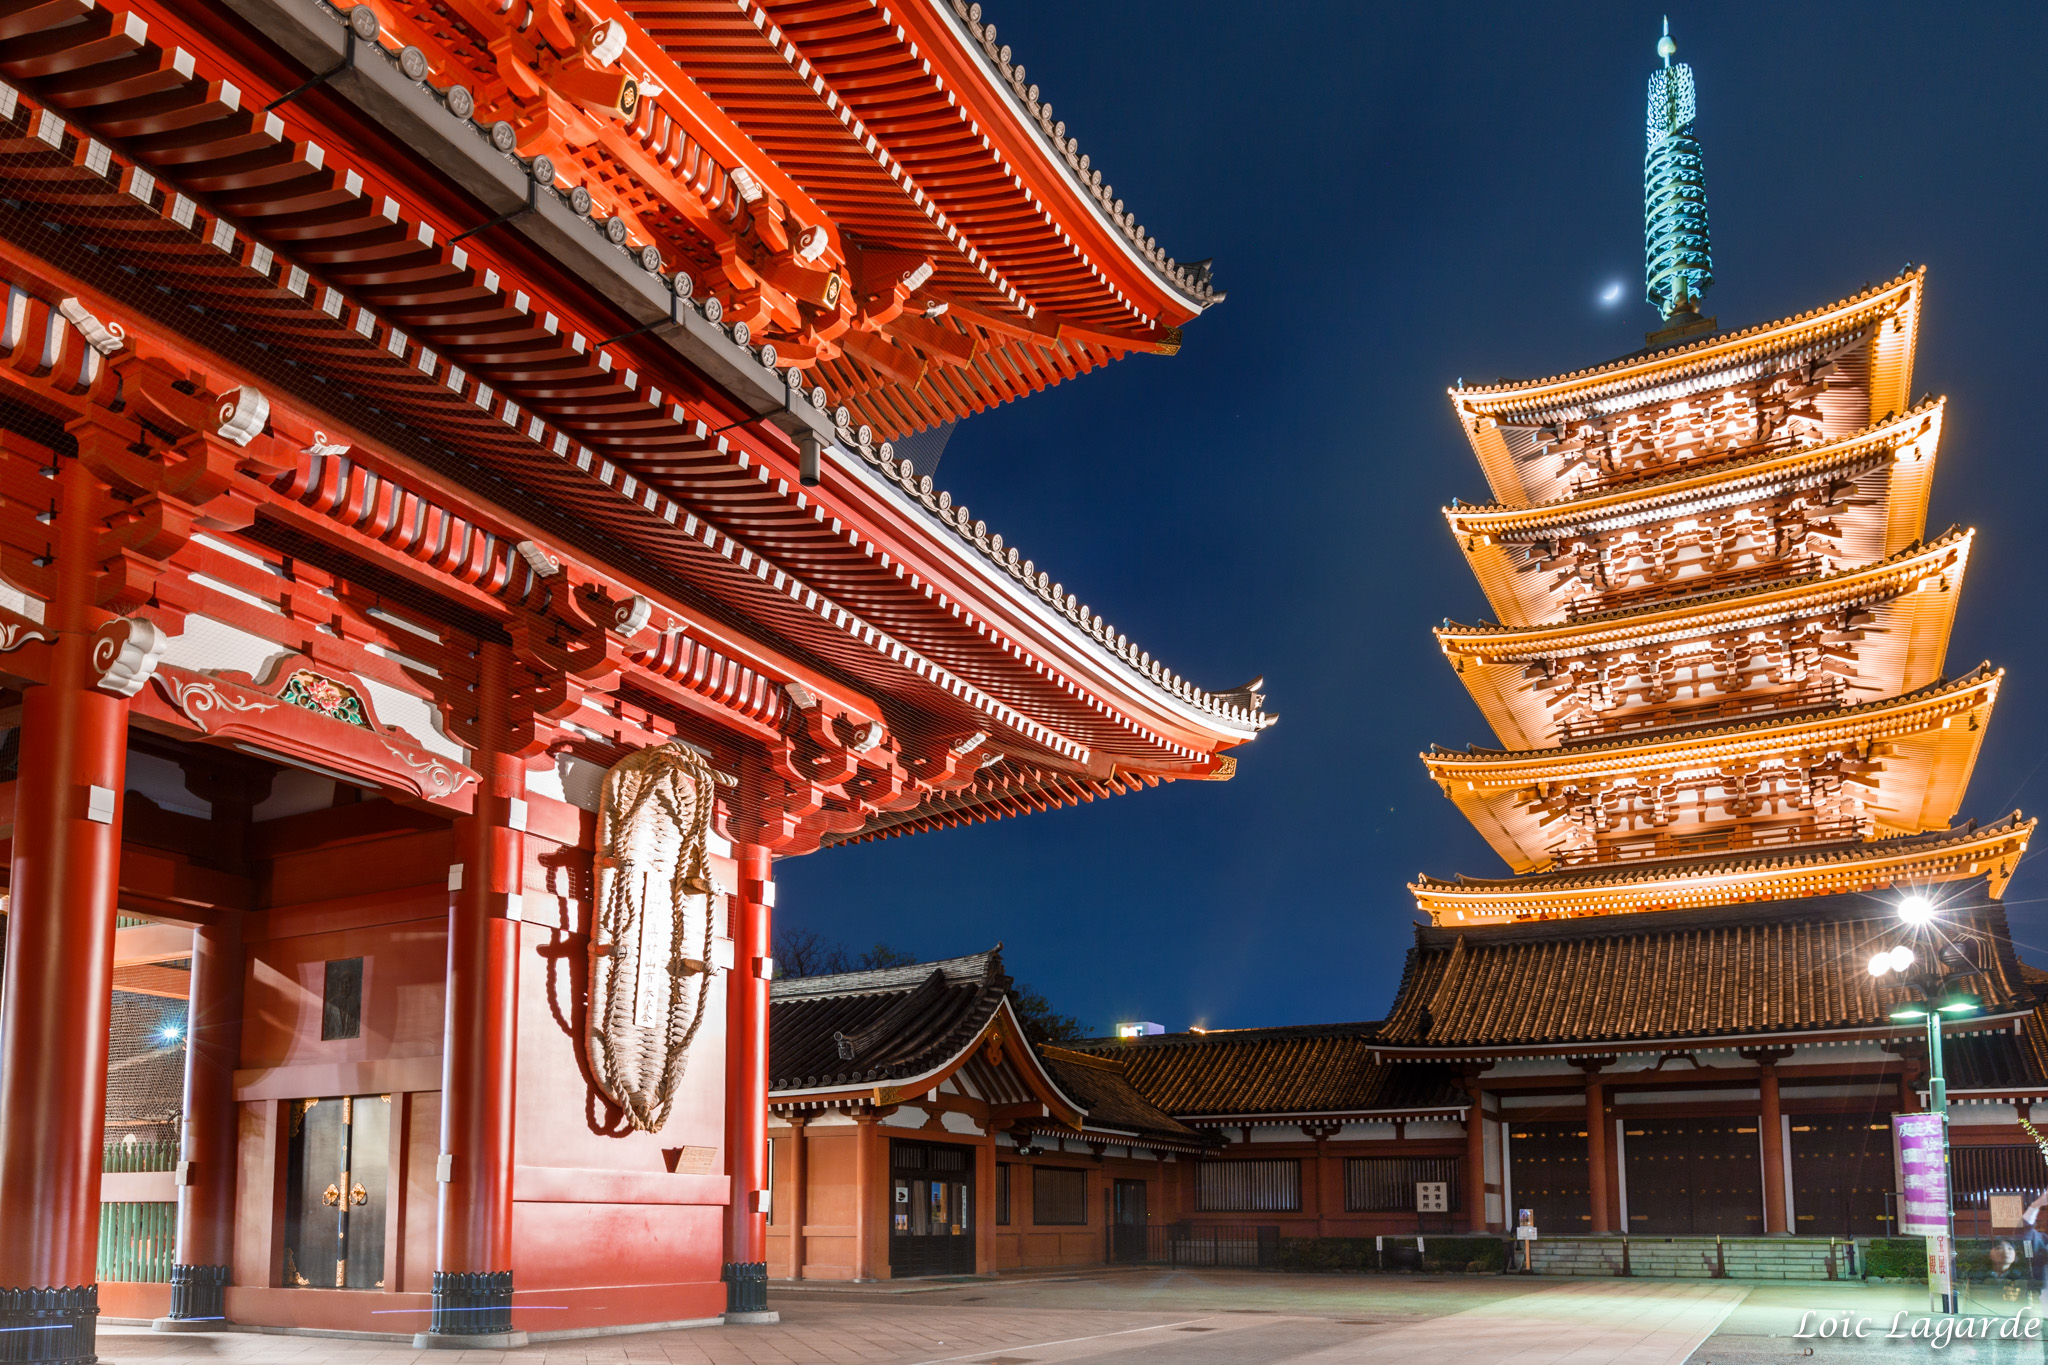
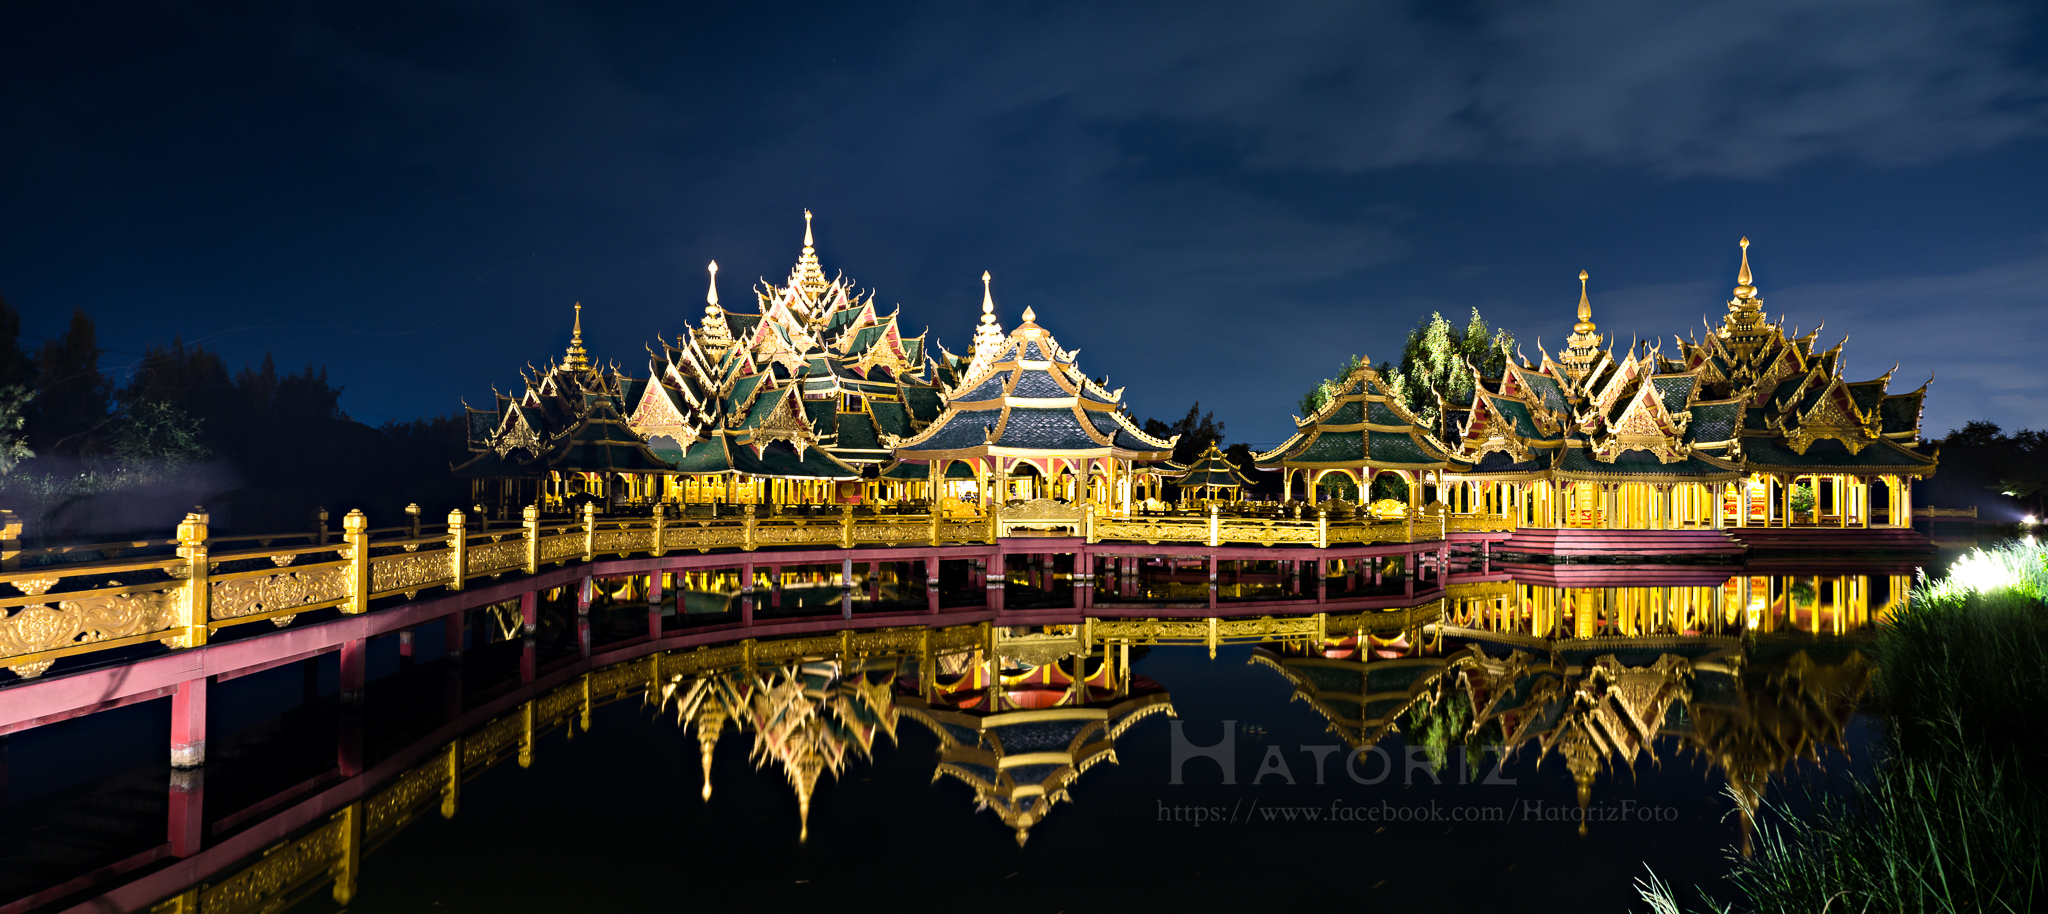
Alternatively, you can shoot at night. Many buildings and cities are designed with night time in mind. Even bridges, sculptures, and windmills can be interesting pieces to photograph after dark. Look for color and the way the buildings are lit and use a tripod!
4. Time Investments
As noted there is little control over large-scale lighting on existing grand architecture, so work with the light that is already there. You can do this effectively by investing time to determine what light is most flattering.
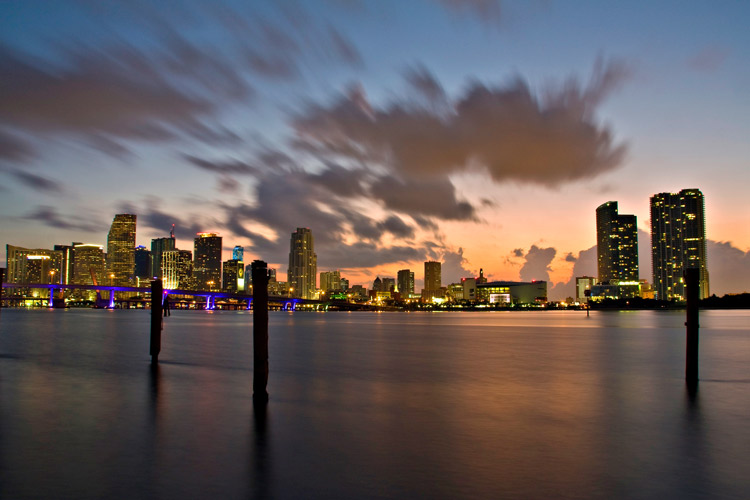
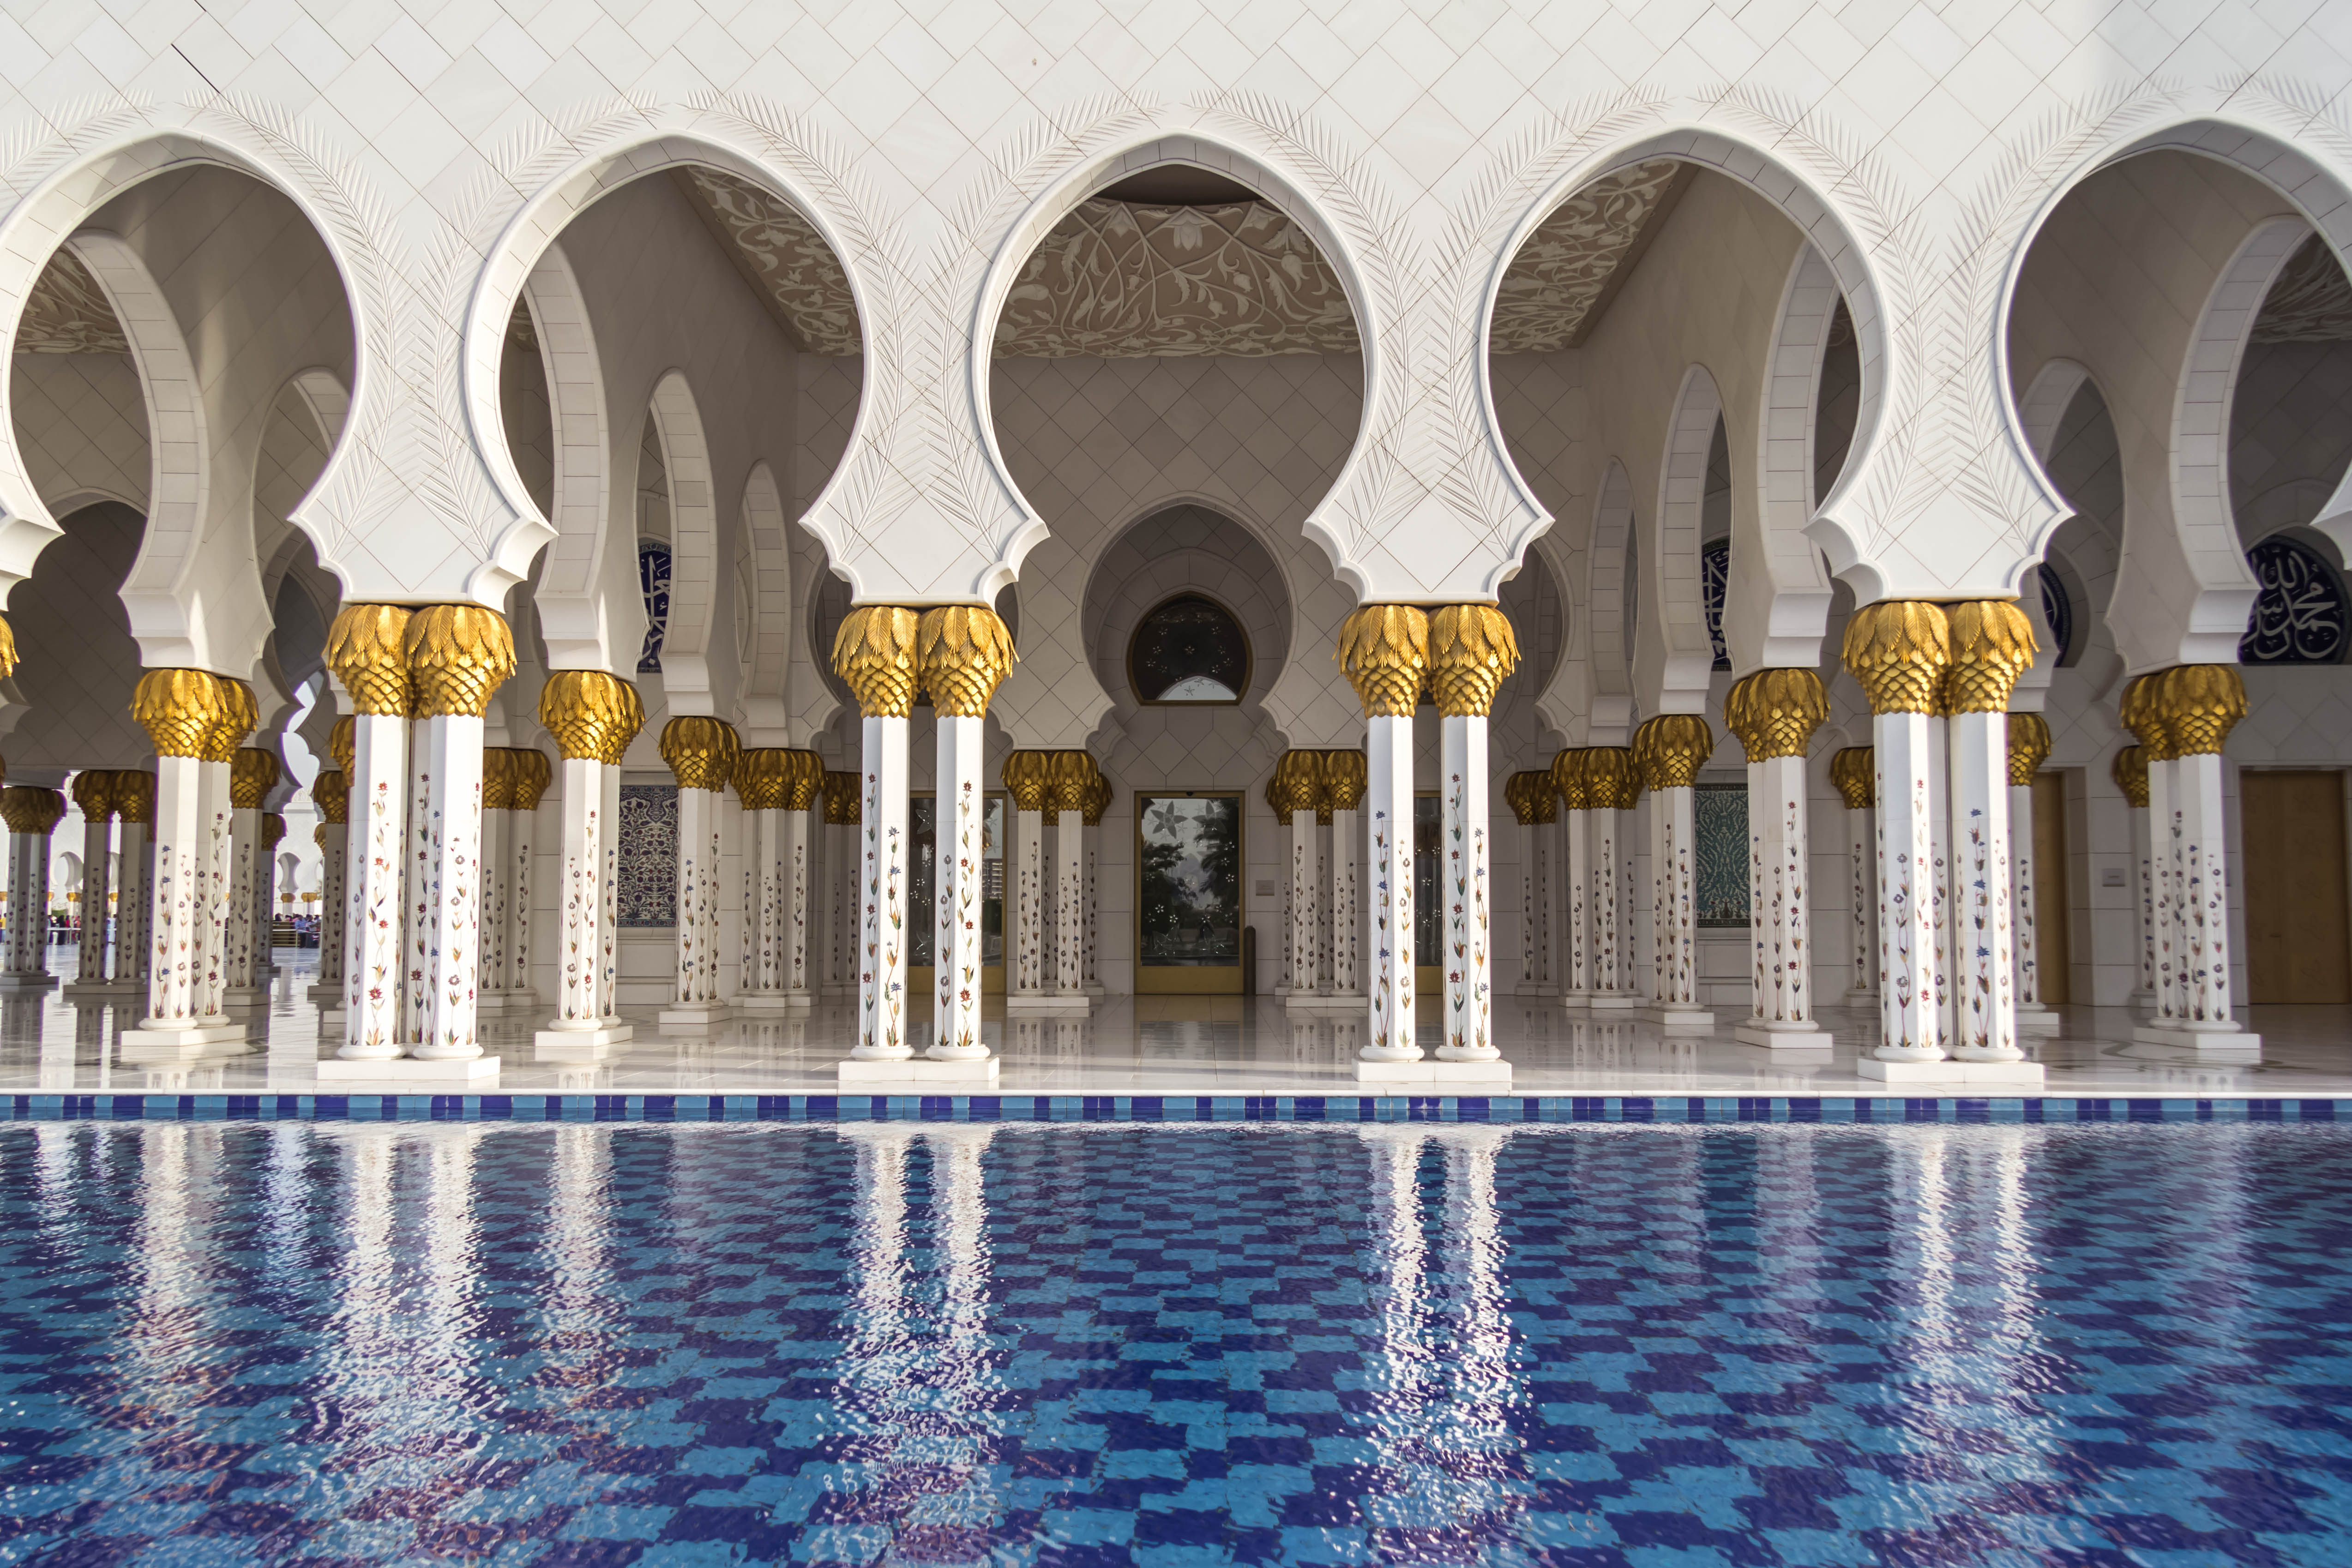
Does the building look better in the morning sun or at sunset? How about at night – is it lit or does it make a great silhouette? Are there interesting reflections in the daytime or a lot of texture to capture? Remember that different times of the day and varying weather conditions can change the mood of your architecture.
Conclusion
Architectural photography is interesting and can be quite exciting. Give yourself time to see architecture from alternate angles, at different times of the day and study it long enough to know what you want your end result to be. Invest the time – it can be worth it.
What is your favorite type of architecture to shoot? Please share some of your shots and techniques with us in the comments below..
googletag.cmd.push(function() {
tablet_slots.push( googletag.defineSlot( “/1005424/_dPSv4_tab-all-article-bottom_(300×250)”, [300, 250], “pb-ad-78623” ).addService( googletag.pubads() ) ); } );
googletag.cmd.push(function() {
mobile_slots.push( googletag.defineSlot( “/1005424/_dPSv4_mob-all-article-bottom_(300×250)”, [300, 250], “pb-ad-78158” ).addService( googletag.pubads() ) ); } );
The post 4 Beginner Tips for Doing Architecture Photography by Nisha Ramroop appeared first on Digital Photography School.

Digital Photography School














You must be logged in to post a comment.