If I show you two different portraits, one with a blurred background and one with a sharp background, you will automatically prefer the one with the creamy bokeh. Why? Because that’s just how it is. No, the bokeh effect is very flattering because it isolates the main subject by separating it from the background.
If you did not know, bokeh means blur in Japanese, and it is purely aesthetic.
Most portrait photographers blur their backgrounds, and I certainly do it because when I take a picture of someone, I want the viewer to focus on the person’s face and not what’s going on behind them.
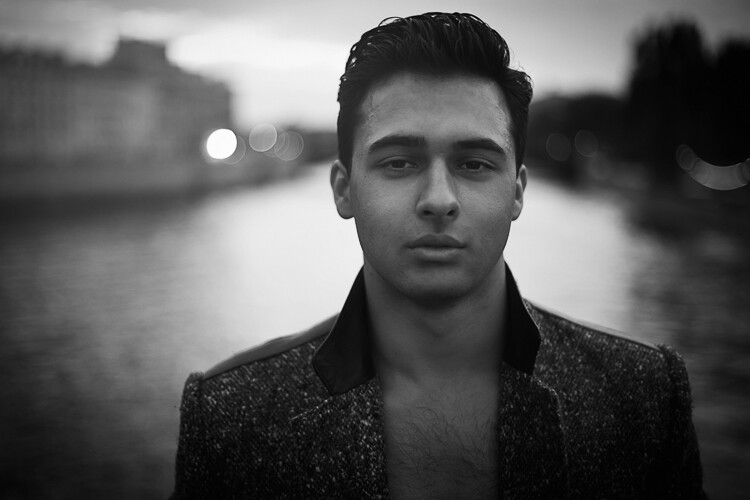
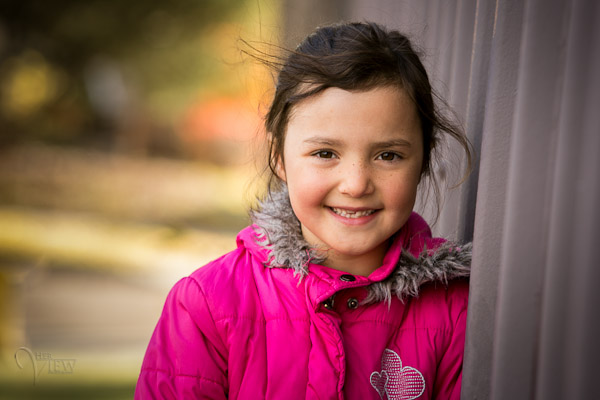
Portrait with nice bokeh in the background.
I always want good background blur when I shoot portraits, that’s one of the main reasons why I shoot on Aperture Priority and let the camera do all the rest of the work. My minimum shutter speed has to be 1/100th, so I increase my ISO to 400 to compensate – this is for portraits with natural light.
Bokeh basically depends on how shallow your depth of field is (note that the further the background is from your subject, the smoother the bokeh). Depth of field depends on three main things
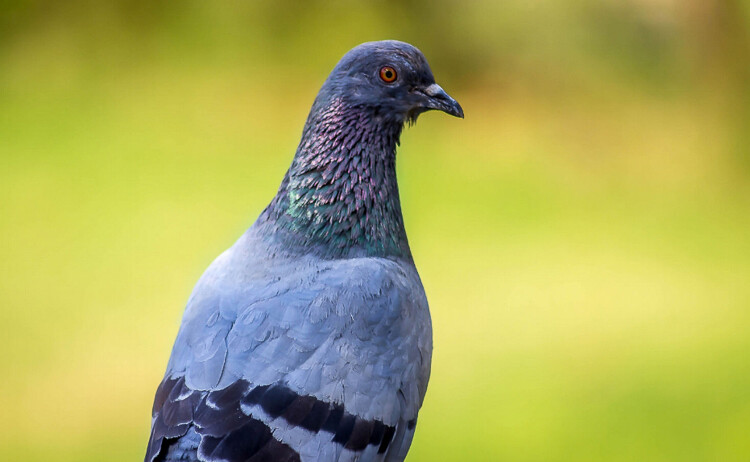
In this image, the bokeh looks really good because the background was really far from the subject (the bird).
The Aperture Matters!
The bigger your aperture (smaller the f-number), the shallower your depth of field (e.g., f/2.8 is a large aperture opening, and it creates shallow depth of field).
The first thing I did not understand when I first started photography is that I used the biggest aperture on my lens but the background was not completely blurred.
At that time I used the 18-55mm canon kit lens with its maximum aperture of f/3.5. The user’s manual on my camera told me to just use the smallest f/stop on my lens and I would automatically blur the background. However, they did not mention a lot of other factors to get this result, like how big should my aperture be. After hours of trying to get a background blur with my aperture of f/3.5, I was left very frustrated because I did not get the results that I saw on the internet.
I later understood that bokeh depended a lot on how big my aperture was – I wanted to get bokeh for portraits with a focal length of 50mm. I had to buy a lens with a bigger aperture to get a completely blurred background, and the Canon 50mm f/1.8 was the answer. It is a relatively cheap lens to get started with portraits. You can find other lenses with an aperture of f/1.4 or f/1.2 but the bigger the aperture, the more expensive the lens.

Portrait with an aperture of f/1.8
With a regular lens like 50mm, you will start getting nice bokeh starting from f/2.8. So lesson number one is to buy a lens with a really big aperture – this is the first way to achieve flattering background blur. You probably know this already, but this is important to mention before giving the two other points.
With a big aperture, you will be sure to get a nice background blur. But, there are other ways you can blur your background without having a wide aperture.
The camera to subject distance controls the depth of field
Let me show you my point: lift your right thumb (or left thumb -it doesn’t really matter) in front of your right eye and stare at it while closing your left eye. While focusing on your thumb, notice that you cannot clearly see the background. Now move your thumb farther away from your eye, keeping your thumb in focus. You will notice that the background won’t be blurred anymore. This works with your camera the same as it down with you eyes. The closer you get to your subject, the more blurred the background will be.
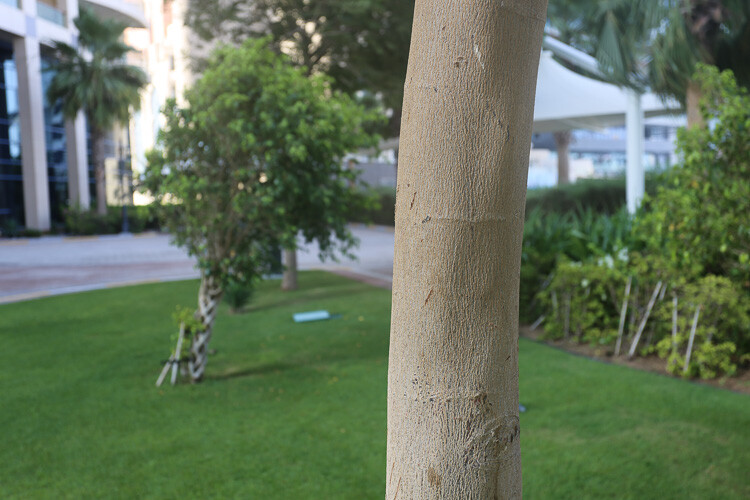
At 40mm, f/5.6 you can see that I’m not getting any bokeh in the background.
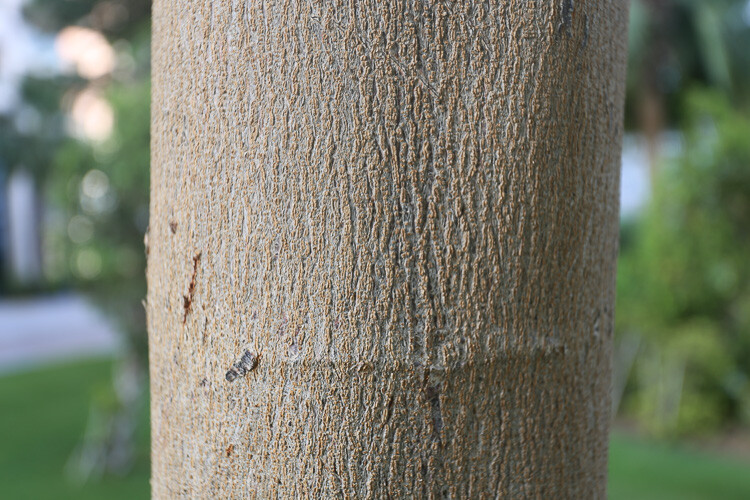
At 40mm, f/5.6 you can see that with the same focal length and aperture I can get a nice bokeh by getting closer to the tree.
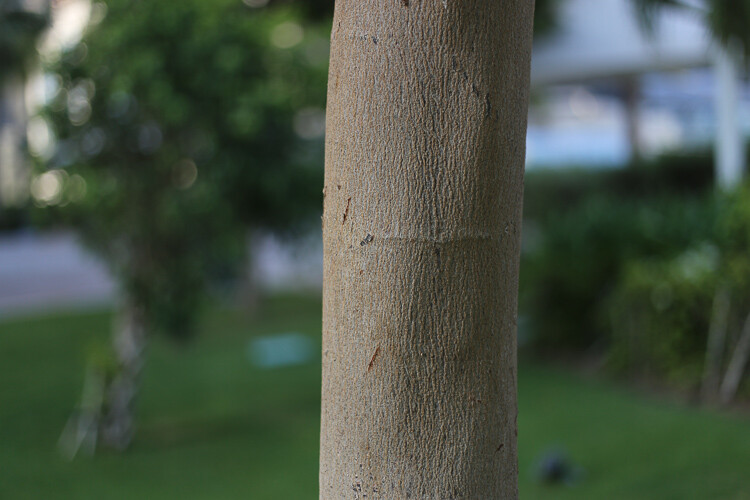
At f/1.8 I get a nice bokeh with the 50mm lens.
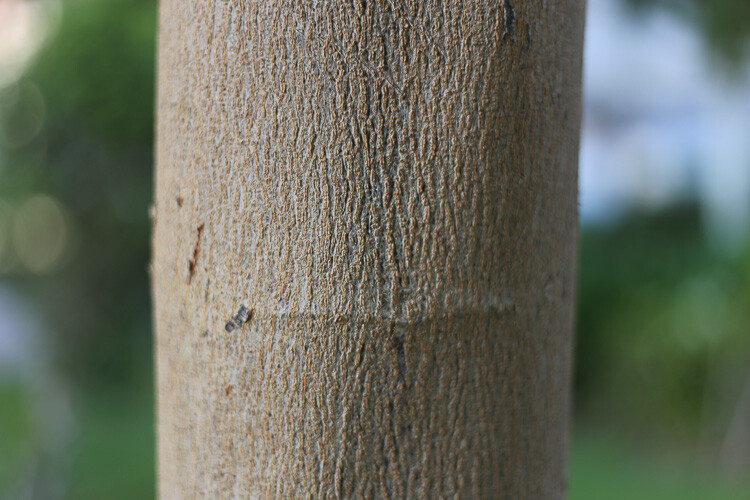
Still at f/1.8 with the 50mm, if I get closer the effect gets more intense.
I understood this when I finally managed to get nice bokeh with my kit lens (I still did not have my beloved 50mm f/1.8). I used to practice my photography, and background blur on a tree. The f/3.5 aperture was not good enough for me so I tried different things. The first satisfying bokeh I got was when I focused my camera really close to the tree.
If you take a second and think, you will realize that all the macro photography images have a shallow depth of field, therefore a smooth bokeh. This is because macro photographers get really close to their subjects.
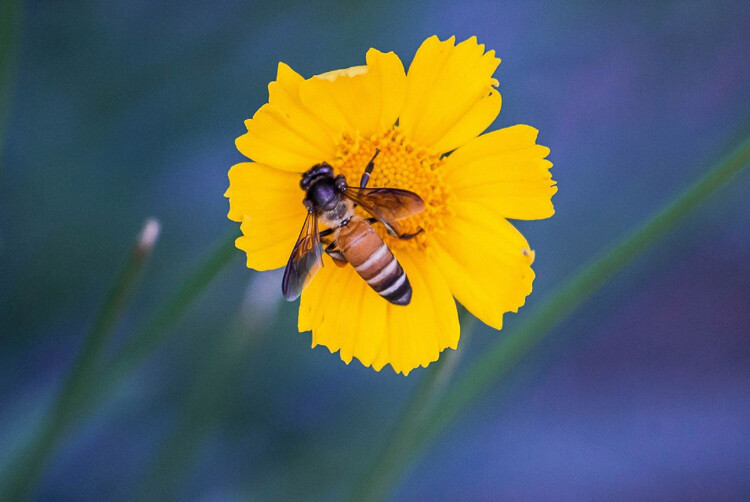
By getting close to your subject you will blur the background.

Here I used a zoom macro lens (at 300mm) and got as close as possible to the leaf.
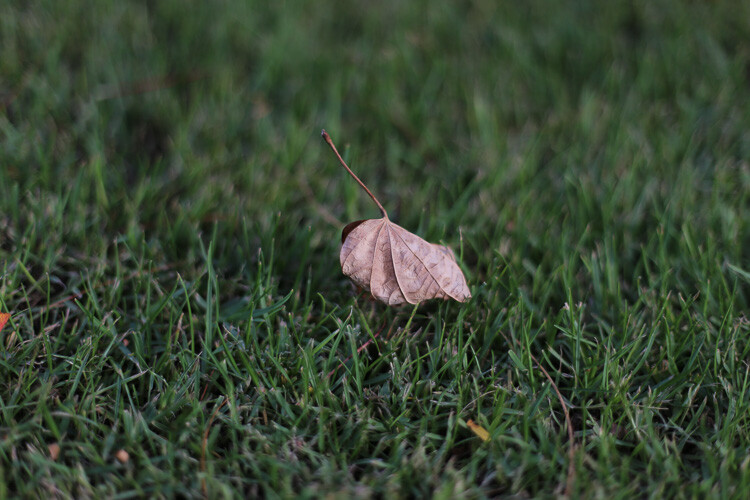
Here I used an aperture of f/1.8 with the 50mm, and got as close as possible.
Even if you have an aperture of, let’s say f/5.6, if you get your camera really close to your subject, you will have a blurry background.
Note that macro photographers use special lenses that enables them to take images really close to their subjects. Standard lenses have a limit regarding their focussing distance. If you cannot afford a lens with a big aperture nor a macro lens, extension tubes are a good solution to extend your focusing distance.
The shorter the distance between your subject and the camera, the shallower the depth of field will be. The bokeh really depends on that distance, because I can shoot a landscape scene with an aperture of f/1.8, and there will be no background blur. That is because there is a huge distance between my camera and the subject I’m trying to photograph.
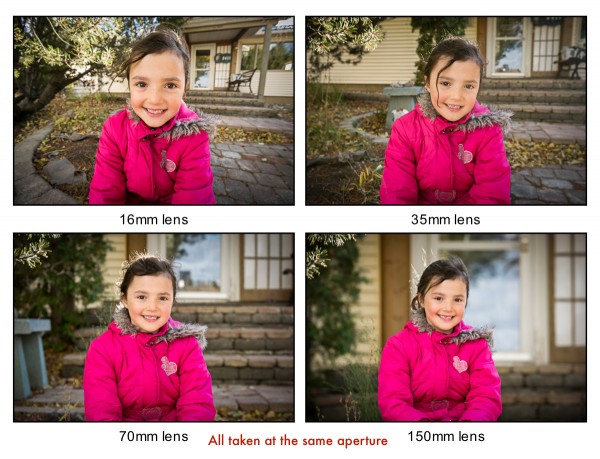
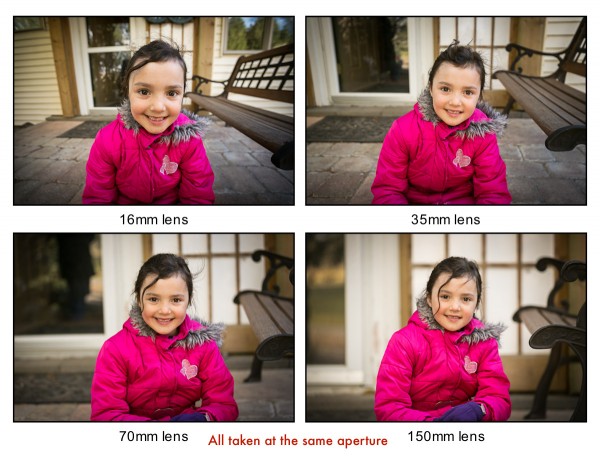
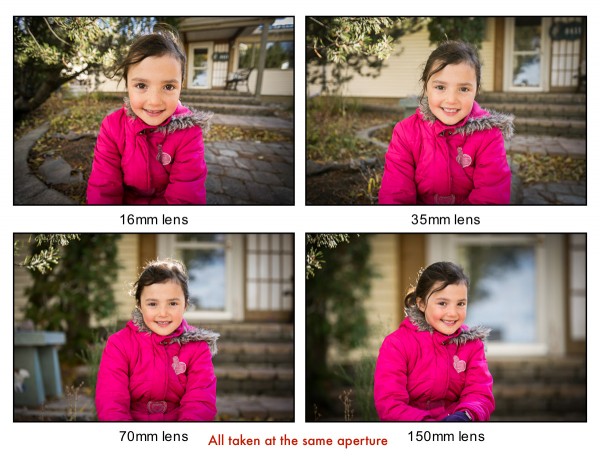
The lens focal length changes the perceived depth of field
If you cannot get close to your subject, but still want to isolate it with a background blur, then use a long focal length lens.
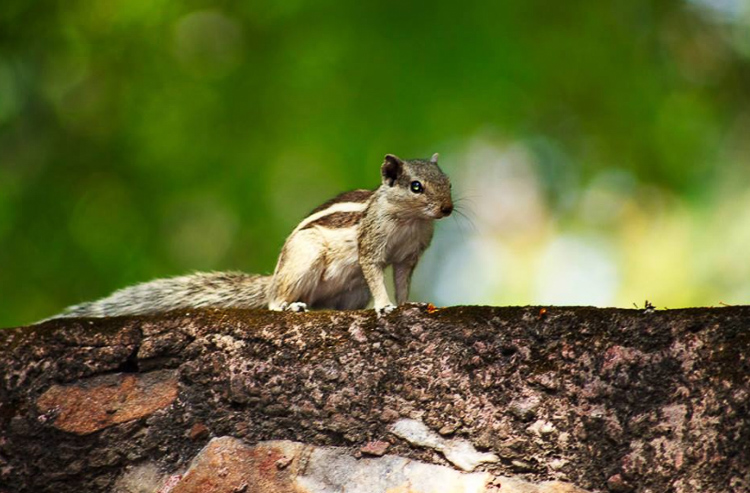
Image taken with a long telephoto lens.
The cool thing with longer focal length lenses, is that you can photograph portraits, wildlife, macro, and isolate anything you can’t get close to. The other advantage is that you don’t need a large aperture, an aperture of f/6.3, for example, will give you creamy backgrounds.
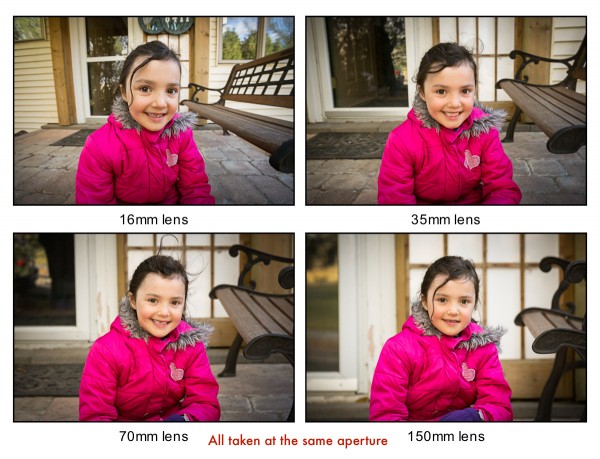
A longer focal length will appear to give you a shallower depth of field, because the subject is compressed, and the isolation between your subject and the background is more important.

A shorter focal length will appear to give you a larger depth of field. Let’s go back to the example of the tree. If I put my aperture at f/4 on a 16mm lens in front of the tree, the background will appear quite sharp. Whereas if I focus on the tree from the same distance, with the same aperture, but with a focal length of 50mm, I will notice that I get a background blur and a shallow depth of field.
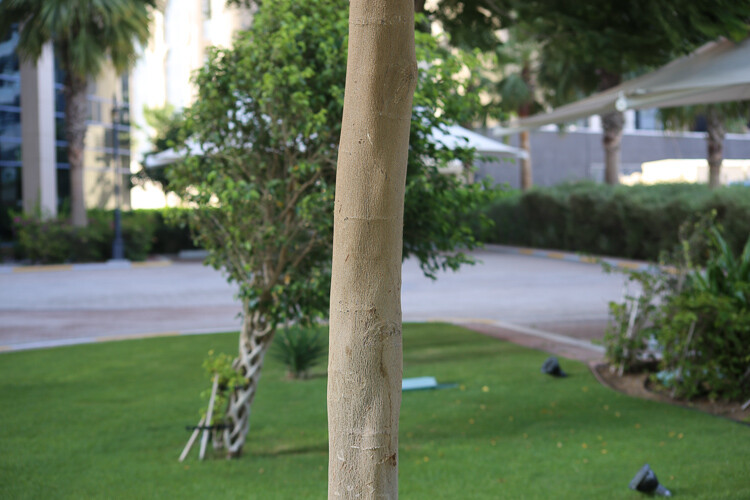
Taken at f/5.6 and 70mm.
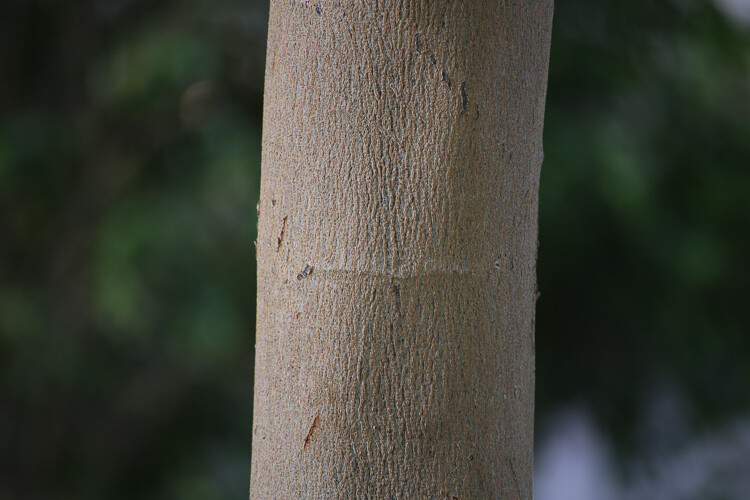
Taken at f/5.6 and 300mm without moving.
Conclusion
So you must be thinking: the best bokeh you can get is to have a long telephoto lens, focused really close to your subject, with a really wide aperture. That’s pretty much it!
The sad part is that these lenses are very expensive. But, I have two portrait lenses, and together they cost less than $ 400 – and, I am still able to take good looking portraits with nice bokeh. So it’s about combining these things, the best you can with the tools you have.
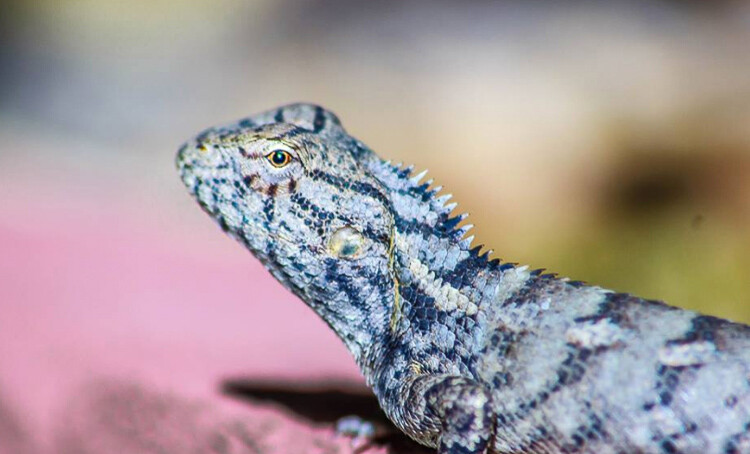
Using a telephoto lens and getting really close.
googletag.cmd.push(function() {
tablet_slots.push( googletag.defineSlot( “/1005424/_dPSv4_tab-all-article-bottom_(300×250)”, [300, 250], “pb-ad-78623” ).addService( googletag.pubads() ) ); } );
googletag.cmd.push(function() {
mobile_slots.push( googletag.defineSlot( “/1005424/_dPSv4_mob-all-article-bottom_(300×250)”, [300, 250], “pb-ad-78158” ).addService( googletag.pubads() ) ); } );
The post How to Achieve Background Blur or Bokeh by Yacine Bessekhouad appeared first on Digital Photography School.




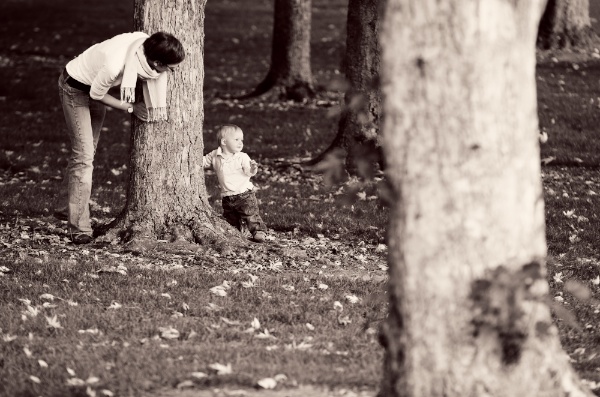
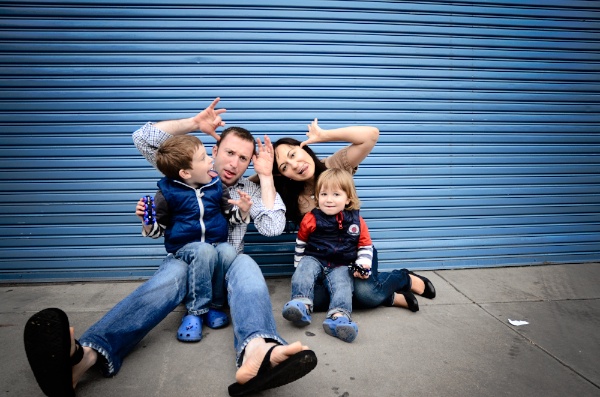
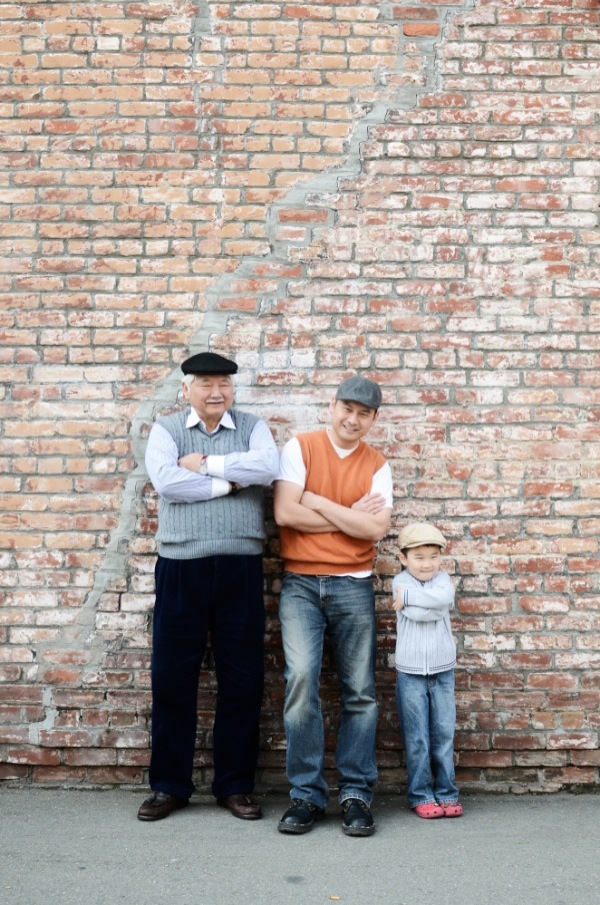

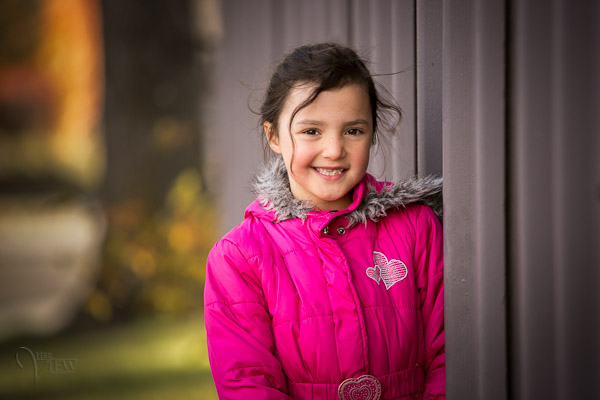
 A request I hear over and over from my students, is that they want to know how to create a beautiful, soft, blurred background like the image you see here. There is a big misconception among new photographers that you need to go out and buy an expensive lens with a really big aperture to be able to achieve such a look. While it is true that a larger aperture will give you a shallower depth of field, there are also two other factors involved that many people haven’t heard before or have forgotten. In this article I’m going to show you the three factors to creating the lovely blurred background and how you can most likely do it with the lenses you already own.

You must be logged in to post a comment.