Lets face it, we all love to take pictures, basically to get out there and photograph what makes us happy and gets our creative juices flowing. Many of us, myself included, hate sitting in front of the computer, sorting and sifting through images from a session, wedding, or just personal work. From busy professionals to active hobbyists, having a good solid workflow and method of organizing images is crucial. I am a wedding, lifestyle and travel photographer. So my workflow is slightly different based on the type of session I am photographing, but for the most part I follow the same series of steps. Here are some tips on how to create an effective workflow that can work for your style of photography.

Camera gear
My camera of choice is a Canon 5D MKIII with a Canon 5D MKII as a backup camera. I have to admit, 90 percent of my sessions are shot using the MKIII. I very rarely use the MKII, but when I am photographing a wedding, the MKII is fully loaded and ready to go, in case I need it. I start of each session (wedding or lifestyle) with a fully charged battery and a Transcend 32GB CF card. I own four 32GB CF cards, three 16GB CF cards and two 8GB CF cards.
For weddings that are over 10 hours long, I carry all my cards with me. Each camera will start with formatted 32GB CF card. When I am traveling for work or pleasure domestically, I carry my MKIII but when I am traveling internationally I typically carry both MKIII and MKII. The night before any photoshoot (either wedding, travel, or lifestyle), I charge all my batteries (I have five batteries between my two cameras and luckily they are the same configuration) and format all my CF cards. My bag is packed and ready to go in my office.
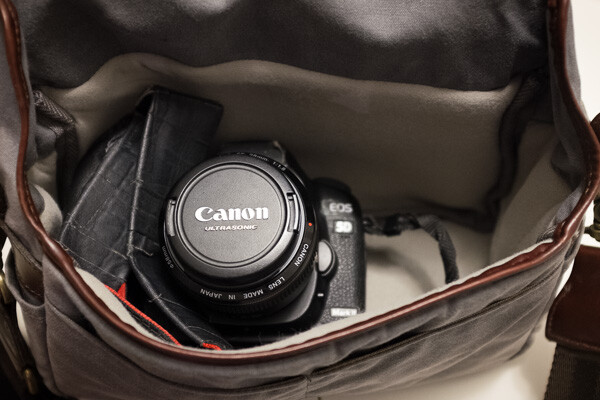
Fits a Canon 5D Mark II with 28mm lens.
During the shoot
Depending on the photoshoot timeline, I will swap out my cards during a logical break in the shoot. For example – the bridal portraits, first look, etc., will be on one or more CF cards. I will swap out the used card before the ceremony (even if it is only partially used), so I can photograph the ceremony on a fresh card. I learned this the hard way early on, when I lost an entire session on a card that failed. Luckily it was not a wedding, but a personal shoot that I was able to recreate. Since then I don’t take any chances with failed CF cards, especially for important events like weddings. Used CF cards from a photoshoot are placed in a separate pouch, from fresh CF cards which are placed in another pouch in my camera bag.
After the shoot (local)
When I am back home from a wedding or a lifestyle shoot, the first thing I do is pack away my gear. I separate my camera bodies from my lenses, and pack them away separately. All batteries are removed, including those from my flash. I have heard horror stories where batteries, especially AAAs, have leaked into the flash socket, so I don’t want to have to deal with that mess!
I download the images from my CF cards onto an external hard drive, that acts as a storage for my RAW images. Once the RAW images are transferred to my external hard drive, I then format the cards in camera (not via the computer). I use Seagate external hard drives to store my images. I also download my images into the Photos app on my iMac computer. The Photos library resides on another Seagate external hard drive.
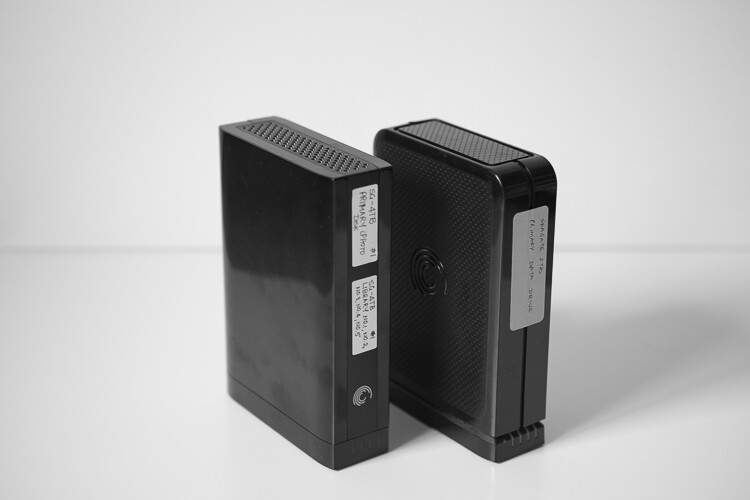
My external hard drives from Seagate are used to store RAW files from my cards and my Photos library. The RAW files are not deleted but the Photos library are deleted at the end of every year.
I use iPhoto (now Photos) and quickly sort through the images that I like. Those images are exported as Originals to a folder on my iMac (I name my folders based on the date of the shoot. For example: YYYYMMDD_ClientName_TypeoftheShoot. These selected images are then imported into Lightroom, my preferred editing software.
My Lightroom catalog also resides on a WD My Passport Ultra, external hard drive. I understand you may have some concerns over running a LR Catalog on an external HD, because of potential LR speed issues. So far, I have not experienced any issues with LR in terms of speed by having the catalog on an external HD. But if you are concerned about speed then your LR catalog can be put on your computer’s hard drive, and keep a backup on the external HD.
This is more portable than a Seagate and I carry it on extended trips, especially international travel. Once the images are imported into Lightroom (I retain the same name of the folder in Lightroom as well), I delete the folder containing the RAW images from my iMac hard drive. If you are keeping track, my RAW images are stored on two separate external hard drives – one that is a dump of the card and the other in a Photos catalog.
After the shoot (on the road)
When I am traveling for work or pleasure, I carry two WD My Passport Ultra external hard drives. One holds the RAW files from my CF cards, the other holds my Lightroom catalog. My original LR catalog is also backed up on one of my Seagate external hard drives. Once I copy the Raw files over, I follow the similar process as when I’m at home.
When I get home, the raw files from the CF cards used during the trip are copied over to the Seagate that houses all my RAW images, and deleted from the WD Ultra so that it is ready for my next trip. I carry my Lightroom catalog only for extended travel trips, when I know I will be editing images and posting them on social media and/or my blog. For short weekend getaways, I either carry just the WD Ultra just for the raw files or nothing at all, based on the duration of the trip.
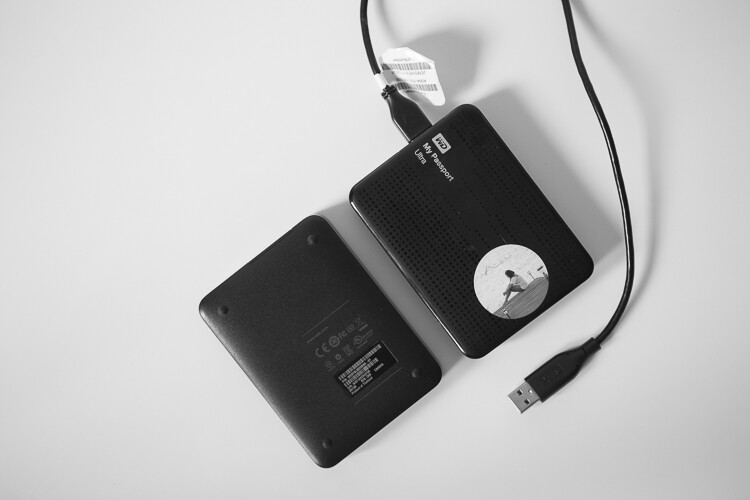
My portable hard drives are used to save my RAW files when I am traveling, as well as my Lightroom catalog when I am traveling for an extended period of time.
Editing and delivery workflow
80% of my editing is done in Lightroom. I use Photoshop sparingly if I have to make any advanced editing like head swapping, and or removing large objects from images. I have invested in the Adobe Creative Cloud for LR and Photoshop. It’s the bundle package deal for $ 10 per month for photographers (get both for only $ 7.99 as a dPS reader). I am able to use both on both my iMac, which is my primary editing device, as well as my MacBook Pro, which is my travel companion.
After editing is complete, I export my client images onto the same WD Ultra external hard drive as my Lightroom catalog. The client folders are also arranged by date of the session. This time my naming standard is as follows: Memorable Jaunts_ClientName_YYYYMMDD – all images will have the same naming convention as the folder, along with an image sequence number. The images are also uploaded to my portfolio site, in a gallery which is password protected. I share the password with my clients, for viewing their images and ordering any prints. I use Zenfolio to host my client galleries. I have been with them since I launched my business in 2010, and have had a very good experience with them (and no, I did not get paid to say this about them, my views are my own).
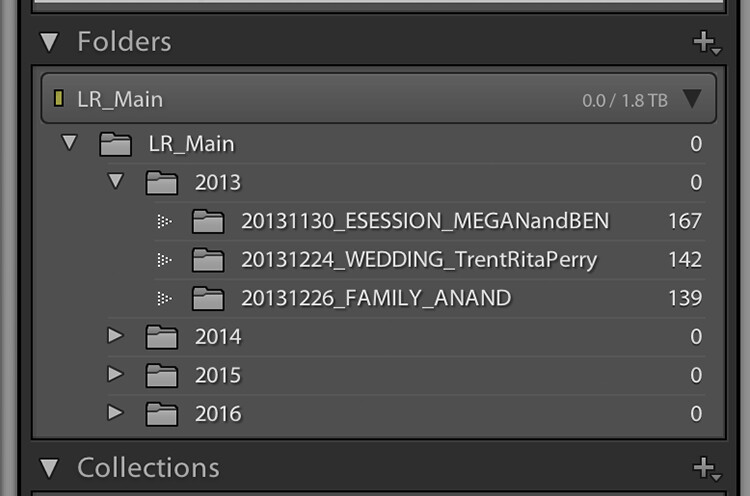
My naming convention for my Lightroom Catalog – the folders are ordered by Year and then by date for each of my sessions
When I am traveling, I follow the same process, and edited images are saved in the same WD Ultra external hard drive. Should I need to touch-up or re-edit an image when I am back home, I simply connect the same external hard drive to my iMAC, launch the LR catalog, and I am good to go.
Client galleries are live online for two weeks, and then they are deleted. At the end of every year, I delete old client processed images from my external hard drive. I retain client session raw files for three years before I delete them from my Seagate external drives (both the original CF card download as well as the Photos catalog) to make room for new sessions. My personal images (images of my family and personal travel) follow the same process as my client sessions. Except these images are never deleted, they are too precious to me and live on forever on my external hard drives!
Client galleries are live online at Zenfolio for two weeks, and are then deleted from that site. At the end of every year, I delete client processed images from my external hard drive. I retain client session RAW files for three years before I delete them from my Seagate external drives, to make room for new sessions. This is something that I communicate with all my clients when when they receive the link for their online gallery. If any of my clients request additional time to store and/or purchase their images, that is something I will most certainly accommodate
My wedding photography packages all include edited images on a personalized flash drive. Whereas my family portraiture clients have the option of purchasing digital images, if they want them for future use. If you don’t want to delete client images in the event that a client may come back to you after a few years (for example in case of death in the family, etc.), you can invest in a large external storage unit like Synology system for backing up, or use Amazon s3 in a cloud environment.
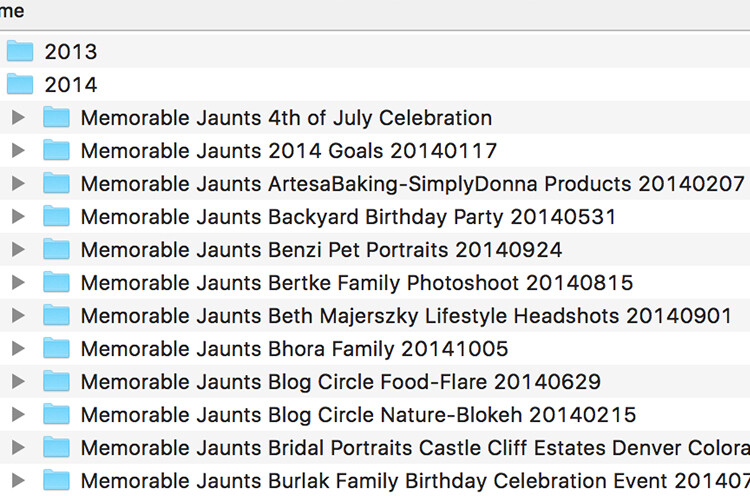
The naming convention for my processed files
Summary
As you can see, my workflow and image organization is not too complicated. I tried a few different variations, both in terms of file naming conventions, as well as file storage options, but I find working off external hard drives is fast, easy, and safe. It does require investment in external hard drives, but I typically pick some up when they are on sale.
I encourage you to use this, or some variation of this workflow, and tweak it to make it your own. Having a workflow will help you be better organized, spend less time in front of the computer, and more time out there doing what you love the most – shooting.
googletag.cmd.push(function() {
tablet_slots.push( googletag.defineSlot( “/1005424/_dPSv4_tab-all-article-bottom_(300×250)”, [300, 250], “pb-ad-78623” ).addService( googletag.pubads() ) ); } );
googletag.cmd.push(function() {
mobile_slots.push( googletag.defineSlot( “/1005424/_dPSv4_mob-all-article-bottom_(300×250)”, [300, 250], “pb-ad-78158” ).addService( googletag.pubads() ) ); } );
The post How to Create an Effective Workflow and Image Organization by Karthika Gupta appeared first on Digital Photography School.
You must be logged in to post a comment.