Wikipedia defines light painting as “A photographic technique in which exposures are made by moving a hand-held light source while taking a long exposure photograph, either to illuminate a subject or to shine a point of light directly at the camera.” In essence, with a basic DSLR, a tripod, and a light source of some kind, you have endless possibilities to create unique images. This technique is a way to unleash your imagination and inner artist – this article will show you how to do it.
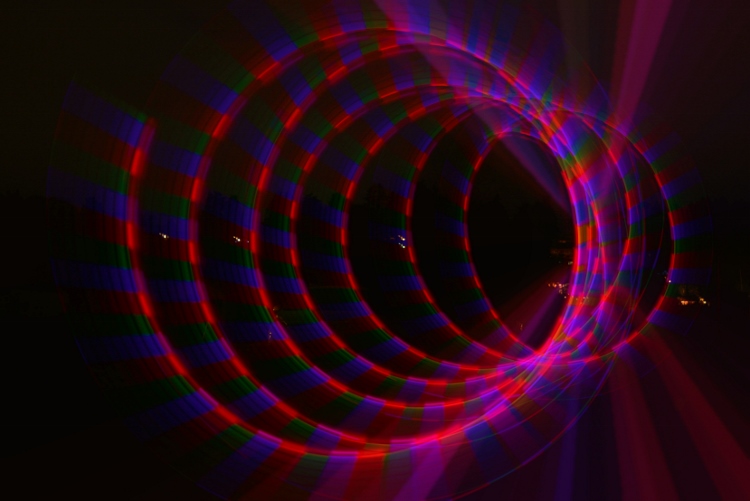
When I realized this artistry had endless possibilities and creativity, I was in. Who wouldn’t be, right? Light painting always amazes me as to how you can create beautiful photos by simply capturing light. I started doing light painting for fun, but then it became a very therapeutic regime for me. If I was having a tough or bad day I would grab my gear, wait for it to get dark, and start painting.
Some basics before you begin:
- You don’t need any fancy equipment.
- Wear dark clothes if you don’t want to be seen in the image.
- Typical camera settings for long exposure light painting are: Manual Mode, aperture f/3.5-5.6, exposure 10-30 seconds, ISO 100-125, lens 18-55mm.
- Bring a friend. While you can do light painting solo (and I often do), it’s a lot more fun with a buddy.
Beginner DIY light painting tools you can make
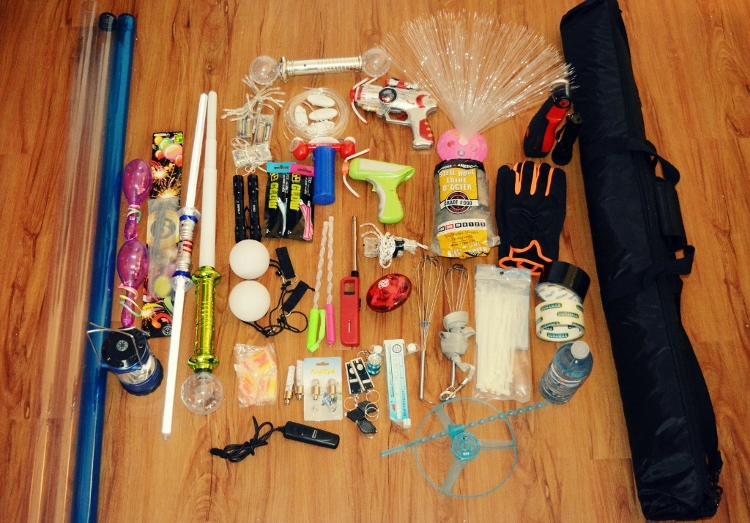
I bought all of my supplies from the dollar store, ebay, or home depot. In my kit, I currently have:
- Basic DSLR + wireless remote (optional) + tripod
- Flashlights (all different sizes)
- Mini keychain flashlights
- Glow sticks
- LED battery operated fairy lights (variety of colors)
- Hoola-hoops (regular and small)
- Sparklers (variety of sizes) + a lighter
- Steel wool kit (wire whisk, dog leash, gloves, lighter, steel wool grade #000)
- A variety of light sabres and flashing rave toys
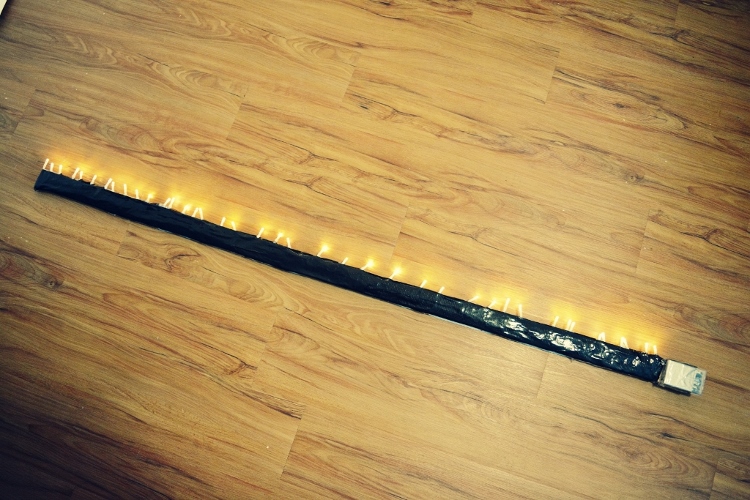
The first two tools that I ever made were a light stick and a light hoola-hoop. They both serve me well. For the light stick you need a piece of wood (any size you want, mine is 57×2″), tape, and one string of battery operated fairy lights.
Lay out your lights next to your piece of wood and tape them on. Viola! A home-made light stick. If you use white lights, you can tint your photo with your basic windows photo gallery editor. I have two, one with white lights and one with multi-colored lights.
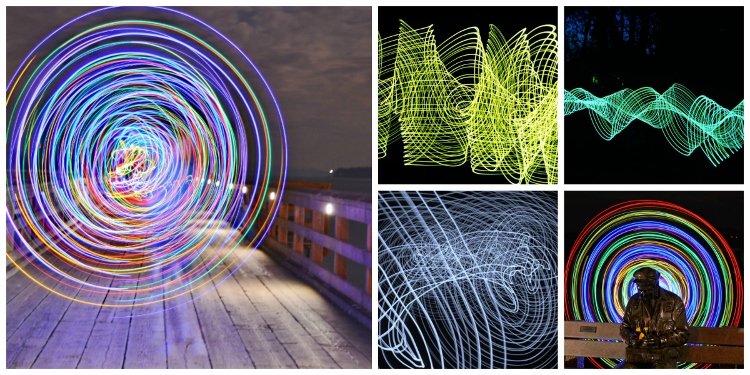
Here are some of my top photos using just a light stick.
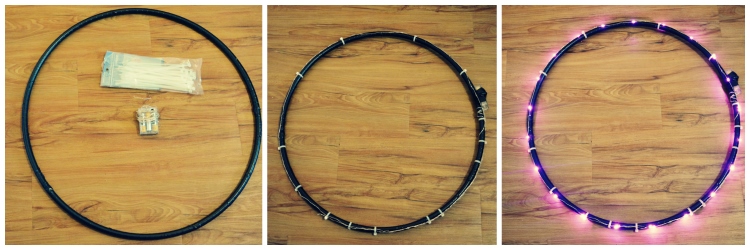
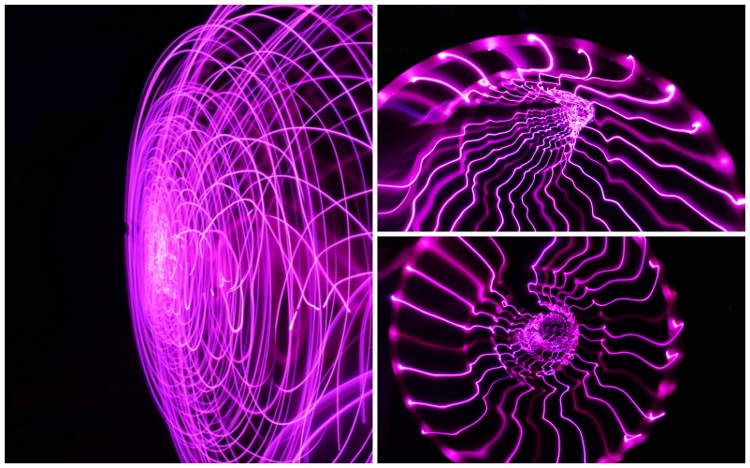
For the second tool I made, the light hoola hoop you need: a hoop, one string of battery operated fairy lights (approximately eight feet long or less, depending on how big your hoop is) and some tape or zip ties. Tape or zip tie your lights around your hoola-hoop. Bam!
Advanced light painting tools (The Pixelstick)
For those of you who have had experience with light painting, you might be asking, what’s next? Well, that’s where the Pixel Stick from Bitbanger Labs comes in. I recently purchased one on sale from Photojojo.com (thank you Boxing Day sales!).
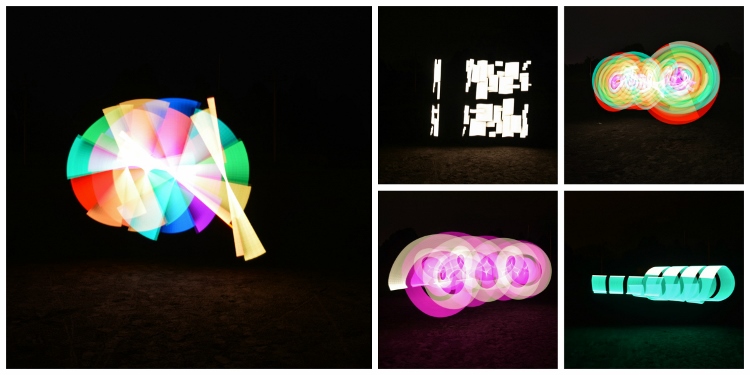
Each one of pixelstick’s 200 LEDs acts like a pixel on a screen, displaying your image one vertical line at a time as you walk. These vertical lines, when captured by a long exposure, combine to recreate your image in mid-air leaving pixelstick (and the person using it) invisible. – according to Bitbanger Labs.
Let’s just say, it’s the ultimate light painting artist’s tool. It takes a bit of practice to get used to, but once you have, you can create some pretty incredible photos. Here are a few of my favorite pictures that I was able to do with the pixelstick.
Ideas for light painting from abstract to using your city as inspiration
You can pretty much light paint anywhere however, please be respectful of your environment. Never damage, negatively impact, or harm a location in pursuit of light painting.
Having the right background or location can give your picture the right ambience, and add some dimension and feel to your photo. My preference is to use a black background most times so I usually find an empty dark field, but sometimes it’s nice to incorporate your surroundings.
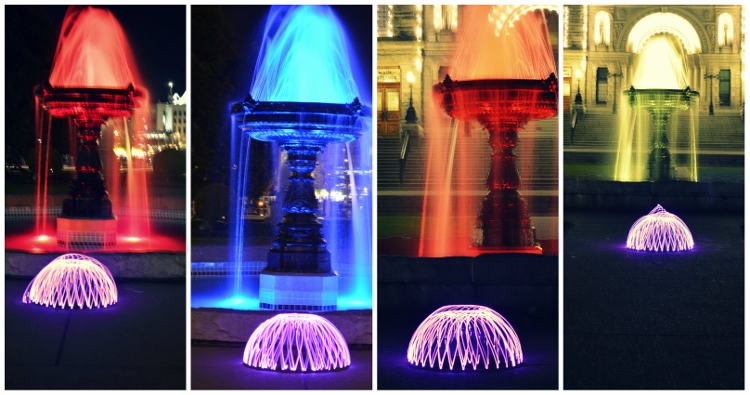
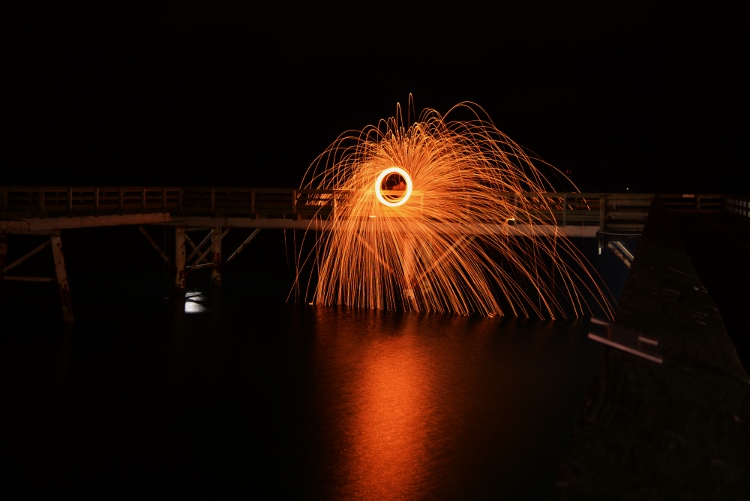
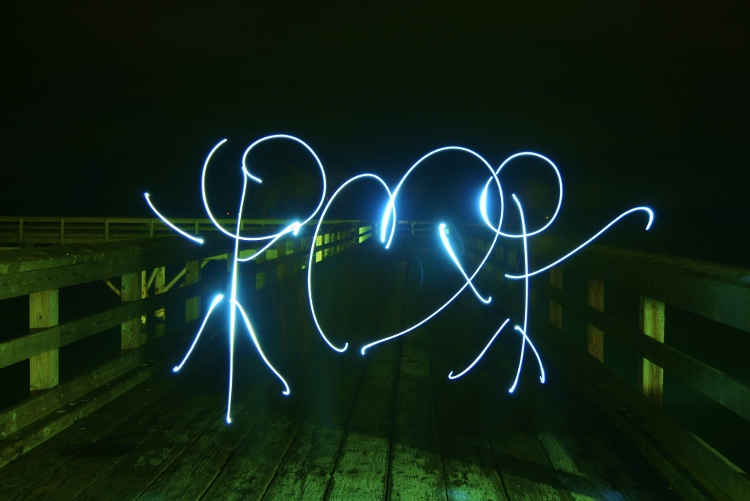
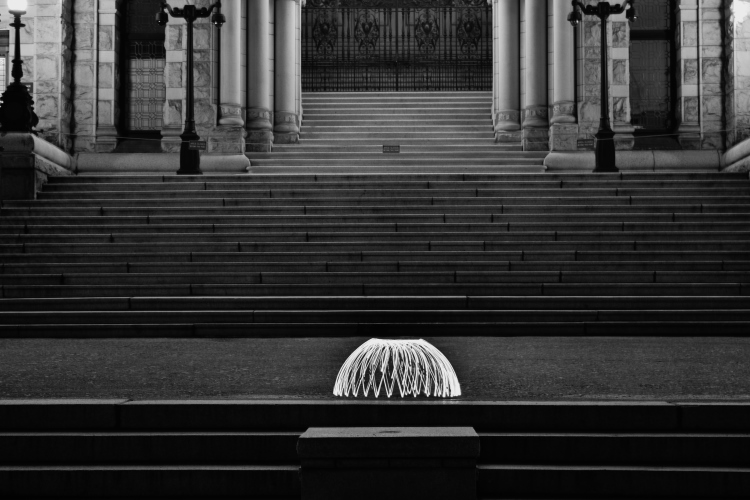
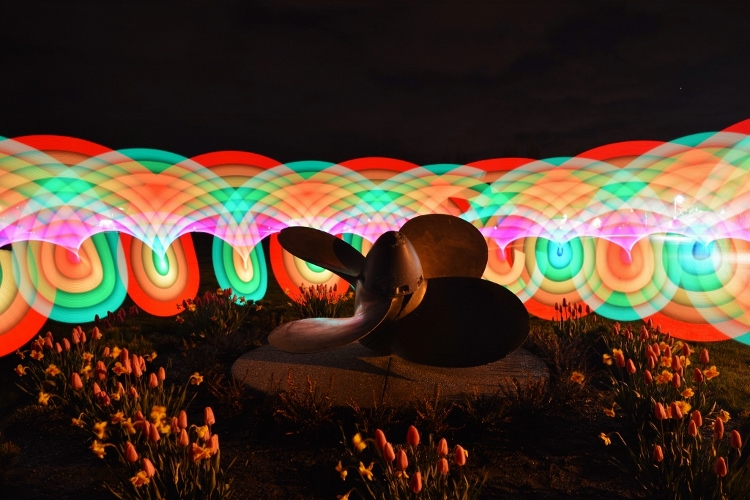
As you can see in this photo, I used a local anchor to center my picture around.
Inspiring light painting artists
When I was getting into the light painting community, I came across some great resources and artists that you may not know about.
- Light Painting World Alliance
- Light Painting Photography
- Rob Tourney Visuals
- Darius Twin
- Denis Smith creator of the ball of light
So now that you know about light painting photography why not go out there and create some unique images yourself? Up for the challenge?
See more light painting articles here on dPS:
- How to Make Unique Portraits Using Light Painting
- Beginner’s Guide to Light Painting
- Light Painting Part One – the Photography
- Light Painting Part Two – Photoshop
- How to Build an LED Light and Make an Orb
- Fire Spinning with Steel Wool – A Special Effects Tutorial
googletag.cmd.push(function() {
tablet_slots.push( googletag.defineSlot( “/1005424/_dPSv4_tab-all-article-bottom_(300×250)”, [300, 250], “pb-ad-78623” ).addService( googletag.pubads() ) ); } );
googletag.cmd.push(function() {
mobile_slots.push( googletag.defineSlot( “/1005424/_dPSv4_mob-all-article-bottom_(300×250)”, [300, 250], “pb-ad-78158” ).addService( googletag.pubads() ) ); } );
The post How to do Light Painting Photography Art with Endless Possibilities by Jennifer Dowd appeared first on Digital Photography School.
You must be logged in to post a comment.