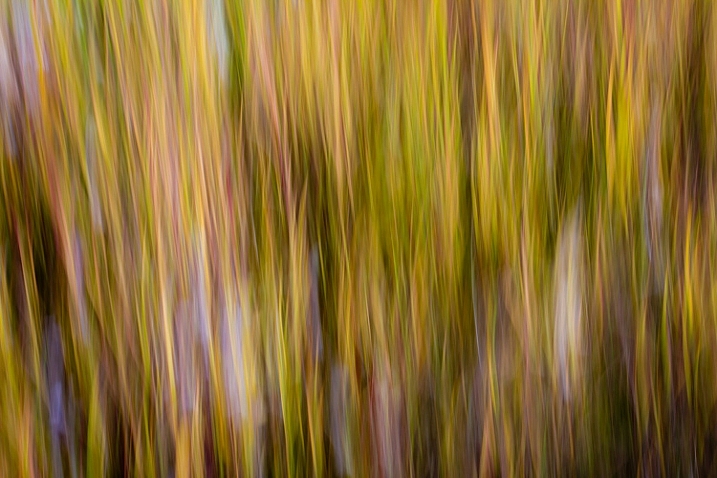
Open up any photography magazine or website, and I promise there will be at least one article, and a half dozen ads, discussing image sharpness and how to get it through technique or gear. Don’t get me wrong, sharpness is great. When I’m shooting a classic landscape or portrait, if the image is a hair out of focus, it goes in the trash. But, at times, blur is exactly what you want, and occasionally, it’s exactly what your sharpness-obsessed brain needs. All you need, is a camera that allows you to manually control shutter speed.
Abstract Panning Blur
Creating abstract blurs is a chance to explore color, and pattern, and forget about the nit-picky details of composition. Frankly, it’s a fun way to screw around with your camera, and the results can be very cool.
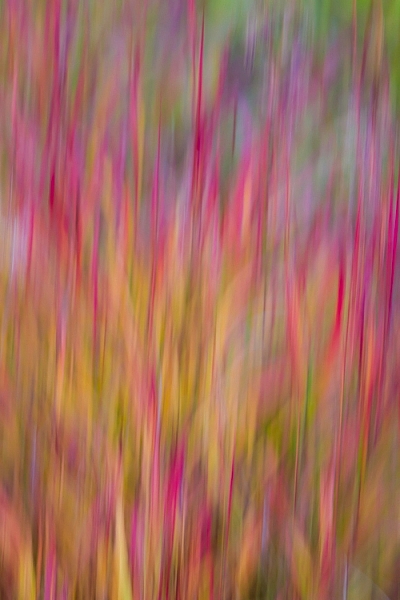
I made the above image in the small wetland below my home in Alaska. In the autumn, the fireweed fades from green, to orange and red, and these plants erupted from the background. Photographically, I didn’t care about the fireweed itself, I wanted to create an image with the feeling of an explosion. After a moment of pondering, I decided a blur might do the trick. I set the camera shutter to 1/10th second, and panned the camera parallel to the direction of the stems (up and down).
The process is simple, but can feel strange. The camera must be in motion for the entire length of the exposure (usually longer than 1/15th of a second). If you pause, start too soon, or end too early, then elements of the image will retain detail, and the clean washes of color will become confused.
Below are a couple of examples using a patch of autumn foliage. In the first (below left), I moved the camera slowly, while the second (below right) is a quicker motion:
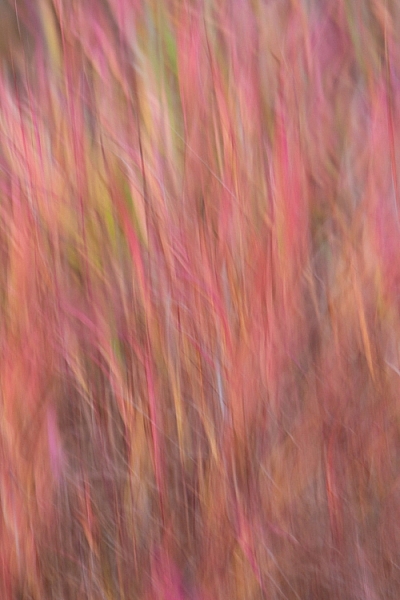 |
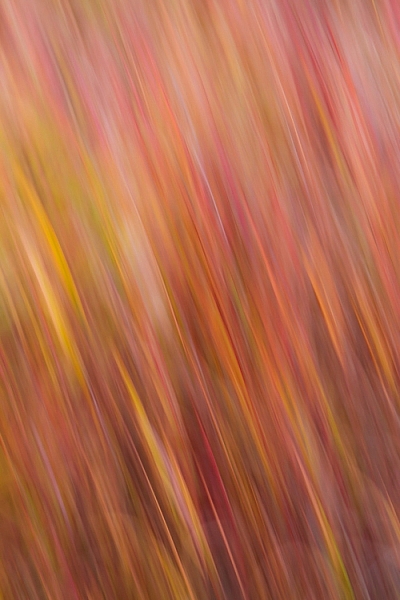 |
Linear patterns, like the fireweed stems I noted above, or trunks of trees, make great subjects for this kind of image. Below are two interpretations of a forest. The first of these images was made during the blue hour of a snowy winter morning, the second is a very fast vertical pan of cottonwoods, on a bright spring day.
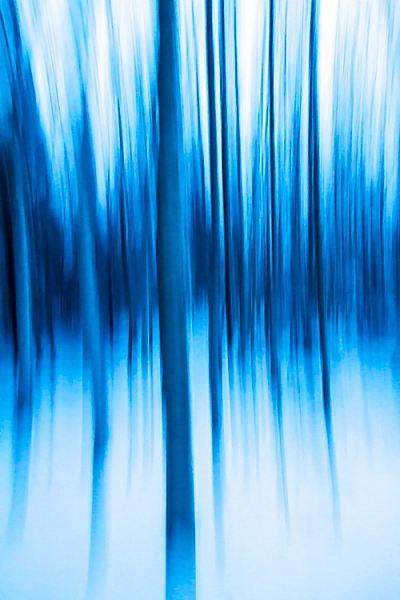
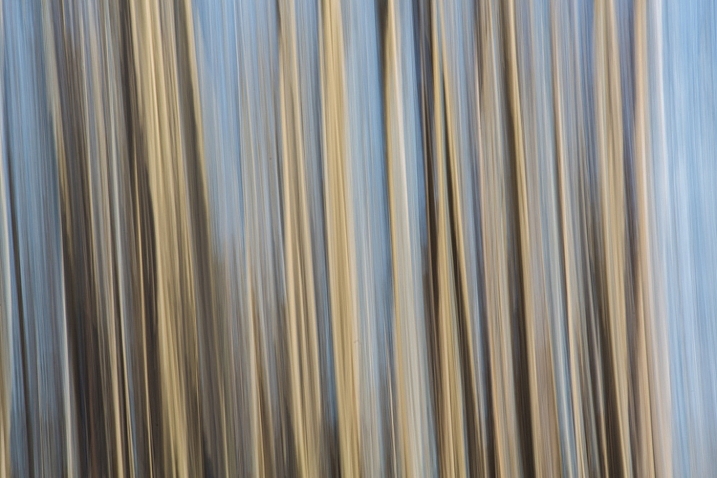
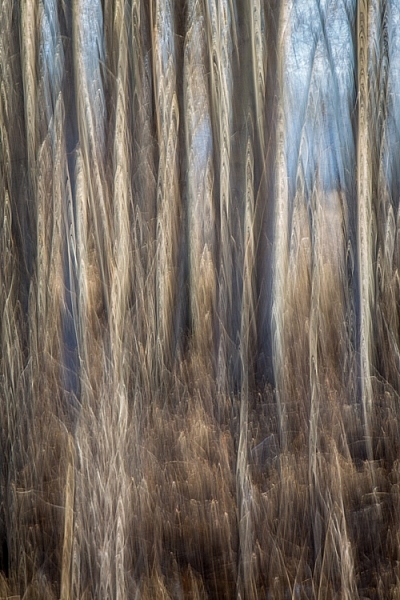
You can also experiment with jiggling the camera as I did in the image below. The results can be very painting-like, and are quite unlike any other type of image I know how to create.
Zoom Blurs
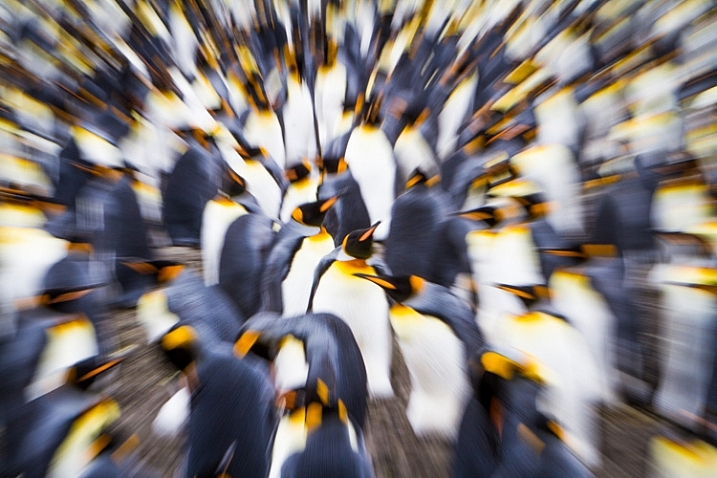
A zoom blur, as is obvious from the name, requires a zoom lens to execute. The result is an image that appears to blur outward, from a comparatively sharp center point. Often, it gives the impression of forward motion, or viewing the subject down a long tunnel of color and pattern. Bright subjects, like flowers, often work well. When done properly, this technique yields an image that is a celebration of color.
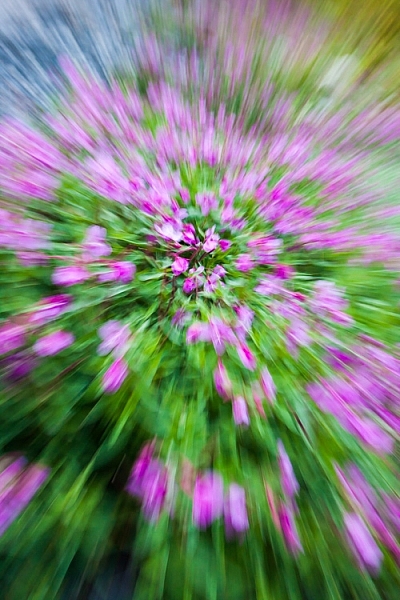
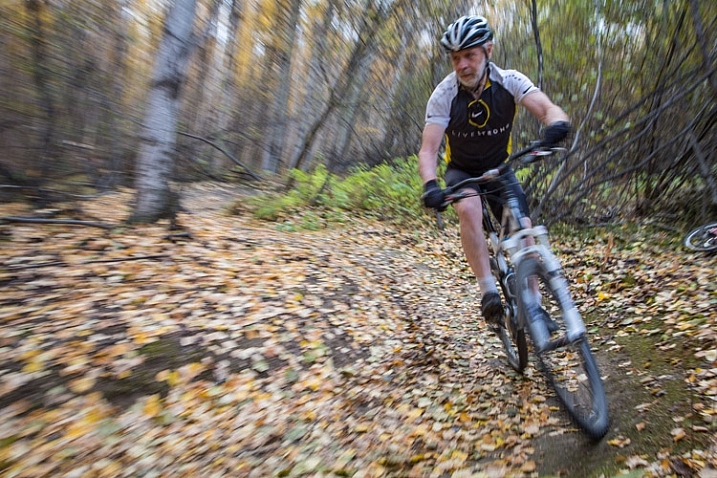
Just as you need the camera in constant motion to create an effective panning blur, you’ll need to make sure the zoom is activated throughout the exposure. Try 1/10th second as a starting point. I’ve experimented with this technique in a variety of situations, even on a colony of King Penguins (below), where I think the technique emphasizes the chaos and noise of the tightly packed birds. It can also be effective for portraying motion, as I did in the image of the mountain biker (second image below). For this image I used a small zooming motion, instead of a dramatic pull back, as the cyclist approached me.
Subject Blur
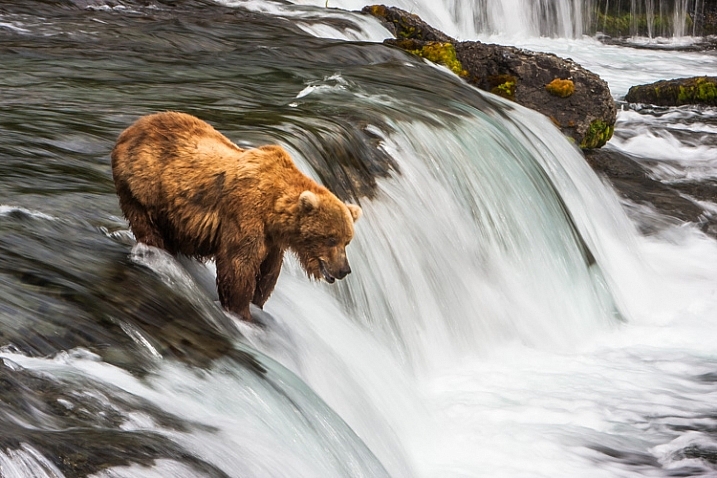
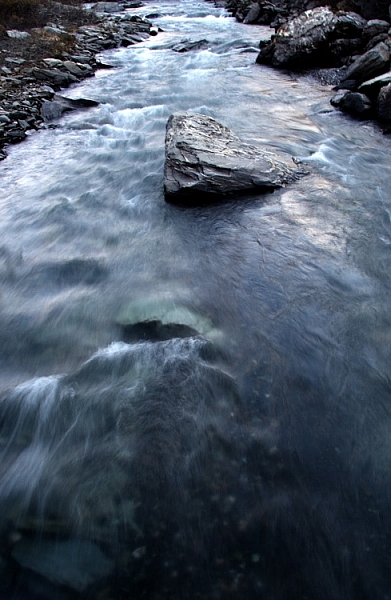
In the techniques I described above, either the camera, the lens, or both must be in motion, but blurs can also be effective when it’s the subject that’s moving. Most landscape photographers will already be familiar with the technique of blurring moving water through the use of a slow shutter speed. This technique requires a tripod to be effective, and composition, unlike in abstract blurs, now plays an important role.
Your shutter speed will dictate how the blur appears in your final image. Slowly moving subjects like rippling waves, may require several seconds to blur, while a fast tumbling creek or waterfall may only need 1/15th second. Experiment, and see what you get. In the two images below, the bear and waterfall required only 1/15 second to blur, while the slower moving creek required nearly a half second.
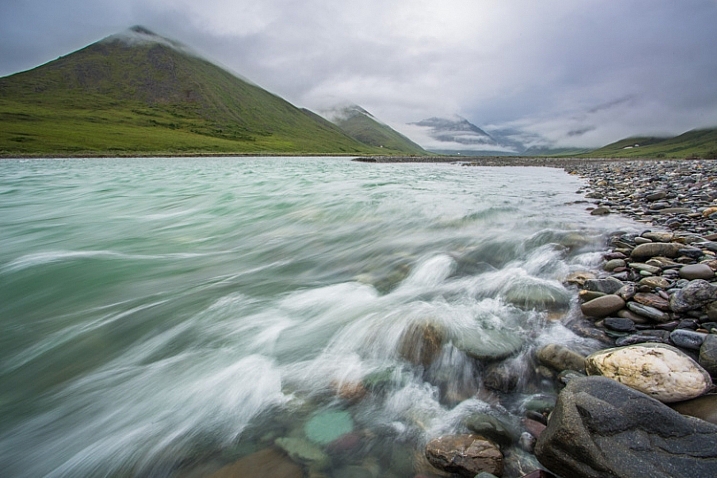
1/8th second at f16
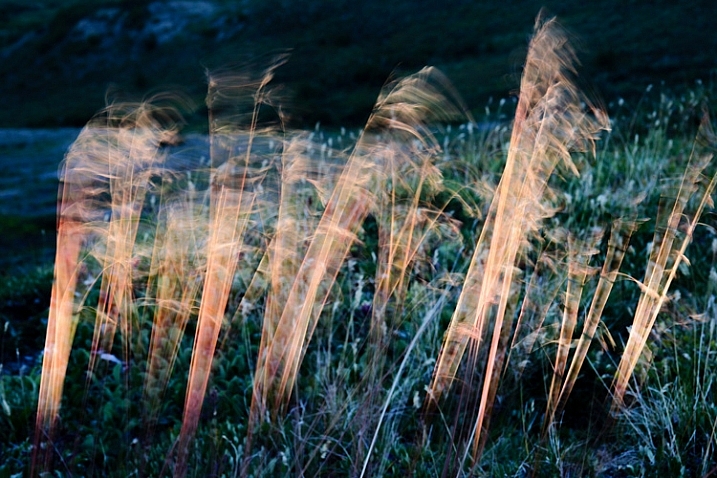
Water is the obvious subject for this kind of photography, but don’t limit yourself. Several years ago, I was hiking atop a ridge in the Alaska Range. It was mid-summer, a few minutes before midnight, and the sun was just setting behind the mountains. It was windy, and tufts of golden tundra grass were waving rapidly back and forth in the breeze. I knew that when the last light of day departed, those tufts of grass would be lit up, and all the rest of the world would be shadowed. Quickly, I set up: tripod placed low, long shutter speed (1/4 second), and waited. Sure enough, for just a moment, the only thing lit by the sun was the blowing grass stems:
Action Blurs
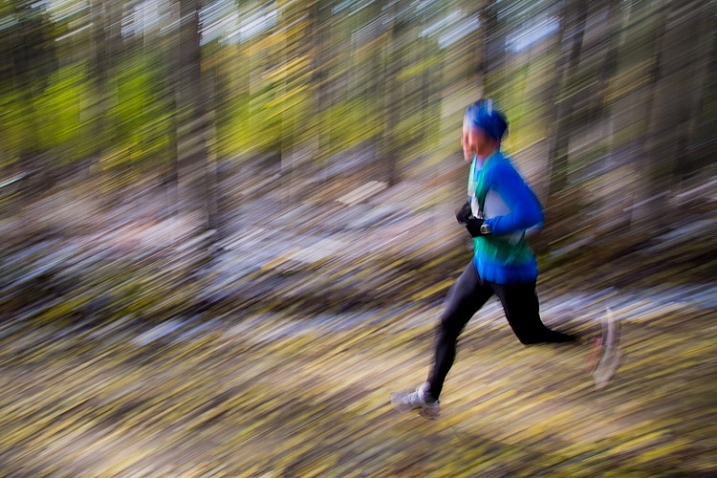
This last technique is frequently used to give the impression of movement and speed, and is often used in sports and wildlife photography. There are two flavors of action blurs. The first is when the camera is panned to track a moving subject. This results in an image with a sharp, or semi-sharp subject, and blurred background like the image below.
The second is when the camera is still, and the subject is in motion. The outcome is a blurred subject, with a sharp background. Both result in an image that clearly tells the story of motion.
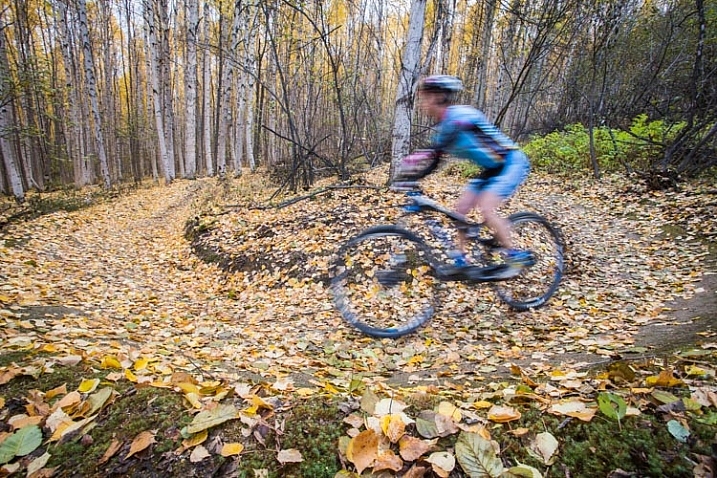
Results using this technique are hard to predict. The combination of long shutter speeds, and moving cameras and subjects, can result in many failed images. But when it works, the results can be awesome.
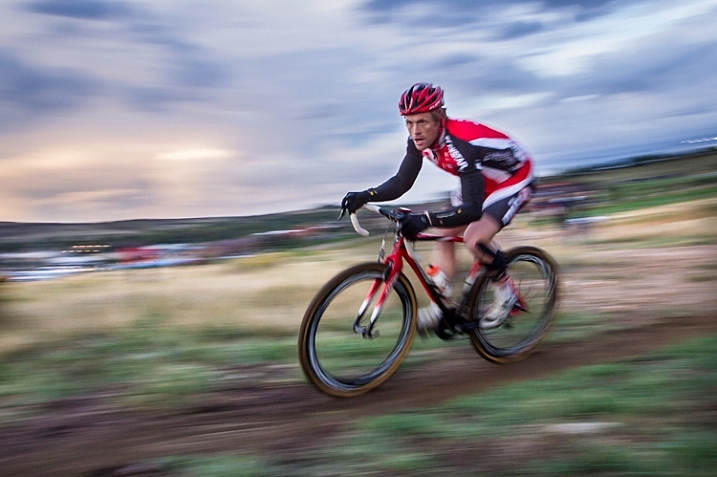
Rapidly moving subjects may require only 1/60th of second (or faster) to provide blurred motion, but slow subjects may need substantially longer shutter speeds. It’s a game of trial and error. Running and cycling races, or other sporting events, are great places to practice the technique, as you can shoot again and again while experimenting with different shutter speeds. Once you’ve mastered the method, you can break it out on higher stakes subjects like fast moving wildlife, where you may only get one opportunity to get the shot.
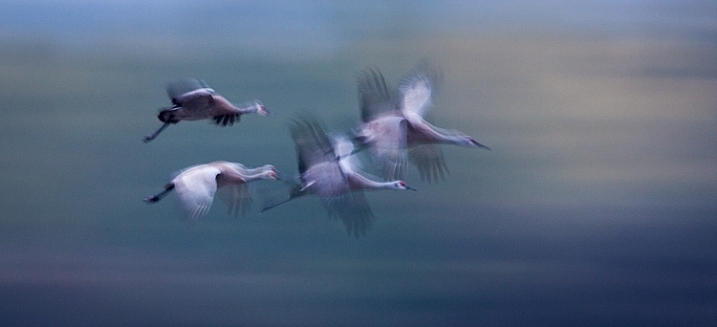
Go out and experiment. Blurs, be they abstract, impressionist, or realistic, can be great fun to play with. For me, it’s a fallback technique when I need to jumpstart my creativity.
Have you tried making blurs? I’d love to see what you get. Feel free to post them in the comments below.
googletag.cmd.push(function() {
tablet_slots.push( googletag.defineSlot( “/1005424/_dPSv4_tab-all-article-bottom_(300×250)”, [300, 250], “pb-ad-78623” ).addService( googletag.pubads() ) ); } );
googletag.cmd.push(function() {
mobile_slots.push( googletag.defineSlot( “/1005424/_dPSv4_mob-all-article-bottom_(300×250)”, [300, 250], “pb-ad-78158” ).addService( googletag.pubads() ) ); } );
The post Intentional Blur- How to Create it and Why it’s Awesome by David Shaw appeared first on Digital Photography School.
You must be logged in to post a comment.