Nestled quietly on the back of most cameras is a button that is often ignored or misunderstood, particularly by those who have recently upgraded to a DSLR or Mirrorless camera. It’s the Exposure Lock button, and it can be a tremendous asset to photographers who are looking for ways to get more control over their cameras and ultimately their photography in general.

Using the exposure lock button helped me get the correct exposure on this picture of two students studying for final exams.
To understand what this button does it’s helpful to know a bit about how your camera calculates the exposure using aperture, shutter speed, and ISO sensitivity.
In Full Automatic mode these are all handled by the camera itself, producing images that are often pretty nice but can sometimes turn out too dark, too bright, or otherwise not exactly how you intended. In Manual mode you are required to set all three parameters yourself, which can sound intimidating at first, but is quite easy once you get the hang of it. However if you shoot in one of the semi-automatic modes like Aperture Priority, Shutter Priority, or Program Auto you have a high degree of control while still letting your camera figure out a few things too.
In Aperture Priority you set the aperture and ISO, while your camera figures out the shutter speed to use for a properly exposed photo. But, in Shutter Priority you set the shutter speed and ISO to use, while letting your camera set the aperture. In these so-called Creative modes the automatic parameters (whichever settings are handled by your camera, not you) are constantly changing depending on what you point your camera at in order to get a nice, even overall exposure.
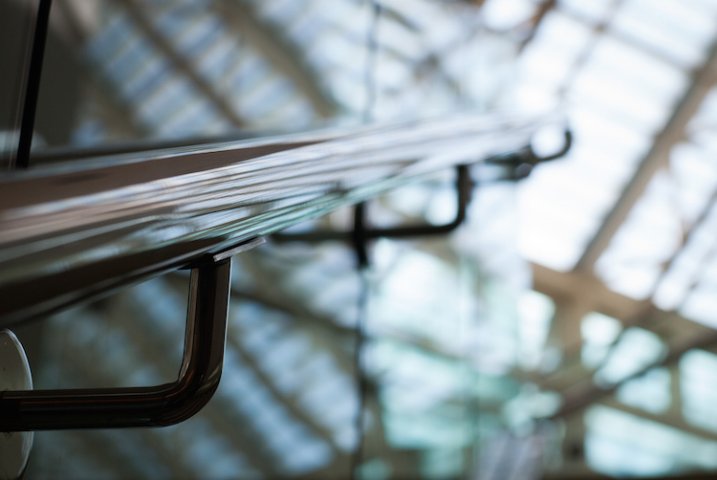
I didn’t have much time to get this shot, so using the Exposure Lock button was a quick way for me to get the image I was looking for.
This is where the Exposure Lock button comes in; it freezes whichever exposure parameter was set by your camera until you take a picture. At first this might sound like a silly thing to do but makes a bit more sense when you understand how it can be used.
I shot the picture below in Aperture Priority with my aperture set to f/2.8 while my camera selected a shutter speed of 1/500. Unfortunately my camera was looking at the entire scene, not just the subject, and chose a shutter speed that resulted in my subject being far too dark. The tradeoff was that the background was properly exposed, but my camera did not know that I was more concerned with the teddy bear than the scenery outside. To correct the problem I simply pointed my camera down at a darker spot in the foreground, pressed the Exposure Lock button, and held it down while recomposing my shot to the original framing. When I locked the exposure my camera selected a slower shutter speed of 1/30 which resulted in my subject being well lit even though the background elements were a bit too bright.
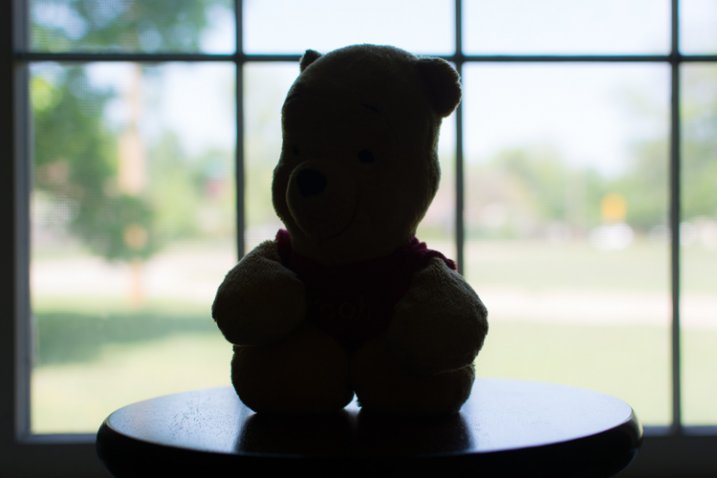
I shot this in Aperture Priority at f/2.8 but with the bright light through the window, my camera picked a shutter speed of 1/500 second. The outside looks great, but my subject is horribly underexposed.

By pointing my camera down, locking the exposure, and then recomposing the result was f/2.8 with a shutter speed of 1/30 second. Far too slow for the background to be properly exposed, but my subject looks just fine.
You might look at this photo and wonder where the background went, but remember what happened in the original when the background was visible – the subject was too dark. By locking the exposure such that my subject was well lit, the background ended up far too bright. It worked out just how I wanted, because it was the bear that mattered to me, and not the scenery outside the window. I could have also employed another method to get my subject properly exposed such as center-weighted metering or adjusting the Exposure Compensation, but in this case I found the Exposure Lock function to be quick and easy enough to get the job done. It’s a handy tool to have in your back pocket for those times when you need to quickly over or under expose your shot.
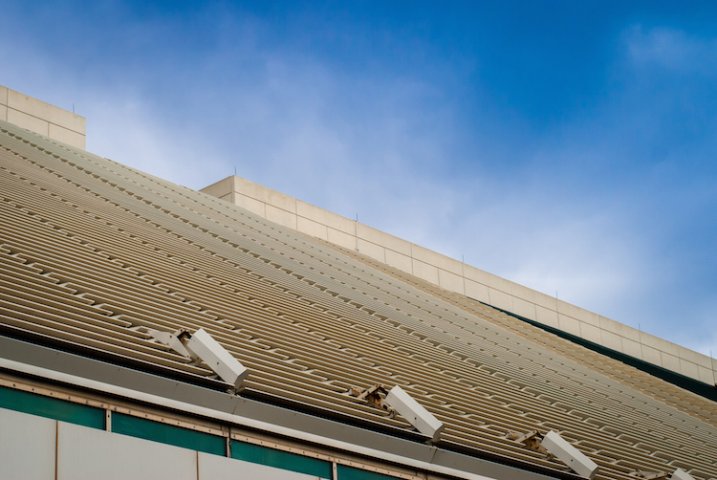
The Exposure Lock button came in handy here as well, and helped me get both a background and foreground that are well lit.
If you’re interested in trying your hand at Exposure Lock, most camera manufacturers make it fairly painless. On Nikon cameras the button says “AE-L/AF-L” and is located about an inch from the right-hand side of the camera (on the back), while Canon’s button is a bit smaller and marked with an asterisk. You can even customize it on some cameras so that exposure is locked until you take a picture or as long as you physically press the button. Sony, Pentax, Olympus, and others have this button too but its exact appearance and location varies depending on the manufacturer and model.
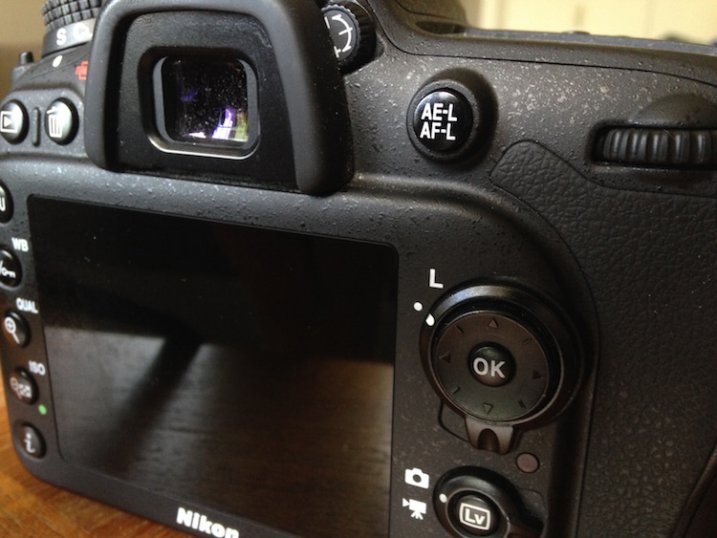
Most Nikon bodies have the Exposure Lock button in the top-right corner, but the exact location on your camera may be a bit different.
The Exposure Lock button is a nice tool to have at your disposal, but it’s not quite the same as shooting in Manual mode while reading your light meter and histogram to make sure your exposure is nailed precisely how you want it. Still, it’s a fantastic way to adjust your exposure quickly, without changing any metering modes or other shooting parameters. I often find myself using it when I need to over or under expose the scene in a pinch, and once you get the hang of it you might find it useful in a similar fashion.
Are you a fan of the Exposure Lock button, or do you have any other photography tips to help your curious camera-owning counterparts get photos that are properly exposed? Leave your thoughts in the comment section below.
googletag.cmd.push(function() {
tablet_slots.push( googletag.defineSlot( “/1005424/_dPSv4_tab-all-article-bottom_(300×250)”, [300, 250], “pb-ad-78623” ).addService( googletag.pubads() ) ); } );
googletag.cmd.push(function() {
mobile_slots.push( googletag.defineSlot( “/1005424/_dPSv4_mob-all-article-bottom_(300×250)”, [300, 250], “pb-ad-78158” ).addService( googletag.pubads() ) ); } );
The post Exposure Lock Button – What is it and How to Use it? by Simon Ringsmuth appeared first on Digital Photography School.
You must be logged in to post a comment.