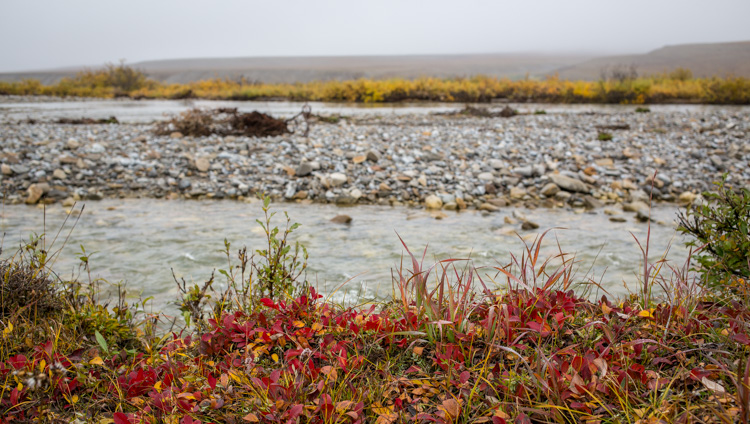
Back in summer 2017, I went on a six week adventure to British Columbia and Alberta in order to capture Canada’s beautiful landscapes in the most impressive way possible. I wanted to make a time-lapse film that raises more awareness of our planet and our environment.
Planning
When it came to logistics, I tried to be as prepared as possible for this 6-week trip, and did tons of research ahead of departure. I knew I probably wouldn’t have a whole lot of internet (or time to waste on the internet) in the Canadian wilderness, and wanted to be prepared to just take things as they came. So I collected locations that I discovered on Google, on Instagram, or on other photographers’ portfolios, and created a long list of spots that were worth checking out.
I didn’t have a specific shot list. I just tried to capture the most beautiful scenery and moments that I could find along my adventure. However, I paid a lot of attention to interesting details around me instead of going for spectacular vantage points only. That’s how the whole moody intro sequence was conceived. By stepping closer to the subject, I tried to approach time-lapse in a slightly different way than you see in your typical, ‘epic’ time-lapse films online.
 |
Challenges
I guess my biggest challenge with shooting this project was my own safety—doing all of alone, in an area packed with grizzly bears, was pretty scary.
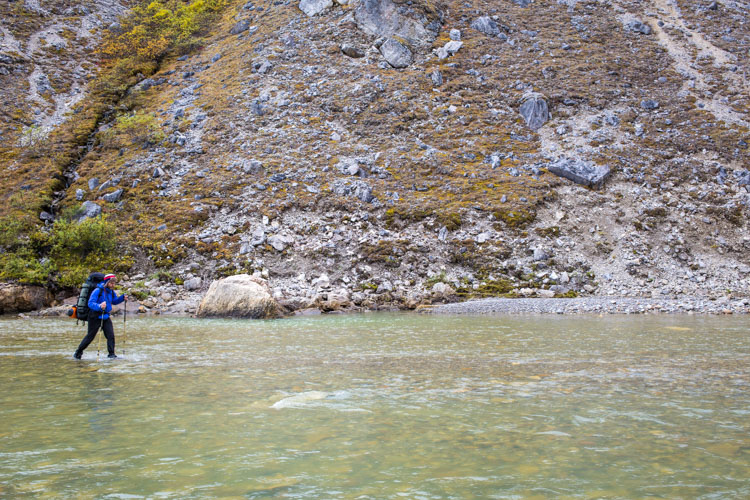
Hiking alone comes with a risk that I always had to bear in mind. I carried bear spray at all times, and tried to let the bears know that I was there by creating a lot of noise on the hiking trail (they can get really dangerous when they’re startled). When I set up a time-lapse shot, I always had to have an eye on my surroundings and make a lot of noise by singing or talking to myself. Over the course of my trip, that risk was something I got used to.
Being all alone also didn’t make it possible for me to camp out on location. Obviously because it is very risky, but most of all because I simply couldn’t carry camping gear along with my camera gear and slider all by myself.
As a result of this, I had trouble getting to the best possible location at the best times of day. In order to shoot at sunset or sunrise, I either had to find a location that was fairly close to the parking lot, or take the risk of hiking up or down in the darkness with my head lamp as the only light source.
 |
| This is all of the gear I brought with me into the Canadian wilderness |
Gear
Since I was all alone on this mission and wanted to hike out to locations a lot, I had to keep my gear package as compact and efficient as possible. I packed my Sony a7S II and Nikon D5100 (as backup camera) together with a newly purchased Canon 16-35mm F4 and Rokinon 14mm F2.8, as well as two cheap vintage lenses: an SMC Pentax-M 50mm F1.7 and an SMC Pentax-M 100mm F2.8.
As you might have noticed, my camera package was pretty humble. That was all I had and all I could afford, and honestly—that was all I needed.
A great Sony camera with only 12 MP paired with a sharp Canon wide-angle lens that could almost do anything on location. This lens is my absolute favorite due to its great flexibility for wide three-dimensional time-lapse movements. The Rokinon lens is well-known for its night- and astrophotography abilities, as it has just little amount of coma and is wide enough to capture almost the whole night sky. The Pentax lenses are actually my first lenses I’ve ever bought. Obviously, they’re old, cheap, and not the sharpest; they’re also small, light, and capable of projecting an image onto my sensor I was totally happy with.
In contrast, my time-lapse gear was downright extravagant thanks to a sponsorship from the innovative company eMotimo. They gave me a loaner for a great package for the duration of my whole trip: The spectrum ST4 is a newly designed 4-axis motion control system that, combined with the iFootage Shark Slider S1, simply can do it all—slide, pan, tilt and even pull focus in video or time-lapse shooting mode.
 |
Using a Playstation Controller, I could easily set up literally any shot I wanted, and the ability to set keyframes in between the start and end point of my programmed shot gave me ultimate control over my composition. Additionally, an innovation that I’ve never seen before is a mountable extra motor to automatically pull the focus as the time-lapse is running. There are many ways to mess around with that: one I used was to shift focus from an interesting foreground to the revealing scenery in the background.
Another great feature worth mentioning is the ability to repeat a programmed movement at different speeds. This allowed me to record shots at different frame rates, but still have the exact same camera movement in each.
Since I couldn’t get the idea out of my head to combine a moving time-lapse shot with a real time video, with both shots having the very same camera movement, I did exactly that in the final shot of ALIVE. I recorded the whole scenery in dynamic time-lapse except for the person (me) being recorded in real-time video 25fps. Even though it took a lot of time perfectly masking out the person in post production, this shot probably wouldn’t have been possible without the spectrum ST4.
 |
With all the flexibility of the motion control devise I felt an enormous freedom as a time-lapse photographer and could explore further ways to creatively make use of its features. However, this turned out to be a weakness as well, as I often found myself tempted to design way too sophisticated time-lapse shots. In this case, the inorganic/mechanical camera motion often drew way too much attention when watching the processed time-lapse sequence making the scenery appear surreal.
So in the process of my trip I learned that less is more in this case. It is way more important so be at the right spot at the right time—which is ultimately what I was seeking for my whole adventure.
 |
Editing
In the editing process of ALIVE it was certainly very hard to come up with an edit as I had to choose the best among 149 time-lapse shots I recorded on my trip. Since I wanted to keep my film under 4 minutes, I forced myself to make some hard decisions. That turned out to be a pretty emotional process because every shot has a background story that connects to me personally.
It just often felt super frustrating to kick out a shot for which I woke up at 4 a.m. and hiked up a mountain for two hours in order to be there for sunrise.
A Story
Let me conclude my little behind the scenes tale with a story from Lake O’Hara, one of the most captivating landscapes I have ever experienced in person, and the final shot of the film. I decided to hike up to this incredible viewpoint for sunset and kept shooting until there was no light left to work with. That was the moment when I found myself alone in the darkness on the edge of a cliff.
 |
| The final shot of the film, captured above Lake O’Hara at sunset. |
Should I take the risk of hiking down the steep and forested trail in the darkness potentially ending up as grizzly bear food? Or should I rather just stay up here all night and do another time-lapse of the milky way? Without camping gear and food, I stayed and spent another 5 hours in the cold darkness until the sun came back up.
Even though this shot of the milky way didn’t even make it into the final film, there is nothing I regret about staying up on this mountain all night all alone without a tent in bear territory… simply because it was one of these adventures that made my trip so unique.
Articles: Digital Photography Review (dpreview.com)



.gif)
You must be logged in to post a comment.