The post How be a Second Shooter at Weddings and Why it’s Important appeared first on Digital Photography School. It was authored by Jackie Lamas.
Getting started in wedding photography takes more than your camera gear. In order to really get an idea of what photographing a wedding is truly like, becoming a second shooter can be the perfect way to get you started.

Why it’s important to be a second shooter?
Getting started in weddings means that you should have a high level of photographic experience not only technically, like how to use your camera, but also what goes into photographing a wedding.
Second shooting allows you to shadow a photographer, photograph the entire wedding, and get real hands-on experience without having all the pressure fall on you to get every photo right.

A second shooter can get creative with angles, perspective, and photograph key guests at weddings.
Being a second photographer can also give you insight into the customer service aspects of weddings like keeping to a timeline, knowing what to expect if something goes wrong, and seeing how each photographer you second for handles the pressure.
As a second shooter, you can also determine if weddings and events are something you’d even like to pursue. You also don’t have the pressure of booking a wedding client and then not knowing what or how to go about photographing it or if you’ll even like it.

Working alongside an experienced wedding photographer can also let you in on industry tips and tricks that they’ve learned throughout the years. You can also ask questions and observe how they work at a wedding. This will help you when you start photographing events as the primary photographer.
Difference between second photographer and assisting
Although it may seem like there isn’t a difference between assisting and second shooting, there is. Assistants are just that. They assist the main photographer with anything from carrying bags and equipment, to helping with veils, styling, or running to grab something for a photo. An assistant is an extra pair of hands.

Assistants generally don’t help photograph a wedding. However, depending on the terms that the main photographer has set up for the position, sometimes you may.
A second photographer is someone who helps photograph a wedding in tandem with the main photographer. As a second shooter, you are usually responsible for photographing the in-between moments and get a different, more creative angle on photos.
Reach out to photographers

The first step in getting a second shooting gig is to reach out to photographers that inspire you, are looking for help on wedding days, or people you know who wouldn’t mind having an extra photographer at the wedding.
Your email can be simple and concise like:
Hello,
My name is ____________. Firstly, I love your work and it’s an inspiration to me as a new wedding photographer. I was wondering if you needed a second photographer at events, as I would love to learn the ropes before jumping into wedding photography full time. I have the following gear: __________. You can see my portfolio at www.yourwebsite.com.
Thank you so much for your time!
Your name.
Emailing a busy photographer a short and to-the-point email is best. They may say no, which is okay. You should respond with a thank you email along with the message that if they ever need anyone in the future, you are available. They can then keep your information on file should they need a second photographer in the future.

Also, there are many social media groups where you can look for second shooting jobs in your local area. Many photographers can hire on the spot just by looking at your website and gear.
Make sure to sign a contract
Second shooting with a contract is highly recommended. Not all photographers do this. However, you can draft one up for them just in case they don’t have one ready.
Include the details of the event, how long you’ll be second shooting, what you’re expected to cover, and finally, the delivery of the photos and payment.

Many photographers will want you to use your own equipment and will ask you what you photograph with. If this is the case, make sure to put this in the contract as well.
Just as an important note as well, when you second shoot, the images that you take may not be under your copyright. Most contracts will state that copyright belongs to the main photographer since their photography business is the one who was hired by the couple.

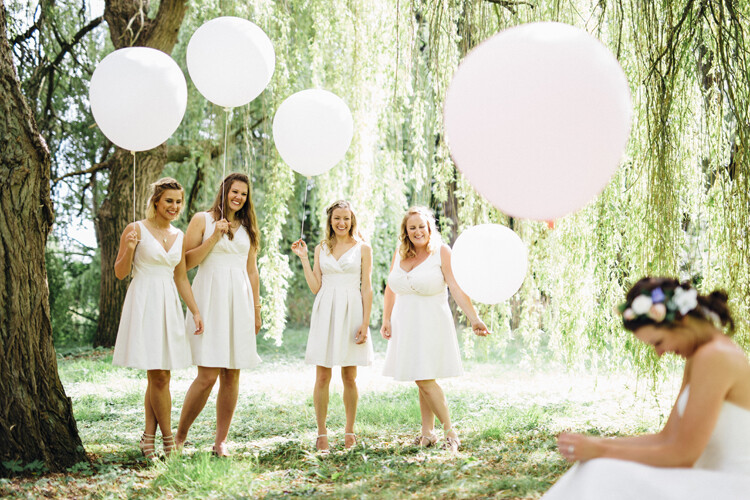
Often, second shooters get the candid photos during a wedding event, like this one above.
This means that you’re a subcontractor. Therefore any images you produce are copyright and property of the main photographer – even if you photograph the event with your equipment. Check your contract for copyright and usage rights, if any exist.
Gear
Some photographers want you to use their memory cards or even their gear. That way, they don’t have to worry about syncing times, converting raw files into the same format, or image delivery delays to the client.

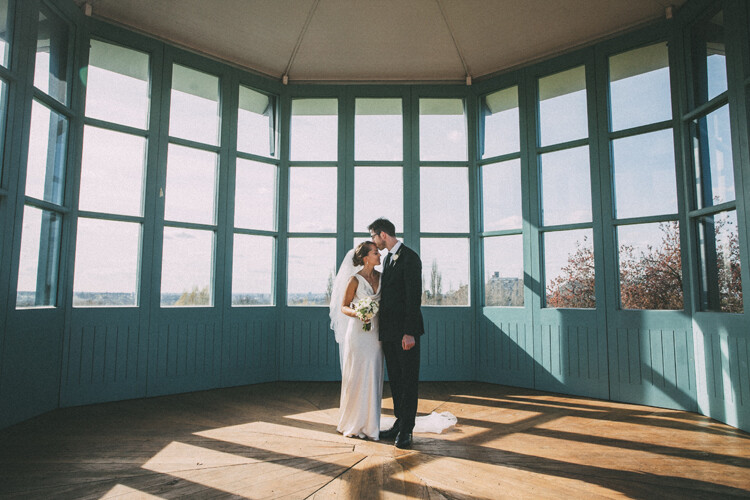
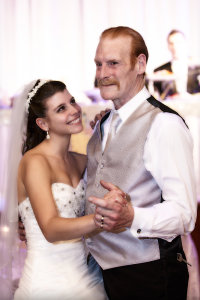
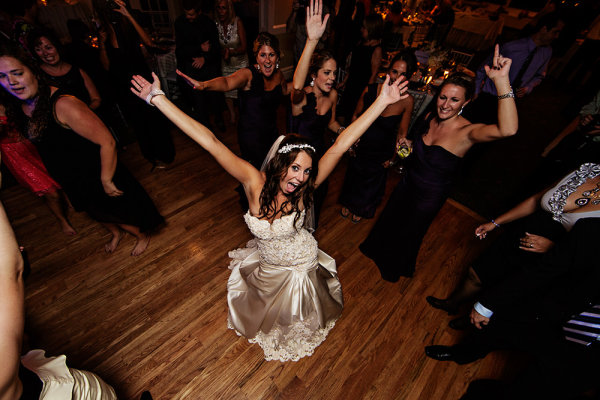
Try and get a different angle than the main photographer so you can add variety, like these two images of the first dance.
Take your gear with you. Doing so gives the main photographer the choice to let you use your gear or their gear, or a mixture of both.
When you email the photographers, make sure you list all the gear that you know how to use at 100 percent. In the event you don’t know how to you use your flash in manual mode, for example, then put down “flash only in TTL mode.” This can help the main photographer know your photography experience and may even help you learn manual mode or another photography tip!

Be all-in
Being a second shooter means that you are there to help the photographer with photography. While some second shooters take this approach very seriously, I believe that second photographers should also be at the disposal of the main photographer – within reason, of course.

This means that you help fluff up the dress, put on the boutonniere, help with getting flowers to the bridesmaids, and yes, maybe handing the main photographer a lens or battery.
You’re a team, and it’s important to be all-in when you second. The main photographer is helping you gain experience and learn. It’s best that you also help as much as you can.

While the main photographer focuses on the couple, you can use your eye to focus on other key moments during the wedding!
Each photographer works differently, however. Showing initiative and being accommodating can also help you get more second shooting gigs in the future with the same photographer.
Take what works for you
Second shooting is really helpful because you get lots of experience with different photographers and get to observe all the different ways that each one works a wedding.

Perhaps you vibe best with one photographer and not so much with another. That is okay. Make sure to thank the photographer for having you along. Then, in the future, only go with photographers you have a good rapport with and like to be around.
Also, you’ll be able to take away tips and tricks that you feel work for you. If one photographer was excellent at customer service, take away what they said or did, and apply it to your business. Another photographer may have created a really interesting image during the reception that you can try at the next wedding event you have.

Take what works for you, your style, and your business and leave the rest. That’s one great thing about being the second photographer – you can observe all and still have fun photographing a wedding.
Payment
When you are highly experienced in photography and can create quality images every single time, you may get paid anywhere between $ 25-$ 50 or more per hour for second shooting. Some photographers also offer a flat rate for a set of hours.

If you’re just starting out, you might not get paid, but the experience is completely worth it. Getting your feet wet in the wedding photography industry is more important because you’ll find that weddings are a high-pressured, fast-moving, and a once-in-a-lifetime type of photography.
You don’t get do-overs, so second shooting is the best way to get experience without paying the price for unhappy clients.

That being said, definitely ask the main photographer before signing a contract what the payment will be. Then you can choose whether the pay is acceptable or not. You do have the choice to take on second shooting gigs for free if you wish or ask for a set rate.
Some experienced photographers help other photographers out and so their pay rate is higher. While others do it to flex their skills, practice, or just fill up their calendar in between jobs.

In conclusion
Becoming a second shooter is a lot easier than you would think. Reach out to photographers that you admire and spend time observing how they work. When you’re ready, you can then start to photograph your own weddings if you don’t already do!
Do you have any other second shooter tips? Share them in the comments below!

The post How be a Second Shooter at Weddings and Why it’s Important appeared first on Digital Photography School. It was authored by Jackie Lamas.


You must be logged in to post a comment.