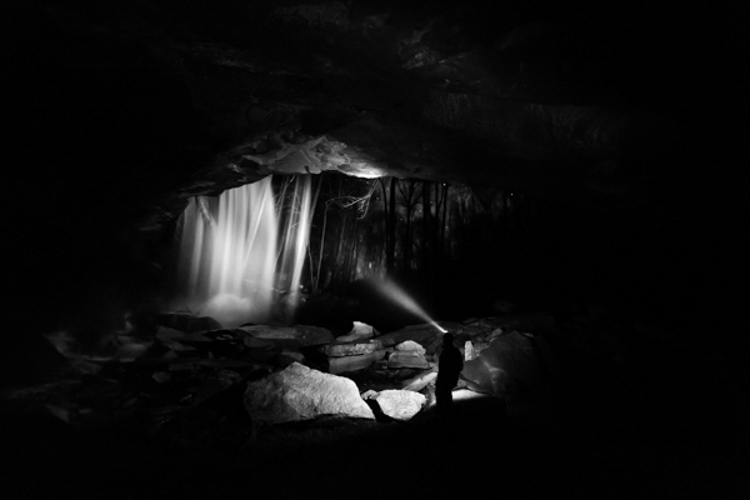
Perhaps there isn’t a more sought after and photographed subject than water. More specifically, waterfalls. When you really think about it, waterfalls are one of the most basic and simple things that we can find in nature. They are just streams or rivers that happened, by one geological occurrence or another, to find themselves flowing over some height of cliff or stone or other drop-off. Still, we remain captivated by the simple beauty and serenity that can come from being near, and photographing a waterfall.
That’s where we, as photographers, often slam face first into a huge creative and artistic wall. How can you make an interesting photograph of something that has already been so extensively covered by countless other photographers? While there is unfortunately no secret formula for all waterfall photo sessions, there are some very simple and useful tips that can help you create better, and more unique images, of these phenomenal natural occurrences. Let’s dive in (get it?) and get started on the path to better waterfall photography.
Have a plan
I always stress the importance of research and preparedness before any photographic excursion regardless of what the subject or goal might happen to be. This is especially true when you, the outdoor photographer, are readying yourself to photograph waterfalls. There is simply no denying that the more you know about a location, the better your odds will be of coming home with images that you are happy to claim as your own.
Conduct some quick research and find out what the main waterfall or waterfalls are in the area you plan to visit. Google (or another search engine) will be your absolute best friend in this regard. Try to find as many images as you can before you set out so that you can be inspired and have a head start on coming up with your own unique compositions that haven’t been tried with that particular spot.
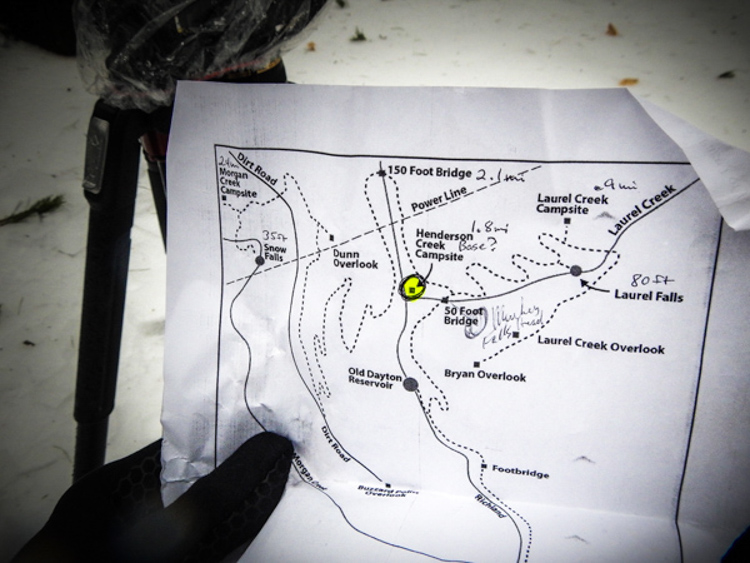
Also, if at all possible, print out a map of the area and highlight the waterfalls that you feel are the most promising for you on that particular day and focus on those first. Don’t waste time trekking into a place that probably won’t yield a good result. Know before you go, and you will make better use of your time and become a much more efficient shooter.
Use a tripod
The topic of using a tripod can sometimes scare you off just from the sheer repetition of the statement. For whatever reason it seems like this essential bit of knowledge is where most beginner photographers find themselves in a state of complete denial. Believe me, I know how uncomfortable, to downright physically painful and tiring it can be to carry a tripod on your person for an extended amount of time. Still, though not always convenient, a tripod will always help you in the long run to produce better photographs. There is simply no other way to limit camera shake without having a solid shooting platform – there just isn’t. You will need such a platform for the longer exposure times often used when encountering waterfalls. End of story.
Another fact that beginners, and even some seasoned photographers, fail to grasp is that the quality of the tripod plays an essential role in its overall use to you. You will need a tripod that locks securely and reliably, and can handle the weight of whatever camera rig you happen to be shooting, as well as the shooting conditions. I can’t tell you how many long exposure images I ruined due to drifting of the tripod head because all I had available was a suboptimal tripod.
The biggest gripe I hear concerning tripods is that the good ones are too expensive. It’s true that a quality tripod will not be cheap. However, it is just as true that you can still obtain one without being outrageously expensive. Shop around and find a tripod that has good reviews, fits your current needs, and will also grow with you as a photographer. Do you really need carbon fiber? Do you need the most advanced ball head? Ask yourself questions like that and your purchase will make less of a dent on your pocketbook. A good tripod will last you years and yield incredible benefits. It will literally pay for itself and be one of the best investments you will make.
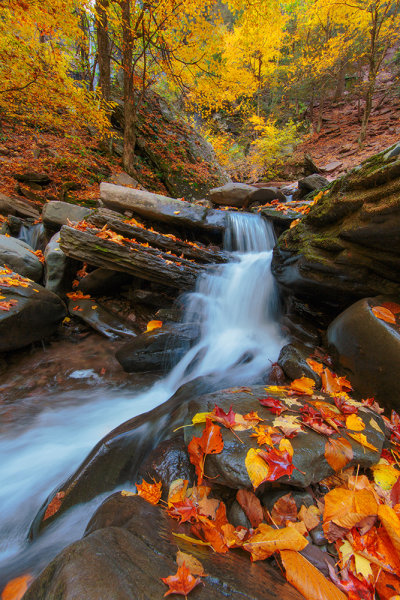
Make the waterfall the secondary subject
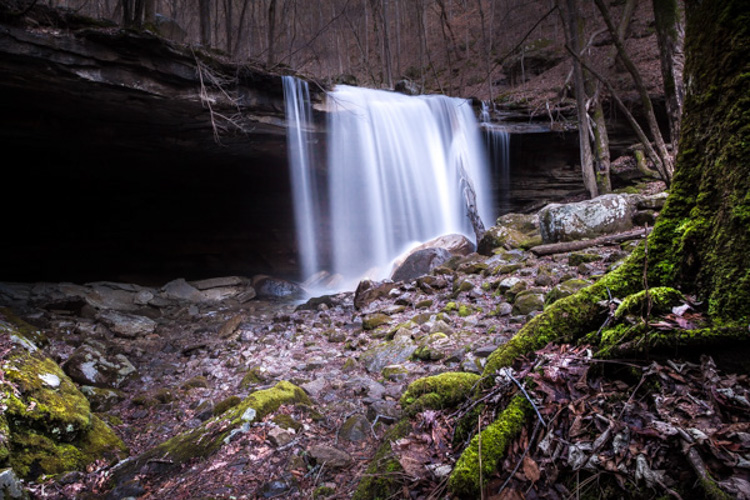
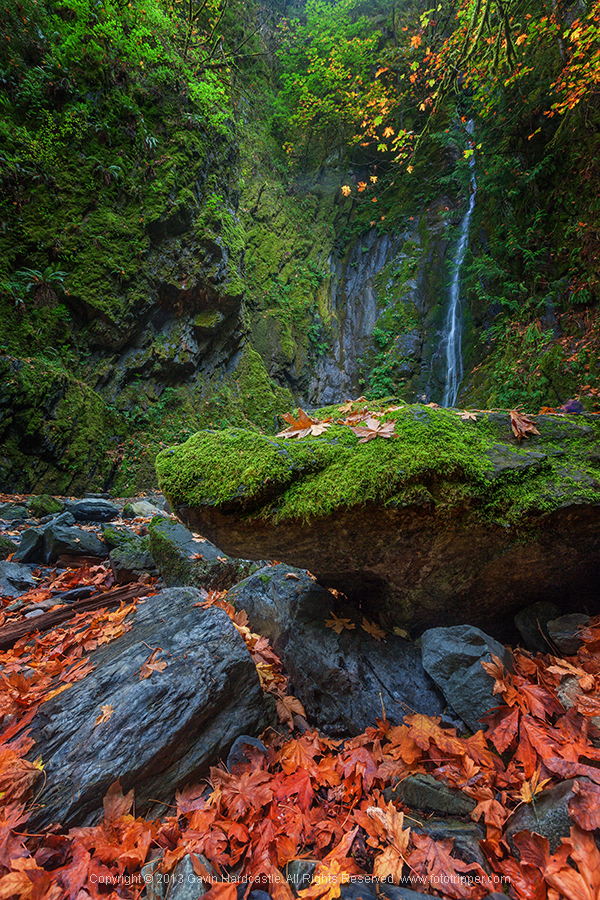
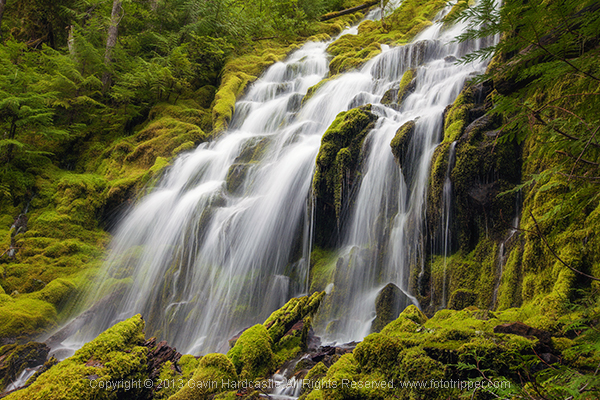
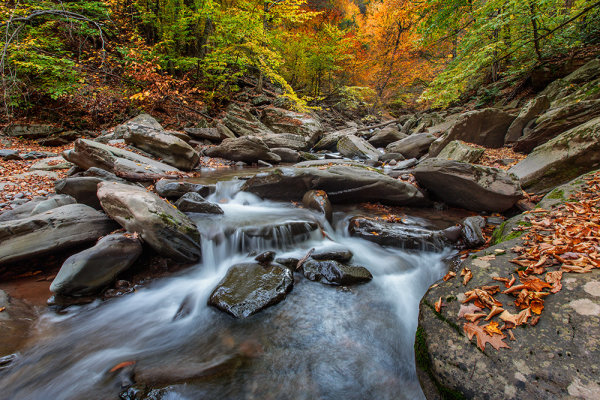
This image puts the colors of the moss and the detail of the foreground as the first point of interest and less on the waterfall itself.
This tip may seem a little counter intuitive but stay with me. It’s fairly straightforward to walk up to the front of a waterfall and snap a quick photo to take home. That’s great if that’s all you want. But let’s face it, you wouldn’t be pouring through all the great content here on dPS if all you wanted was to make average photos. You want to shoot with a purpose, and make photographs instead of taking snapshots. One of the best ways to do this is to think about the subject differently than the average photographer, and waterfalls offer a great opportunity to do this.
When you arrive at a particular falls you should really study the scene. Give yourself a few minutes before you even start thinking about making an exposure. Watch how the water flows and interacts with the other pieces of the scene. It may be rocks, boulders, sand, trees or any number of artifacts found in such places. Don’t let the waterfall itself distract you from the other photographs that could be there.
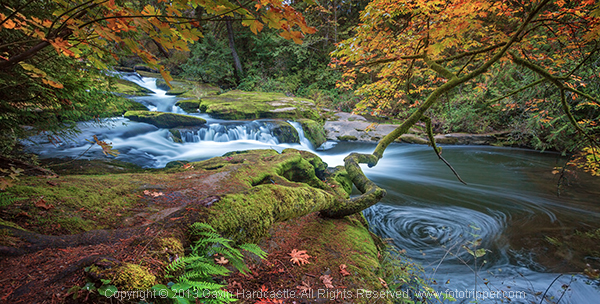
After all, the waterfall is not the only thing you notice so why should it be the only thing you show your audience? Look for ways to include different parts of the scene and even have the falls take a back seat if that makes a stronger image. Pay attention to what is often overlooked by other photographers. If you do this you will almost always be able to present the waterfall in a way that has never been seen before.
Pay attention to color
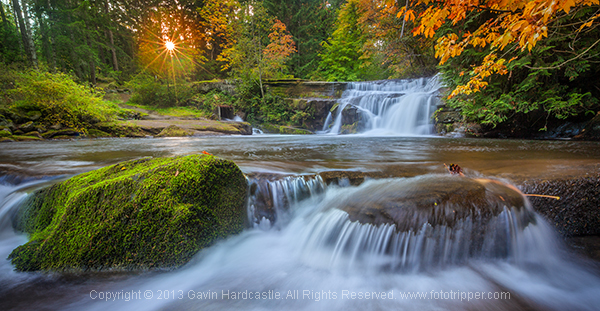
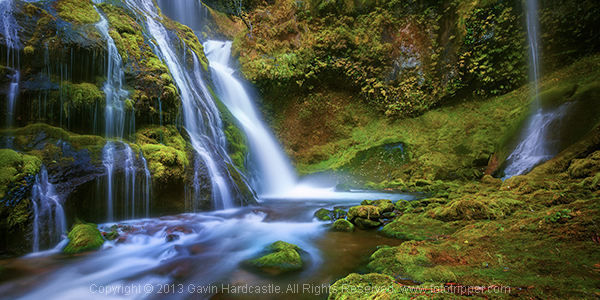
Color is a great way to grab the attention of your viewers and pull them into a photograph. Never underestimate the creative power of color when photographing waterfalls. Water is an incredible thing because it not only reflects the different colors around the surface such as the sky and leaves, but also the colors that come from underneath as well.
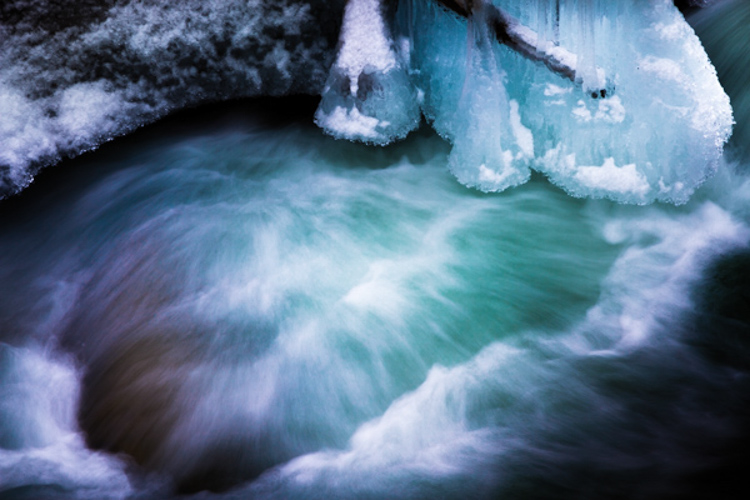
The first step to getting the most interesting colors from a scene is to always shoot in RAW if at all possible. Shooting RAW will allow the most information to be recorded by your camera sensor, which will in turn give you much greater latitude for getting creative later with your post processing. Experiment with creative white balance and see what happens. Enhance the vibrancy and saturations in some areas and decrease them in another. You will be surprised how much more lively and interesting a waterfall can become with simply letting your imagination run free, and by using color creatively.
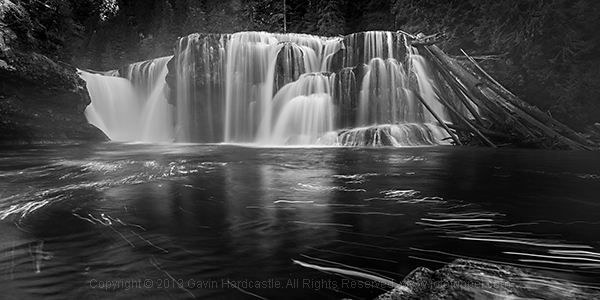
On the flip-side of the color coin, is that some waterfalls work much better when photographed in black and white. I have often said that I prefer images that tell a story through black and white, unless the color of the scene can speak louder. If you find yourself shooting a waterfall that lacks a lot of native color then why not put your pre-visualization skills to work (you’re still practicing that, right?) and try to imagine how the image could appear in black and white? Look for contrasts between light and dark areas on rocks, and contrasts within the water itself. Are there any interesting textures or reflections?
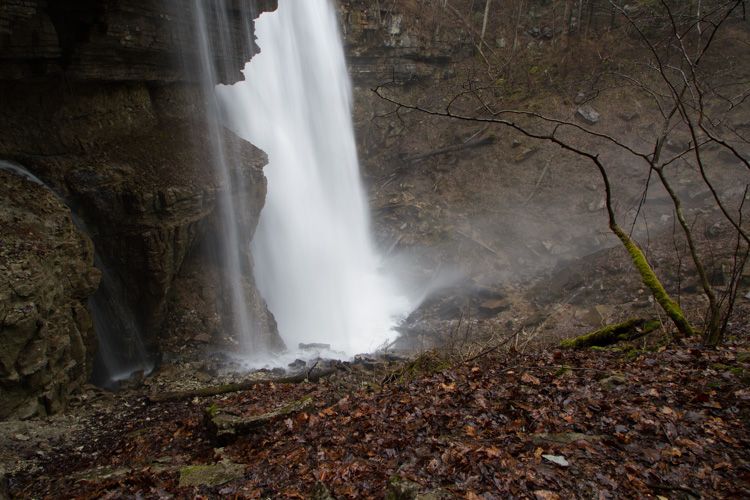
Here’s an unprocessed RAW version of a waterfall. Notice there’s not much color to boast about.
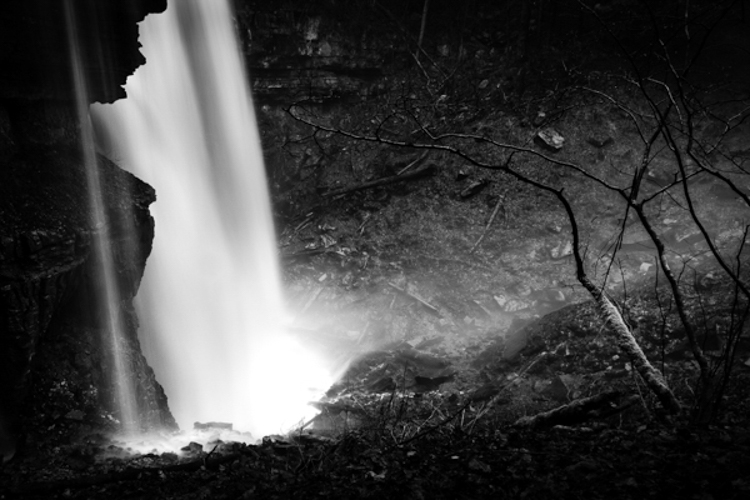
Here we see the same image after a little cropping and black and white conversion.
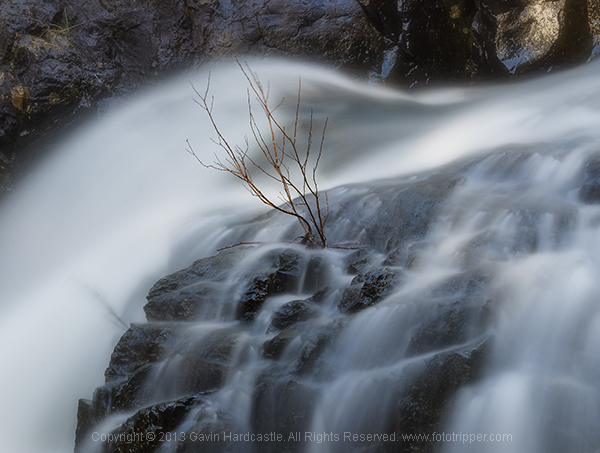
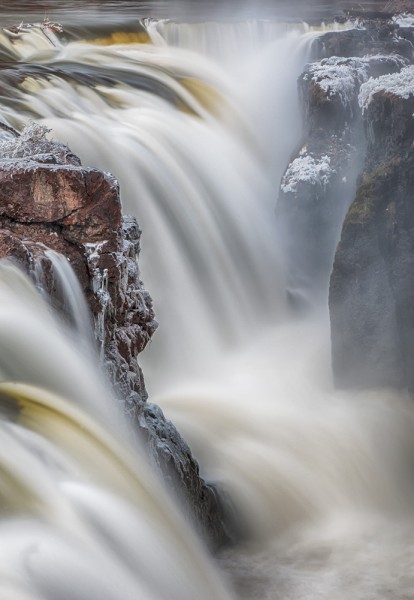
Lastly, with this photo, the textures and light really made the image so I converted it to black and white as well.
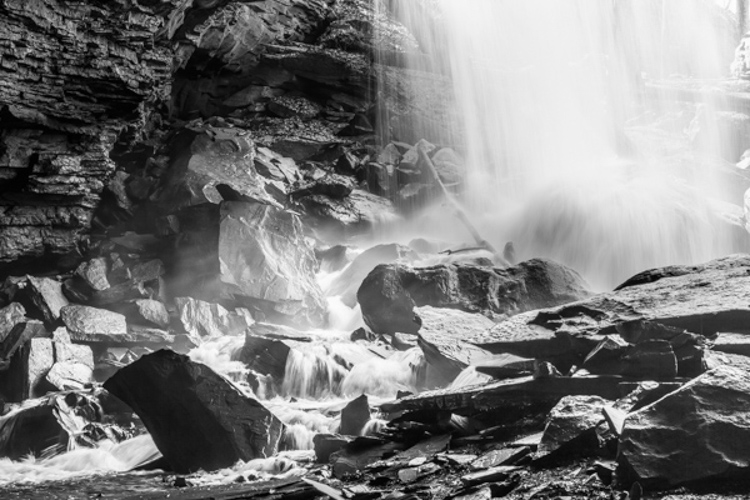
Never discount the power of a monochrome image. Black and white waterfall work can be extremely profitable especially when you’re shooting in the drab and often colorless winter months.
Don’t forget to protect your gear
This isn’t really a tip, but rather a lesson that should be learned and become second nature to the serious waterfaller. When shooting a waterfall of any large size and flow there will always be moisture in the air, whether it is visible to you or not. The shear force of the water impacting the terminus of the fall, with render small droplets into the air that will absolutely ruin your shot and potentially destroy your camera and lenses.
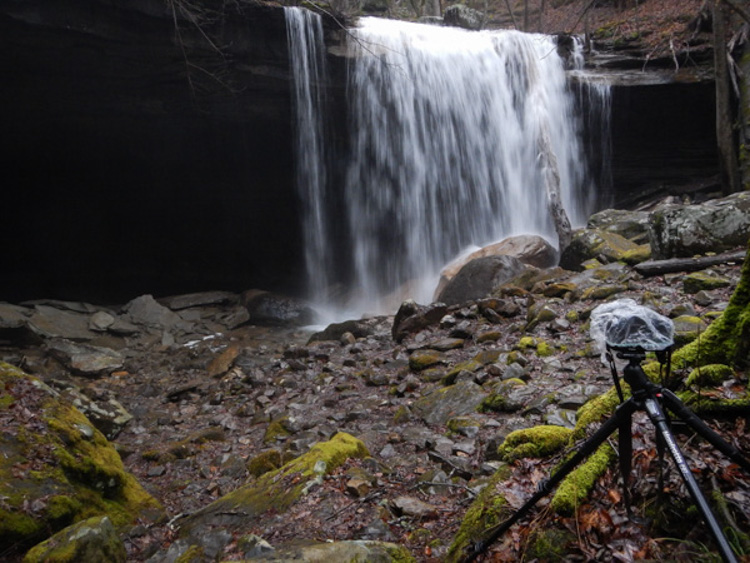
The air surround a thirty-five foot waterfall without flash.
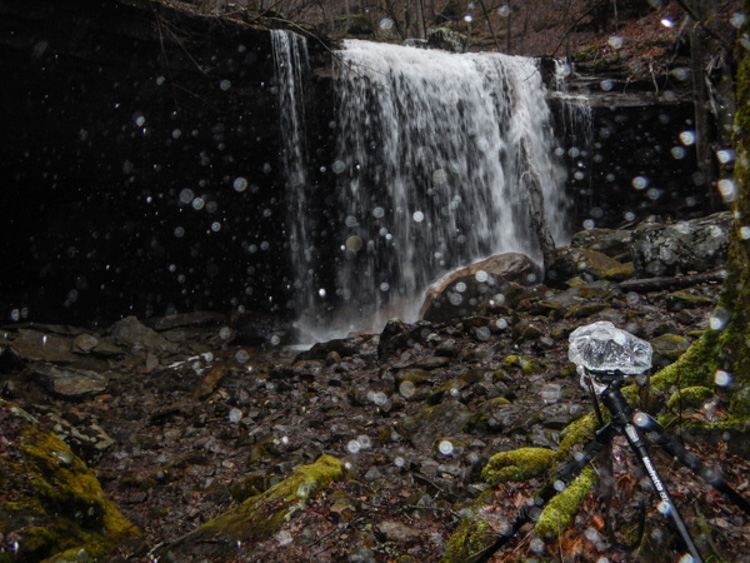
Then with a flash firing to show the moisture in the air.
Always use some protective barrier to protect your camera and lens while you set up for your exposure, and for transport around the waterfall. This barrier doesn’t have to be fancy. Personally I use pre sized slip-on plastic container covers that you can pick up at virtually any grocery store. They are perfectly waterproof and fit snugly around my camera and are unnervingly cheap.
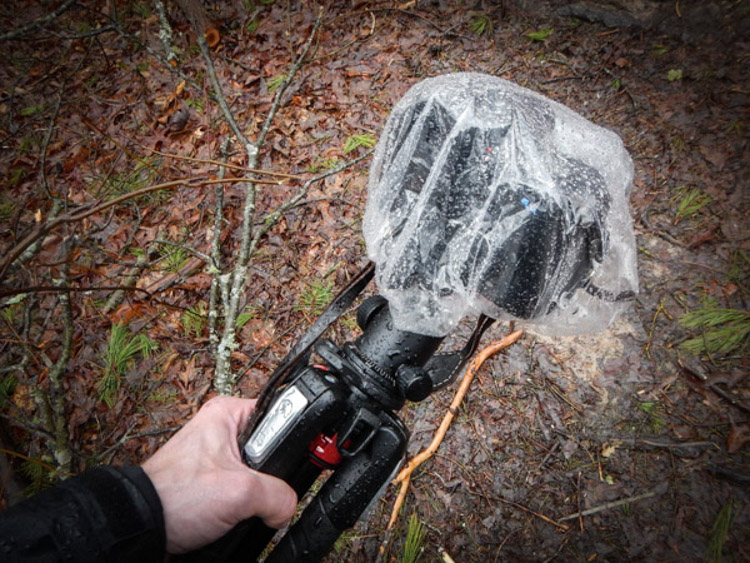
The same goes for your lenses. Even if they are in your camera bag, always protect them from the moisture. Again, low tech is often your best option here. I simply wrap my lenses in a cloth and place them individually into resealable sandwich bags. The cloths will help to absorb any condensation that builds up from temperature changes and were a hard learned lesson for me. Lastly, minimize the amount of time you leave the cap off your lens, and always carry a good lens cloth for wiping the front between takes.
Shooting even small waterfalls can be very rewarding, and are a great way to just get out and enjoy nature. Learning to shoot them creatively, however, can be a little more challenging. That doesn’t mean that it has to be difficult or intimidating. Just remember these five simple tips and you’ll be ahead of the game when it comes to waterfall photography:
- Research and plan beforehand.
- Don’t desert your tripod.
- Think of the waterfall as part of a whole and not the only part of a scene.
- Learn to use color creatively or when to get rid of it altogether.
- Always protect your gear from the elements.
Now go out and do what you love to do!
googletag.cmd.push(function() {
tablet_slots.push( googletag.defineSlot( “/1005424/_dPSv4_tab-all-article-bottom_(300×250)”, [300, 250], “pb-ad-78623” ).addService( googletag.pubads() ) ); } );
googletag.cmd.push(function() {
mobile_slots.push( googletag.defineSlot( “/1005424/_dPSv4_mob-all-article-bottom_(300×250)”, [300, 250], “pb-ad-78158” ).addService( googletag.pubads() ) ); } );
The post Shooting Better Waterfalls: Five Tips for Improving Your Waterfall Photography by Adam Welch appeared first on Digital Photography School.

Digital Photography School




You must be logged in to post a comment.