RSS
 

Posts Tagged ‘Stressfree’

Tips for Stress-Free Wedding Photography

08 Sep

As wedding photographers, we love to think photography is the most important element of a bride and groom’s wedding day. Surely they want fabulous wedding photography, so certainly they will give us all the time in the world to create beautiful images.

But it doesn’t really work that way. Weddings are busy. Often you are scrambling to get all the images you need really quickly, leaving no time for the fun, romantic images you really want to create for the couple. Worse yet, someone springs a pose list on you that you weren’t expecting, or changes the location everyone is meeting for family portraits.

Bride groom romantic location photograpy

The easiest way to make sure you have enough time for all the photographs you want to create on the wedding day, is to know how much time you need and to be prepared.

Know how much time you really need

Depending on their style and process, every photographer needs a different amount of time to take photographs at a wedding. As well every wedding is different, with unique locations, bridal parties, and families.

If you are not certain how long it takes you to create the images you need, time yourself. When you know your own process, you will be better able to help the bride and groom accurately schedule enough time for all the photographs.
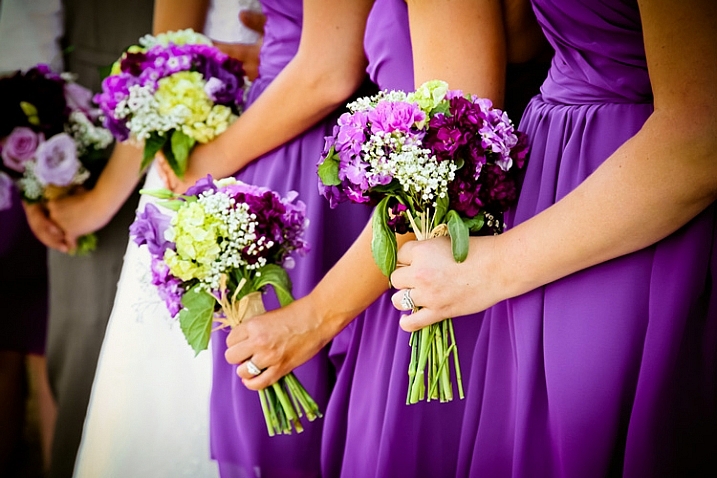
wedding-flower-bouquets-dresses

Can you travel to the beautiful park the couple wants to use for photographs between the ceremony and reception? Or did they forget to allow for the time it actually takes to drive there? Do you need 20 minutes to photograph the family, or is it really more like 45 minutes when you include the set up of lighting equipment?

Look for open pockets of time in their schedule during the day. You may not get all the photography time together in one block, but when you know how long you need for each session, you can schedule it to work within the couple’s timeline.

Tips for finding enough photography time on the wedding day
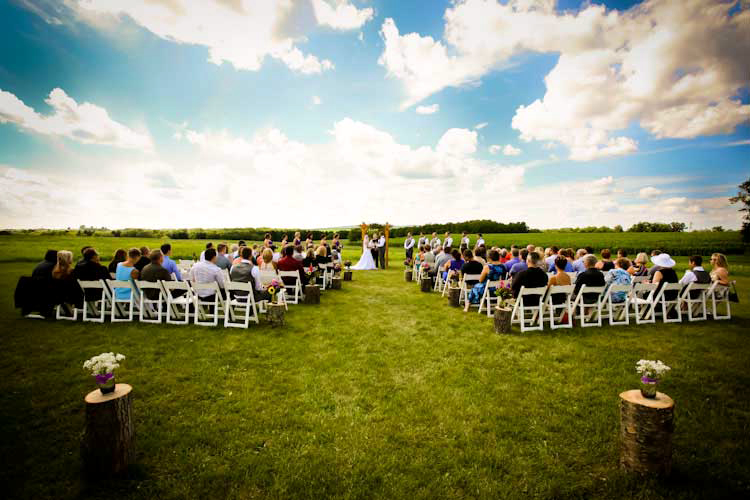
outdoor-location-ceremony-barn-wedding

Pre-Wedding planning consultation

Have a pre-wedding consultation. A final consultation one to two weeks before the wedding is a perfect time to go over details. Discussing the timeline with the bride and groom before the wedding will let you see where photography will best fit into the day. It will also help them see how much time you need to do your job well. This is close enough to the big day that they should know all the details, yet far enough out that they can tweak schedules, if need be.
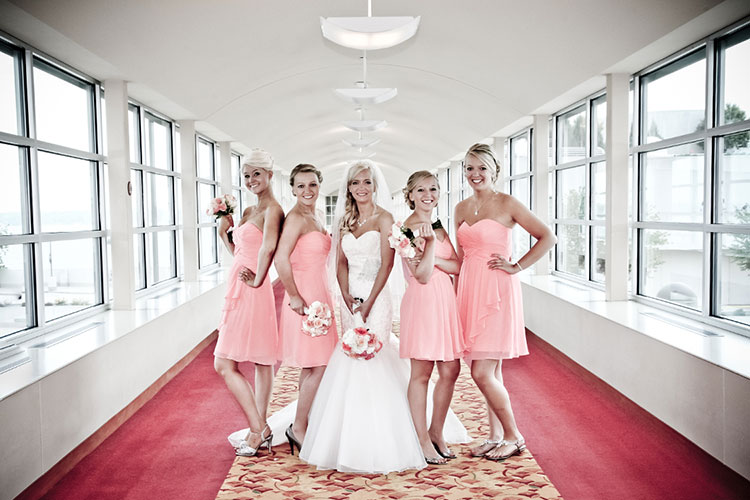
Bride bridesmaids posed wedding

Ask about other wedding vendors. Find out how everyone from the florist to the caterer will also fit into the couple’s day. The follow questions may help you:

  • Ask when hair and make-up appointments are scheduled to be done and where.
  • Find out where the flowers are being delivered and at what time.
  • Ask how long the ceremony will last and how they plan to personalize it.
  • Know if the couple will do a receiving line, or somehow greet guests formally right after the ceremony.
  • Confirm what time they want to arrive at the reception.
  • What time will dinner be served,
  • When would the DJ or band like to start the dance.
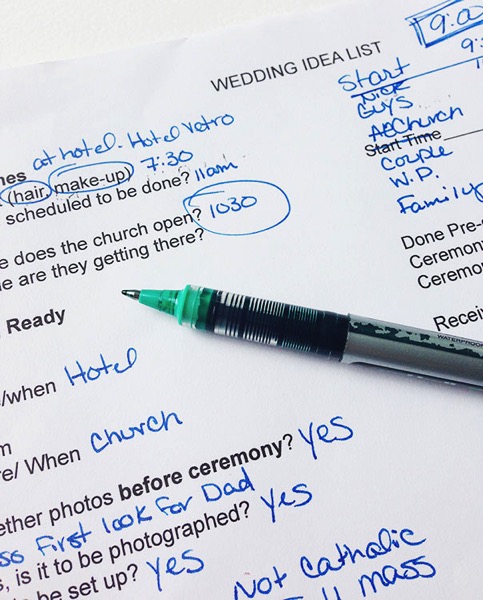
Wedding idea list for photographers

Knowing when the other professionals need the attention of the bride and groom will help you know when it’s your turn.

Plan for family portraits. Many photographers balk at the “dreaded pose list,” but capturing family photographs is an important part of wedding photography. To make the process of organizing family portraits easier, find out who’s in the their families, and what groupings are important to the couple. When you set the time for the wedding photographs, have the bride and groom inform everyone of the timeline, so they will be ready when it’s time to start.

Remember to add in travel time. Often the ceremony and reception are in different locations, and sometimes the couple likes to stop off at a third spot just for photographs. Make sure to add in the time that it will take to drive to these places into the schedule.
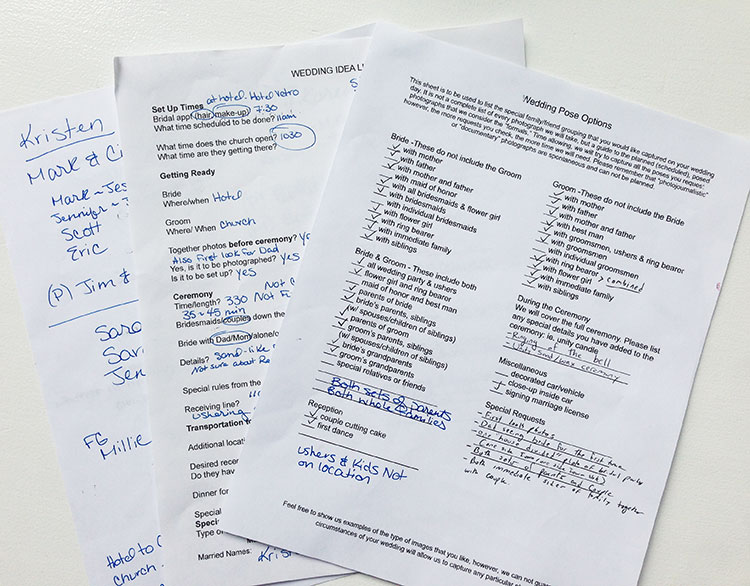
Wedding planning worksheets photogfaphers examples

Know the sunset time. Whether you want to make sure you have enough light for evening portraits or for sunset images, knowing beforehand when sunset is that day, let’s you plan accordingly.
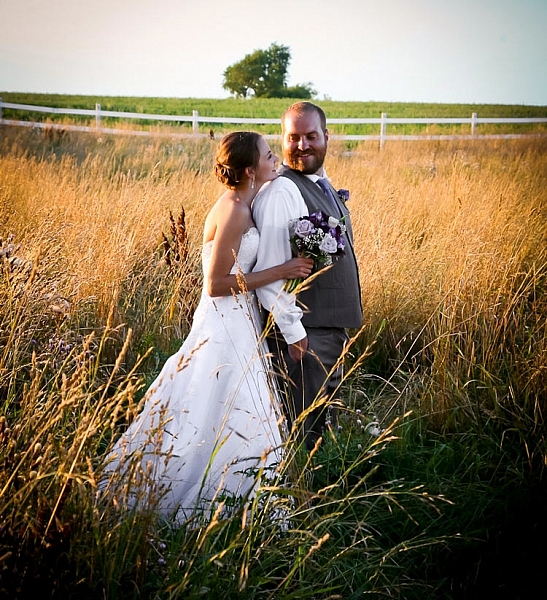
bride-groom-sunset-romantic-wedding-location

Before the wedding day

Pre-scout your locations. Go to the wedding venues a day or two beforehand, to look over the locations for possible photography backdrops. If you can’t scout before the wedding day, plan to arrive early at the venues to find the spots you will use for photography.

Have the bridal details lined up beforehand. Let the bride and groom know if you’ll want to photograph cufflinks, rings, shoes, jewelry and such details before they get dressed. Having these together and ready saves time.
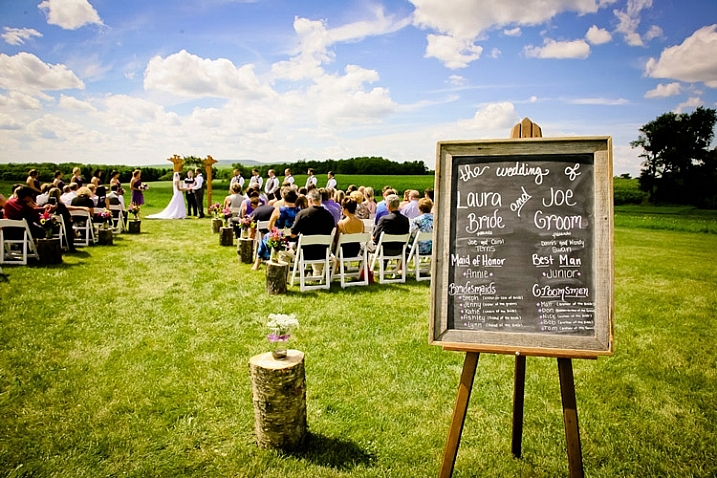
outdoor-wedding-ceremony-vintage-sign-theme

Consider a “first look.” If your time between ceremony and reception is tight, it can be hard to get all the photographs done. Allowing a special moment for the bride and groom to see each other for the first time at the beginning of the day, can open the couple up to the idea of doing photographs before the ceremony.

On the wedding day

Know how to pose people. Brides and grooms are usually not experienced at posing themselves for photographs. If they aren’t sure how they look, it can take longer for them to get comfortable in front of the camera. When you already have a variety of flattering poses in mind, you are able to quickly move through the session.
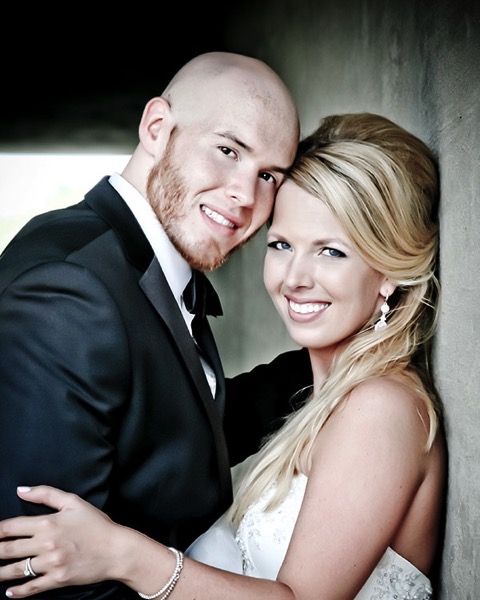
Bride groom wedding location photography

Avoid backtracking. Whether you need to set up lighting equipment, gather family for portraits, or go to a cool location with the couple and the whole wedding party, do it only once. When you consolidate, you save time and hassle for everyone.

For example, it’s much easier to ask grandparents, or small nieces and nephews, to attend just one photography session on the wedding day. Pick a time when both the bride and groom will be ready for photographs, and plan to do all the different combinations you need to do at once. There’s no need to ask Grandma to arrive two hours before the ceremony for one photograph, if she needs to stick around after the ceremony for one more.

When the couple does a “first look,” before the ceremony, it can work well to take all the family portraits at that time a as well. Otherwise, immediately after the ceremony is a good time to do them, before people wander off to the reception and start mingling.
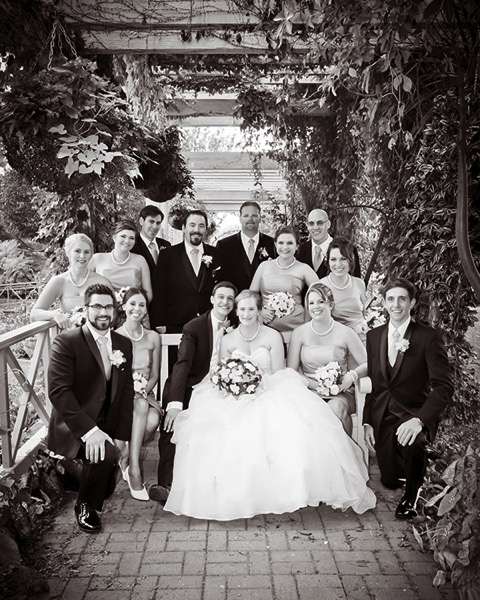
Wedding party posed garden

Work down from the biggest groups to the smallest groups. When you have large, extended family photographs to organize, get those done first. It allows people that only need to be present for one or two photographs to leave, letting you focus on the smaller groups with less chaos.

Summary

When you look at all the elements that go into the schedule on the wedding day, you can be prepared. When the bride and groom see how the photography fits into their schedule, they can make sure they have allowed enough time for you to do your job.
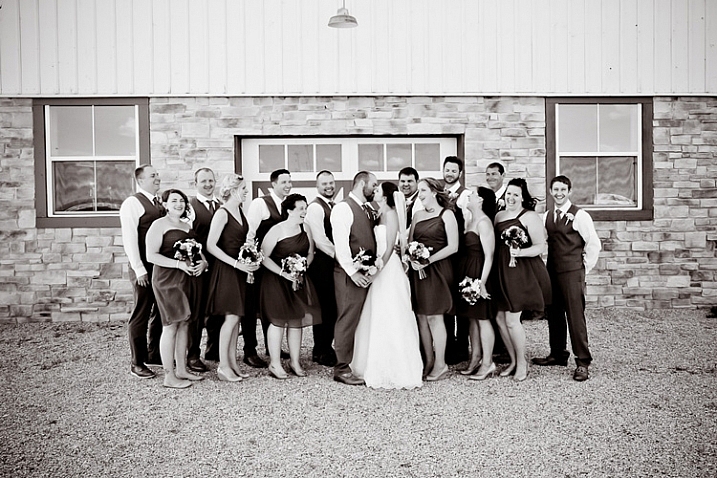
wedding-party-bride-groom-kissing

Do you have other tips to add? How do you carve out enough time for photographs on the wedding day?

googletag.cmd.push(function() {
tablet_slots.push( googletag.defineSlot( “/1005424/_dPSv4_tab-all-article-bottom_(300×250)”, [300, 250], “pb-ad-78623” ).addService( googletag.pubads() ) ); } );

googletag.cmd.push(function() {
mobile_slots.push( googletag.defineSlot( “/1005424/_dPSv4_mob-all-article-bottom_(300×250)”, [300, 250], “pb-ad-78158” ).addService( googletag.pubads() ) ); } );

The post Tips for Stress-Free Wedding Photography by Becky Appleby appeared first on Digital Photography School.
Digital Photography School

 
Comments Off on Tips for Stress-Free Wedding Photography

Posted in Photography


5 Tips for Photographing Your Own Children Stress-Free

27 Nov

As a mother to three little ones, I can say without any doubt nor a moment’s hesitation, that my kids are my most difficult subject – ever. My usual tips and tricks with other families, simply do not work with my own kids, and I have to employ new strategies along with controlling my own emotions. So yes, I do fully understand, despite my profession, the despair and frustration many of you parents go through when capturing photos of your very own children.

But, fear not! Below are my top five tips for taking the stress out of photographing your own children.

Stress free photography tips03

1. Prepare yourself mentally

Keep your expectations realistic so that even if only one photo comes out decent, you can consider the shoot a success!

2. Plan the photoshoot

Plan the shoot in advance – a long way in advance. The first step in planning is visualizing the photoshoot. Schedule the shoot in your diary. Do mental and physical preparations weeks before; raid the wardrobes to see what clothes the kids can wear, accessories they can use, what might you need to buy to add to the clothes if necessary. Decide which areas of your home you want to use for the shoot, and choose well-lit one, or if you are going to the local park plan the spot ahead of time. What toys and props, if any, can they play with that goes with the tone and colour of the shoot – for example favourite teddy, lego, craft sets, etc?

Stress free photography tips01

3. Talk about it with your kids – also way in advance

Chat informally to your kids about it far in advance, so they know it is happening at some point, and will not be taken by surprise. Slip it in conversation casually like it’s no big deal (of course it’s a huge deal) and that you are going to have some fun during the photoshoot.

4. On the day of the shoot

Leverage novelty and adventure.

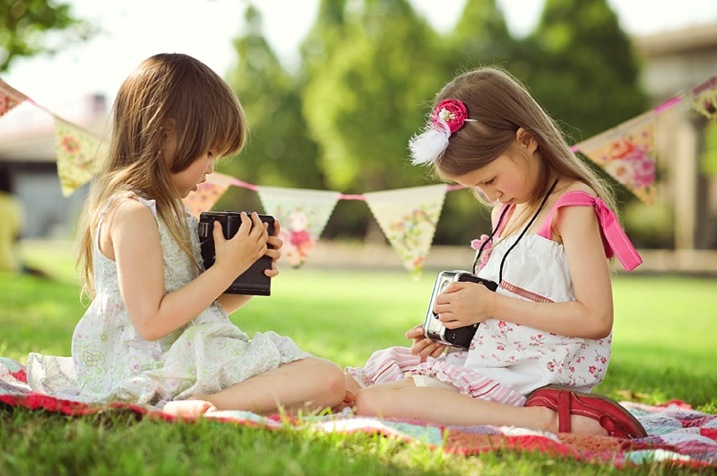
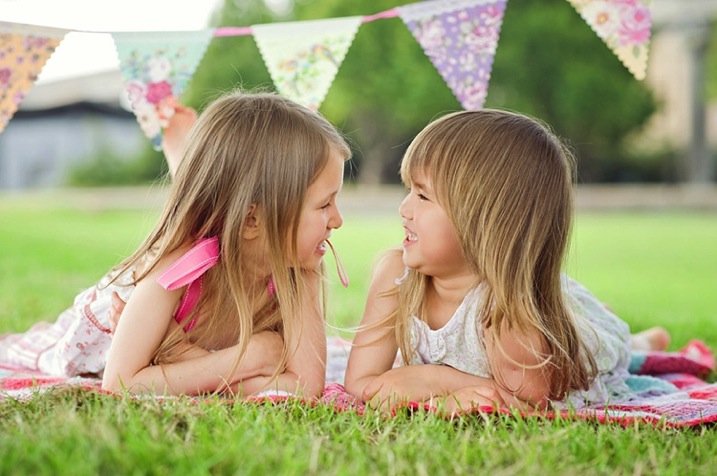
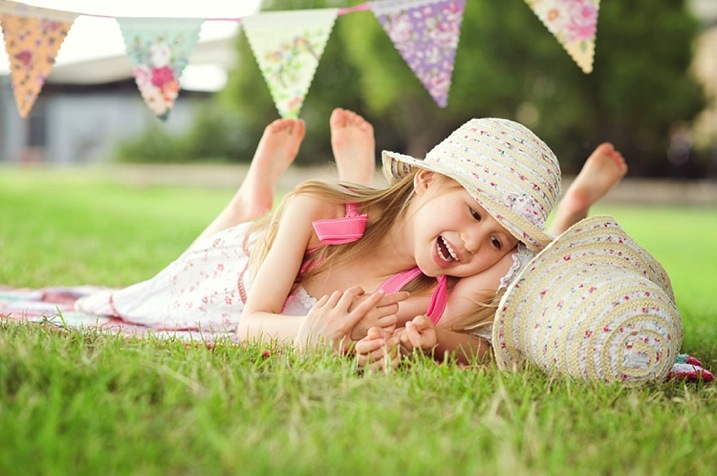
If doing the shoot in your garden or patio set it up nicely so it’s a novelty. Keep it a surprise too, so you can capture their excitement. Use a tent for example or some buntings or teepee. Or better yet, take them to your local park for a little adventure or picnic. The important thing is to make the photoshoot a special experience for them.

Stress free photography tips04

De-clutter if doing the shoot in your home

Clear and prepare the areas you want them to sit in so they are free of clutter, and other objects you don’t want to be in the photos. Choose a spot with ample natural light, somewhere next to a window for example. Put some favourite toys in a bag nearby. Get your camera settings ready and put your camera to one side. Make a clear space where you want your child to sit, and a clear space for yourself as well. Take out one toy from the bag you have already prepared, and put it in the space for your child. Invite your child to play with it.

Look towards the light

Make sure your child is either facing the light, or that at least half of their face is in the light. Whatever camera you use, especially if you are not using manual mode, the more light there is – the less the chance of getting blurry photos. If you shoot in semi-automatic mode (such as Aperture or Shutter Priority), just make sure you set a minimum to your speed so that it’s fast enough, at 1/125th or higher to avoid blurry photos. You can also bump up your ISO to make your camera more sensitive to light. If you can change your aperture, change it to a low number (larger opening) such as f/3.5 or lower, so you let in more light and also get the blurry background effect.

Cheese…NOT!

It’s always nice to have a mixture of candid shots, and portraits, and your child need not smile at all. Steer clear of making them say “cheese”, as that almost always gets a fake-looking smile. Trying to get a genuine smile or laughter captured on camera isn’t always easy.

Stress free photography tips02

With younger children five and under, singing their favourite tunes and rhymes work well. If you have someone with you, get them to do silly things like crazy dancing, making bunny ears with their fingers behind your head, playing peek-a-boo and making toys dance behind you to some silly singing. The noisier, the sillier, the crazier – the better.

With older kids, talking about things they find hilarious is the key. Get in close so you can capture those expressions, the gappy teeth, the precious look in your child’s eyes. Ask them about their favourite activities and things that they LOVE, and you see those eyes begin to sparkle as they start talking candidly.

Use flash or a reflector if shooting backlit

If you want to shoot with a backlit effect so that your child is facing away from the light, you will need to use a flash or a reflector, otherwise you will end up with a silhouette. If there is some clear profile of the face or outline, a silhouette could be a very nice photo too.

Direct your flash

If there is not much light available, turn your camera’s flash on, but stick a card around the flash so that it directs the flash somewhat sideways, rather than firing the flash straight on which flattens the face and creates harsh shadows under the chin and jawline. Directing the flash provides light and shade. Bouncing the flash upwards or backwards gives you a natural look, as you are just using the flash as a little fill-light.

Take time to play

Play a little game with your child, talk, cuddle, create a relaxed atmosphere. Take some photos while your child is playing with the toys you have prepared. Interact with your child so you get photos of your child looking at you, as well as looking away, which are great candid shots.

Stress free photography tips05

Top tip: give your child an activity and make your child laugh. Be mindful of your child’s attention span.

The younger your child is, the shorter the attention span. Don’t offer all the toys at once. Stick to one area for a quick photoshoot, or if your child gets bored take the adventure into another spot nearby, and start fresh but keep that quick too.

If your child has had enough, it’s probably better to stop and continue another day. In my experience, the ages between one and three years are the most difficult time to get clear, sharp, and good photos of your own children. But don’t forget to take a snap or two of those pouts and long faces – the images may come in handy at their wedding reception many years down the line, as well as being a special memory.

5. Celebrate!

Stress free photography tips07

Stress free photography tips06

Have some snacks and little treats ready so you can celebrate afterwards. Even if you only manage to get ONE decent photo, it’s always good to celebrate. It makes the photoshoot a positive experience and will work in your favour at your next photoshoot. If you ended up with nothing, still celebrate that you had some play, snuggle, and cuddle moments together.

If the shoot does not go well at all, well there is always a next time…

Do you have any photos of your kids, or some other tips and tricks that have worked well for you? Please share in the comments below.


googletag.cmd.push(function() {
tablet_slots.push( googletag.defineSlot( “/1005424/_dPSv4_tab-all-article-bottom_(300×250)”, [300, 250], “pb-ad-78623” ).addService( googletag.pubads() ) ); } );

googletag.cmd.push(function() {
mobile_slots.push( googletag.defineSlot( “/1005424/_dPSv4_mob-all-article-bottom_(300×250)”, [300, 250], “pb-ad-78158” ).addService( googletag.pubads() ) ); } );

The post 5 Tips for Photographing Your Own Children Stress-Free by Lily Sawyer appeared first on Digital Photography School.

Digital Photography School

 
Comments Off on 5 Tips for Photographing Your Own Children Stress-Free

Posted in Photography


13 Useful Tips You Need To Shoot Stress-Free Fashion Events

14 Sep

13 Useful Tips You Need To Shoot Stress-Free Fashion Events

Hi there FashionPhotographyBlog.com readers, today we have a Peter Werner on our site. He has been a long time follower of FPBlog for many years and took time out of his day to write us a response to an article we posted before titled on how to shoot fashion shows. We at FPBlog thought that his reply had great insights and brought another viewpoint to our previous post, that we want to share it with you, because we know it will be useful to photographers currently shooting at fashion events, or thinking about doing it soon. 


We have invited Peter Werner to share with our community, his tips for shooting at fashion events so photographers can get a sneak peak into what to expect as well as how to prepare themselves so they don’t miss great photo moments in the middle of all the commotion at fashion events.


Just a word of warning before we dive into Peter’s tips – fashion shows and fashion events may not be suited for everyone. There are lots of people running around at these fashion events; triggers are going off everywhere, peak noise levels and you are constantly on your feet lugging around your photography gear. Then again, you could be an adventure seeker and live for the adrenaline rush. We just want you to be wary so you can be on point, focused on the shooting great photos and not getting distracted by all the commotion all around you. The stage is now all yours, Peter!


Fashion Events: How To Shoot Without The Stress


Thanks for the post (great stuff as usual)! I haven’t shot a fashion show yet, but I have shot several other types of fashion events so far. I absolutely hate it, too, but I think it is very good training for problem-solving when you have to move fast on a regular photo shoot. Here are a few things I have learned the hard way:


1. Don’t use the biggest memory card you have. If it dies or gets stolen, all your photos will be lost, and that’s a great way to destroy all the reputation you have built. Instead, use smaller ones.


2. If one memory card is full, continue shooting with your other camera body until you have time to change cards, don’t trade important moments for a card change.


3. Keep the full memory cards and the empty ones in separate pockets so you don’t lose time by re-inserting a full one by accident.


4. Use the two-pocket system for your flash batteries.


5. Don’t waste time deleting failures. You are very likely to miss your second chance to get it right.


6. Only check your images occasionally to make sure nothing is wrong (like a leftover exposure compensation or something like that). But don’t look at every single image you take right away.


7. Do take multiple shots of the same subject. The auto focus system sometimes focuses on the background, people have their eyes closed etc. So you want to have a backup in such a situation, plus you get to choose the best one of the set when you’re doing your editing. I usually take two or three shots per subject, depending on how much time there is, but you definitely need more for groups.


8. Always shoot RAW (even if you usually don’t), especially if you are using bounce flash a lot. Lighting often changes very quickly and people sometimes move in unexpected ways, so it is hard to get the exposure perfect every time. By shooting RAW, you can compensate for problems to a certain degree. Plus, you get between 12 and 16 bits of color depth instead of 8 with JPEG. Don’t rely on RAW’s ability to save you, though, you still need to expose as well as you can.


9. Get ear plugs. Not only can music be annoying, it can also be very loud. This is probably more relevant to concerts, but ear plugs also allow you to position yourself right in front of the speakers, where usually nobody is standing (or not for long), not even photographers, even if it gives you a perfect view on what’s happening.


10. Use a fast lens. Both Nikon and Canon make very sharp very fast zoom lenses. That way you can use more of the available light and thus get better recycle times on your flashFast lenses also enable you to use a shallow depth of field if you have to deal with a very busy background and but don’t have a chance to move.


The fast zooms are usually the more professional ones and, therefore, tend to give you sharper images, and they maintain their minimum aperture throughout the whole zoom range. And you can take non-shaky pictures at greater focal lengths if flash is not permitted or your flash does not reach far enough.


Even if you don’t use the aperture wide open, fast lenses are stopped down more at identical apertures, thus you are more likely to photograph on the lens’ sweet spot if you use an f2.8 lens at f4.5 than an f4.5 lens at f4.5. The Nikon VR system is great for low light, too.


11. If you know an important shot is coming up, make sure you don’t press the shutter release a few seconds before because your flash may not be ready again in time.


12, If you don’t own a good lens, you can always rent one, it’s worth it.


13. Also, be sure to get all the info you can in advance. If you know how the lighting is going to change, what the durations of individual segments are etc., you can plan in advance and for instance use a fresh card if you know you won’t have time to swap in the next 20 minutes. If you know that very shiny dresses are coming up, you can switch to spot metering and so on. Knowledge is power.


All those things can not only help in getting the pictures you want, they also help differentiate your images from those of the seven other guys right next to you with the exact same equipment as you have. I hope this is helpful for those of my fellow readers who are doing fashion events. Thanks again for this awesome blog, it is really an invaluable resource for the “secret” stuff that can’t be found anywhere else on the internet. Keep up the great work!


Peter Werner 


Did you find Peter’s tips for fashion events helpful? Please share this post on social media if you did. If you have tips of your own that were not covered in Peter’s list, please write them down for us in the comments box. below We would love to hear your tips!


Lastly, if you would like to be featured as a guest writer like Peter Werner, do send us a message and get in touch with us. We’d love to hear from you! For more details on how to contribute to FashionPhotographyBlog.com click here –> CONTRIBUTE TO FPBLOG HERE


Fashion Photography Blog

 
Comments Off on 13 Useful Tips You Need To Shoot Stress-Free Fashion Events

Posted in Uncategorized


5 Tips for Stress-free and Successful Child Portraits

12 Nov

DSC 7364dps

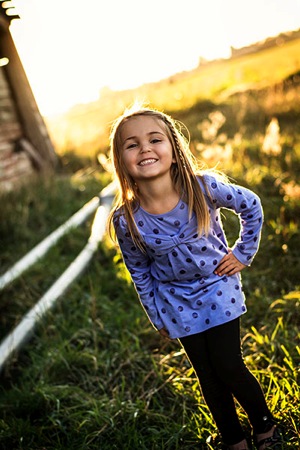
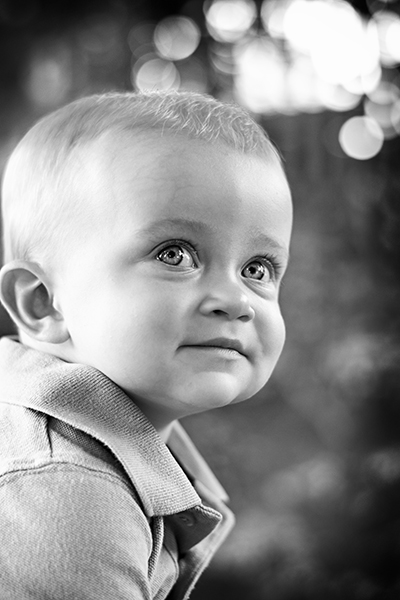
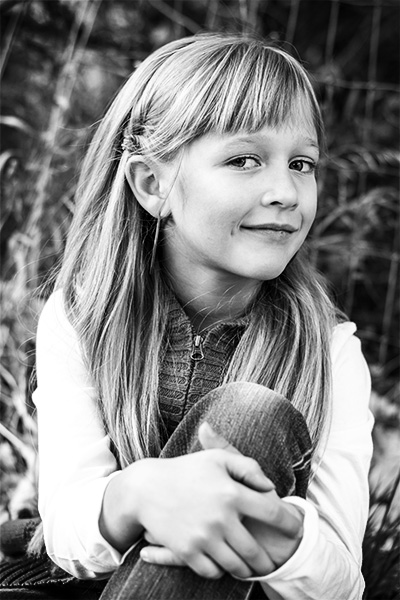
Children are the best examples of spontaneity, creativity, and wonder and that is precisely why we all love them so much. Then family picture day comes and you wish they’d just sit down and be still for five seconds. Photographing children comes with its own brand of challenges, but if you arrive to a session with a few tricks in your bag, you’ll come away from that shoot with pictures that perfectly capture that what being a kid is all about. Here are five tips to help you have more stress-free and successful child portraits

1 – Kids Don’t Like Dictators

Children are used to being told what do to. All day long, it’s all they hear. “Sit down,” “Be quiet,” “Don’t hit your sister,” and “Spit that out!” Wven though they don’t like being told what to do, they’ll expect the same treatment from you. You’ll find, however, that you’re more likely to get great photos out of them if you shatter those expectations and treat them as equals.

Children like being helpers and they like being grown-up. So give them what they want. Instead of saying, “Sit down there and look at the camera,” you might try something like, “Hey buddy, would you help me out by sitting right here so I can see if the light is right?” In that phrase, you made them the big helper. You may already know that the light is right, but the child doesn’t know that. All he knows is that you needed his help and you see him as an equal. Another technique is asking the child where they’d like their picture taken. This gives them adult-like control. Give them options though or you run the risk of them picking a bad spot. Point out a few spots that you’re okay with and let them choose from those. Even go as far as to ask their advice when it comes to posing. Give them a little control and they’ll be happy to give some back when you need it. I once had a three year-old tell me that he wanted to do his epic mad face for a pose. I told him, “That’s a great idea! Let’s do it!” After I took a picture of that epic mad face and I then said we should try out a few other faces just to make sure we get them all. He was more than happy to let me pick the next face.

DSC 7130dps DSC 6481dps

2 – They Don’t Need to Look at the Camera

Even with the best psychologist-tested techniques, children are still children. Most children have a hard time looking at a camera. The reason? Because the camera is a big black thing and it doesn’t even come close to resembling a human being. Children like to look at people’s faces, especially their eyes. Older children have an easier time, but younger ones really don’t like looking at the black hole in the middle of our cameras.

That’s okay! Some of your best shots could be the ones where the child isn’t looking at the camera. Being a kid means being on the go, constantly exploring, and living for the very next moment. Allow the child to move around the location and explore. Your job is to follow and click away. Once in a while, they may look directly into your lens and make a connection and that’s awesome. More than not, you’ll get shots of them whizzing past or looking down at a flower or hugging mom’s leg. All great shots that show what being a child is all about.

DSC 1742bwdps

3 – Use Their Inner Actor

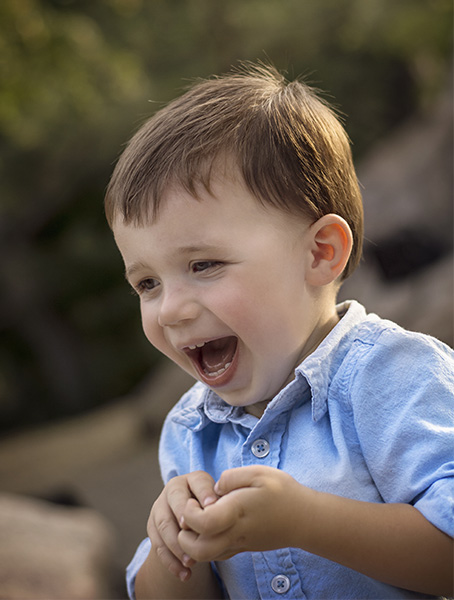
Getting genuine smiles out of a child is difficult at times. It seems that as children get older their smiles get more forced. So how do you instruct a child to smile naturally? Even adults have a hard time with that. One effective technique is to work with the little actor that lives at the heart of so many kids. Try asking your kid clients to give you a fake laugh. Go as far as to model how the laugh should go. The awesome thing is that when you ask someone, child or adult, to fake laugh, it’ll make them feel silly and then they’ll really laugh. There is a smile that happens toward the end of a laugh and that is where their natural smile lives. This technique can work even on shy children.

You could also have them imagine something and see what expression you get. You could ask them to give you the smile they get when they’ve just gotten away with something or the smile they get when they get a present. For older children, it seems like asking them about a boy or a girl they like at school, in a playful manner, always elicits a very nice smile. Children like acting and pretending, so use it to your advantage.

DSC 9653dps

4 – Monkey See, Monkey Do

Most children, especially young ones, don’t really excel at following directions. If you’re trying to pose them and you’re giving them the same directions you’d give adults, you’ll end up with a very confused child who pulls off a really weird pose. If you’re photographing children and they’re okay to sit and pose for you, model every pose you want from them. Children can mimic like pros, so use that gift. If you want them to sit cross-legged with their elbows on their knees, get down and do it yourself. This goes for facial expressions too. Say you want them to smile, but not a big toothy smile. Show them the smile you want. They’ll give you their own version of it, but you’ll get what you’re going for. You may be exhausted at the end of the shoot after moving around so much, but in many ways, it’s easier than trying to verbally instruct a child into a pose.

DSC 9414dps

5 – Give Them a Break

DSC 9432dps

We all have our limits. Children are no different. If you find that your kid client is getting tired or upset, it’s time for a break. Take them by the hand and explore your location together. If the parents are okay with it, break out some snacks and have a sit. Talk to them and let them relax. Many photographers are worried about the use of time during a shoot and may be reluctant to do something like smell the flowers with a three year-old when they should be getting those precious shots mom and dad want. That’s understandable. But great photographers understand that you’re more likely to get the shot you’re after if you work with the client, not against them. In fact, you might find the perfect shot during the little break. Perhaps the child is picking flowers or collecting rocks and because they’re so happy, they look at you and click! You’ve got the shot. If you’re doing a family shoot, a break could mean that you go off to photograph another member of the family while the little one gets to sit back and relax a bit.

Children live in their own worlds with their own rules. If you prepare and have the right mindset, they’ll let you in and you’ll both have an awesome time.

The post 5 Tips for Stress-free and Successful Child Portraits by Anna Durfee appeared first on Digital Photography School.

Digital Photography School

 
Comments Off on 5 Tips for Stress-free and Successful Child Portraits

Posted in Photography