RSS
 

Posts Tagged ‘Speedlight’

One Speedlight Portrait Lighting Tutorial

25 Jun

If you’ve ever wondered how to improve the look of your portraits using only one speedlight, then make sure you read every single word on this page. It isn’t so much the type or quality of the speedlight you are using; it is more about how you modify and shape the light, that will help you to improve the overall look of your portraits.

Craigbecktabts

Let’s break speedlight portrait lighting down into three simple action steps that are easy for you to follow:

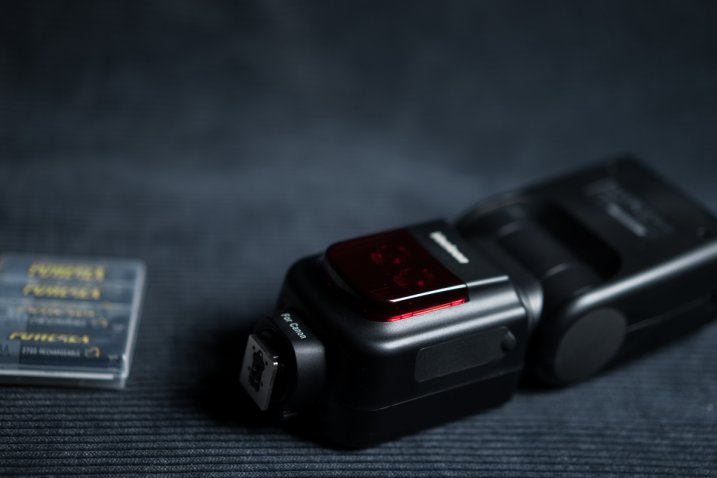
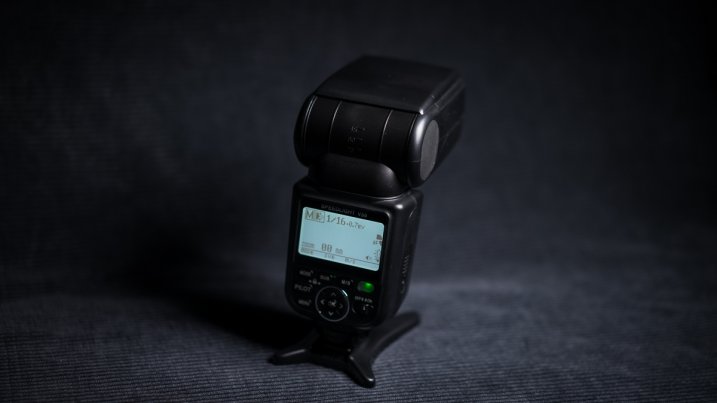
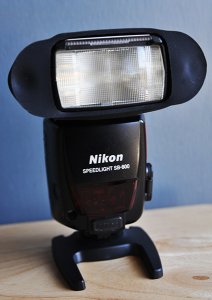
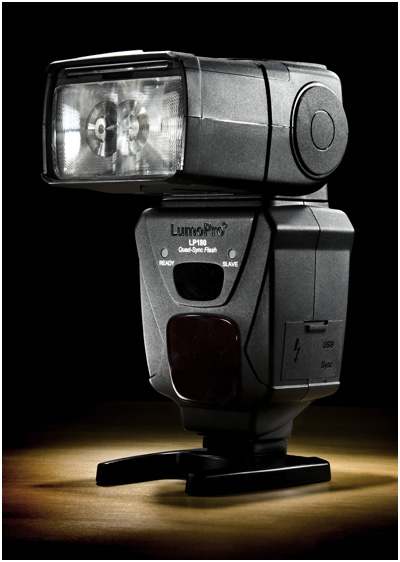
Step 1: Get the speedlight off-camera

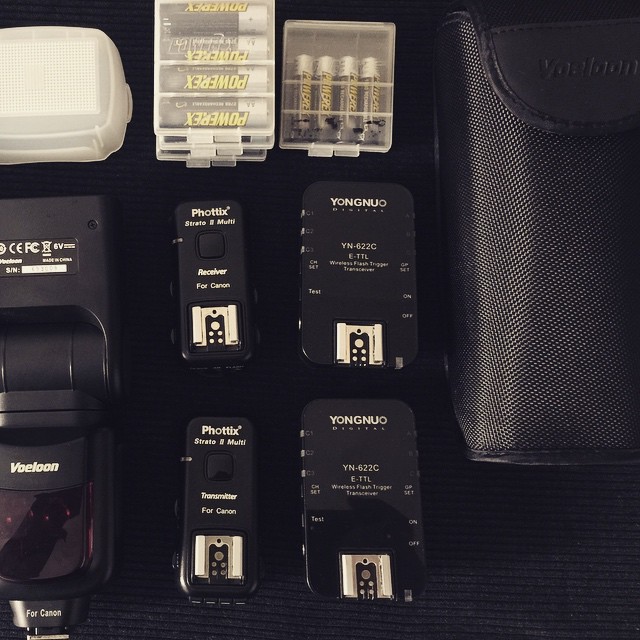
Start by first getting your speedlight off of your camera. In order to trigger your strobe once it is off of your camera, you will need a remote trigger such as a Cactus V6 that I am using in the video below. You can also use a Pocket Wizard or any number of different triggers that are available on the market. The key is to be able to remotely fire your speedlight, so you are free to modify, and position your light source for more flattering results.

Check out the video below for a video demonstration of a one light, speedlight beauty lighting set up.

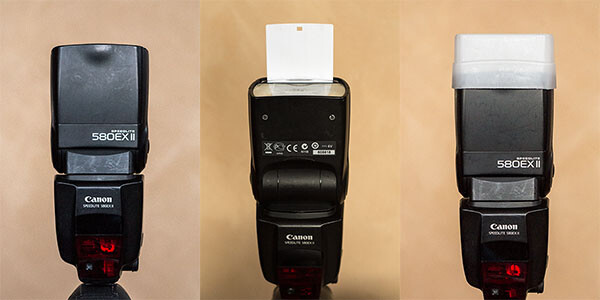
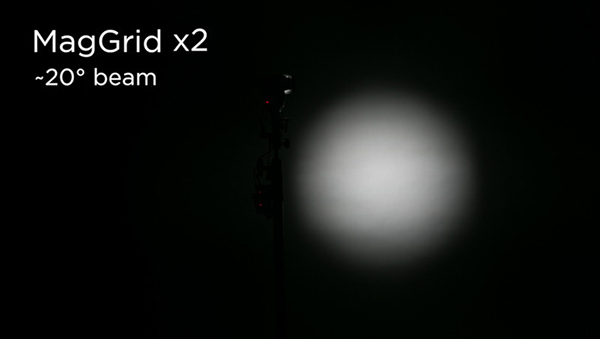
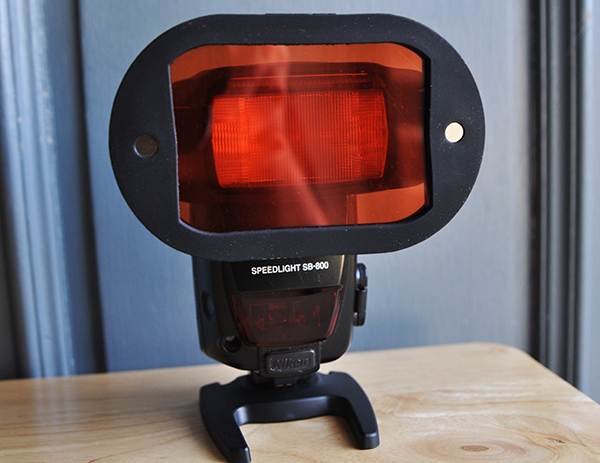
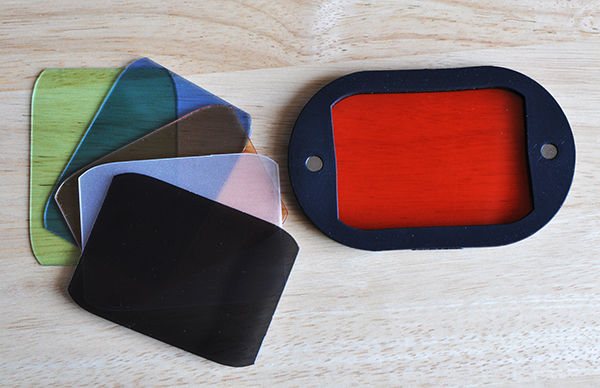
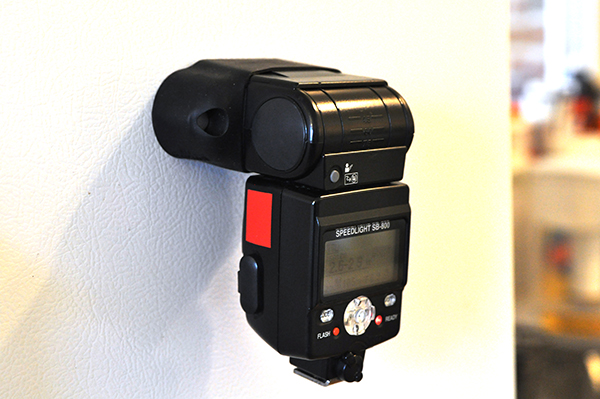
Step 2: Add a light modifier

Next step is to increase the size of your light source by using a speedlight modifier. The key to improving the quality of the light is this; the larger the light source and the closer the light is to your subject, the softer the light will appear. As a general guideline for a starting position, I suggest you put your light roughly the same distance as its diameter from your subject.

CraigBeckta1

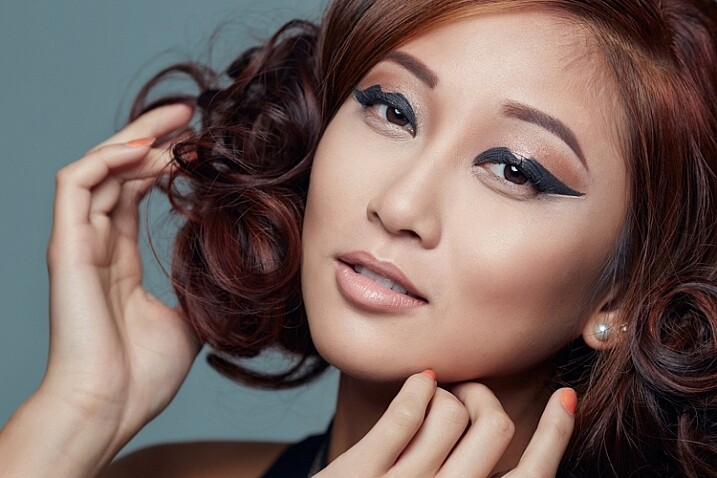
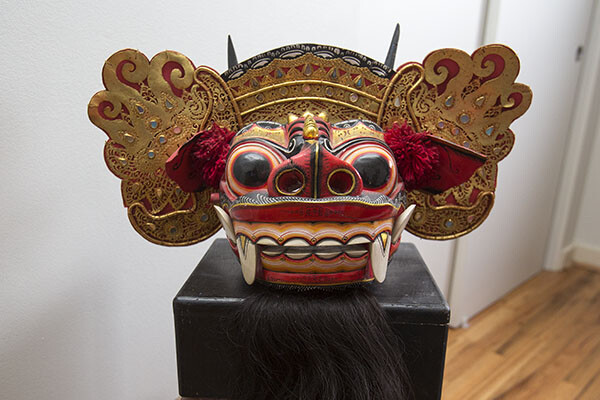
For example if your speedlight modifier is three feet (36″) in diameter (or 91cm), you can start by placing your modifier the same distance from your subject. In the image above I placed my light in the butterfly lighting position and used a white reflector for fill. This type of lighting is often referred to as ClamShell lighting or Beauty lighting.

Craigbeckta2

Step 3: Place your focus on the subject

Once you have your lighting in place, shift your focus to making a connection with the person you are photographing. Pay close attention to the pose and the expression; tests have shown that 60% of people look more attractive from their left side. So make sure you experiment with your subject to find their most flattering side right at the beginning of the portrait session. You can ask them if they have a side they prefer, or you can make a guess based on where they part their hair.

Once you have that figured out, focus on capturing an expression that makes them appear confident in from of the camera. You can have the best lighting in the world ,but if you don’t nail the right expression, you will miss the shot. Look for the position of their eyes and mouth, confidence is portrayed from the eyes and it is something that can make or break a shot.

Craigbeckta3

Any article about photography isn’t complete unless we talk about the gear used to create the shots. The first image in this series was shot on the Canon 5D MK III with the Canon 100mm Macro lens at ISO 100, f/5.6 and shutter speed 1/160th. The reason you should use a shutter speed of 1/160th on the Canon 5D MK III is to stay within the flash sync-speed. If you shoot at a shutter speed of 1/200th, or faster, you may see a black line in your image because are shooting at a faster shutter speed than your camera can handle when using flash.

Screen Shot 2015 06 01 at 8 19 33 AM
Lighting diagram showing the setup for these images.

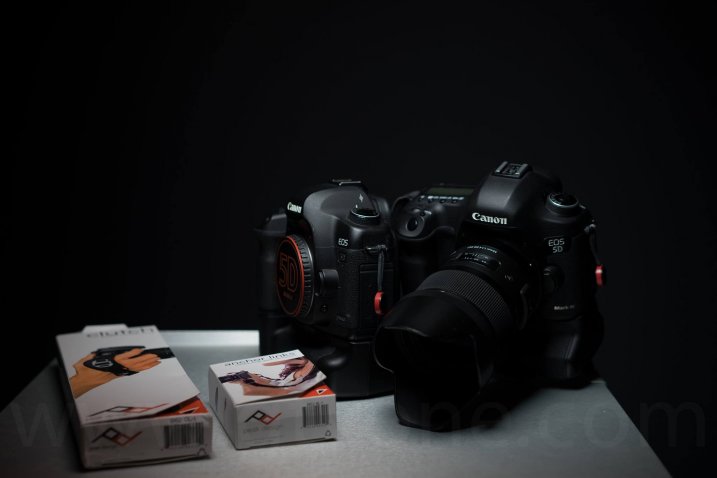
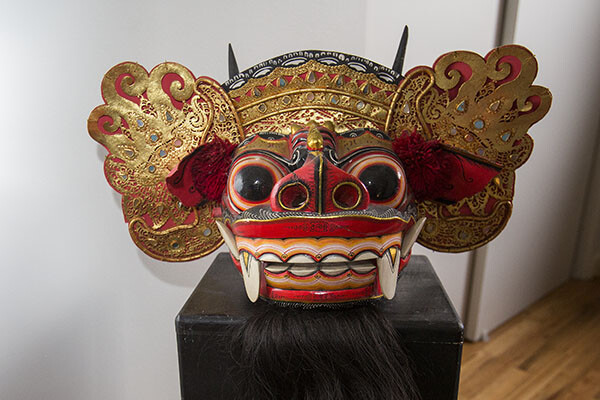
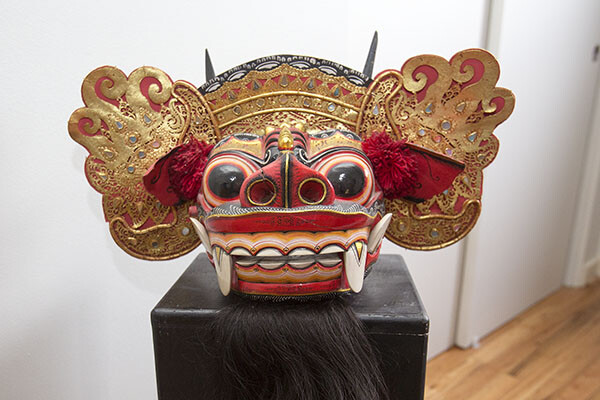
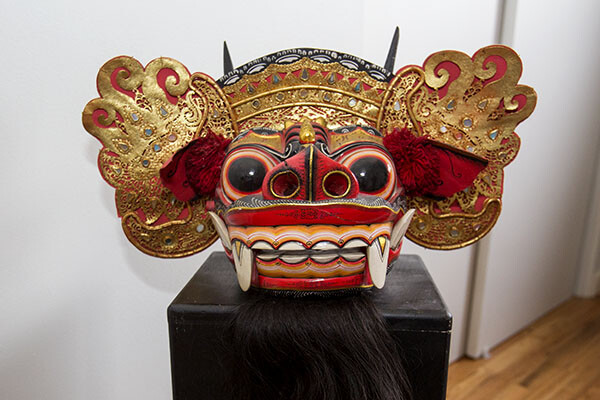
The other two images in this series were both shot on the Canon 5D MK III with the Canon 135mm f/2 lens. Both lenses are tack sharp and are great portrait lenses but if you prefer a better bokeh, then I would choose the Canon 135mm f/2. The reason is that the lowest aperture is f/2, and the longer focal length of 135mm will give you a more out of focus background when shot at f/2.

CraigBecktaDPS

If you have any questions about the video or article above, I would be more than happy to answer them for you. Just post your questions in the comment section below.

googletag.cmd.push(function() {
tablet_slots.push( googletag.defineSlot( “/1005424/_dPSv4_tab-all-article-bottom_(300×250)”, [300, 250], “pb-ad-78623” ).addService( googletag.pubads() ) ); } );

googletag.cmd.push(function() {
mobile_slots.push( googletag.defineSlot( “/1005424/_dPSv4_mob-all-article-bottom_(300×250)”, [300, 250], “pb-ad-78158” ).addService( googletag.pubads() ) ); } );

The post One Speedlight Portrait Lighting Tutorial by Craig Beckta appeared first on Digital Photography School.


Digital Photography School

 
Comments Off on One Speedlight Portrait Lighting Tutorial

Posted in Photography


Review: Voeloon V58 Speedlight for Canon

13 Jun

I’m going to start with a small admission… I’ve always been about brand-name stuff. There, I said it…

I have had Canon cameras since the a5 (it was the small, boxy predecessor of the Ixus range) and before that, Nikon film cameras (and during, come to think of it) and have always had the mindset that I should purchase Canon lenses for my Canon cameras, always thought that I should buy well known lights and tripods and… (the list, it goes on and on)

Simon_Pollock_Canon_Cameras_Sony_PeakDesign
More recently though, I’ve had less disposable cash (kids! yay) and when you add that to getting increasingly more creative through experience and needing different gear to try the ideas in your head, well, you hit walls. One of those walls I’ve found a way to work with – that’s the “but it costs so much” wall, there are a couple of non-big-brand products that do what you need and, in this case, do it quite well.

camera_flash_review_gtvone

Below is the Voeloon V58 camera flash, it’s a flash unit with a guide number of 58, it can high-speed sync up to 1/8000th of a second, and it comes in at just under half the price of a name brand unit. Should you buy one?

Simon_Pollock_Voeloon_V56_Flash_Review

Looking for alternatives to big brands, ones with more affordable price tags, the question that was frequently popping up in my mind was “but if I only spend $ 200 on a flash rather than $ 499, will it simply fail and be thrown away?”  Or there was the “but, the more expensive flash does more things, will I regret my choice?” and, honestly, for some people the answer will be yes, you will regret your choice – but that’s life I suppose.

The answer to my first question “will it simply fail and be thrown away” well, I’ve only had the flash unit for a bit over a month and I’ve had my Canon 580EX for almost 10 years – so I guess the answer to that is “ask me in 10 years”. To be fair, the Voeloon unit has an almost identical build to the 580EX, with a few differences in the battery door and a couple of other small bits and pieces, but it feels sturdy and each button feels good under thumb, all of the features work exactly as described, etc.

Simon_Pollock_Gtvone_Flash_Review_Voeloon

The V58 is HSS capable (High-Speed Sync – that basically means that you can use the flash over 1/200th of a second, and not get half of your frame all black – more on HSS here). The Voeloon V58 that I have is a Canon version, I have also used it on my Sony a7 in manual mode (clunky, but it worked). It’s a 24mm to 200mm zoomable hotshoe mounted flash that does everything my Canon flash does, and hasn’t limited me in anything I wanted to do. The guide number is similar to the 580EXII.

Manufacturer’s Specs

  • Guide number of 58 at ISO 100 at 200mm
  • Built-in wide angle diffuser and reflector card
  • Supports eTTL II and manual settings
  • Repeating (RPT) flash / Stroboscopic for capturing movement
  • Advanced Wireless Lighting
  • Audible and LCD display with backlight
  • Auxiliary Light for autofocus
  • Good protection against overheating
  • Solid metal hotshoe connector

What’s in the box

  • The flash unit
  • Soft case
  • Instructions
  • The plastic shoe foot thing
  • Warranty card (1 Year)
  • Flash diffuser (not sure if was in the box, or is always included, but I got one in the box)

I did something very unlike me and wandered through the instructions manual! There are a couple of sensible warnings in there, like don’t use stroboscopic more than 10 times in a row without letting your flash have a little rest. There are also helpful tips right throughout the manual, which I found quite sweet – basic stuff, but helpful.

Anyways, stats and rhetoric aside – the bottom line for me when I decided to have a go at reviewing this Voeloon V58 was “Will it perform like a brand-name unit” and “will it allow me to do what I need to do for my clients, if I have a gig where I use a flash”

Voeloon_Simon_Pollock_Gtvone_Flash_Review_dPS

Yes, it does perform just like my Canon 580EXII, though I prefer the menu on the Canon, but as I mentioned, I’ve used that for 10 years, so that’s really just personal preference. It has enough power, recycles quickly and hasn’t broken – we’re certainly off to a good start.

I’ve not had a shoot where I’ve needed a flash unit in the last month and a bit, so I’ve recreated a few scenarios myself (mostly tested running around the house after my kids, isn’t that punishment enough!) with the Voeloon performing as it should each time with no obvious downsides to my Canon flash.

The bottom line is “would I recommend this flash to people looking for a cost effective way to get into flash photography?” – Yes, I absolutely would…  I see this as a good sturdy unit with all the features a photographer would need from a single, portable flash unit.

Budget Tip: If you can’t afford a flash ($ 200 is still a wad of cash, I get it!) there’s a great array of desk lamps on eBay that you can buy for under $ 30, and sure – some of them might be a weird color temp, they might be flimsy and annoying, but they’re going to help you understand direction of light and help you learn how to control light – start making light modifiers from things you find around the house! 

I award the Voeloon V58 five stars – Cost and functionality deserve these stars.

googletag.cmd.push(function() {
tablet_slots.push( googletag.defineSlot( “/1005424/_dPSv4_tab-all-article-bottom_(300×250)”, [300, 250], “pb-ad-78623” ).addService( googletag.pubads() ) ); } );

googletag.cmd.push(function() {
mobile_slots.push( googletag.defineSlot( “/1005424/_dPSv4_mob-all-article-bottom_(300×250)”, [300, 250], “pb-ad-78158” ).addService( googletag.pubads() ) ); } );

The post Review: Voeloon V58 Speedlight for Canon by Sime appeared first on Digital Photography School.


Digital Photography School

 
Comments Off on Review: Voeloon V58 Speedlight for Canon

Posted in Photography


4 Tips for Effective Lighting Using Only One Speedlight

19 Jan

Flashes

If the idea of incorporating flash into your photography work strikes fear in your heart, this is a must read article for you!

The ability to use a portable electronic flash can do wonders for your work by giving you more creative options, and the truth is you don’t need a ton of fancy equipment to begin utilizing flash. In fact, this article is focused purely on the speedlight, the Canon 580 EXII Speedlite to be exact (equivalent to the Nikon SB-900), and how you can get started experimenting with lighting effects using just one speedlight.

Among the smallest, most compact forms of external lighting, speedlights offer consistent, daylight-balanced lighting powered by four AA batteries. They are easy to fully integrate with your DSLR camera, allowing the two units to operate as one. While most speedlights offer manual settings, it is also easy to just leave it on auto (TTL) and let it adjust the light output according to your camera settings. Depending on what kind of camera you own, it might come with its own built-in pop up flash, but a speedlight is still recommended due to its ability to tilt and swivel, giving you more control over where the flash is aimed.

The following examples were photographed using a Canon 5D Mark III and a 580 EXII Speedlite. All included photographs were shot in auto (TTL) setting and received no retouching other than cropping and resizing.

Ambient Light Isn’t Always the Best Light

No Flash

While ambient lighting is often the easiest lighting source to use, it comes with its share of shortcomings. There might be too much or too little ambient lighting, it might be coming from the wrong direction, or it might have a strong color cast. To kick-off this example, let’s see how this Balinese mask photographs using just the ambient light available in the room (see image above). Notice that the colors are dull and the surfaces of the mask are unevenly illuminated. It’s a less than optimal photo, showcasing all of the shortcomings of relying purely on ambient lighting.

If you’re lucky, the ambient light might be able to be moulded using a reflector or simply moving your photo subject. But say you can’t control the ambient light? Here are some tips for using a speedlight in your favor.

Option 1: Shoot with the flash straight on

Straight On

The easiest way to use your speedlight is to aim it directly at your subject. The result is a decently lit subject, similar to the type of photo that a built-in pop up flash would produce. Notice how that colors pop more and the mask is more evenly lit compared to the photo shot in ambient light. However, aiming your flash straight forward can result in some harsh shadows, not to mention cause human photo subjects to be temporarily blinded by light flashing in their faces. It is also very non-directional light making the subject appear flat and lacking dimension.

Option 2: Bounce the flash off the ceiling or wall

Straight UP

Flash bounced straight up off the ceiling

The simplest way to soften the speedlight’s effects is to bounce the flash off of a nearby surface. In this case, the flash is aimed directly up at a white ceiling. When the flash is fired, the light is spread out onto the ceiling and reflected down on the subject. As a result, the front part of the mask from the eyes to the nose are nicely lit, but the mouth, ears, and ornamental headdress are left in the shadows. This is one of the pitfalls of simply bouncing the flash off the ceiling: the image will generally produce shadows on any protruding elements of your subject.

Bounce Off Wall My Left

Bounced of the wall to the left of the camera.

Alternatively, the flash can also be pointed directly at a nearby wall so the light is bounced in another angle. In the above example, the flash was bounced off a white wall to the right of the mask. The result is more dramatic lighting that focuses on one side of the mask, using the shadows to indicate more depth.

Option 3: Use the built-in white bounce card


Straight Up with Whitecard

To solve the problem of shadows produced by bouncing the light off the ceiling, one solution is quite simple. Keep the speedlight pointed at the ceiling, and simply pull up the thin white bounce card that is built into the top of the flash. When the flash is fired, the light not only bounces off the ceiling, but a portion of it is also reflected off the bounce card, as seen in the catchlight of the mask’s eyes.  The resulting image is much more evenly illuminated, all thanks to a thin piece of plastic. However, the eyes do reflect quite a bit of the spilled light from the ceiling.

Option 4: Use a white flash diffuser cap on your speedlight

Flash Cap copy

When it comes to flash modifiers for speedlights alone, there are a ton of options to choose from. One of the most effective modifiers is also incredibly compact and cheap: a translucent white cap or box that fits snugly on your flash. It helps to evenly spread out the light to eliminate harsh shadows. In this case, the diffuser cap was attached to the flash which was pointed directly up at the ceiling. The effect is similar to using the built-in white bounce card in Option 3, but the light is more controlled. The evidence is strongest in the mask’s eyes, which now only have the catch light and not the spilled light bounced from the ceiling.

This is just a very basic introduction to flash photography with a speedlight, intended to simply demonstrate how adding a single external flash can produce dramatically different results. What is your take on flash photography? Do you prefer natural light, speedlights, or strobes?

googletag.cmd.push(function() {
tablet_slots.push( googletag.defineSlot( “/1005424/_dPSv4_tab-all-article-bottom_(300×250)”, [300, 250], “pb-ad-78623” ).addService( googletag.pubads() ) ); } );

googletag.cmd.push(function() {
mobile_slots.push( googletag.defineSlot( “/1005424/_dPSv4_mob-all-article-bottom_(300×250)”, [300, 250], “pb-ad-78158” ).addService( googletag.pubads() ) ); } );

The post 4 Tips for Effective Lighting Using Only One Speedlight by Suzi Pratt appeared first on Digital Photography School.


Digital Photography School

 
Comments Off on 4 Tips for Effective Lighting Using Only One Speedlight

Posted in Photography


Nikon announces SB-500 Speedlight for stills and video

13 Sep

Nikon rounds out its Photokina announcements with the SB-500 Speedlight, a compact flash with a built-in LED for use while recording video. With coverage for a 24mm lens on an FX camera or a 16mm lens on DX, the SB-500 has a guide number of 24m at ISO 100. Read more

Articles: Digital Photography Review (dpreview.com)

 
Comments Off on Nikon announces SB-500 Speedlight for stills and video

Posted in Uncategorized


The MagMod Speedlight Modifier – a Review

07 Apr
The MagMod speedlight modifier solves several problems and challenges posed by other systems.

The MagMod speedlight modifier solves several problems and challenges posed by other systems.

Until now, most speedlight modifiers on the market have been pretty inconvenient to use. I’m not talking about the quality of their output– just the lengths we’ve had to go in order to attach them to our flashes, and– perhaps more importantly– get them to stay on our speedlights over the course of a photo shoot. If your flash has a permanently attached strip of Velcro, or you have a collection of assorted straps, bands, tapes, attachment accessories, and other DIY solutions for your modifiers, you know what I’m talking about. If you’ve ever had a gel break, tear, bend, or just blow away in a stiff breeze, you’ve probably found yourself wishing for something better at least once or twice.

Enter the MagMod system. Made from high-quality silicone rubber, each piece of the MagMod system is compact, easy to attach, and gets the job done with minimal hassle.

The MagGrip

The MagGrip is the foundation of the MagMod system. Designed to fit virtually any hot shoe flash available, the MagGrip fits tightly and securely around the flash head. Despite my best efforts to shake it off or “accidentally” dislodge it from a Nikon SB800, it wouldn’t budge. At all. It’s easy enough to remove when you want it off, but there’s no need to worry about it while on a shoot.

Another key feature of the grip are the two neodymium (rare earth) magnets that hold the actual modifiers in place. I won’t bore you with the research I did into the science of these magnets. All you need to know is that they are the strongest type of permanent magnet commercially available, which means they’ll do their job without losing any of their magnetism over time.

madmod-review-dps-002

The MagGrid

The basic purpose of a lighting grid is to give you more control over where the light falls, either on the subject or the background. It can be a useful tool for highlighting the subject, a specific part of the frame, or for creating interesting background effects. The MagGrid attaches magnetically to the grip in pretty much the blink of an eye. With no need for attachment straps or bands, I was able to spend more time on shooting and less on managing the equipment.

The single grid included in the basic kit casts a -40° beam with minimal spill and hot spots. The beam can be narrowed even further by attaching a second or third grid to the first. The grid is made from the same silicone rubber as the grip, which prevents the grid cells from cracking or chipping–a fairly common problem with hard plastic grids.

madmod-review-dps-003

The images below illustrate how stacking multiple grids affects your ability to concentrate the light precisely where you want it.

madmod-review-dps-008

madmod-review-dps-009

The MagGel Kit

Let’s face it–gels are awesome, but they are also a pain. They help you fine-tune your lighting, but they are also flimsy, often difficult to attach, and need to be replaced fairly regularly. The rigid sheets of the MagGel Kit, however, are made to last and are held securely in place through tension and friction. They are also stackable, giving you more freedom to create different lighting effects.

madmod-review-dps-004

The Basic Gel Kit includes one of each of the following:

  • Full CTO (Rosco #3407)
  • 1/2 CTO (Rosco #3408)
  • 1/4 CTO (Rosco #3409)
  • 1/2 Blue (Rosco #3204)
  • 1/2 Tough Plusgreen (Rosco #3315)
  • 1/2 CT Straw (Rosco #3442)
  • 3-stop Neutral Density (Rosco E-211)
  • Opal Frost Diffuser
madmod-review-dps-006

Gel sheets from the Basic Gel Kit. The MagGel can hold multiple sheets at once. In this photo, it’s holding three warming gels.

The Creative Gel Kit includes one each of the following:

  • Purple
  • Blue
  • Teal
  • Green
  • Yellow
  • Orange
  • Red
  • Magenta
Probably not the smartest idea to use a speedlight as a refrigerator magnet, but you get an idea of how strong these magnets are.

Probably not the smartest idea to use a speedlight as a refrigerator magnet, but you get an idea of how strong these magnets are.

Wrap-up

Speedlights have become more powerful and versatile than ever before. When combined with a solid grasp of off-camera lighting techniques, speedlights can often narrow the technical and creative gaps between small flashes and their bulky studio counterparts. The MagMod system closes that gap even further, simply by making some of photography’s most basic lighting modifiers easier to use. Obviously, it doesn’t address every lighting scenario or every type of modifier. While the gel kit does include a diffuser, for instance, it’s certainly not going to address the needs of the photographer who relies heavily on softboxes or umbrellas for casting a wide spread of light. It does, however, address some of the most common lighting challenges facing photographers who depend on speedlights to tell their stories.

For more information, check out the MagMod website.

The post The MagMod Speedlight Modifier – a Review by Jeff Guyer appeared first on Digital Photography School.


Digital Photography School

 
Comments Off on The MagMod Speedlight Modifier – a Review

Posted in Photography


Super Cheap: Replacement Tubes for Your Broken Speedlight

27 Sep

When it comes down to it, there aren't a ton of things that can go wrong with a speedlight. And if your flash appears to be in working order (i.e., charges, zooms, etc.) but won't fire, it is probably a bad or broken tube.

While you are probably looking at a three-digit repair bill from your OEM manufacturer, you can also DIY the repair for next to nothing.

Read more »
Strobist

 
Comments Off on Super Cheap: Replacement Tubes for Your Broken Speedlight

Posted in Photography


Speedlight Lit Portraits: Weekly Photography Challenge

14 Sep

This week we’re continuing our themed challenges in the Portraits Direction to celebrate the launch of our Portraits: Lighting the Shot eBook by pursuing the theme ‘Speedlight Lit Portraits’.

Answer Me

So your challenge is to shoot and share a portrait image that is lit using a speed light flash (or more than one if you want to go that direction). While this might limit participation by some Speedlights are the most common type of lighting among our readers so hopefully it’s accessible to a lot of you.

Gina covers a lot of techniques that will be useful for you on this front in her eBook but whether you’ve got it or not we’d love to see your attempts shared in comments below!

Once you’ve taken your ‘Available Light’ photos, upload your best ones to your favourite photo sharing site either share a link to them even better – embed them in the comments using the our comments tool to do so.

If you tag your photos on Flickr, Instagram, Twitter or other sites with Tagging tag them as #DPSSPEEDLIGHT to help others find them. Linking back to this page might also help others know what you’re doing so that they can share in the fun.

Also – don’t forget to check out some of the great shots posted in last weeks Available Light Portraits challenge – there were some great shots submitted.

Post originally from: Digital Photography Tips.

Check out our more Photography Tips at Photography Tips for Beginners, Portrait Photography Tips and Wedding Photography Tips.

Speedlight Lit Portraits: Weekly Photography Challenge


Digital Photography School

 
Comments Off on Speedlight Lit Portraits: Weekly Photography Challenge

Posted in Photography


LumoPro LP180 Speedlight: Full Walk-Thru

09 Jul

The $ 199 LumoPro LP180 quad-sync, all-manual speedlight has arrived. I have been shooting with a couple pre-production units for several months now, so have had ample time to formulate some thoughts.

Short version: The LP180 is rock-solid, with a near-perfect feature set for lighting photographers. It's the first flash that I actually prefer over a Nikon SB-800.

Long version: below.

Read more »
Strobist

 
Comments Off on LumoPro LP180 Speedlight: Full Walk-Thru

Posted in Photography


Nikon SB-700 Speedlight Flash – Much More Than Just An Up-Date to the SB-600

16 Dec

www.artoftheimage.com – Reviewing the impressive new Nikon SB-700 Speedlight Flash and discussing why it’s much more than just an up-date to the SB-600.
Video Rating: 3 / 5


Nikon SB600 Speedlight Over view

18 Nov

Feel free to donate: www.paypal.com Twitter: twitter.com Going over the features of the Nikon SB600 speedlight. nikonusa.com
Video Rating: 4 / 5

I purchased a shutter release from adorama for . I made this one for . If you have the tools and the know-how then you can make a more personalized shutter release. If not, spend the extra two bucks on adorama. It works with most of the Canon DSLR’s. Not sure about Nikon, Sony, or Olympus. Diagram: www.mariasphoto.com
Video Rating: 4 / 5

 
Comments Off on Nikon SB600 Speedlight Over view

Posted in Nikon Videos