Do you commit mistakes in photography?
I bet you do. I have made mistakes. As a matter of fact I have committed many. But we all learn from our mistakes. What you don’t have to necessarily do is to re-invent the wheel. Instead of learning about these common mistakes the hard way, why not learn from other’s mistakes? That sounds awesome, doesn’t it?

Sandhill Crane Family Flying on a Beautiful Autumn Morning in Jasper-Pulaski Fish and Wildlife Area in Medaryville in northwestern Indiana. Every year around 10,000 Sandhill Cranes migrate to this location during autumn. The calls of thousands of Sandhill Cranes that reaches several miles is an experience that is next to none. It is one of the best locations to photograph them as they fly past the autumn trees at sunrise to feed in the nearby farms.
Here is the list of 10 common bird photography mistakes and their solutions. If you learn and apply these bird photography tips you would see the results immediately in your images.
#1 BAD EXPOSURE
This is the biggest mistake. A bad exposure would ruin the photograph. Most common is overexposed (blown-out) highlights.
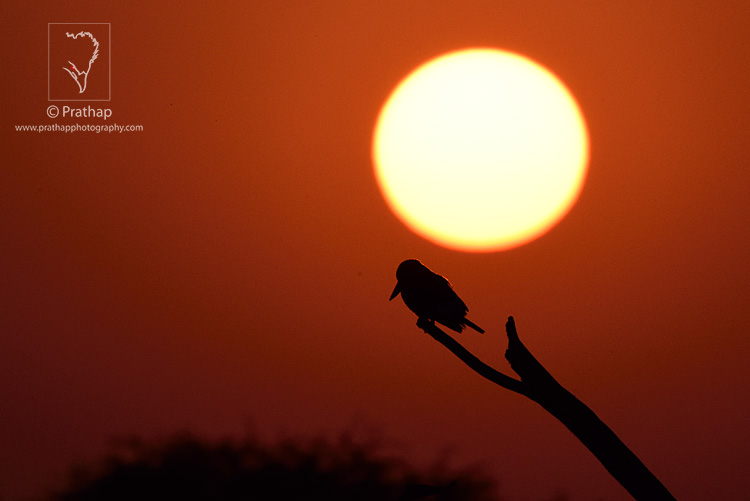
Overexposed – highlights blown out.
The issue is that your camera has much less dynamic range than your eyes. This means you can see the details in both brighter and darker regions of a scene, but the camera doesn’t.
You have to make a choice whether to keep the details in the brighter or the darker region. Your choice would almost always be to keep the details in the brighter region. Because our eyes are more sensitive to brighter areas (or highlights).
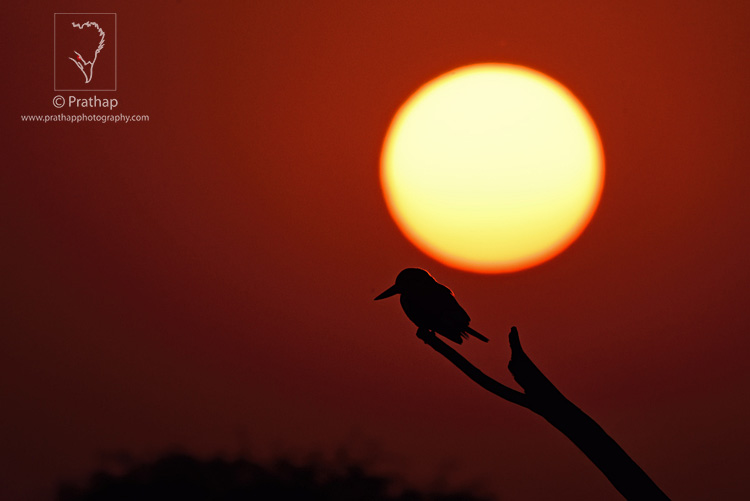
Correctly exposed for the highlights.
In short – always expose for the highlights.
#2 BAD LIGHT
Photography is painting with light. If you underestimate the light, then you are bound to get bad photographs. It’s not an exaggeration to say most photographers seem to ignore it.
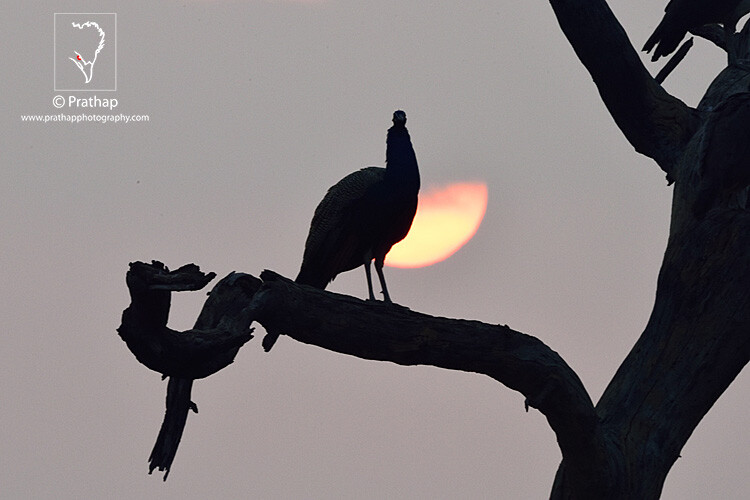
More the time is spent debating about equipment, than studying the light. No equipment can save your photograph if the light is not favorable. Look how boring this silhouette of an India peafowl is.
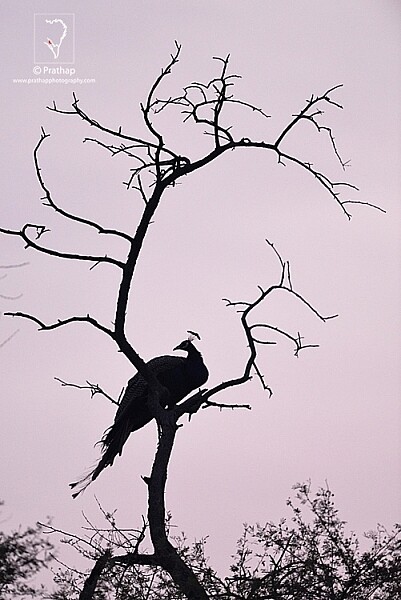
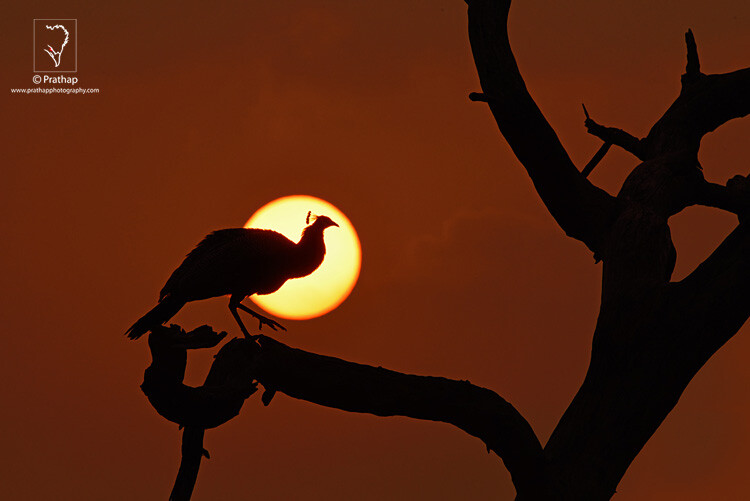
Just before minutes, it was like this.
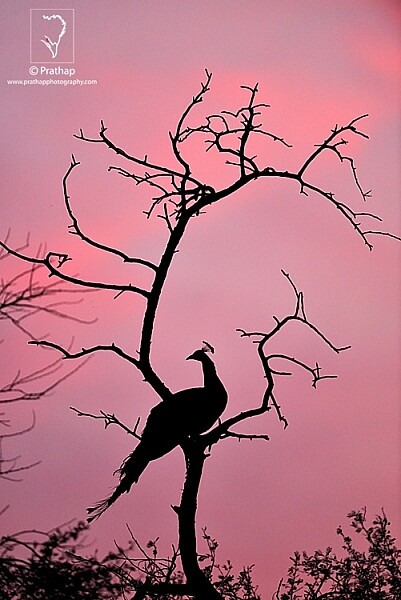
Isn’t it evident? Learn to see the light. It’s all about light.
#3 BAD COMPOSITION
Bird photography is not demanding in terms of composition. Even so, a lot many bird photographers don’t seem to understand simple techniques. All that you need to know is the rule of thirds, the rule of spaces, and fill the frame composition techniques.
How many times have you seen a photograph like this? A subject in the center!
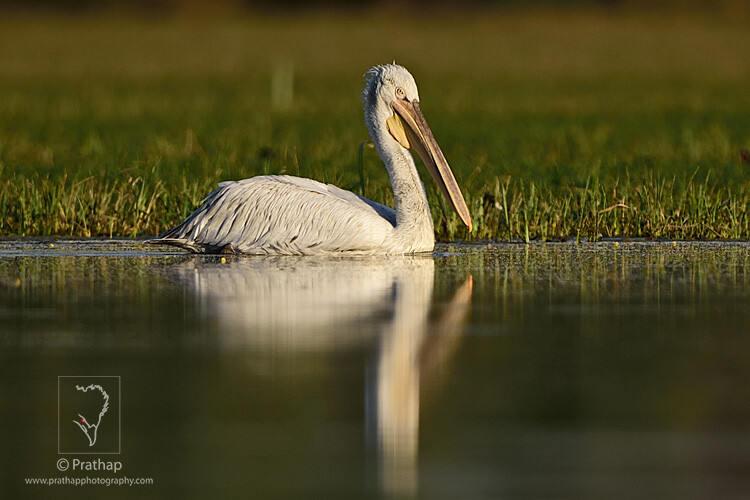
Just by following the rule of thirds, this is what I got.
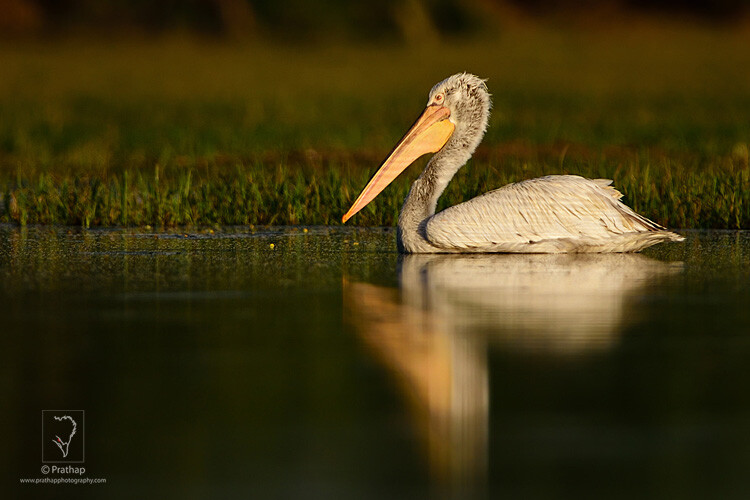
Next time you are out in the field, remember to compose well.
- Place the bird off-centered and give enough it breathing space.
- Or, fill the frame with the bird.
That is as simple as it gets.
#4 BAD FOCUS
Blurry bird photos are everywhere. Birds are always active, making it harder to achieve sharp focus. But that doesn’t mean you don’t recognize it. If you rely heavily on your LCD monitor, this is what happens.
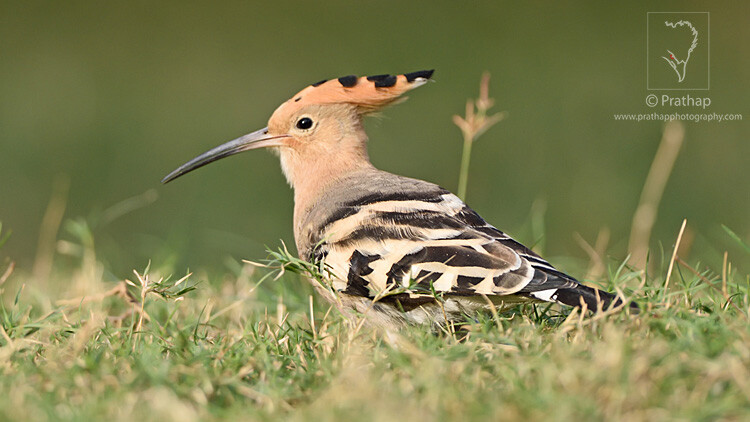
Nothing seems to be wrong in this photograph, right?
Wrong. It’s a blurry photograph. Can you see the out of focus eye now?
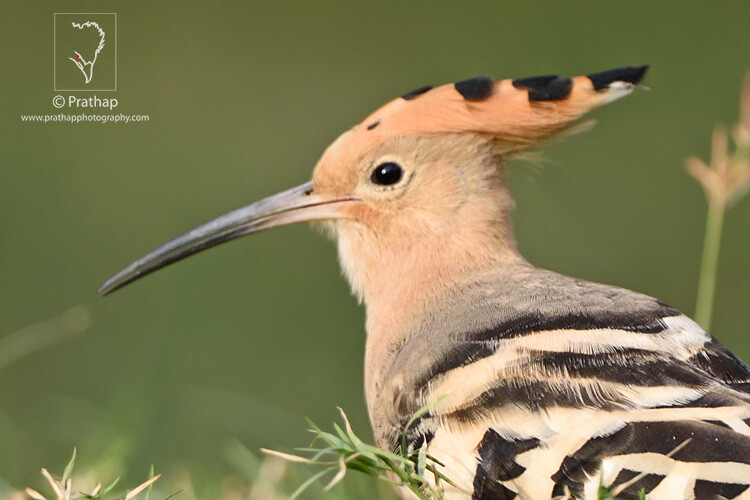
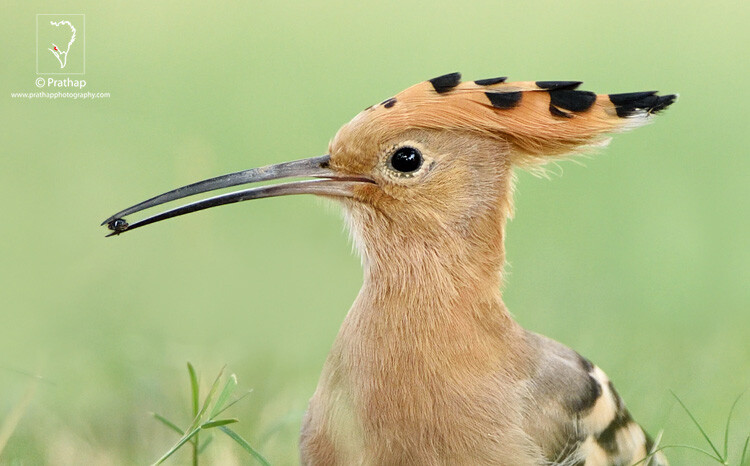
Fixing it is easy. Check for the critical focus by zooming in on your LCD monitor. If it’s not sharp, make the adjustments until you get the focus perfect. The initial focus was on the bird’s body. By shifting the focus point to the eye of the bird, I got this tack-sharp image.
#5 WRONG POINT OF VIEW
How do you see your world? From your eye level…isn’t it? But, how does the bird see its world? You got the point. But more than 90% of the bird photographers do not seem to understand this simple concept. They shoot from their eye level. Can you believe that?
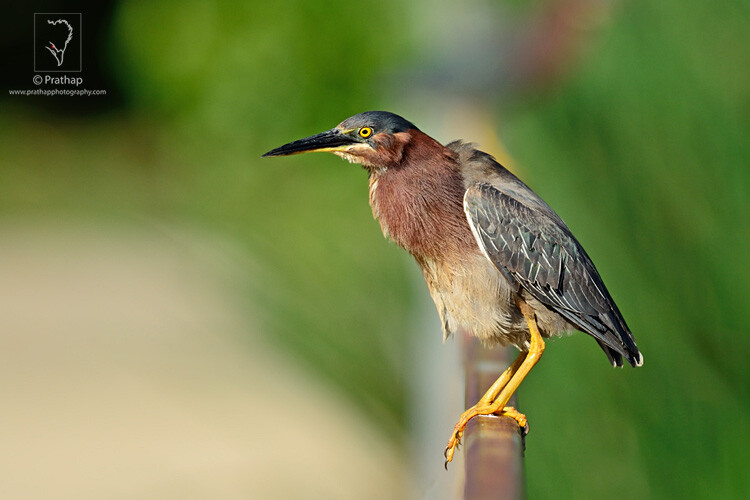
If you are doing it too…stop it right now. It’s not your portrait but the bird’s.
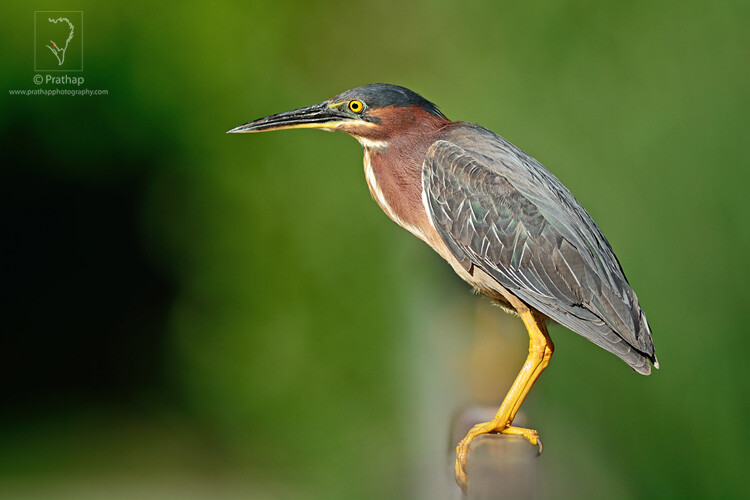
Get down and shoot from a bird’s point of view, and see the magic unfold.
#6 WRONG HEAD ANGLE
Your eyes follow the lead. You will follow the line of sight of a bird. If the bird looks left, your eye will move in that direction and vice versa. If your eye is lead in an interesting way, then your image works.
What doesn’t work is when the bird looks away. It’s not uncommon to see such photographs everywhere on the web.
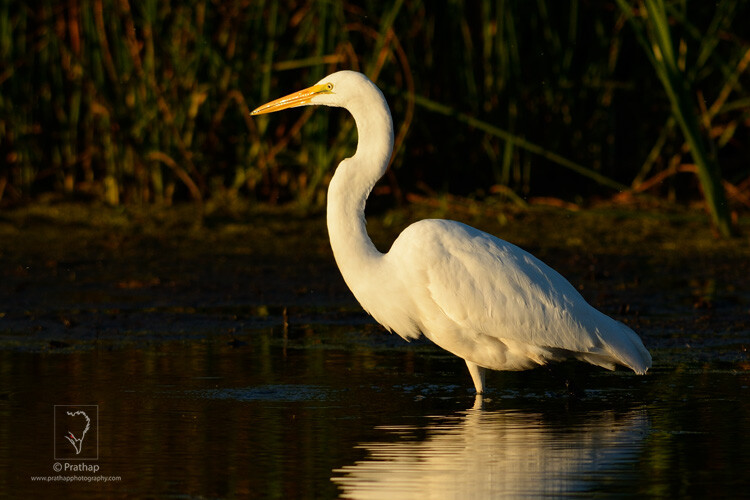
Wait for the right head angle. Take photograph when bird is actively looking for its prey. Or, when it is sensing an impending danger.
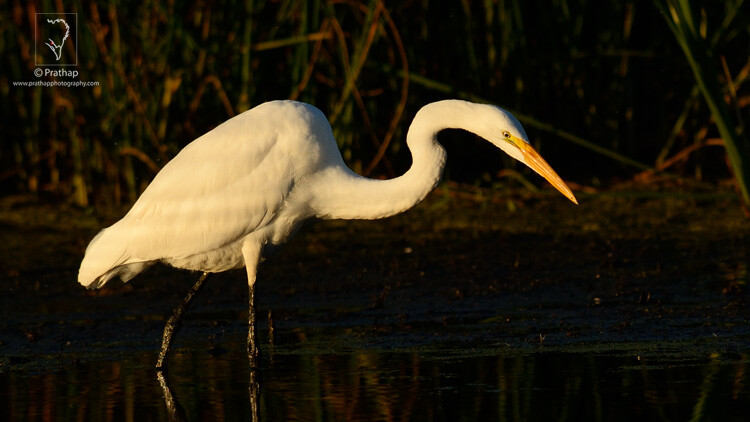
With just the right head angle, the image became more interesting. The Great Egret is actively searching for its prey. The head angle is diagonally inclined adding dynamism to the photograph.
#7 WRONG BACKGROUND
Do you care for the background? Most often bird photographers just don’t care about anything other than the bird. Why? Are you saying because it’s a bird photograph after all! Do you know it’s the background which makes the picture?
Okay, take a look at this bird photograph.
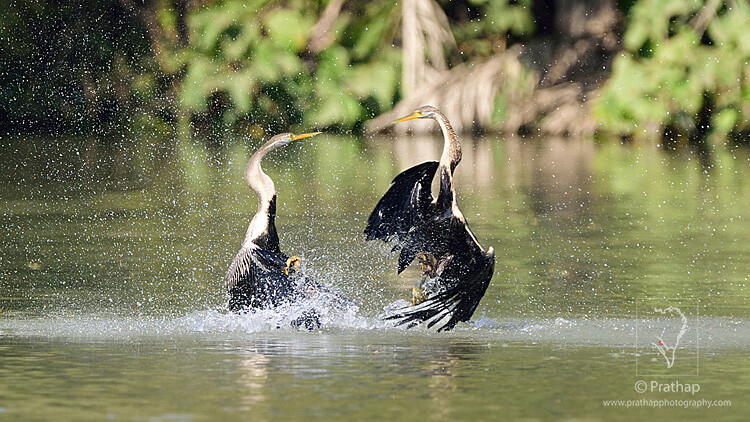
That’s a fantastic action shot of two Indian Darters or Snakebirds fighting. But, is it amazing? Take a look at this one now.
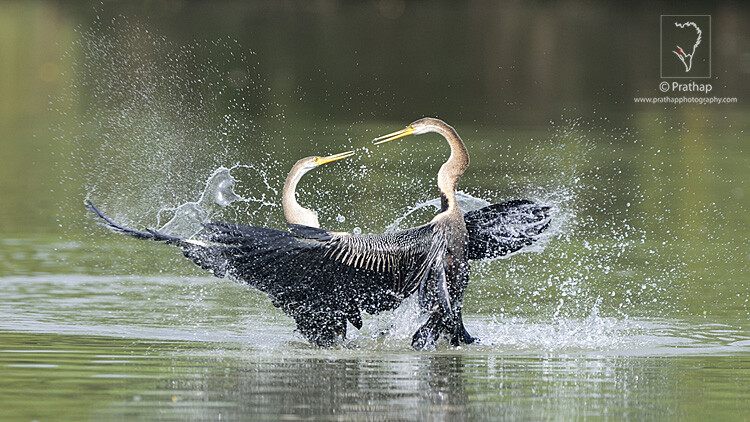
You see how beautiful the action is. It just couldn’t get better. Here’s the best bird photography tip I can give you – put more importance on background than the bird and you’ll make great bird photographs.
#8 BAD PROCESSING
Is post-processing good? There’s probably a hot debate around every corner about this topic. If you do post-process here’s what you shouldn’t do.
Here’s a simple and useful post-processing tip for bird photography. Don’t over process your image. Over sharpening and extreme noise reduction are typical mistakes of many bird photographers.
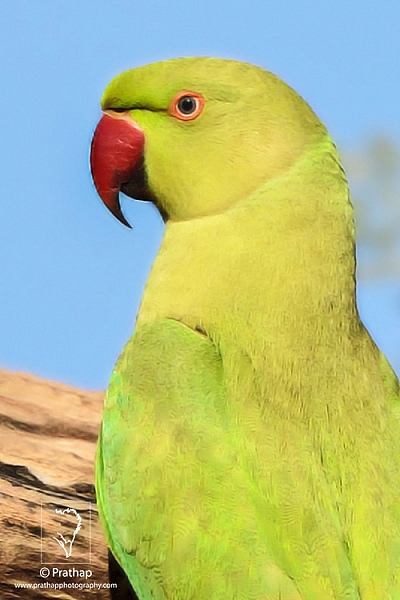
This one has too much noise reduction
|
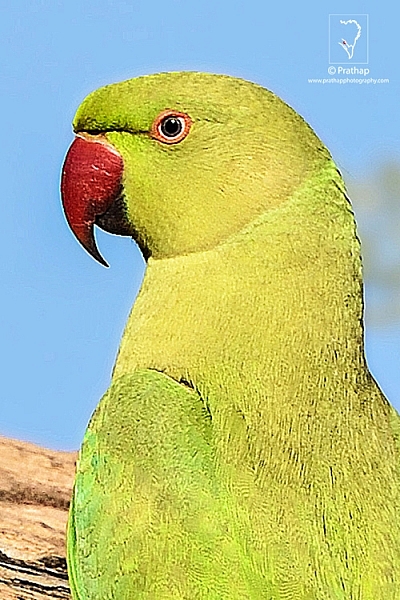
This one is over sharpened.
|
It destroys your image. It makes it either look like a wax statue or a wired toy.
Take it easy. Keep your processing to a minimal. Just do enough processing to bring back the details and colors in the bird. Reduce noise only in the background. Sharpen only the bird with just enough to bring out detail.
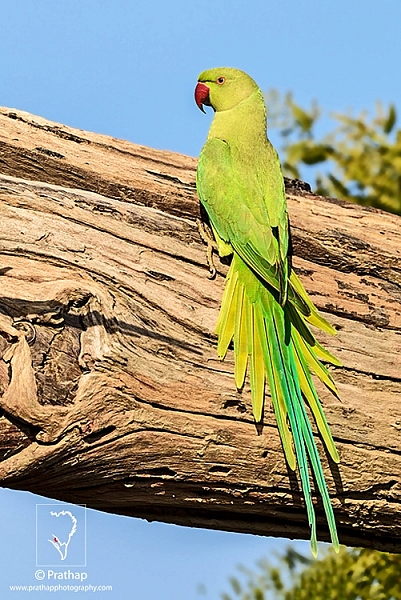
Rose-Ringed Parakeet displaying all its color in soft Sunlight in Bharatpur Bird Sanctuary. I sm so lucky to have been able to capture this beautiful parakeet. I love it!
#9 WRONG PLACE
Do you know that location really matters? In fact, it can make or break your image. It’s a very important bird photography tip to remember. If you end up photographing a species in a wrong place, then you’ll end up with bad results.
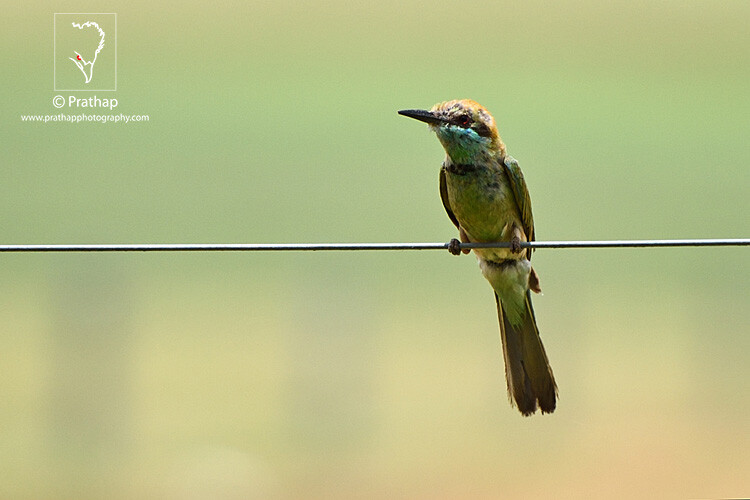
Find the right location where there are enough birds, good light, good feeding ground, and a good background. Assuming that you know important bird photography tips, you’ll most certainly make the best bird photographs.
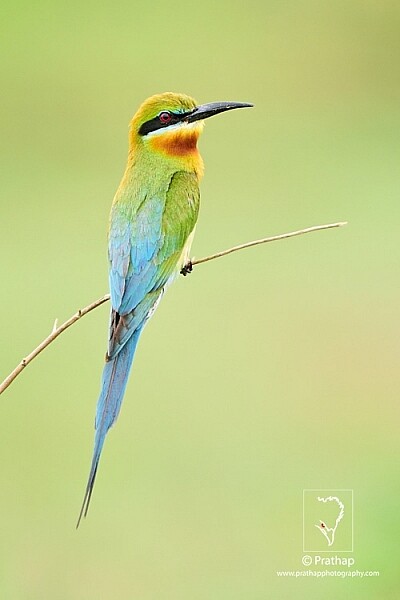
#10 WRONG EXPECTATIONS
Not many photographers talk about this. But here’s the thing: If you think that a professional or experienced bird photographer goes to a place, points their expensive gear at the birds, and take home loads of amazing photographs, then you are wrong.
This is far from the truth. The truth is they are the ones who go to the place before anyone. Stay there until there’s no light. Come back to the same place again, and again, and again until they get what they want.
My friend, it’s not magic. It’s bird photography. Everyone needs to pay their due respect. Birds never differentiate.
CONCLUSION
Bird photography is fascinating.
Birds attract us like crazy. They make us forget about the world around us. But, you have to get over this. You have to see beyond the bird. You have to pay close attention to everything in the frame – the bird, the background, the placement, the light, exposure, etc.
It’s easy to be a bird photographer. Not that easy to be a good bird photographer.
These 10 bird photography tips should give you a fair idea of what makes a good bird photograph. Understand them. Practice them. Your bird photographs are bound to improve.
Let me know if you have any questions. I would love to answer them.
googletag.cmd.push(function() {
tablet_slots.push( googletag.defineSlot( “/1005424/_dPSv4_tab-all-article-bottom_(300×250)”, [300, 250], “pb-ad-78623” ).addService( googletag.pubads() ) ); } );
googletag.cmd.push(function() {
mobile_slots.push( googletag.defineSlot( “/1005424/_dPSv4_mob-all-article-bottom_(300×250)”, [300, 250], “pb-ad-78158” ).addService( googletag.pubads() ) ); } );
The post 10 Common Bird Photography Mistakes and Their Solutions by Prathap DK appeared first on Digital Photography School.

Digital Photography School



You must be logged in to post a comment.