RSS
 

Posts Tagged ‘Smoke’

How to Light and Photograph Smoke and Steam in a Home Studio Setting

03 Dec

The post How to Light and Photograph Smoke and Steam in a Home Studio Setting appeared first on Digital Photography School. It was authored by Ana Mireles.

photograph-smoke-and-steam

Every subject has different properties according to shape, color, and material that determine the way you light it. With smoke, you want to keep a dark background and a grazing light. Here are a few things to consider when you light and photograph smoke in a home studio setting.

How to Photograph Smoke in a Studio Setting

Have you ever tried to photograph smoke or steam? Perhaps you’re doing a portrait of a smoker or a steaming cup of coffee. Odds are that sooner or later you may face this challenge. Fortunately, the lighting technique is not as elusive as the subject.

Safety first

Before you start to photograph smoke, keep safety in mind – even if it is just smoke. If using a cigarette, always place the cigarette on an ashtray, or place incense on a burner, etc. Remember, you are working with ignited materials – you can never be too careful to avoid burning yourself or starting a fire. Also, it’s always good to have a fire extinguisher handy.

Backdrop

To photograph smoke, you first need to set up a lightbox. If you don’t have one, make the set by putting a piece of cloth as a backdrop. Black or any dark color will create more contrast.

How to Photograph Smoke in a Studio Setting

Subject

To create the smoke, you can use an incense stick. It’s the best way to create continuous smoke for a long period of time.

home studio set up

Place the incense far enough from the background so that it’s well separated and the light won’t spill into it.

Light

Set up your flash to the side of the subject. Never place it directly in front of the smoke or it will illuminate the background. Then put a piece of cardboard to direct the light towards the subject. For more tips on this, you can check How to Control Your Background Tones by Manipulating Light Fall-Off.

It also works best if it’s a hard light.

You can always use a continuous light source too, but be sure to narrow the light fall-off by using a modifier or barn doors.

front light

If you place the light in front you won’t get the dark backdrop you need.

Camera

Place your camera in front of the subject, the distance will depend on the focal length of the lens you’re working with. I recommend a telephoto lens because you will get better background compression. To help you decide which one is good for you, see this article.

focal length, wide angle, telephoto

With a telephoto lens, you can work with a smaller background. The left image was made with a 35mm lens, and the one on the right with a 75mm.

Also, if you work with a telephoto, the background can be smaller. And not less important, you can position your camera further away, which will protect your lens from any damage by the smoke.

Settings

Again, this will depend on the focal length, the distance between camera and subject, and the intensity of your flash. However, I can give you some pointers to take into consideration.

Shutter speed

When setting your shutter speed, try to keep your settings fast so that the lines of the smoke are well-defined, instead of a blurry cloud. This is particularly important if you’re working with a wide source, as with this pot of boiling water. If you’re using something smaller, like a stick of incense, the effect is less drastic. Still, don’t underestimate it.

How to Photograph Smoke in a Studio Setting

A longer shutter speed creates a stronger motion blur. This image was made with a 1/30 of a sec.

Aperture

Keep in mind that the smoke is not a flat, static surface. You want your aperture to be wide enough to keep it all in focus. But you don’t want it to be too much that it will capture the texture of the background. Don’t forget to consider other elements of the composition if you have them.

How to Photograph Smoke in a Studio Setting

A small aperture creates a deeper depth of field. This image was taken with an f/11.

Focus

Using manual focus, set it before you turn off the lights. Focus the source of steam or smoke you’re using. For example, the tip of the incense stick if you’re going to do some abstract smoke shots. For this to work, you need to use a tripod so you don’t change your distance.

How to Photograph Smoke in a Studio Setting

Extra tip: to create more smoke, capture the image just after you put out the flame. If you placed it inside a container, keep it covered to concentrate the smoke, then uncover it to let it all out at once.

ISO

Keep your ISO as low as your lighting and other settings allow you to go. This is because you want to avoid noise as much as possible, and dark colors make it more evident.

How to photograph smoke in a studio setting

Higher ISO settings create more digital noise. This image was taken with a 12800 ISO. Notice all the color speckles? That’s the noise.

Conclusion

This is a very basic studio set-up to photograph smoke that can be done at home with minimum equipment. As you can see, it can still be very effective to photograph smoke. While this can be very easy, capturing the perfect smoke shot may not be, so keep shooting until you’re happy with it.

smoke, abstract, low key photography

If you have any other tips to photograph smoke, or would like to share your smoke photos with us, please do so in the comments!

The post How to Light and Photograph Smoke and Steam in a Home Studio Setting appeared first on Digital Photography School. It was authored by Ana Mireles.


Digital Photography School

 
Comments Off on How to Light and Photograph Smoke and Steam in a Home Studio Setting

Posted in Photography


How to Make Interesting Abstract Smoke Photos

07 May

The post How to Make Interesting Abstract Smoke Photos appeared first on Digital Photography School. It was authored by Rick Ohnsman.

How would you like to learn a little “photo magic?” A magician not wanting to reveal his secrets might tell you his trick was all done with “smoke and mirrors.” The expression speaks of a kind of deception used to fool the viewer. No fooling here though, as you’ll learn the technique. You really will photograph smoke and later, mirror your image to add even more interest. So it really is smoke and mirrors. Shall we begin?

Abstract smoke photography - Firebird

Can you see the Firebird? How was this done? Read on for the tricks to this abstract magic.

Tools for the trick

Here’s what you will need to create your photo:

Camera

Most cameras will work for this kind of photography. Being able to use manual control and manual focus will make things easier. You will also need to be able to fire a flash mounted off-camera using either a wired or wireless method. A lens which will allow you to focus on an object a few feet away will be best. The shots shown here were done with the Canon “nifty fifty”, a 50mm f/1.8 prime lens mounted on a Canon 50D camera. For a relatively inexpensive lens, it is very sharp.

Abstract Smoke Photography - Use stick Incense

A package of 40 incense sticks from the dollar store is probably enough for a lifetime of smoke photography.

Flash

You will want an external flash you can mount off-camera. The pop-up flash on the camera won’t work for this. You will be mounting the flash off to the side of your shot so it illuminates the column of smoke pointing perpendicular to the direction you’re pointing the camera. Having a light stand on which you can mount it will be helpful. You also don’t want any of the light to hit the background or flare into the camera, so a snoot which will direct the beam of the flash at the smoke column works well. You may also be able to fashion a “barn-door” arrangement with cardboard (or even tape). Whatever works to keep the light only on what you want – the smoke column.

Tripod

The flash will provide plenty of light and also freeze the action, so you really aren’t concerned about motion blur. The advantage of a tripod is simply to help you compose and frame the shot and provide some consistency.  If you don’t have a tripod or simply prefer to handhold your camera, that’s okay too.

To better see the smoke and also give you more flexibility later in editing, a black or very dark background will work best. Black posterboard, black cloth, the black side of a reflector, or whatever you have should work. Because the column of smoke you’ll be photographing will be relatively small, you won’t need anything very large.

Smoke-producing object

Incense, the kind that comes in stick form, works very well for this kind of smoke photography.  It’s cheap, burns for a long time, and produces just the kind of smoke needed.

Location

Unless you have an absolutely calm day with no wind, shooting outdoors probably isn’t going to work. Even the slightest air currents will affect your smoke pattern. Shooting indoors, particularly in a modern home, might be a good way to test your smoke detectors but having the alarm go off just as you’re getting started with your work is rather disruptive.  I found shooting in the garage to be a good option. It was dark, the air was still, and after the session, it was easy to open the door and clear the smoke. Just be aware of the requirements needed; still air, no smoke detectors, (or at least temporarily disarmed ones), the ability to make the room dark, and a door or window you can open afterward to clear the smoke afterward, and you’ll be set.

Abstract Smoke Photography - Setup diagram

Setting up

The diagram above shows a basic setup. Put your camera on a tripod a couple of feet from where you will place the incense stick.  Taping the stick to light stand may allow you more flexibility in positioning it in the frame, but whatever you use, you will want to frame the shot so you put just the tip of the stick at the bottom of the frame, leaving a couple of feet above for the column of smoke. Whether you use a portrait or landscape orientation with your camera is up to you, just remember the smoke will drift around. Being a little loose with the framing isn’t a bad idea, you can always crop later.

The background should be a couple of feet behind the incense stick. If you light properly, it won’t show anyway so this isn’t crucial.

Position the flash on a light stand so it’s to the side of the camera and points perpendicularly to the camera angle. You will be side-lighting the smoke. Some photographers also put a reflector on the opposite side to bounce a little light on the other side of the smoke. You can experiment and see if you like that.  The shots here use only the one flash. As mentioned above, what is crucial is that no light fall on the background nor flare into the camera lens. A snoot is the easiest means of achieving this.

Abstract Smoke Photography - smoke photo straight out of camera

The smoke patterns are constantly changing and no two will be alike.

Camera and flash settings

In the darkened room where you’re working, use a flashlight or other dim lighting so you can still see the incense stick and do your framing. Focus on the tip of the stick, then turn off the autofocus so the focus stays locked.  Leaving on autofocus will almost guarantee frustration, as while shooting, the camera lens may hunt, trying to find and focus on the drifting smoke.

Shoot in Raw mode, (which you usually do, yes?) Doing so will allow greater editing flexibility later.

Set your camera around ISO 200, f/8 and about 1/60th of a second for starters.

Leave the flash off.

Make a shot before lighting the incense in the darkened room.

You should get a totally black frame and that’s what you want with no flash.

Now put the flash in manual mode and set it to about half power. You should have already connected it to the camera with a cord or perhaps set up a radio trigger so it will fire when the shutter is tripped.

Make a shot with the flash on and you should be able to just see the tip incense stick.  If so, you’re now ready to get smokin’.

Abstract Smoke Photography - The Seahorse

This image is straight out of the camera. Note the tip of the incense stick at the bottom right.

Making your photos

Light the incense stick, blow out the flame and a thin column of smoke will rise from the tip.

Make a shot and check it. Is it focused?

Be sure, as you don’t want to make a whole series only to later find out they aren’t sharp. If you need to adjust your focus or perhaps go to a smaller f/stop for more depth of field, do so now.

Also, check the exposure. If things are too bright, drop the flash power or reduce the ISO. If the smoke is too dim, do the opposite. You want to clearly see the smoke, but nothing else.

If all looks good, keep making shots. Occasionally wave your hand near the smoke column or gently blow on it to vary the smoke pattern. You will want some variety so you can later choose your favorite shots.

Abstract Smoke Photography - Smoke photo mirrored and colored with a gradient

This is the same image as the one before it, but horizontally mirrored and colored with a gradient.

Basic editing

What program you want to edit with is up to you. You will want to adjust the blacks so as to leave only the white smoke details. Then adjust the whites, highlights, shadows, exposure, and contrast by eye, tuning the shot to your liking.

If there are elements you wish to eliminate, paint them out with a black adjustment brush or use layers and masks in Photoshop if that is your preferred technique.

Abstract Smoke Photography - horizontal and vertical mirroring

The Gordian Knot – This image was mirrored both horizontally and vertically and then colored with a gradient.

Mirrors and colors and abstracts, oh my!

You got the smoke, now what about the mirrors? Yes, the white smoke patterns on a black background are interesting but you can take this much further. I used Corel Paintshop Pro, but Photoshop would work too. Or for that matter, any photo editor that supports layers will work. (Keep in mind Lightroom does not support layers so while you can edit, colorize, and do other things with it, the mirroring part is beyond its capabilities).

Here are the basic steps:

  • Open in your basic edited smoke image. Select the entire image and copy it.
  • Paste the copied image on top of itself as a new layer.
  • Mirror (flip) the upper layer horizontally or vertically. (In Photoshop, Edit, Transform, and Flip Horizontally or Vertically).
  • Change the blending mode on the upper layer to Lighten. You will now see the upper layer mirrored and superimposed over the lower layer and some interesting patterns will be created.
Abstract Smoke Photography - Alien Gas

Alien Gas – A straight smoke shot later colored green.

Abstract Smoke Photography - Negative version of smoke photograph - Purple Haze

Purple Haze – Now, take the image above, reverse it so it’s a negative, (the black becomes white and the green becomes purple), then mirror it both horizontally and vertically.

You can move the layers so they overlap each other in various ways and change the pattern. You might want to make the canvas larger and put the mirrored image next to itself or even have multiple layers with the image flipped both horizontally and vertically.

You’ve now entered the realm of abstract art and anything goes.

Maybe you’d like to add some color?

Create another layer at the top of the stack and fill it with a gradient.  Now use the Overlay or Soft Light blending mode and watch your smoke take on the colors of the gradient.

If you’d like to hand-paint the smoke,  create a blank layer at the top. Turn the blending mode to Overlay, and using the Brush tool (and a color of your choice) to paint the smoke, watching the white smoke take on that color while the black is left untouched.

Try putting a photo on the upper layer and switching the blending mode on that layer to Overlay.

Abstract Smoke Photography - The Witch Doctor

Like Rorschach inkblots, what you see is very individual. I call this one – The Witch Doctor

Something I find fascinating with these abstract smoke compositions is that they resemble Rorschach InkBlots. Everyone interprets them differently and can see different images in what are, after all, just random patterns of drifting smoke. The titles on these shots are what I interpret.

What do you see?

Smoke in other photos

You may have reasons to want to include smoke in your photos that is not an abstract interpretation. The same basic technique can work with side lighting.

The “Smokin’ Hot Peppers” was lit with two flashes, one on either side of the vase and an incense stick placed in and behind the peppers in the vase.

Abstract Smoke Photography - Smokin Hot Peppers

A flash on either side of the subject was the only difference here, otherwise, this image uses the same technique.

Pseudo-Smoke

Here’s one last trick that could work for you when you want something that looks like smoke but you’re in a no-smoking workspace.

Get some dental floss, fray it a bit, and tie it to a penlight or small flashlight letting the light shine down the length of the floss and onto your subject.

Now make a long exposure during which you keep the floss constantly moving. Smokeless smoke, just another option to have in your bag of photo tricks.

Abstract Smoke Photography - Pseudo Smoke Effect - Simulated Smoke

Looks like smoke, but it isn’t.

Conclusion

You’ll find that photographing smoke is all about the lighting. Side or backlighting will work best and a dark background helps the smoke show up better. Beyond that, it’s simply a matter of experimenting.

Give it a try and make a little photo magic. And share with us in the comments below!


The post How to Make Interesting Abstract Smoke Photos appeared first on Digital Photography School. It was authored by Rick Ohnsman.


Digital Photography School

 
Comments Off on How to Make Interesting Abstract Smoke Photos

Posted in Photography


New Ayesha Curry, Michael Mina San Francisco Hot Spot International Smoke, A Contemporary Take on Barbecue
20 Nov

International Smoke
International Smoke, San Francisco’s newest restaurant in the lobby of the Millennium Tower

International Smoke

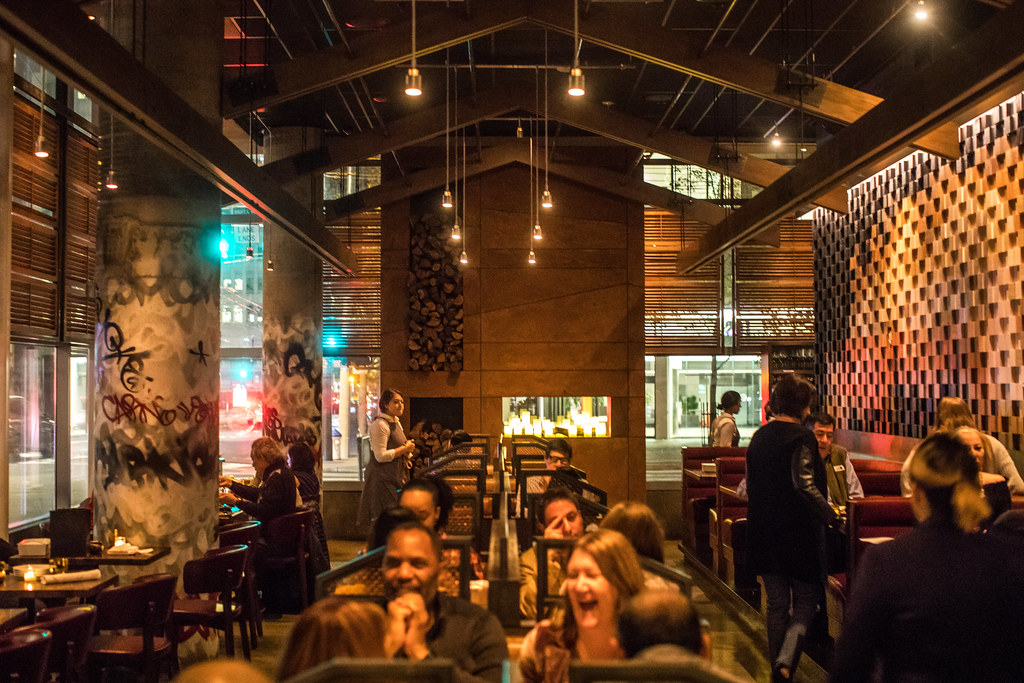
Last night mrsth, the four kids and I had the opportunity to dine at San Francisco’s newest restaurant hot spot from celebrity chefs Ayesha Curry and Michael Mina, International Smoke. The restaurant is the latest lobby tenant in the great leaning tower of Millennium at 301 Mission Street in San Francisco’s SoMA district.

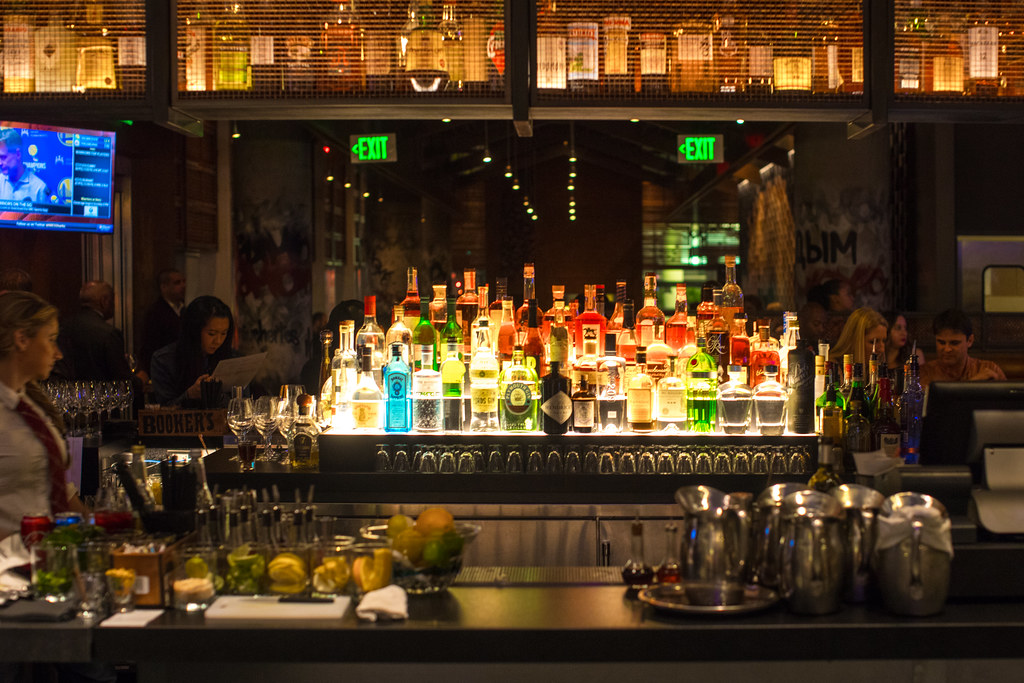
Only a week old, International Smoke is already solidly booked for months. The good news though is that they take walk ins at the bar and have several tables that can seat up to six in the bar. Before getting into my thoughts on the food, I will say that with a big family (six of us) one of my frequent disappointments is when too many diners are crammed into a small table at a bar. In the case of International Smoke this is not the case for their 6 tops. They are large, roomy and comfortably accommodated our large group. There are also several 4 tops in the bar and of course you can also dine seating at the bar itself. We luckily got the last table in the bar last night just before dinner service started at 5:30 pm.

The bar also has several televisions which can be viewed from almost every seat and which were appropriately tuned in last night to the Warriors 124-116 win over the Philadelphia 76ers during dinner.

Although barbecue features prominently on the International Smoke menu, it would be misleading to call it a “barbecue” restaurant. While definitely a place for carnivores, the barbecue has a more modern and international presentation and the menu also includes many non-barbecue offerings.

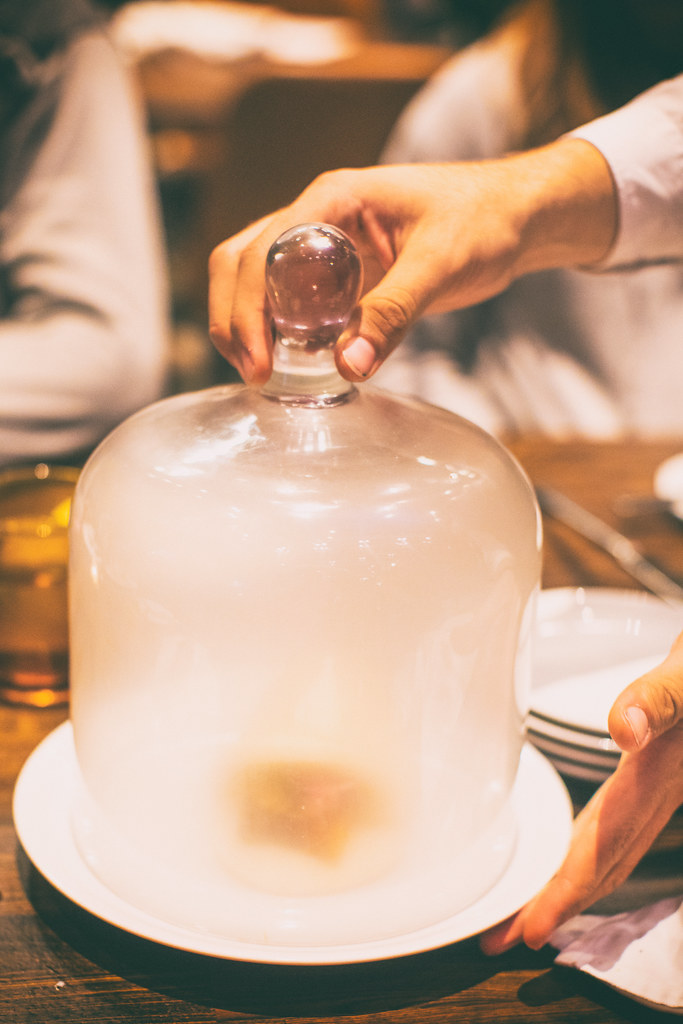
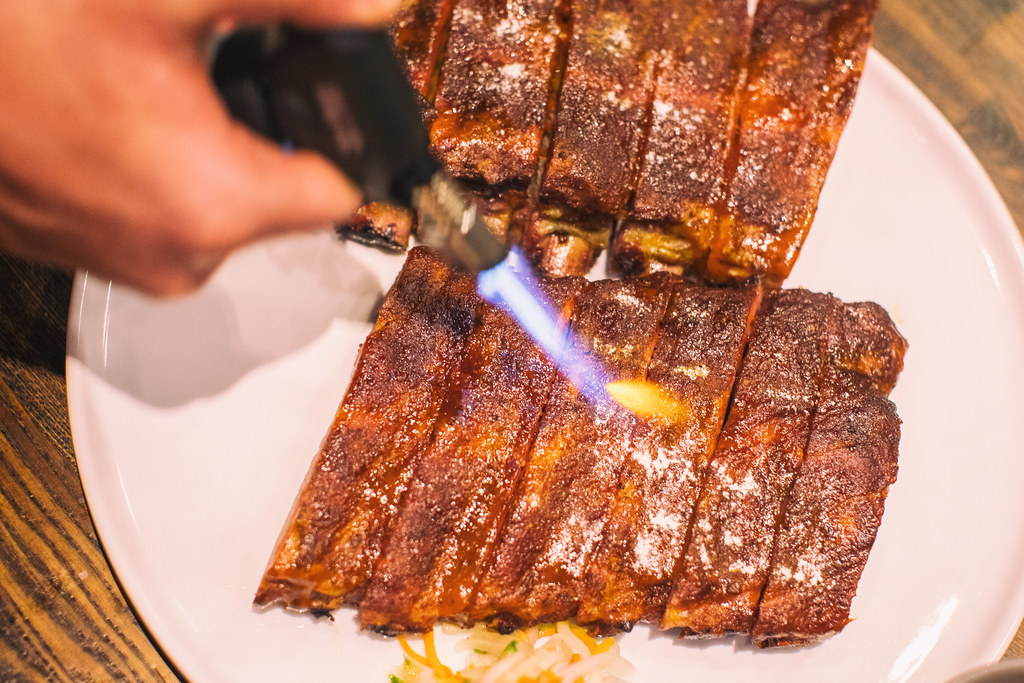
Many of the offerings are also fairly theatrical in nature, not quite what you’d find at say Edith’s down in Cabo San Lucas, but they incorporate smoke prominently to give you your fun little dinner show to go along with the food. In addition to serving two of our dishes (the smoked burrata and instant bacon) in glass encased smoke filled canisters, they prepare the Wagyu Shaking beef in a hot skillet tableside and use a cooking torch to caramelize the sugar while serving the ribs. It’s always nice to get a little extra pizzaz at the table when taking the kids out.

So let’s get into the cocktails and food.

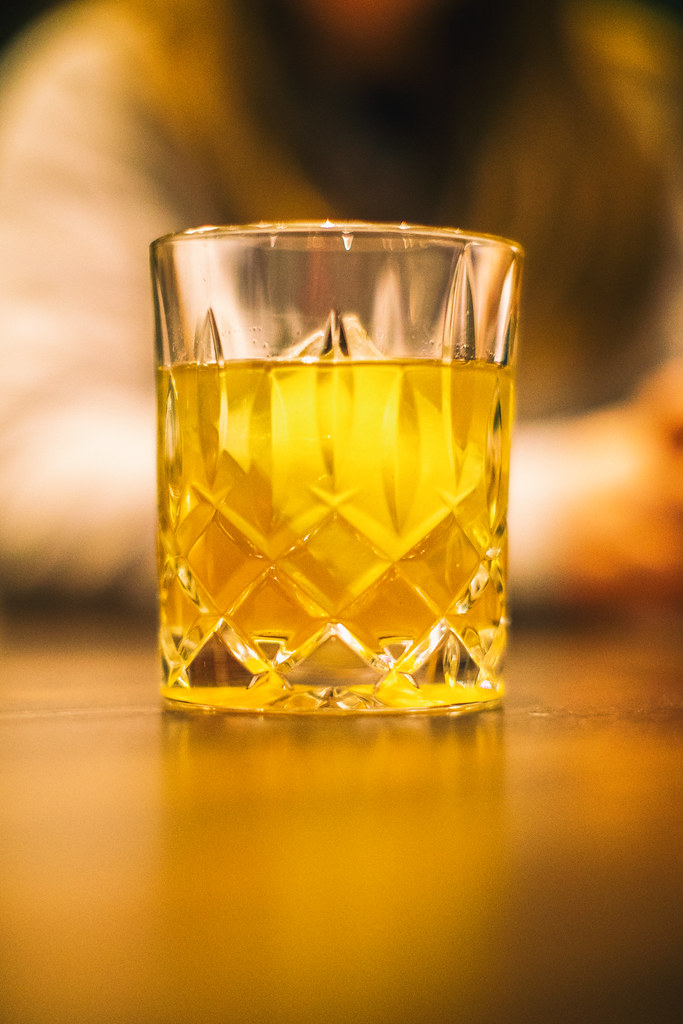
I started off the evening with the Curry Up Now cocktail, because, well Steph Curry right? Plus I like bourbon. The drink is made with Wild Turkey 101 Bourbon, Madras Curry, Amontillado Sherry, and Corazon Bitters. It was served in a beautiful Waterford crystal style tumbler over one of those giant ice cubes you get at fancy bars these days. Although I’m not sure that Steph drinks one of these things every day at cocktail hour, it was a well balanced, slightly sweet bourbon based cocktail and it worked just fine for me.

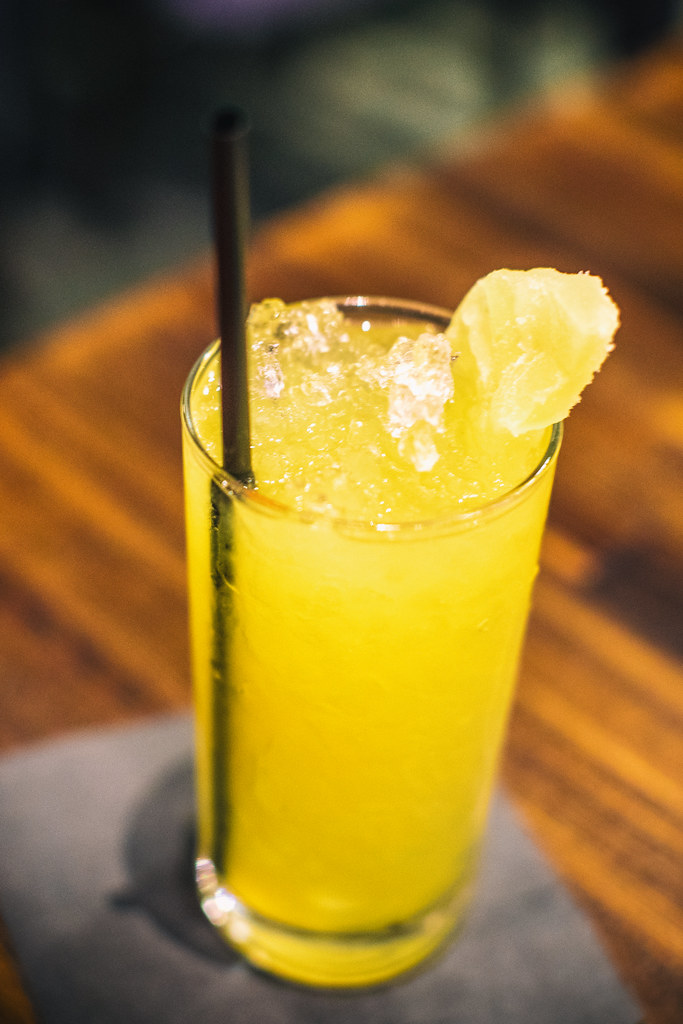
We also tried the Rhinestone Cowboy, made with Hangar One Kaffir Lime Vodka, Espolòn Blanco Tequila, and Coconut Calamansi, refreshing served over that nice soft crushed ice that you also find at fancy bars these days.

WAGYU SHAKING BEEF, International Smoke
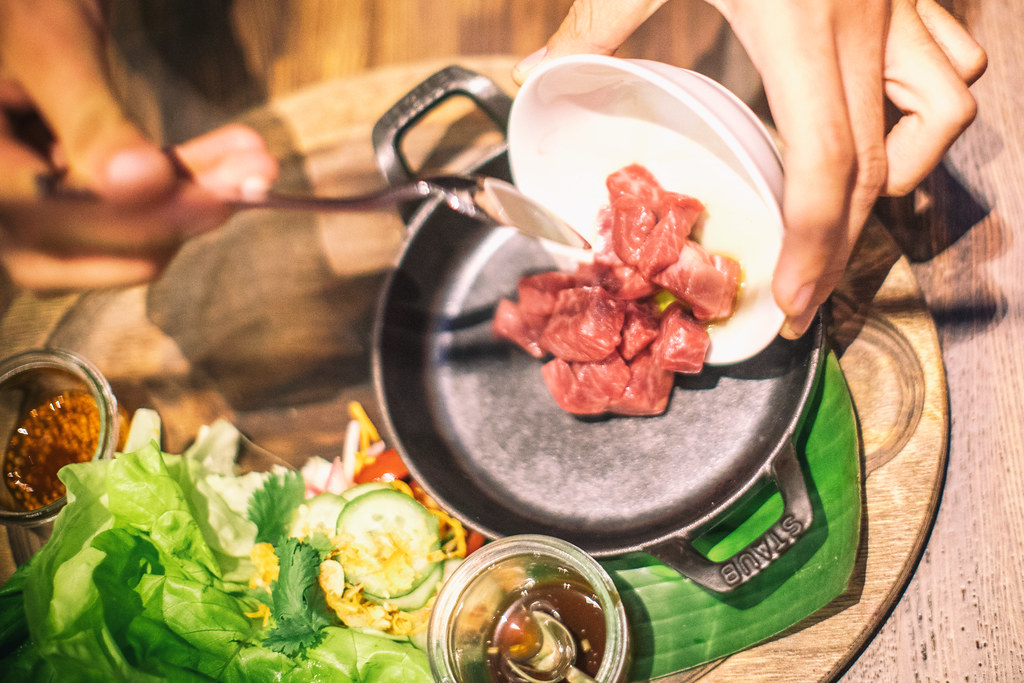
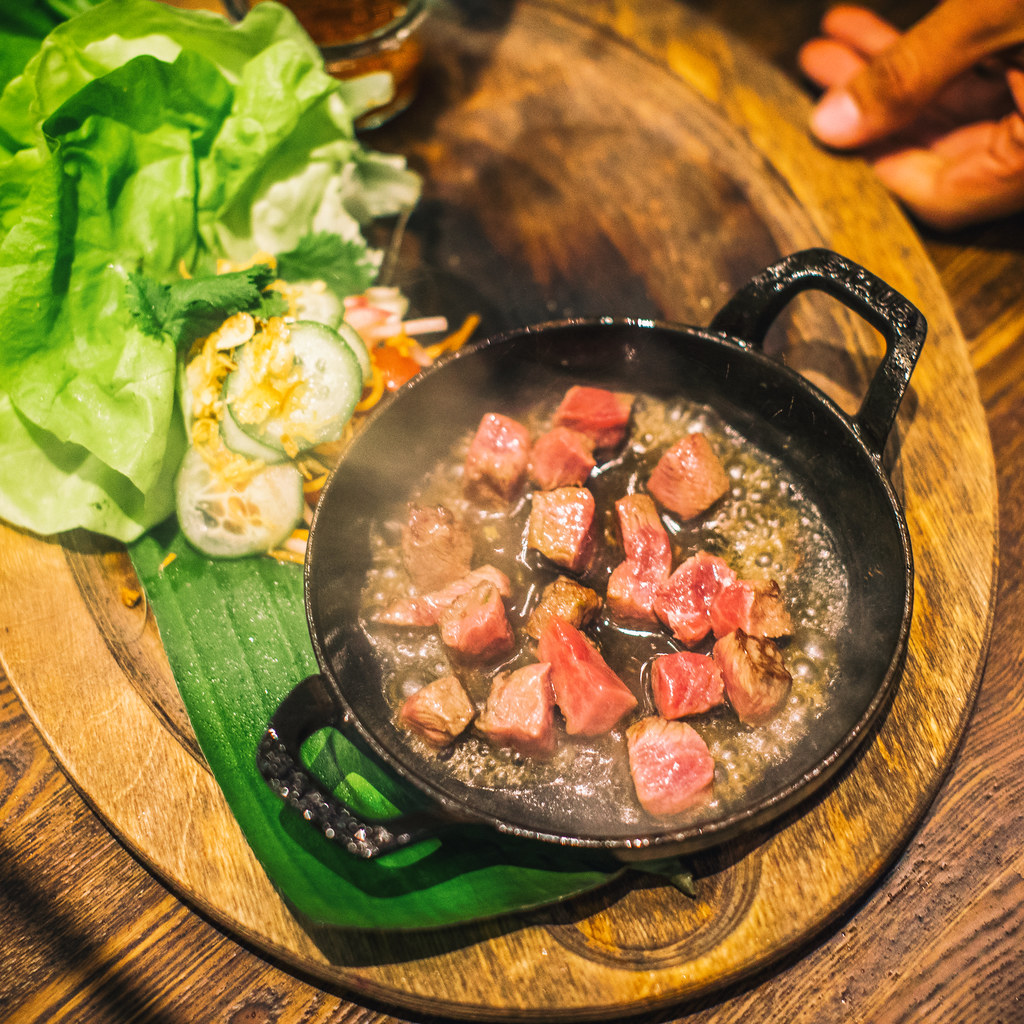
International Smoke’s Wagyu Shaking Beef

International Smoke
International Smoke’s Wagyu Shaking Beef

Our first dish was the aforementioned Wagyu Shaking Beef, cooked in that black hot skillet tableside. It comes with lettuce and you make little lettuce wrap taco like things. This was a favorite. The beef was delicious, cooked slightly rare and very juicy. They added a marinade to the beef as it was cooking. It’s Wagyu so it’s bound to be tasty, but as expected for things labeled Wagyu, it’s also expensive and you wish you got a lot more of it. I would probably order this again, and probably again, and again.

Classic American Wedge, nternational Smoke

Smoked, Burrata, International Smoke

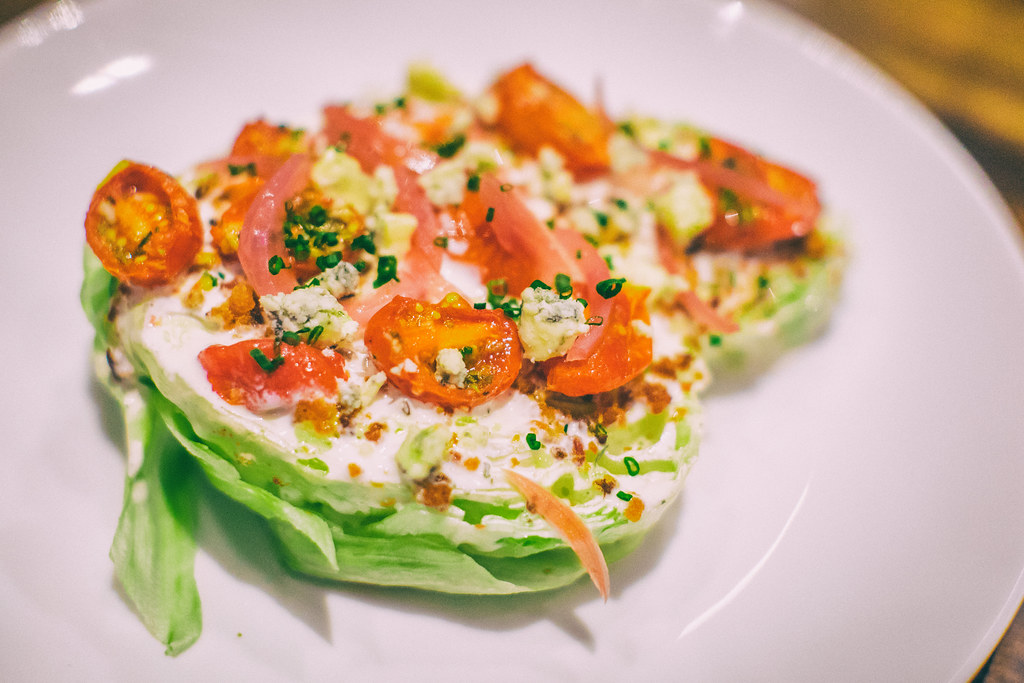
Next up was International Smoke’s take on an all time classic, the wedge salad. It’s prepared cut in half with everything served up on top. Again, a little small, but delicious and a beautifully balanced mixture of dressing, bacon, onions and tomatoes.

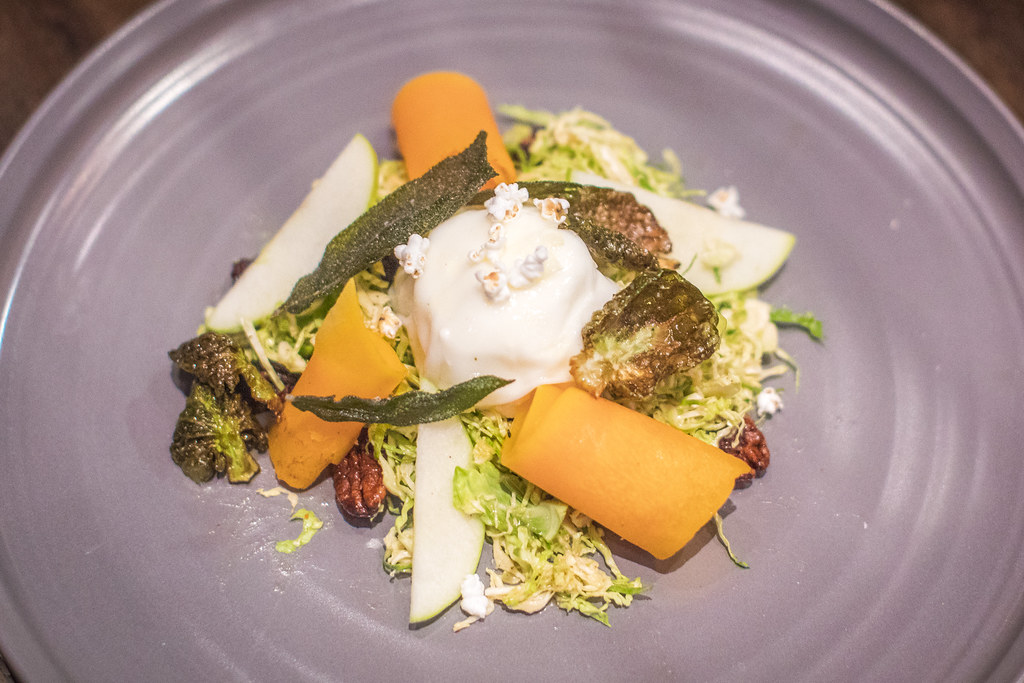
The burrata was served at the same time as the wedge and came in the previously described smoke filled canister. The aha moment comes as the canister lid is lifted and the smoke disappears into the air, leaving you with a very creamy piece of smoke flavored cheese. The brussel sprouts went well with the cheese and it was a nice bit of salad before getting into the meats.

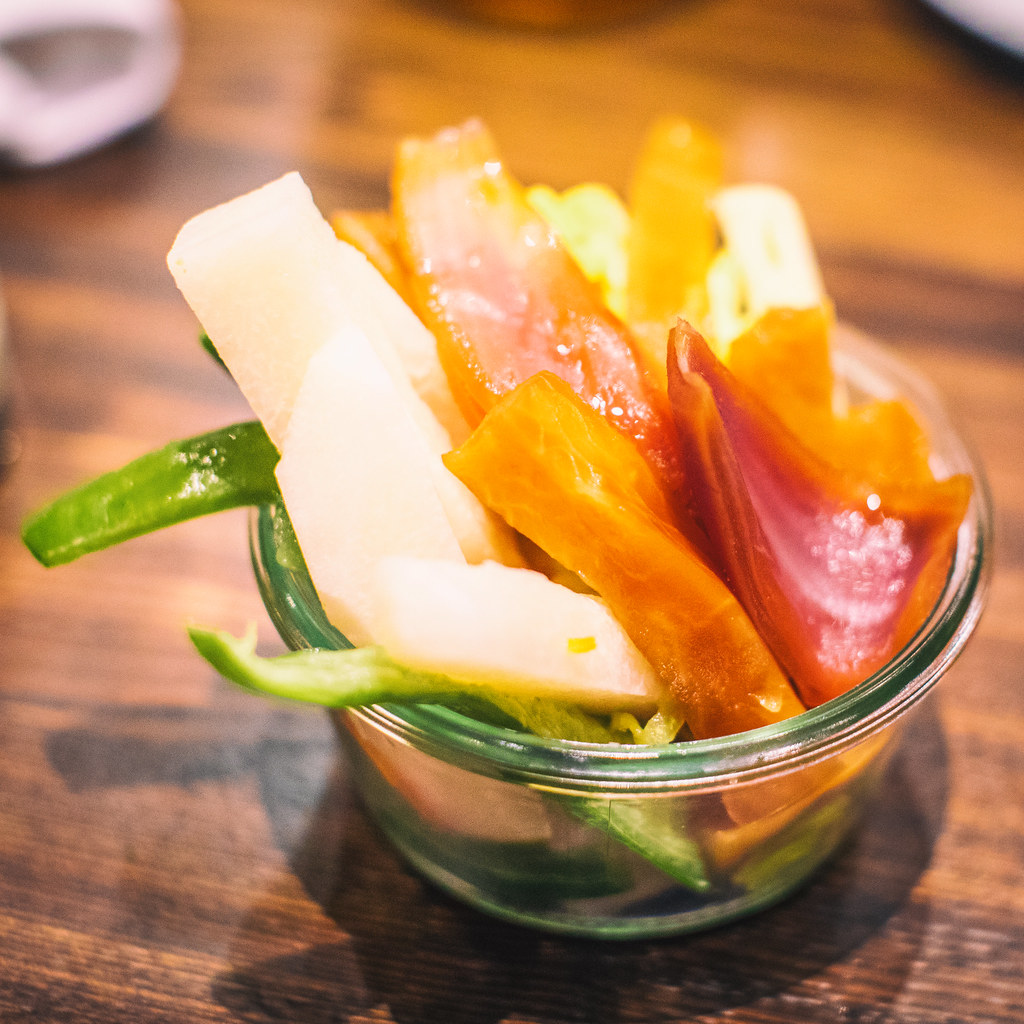
We also ordered a mixed pickle jar which is a myriad of pickled vegetables. At $ 6 it felt like a bargain on the menu and if you like pickled veggies I’d recommend it. I liked the pickled onions the best.

Kalua Style, Instant Bacon, International Smoke
The big reveal, Kalua Style, Instant Bacon, International Smoke

Kalua Style, Instant Bacon, International Smoke

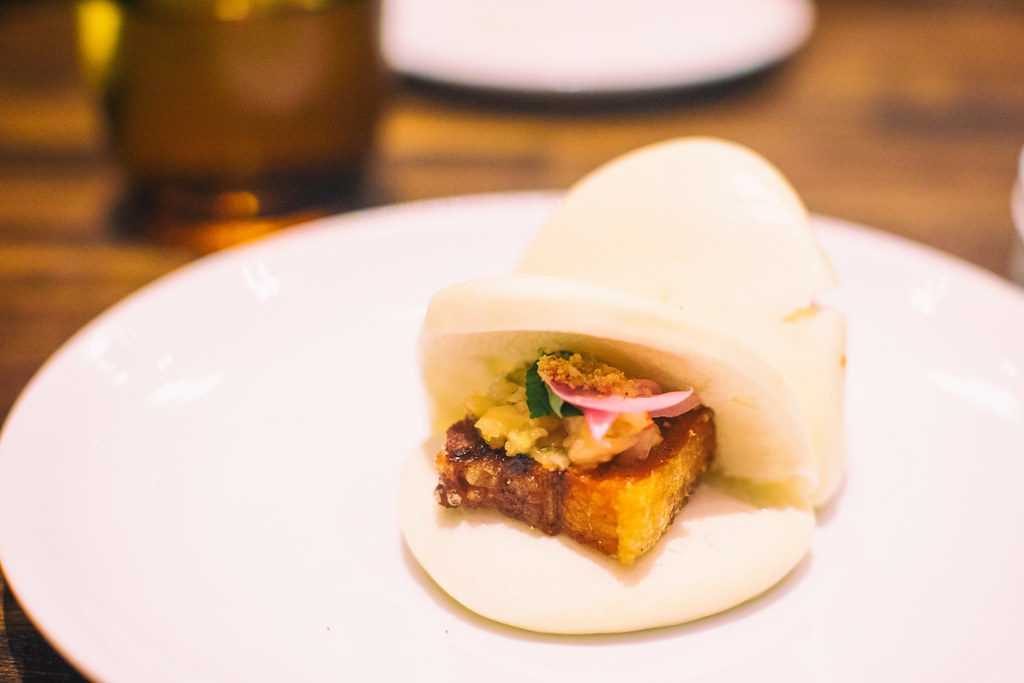
The Kalua “Instant Bacon” is more like a pork bun than anything, served in another one of those smokey canisters with the big reveal — a very rich piece of pork served in a bun — again very tasty, but two to a plate a bit on the small side.

Smoked Pork Shoulder, International Smoke

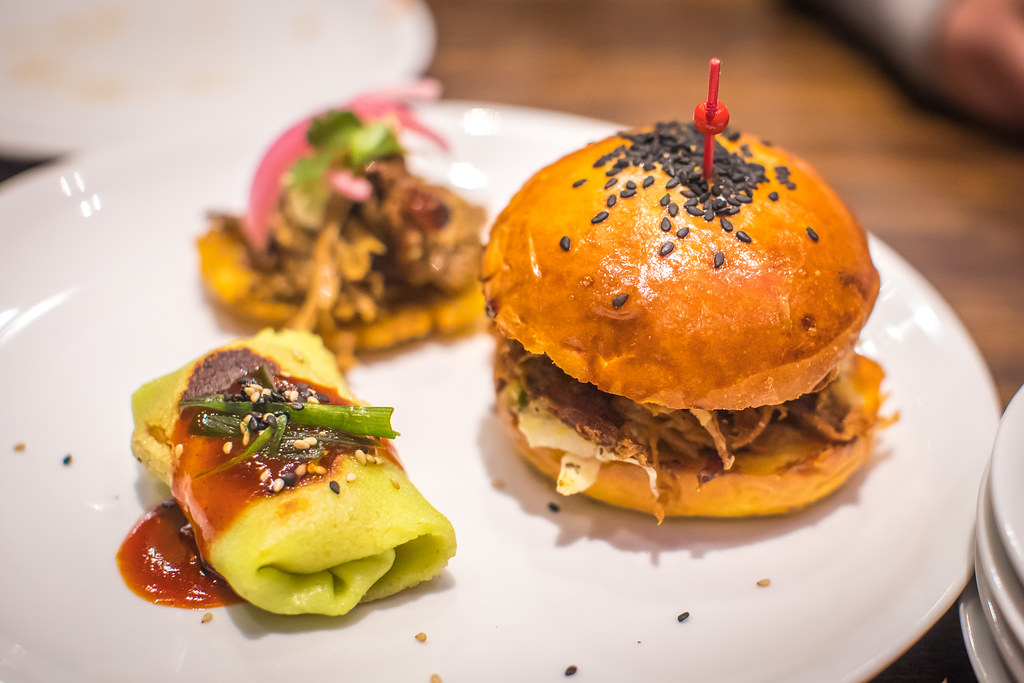
We tried two orders of the Trio Sampler smoked pork shoulder. This consisted of an American pulled pork slider, Cuban Mojo Tostones and Korean Scallion Crepes. The American pulled pork slider was the favorite (especially with the kids) but I liked the Cuban Mojo Tostones the best myself. I did not care for the Korean Scallion Crepes.

Double Duck Wings, International Smoke

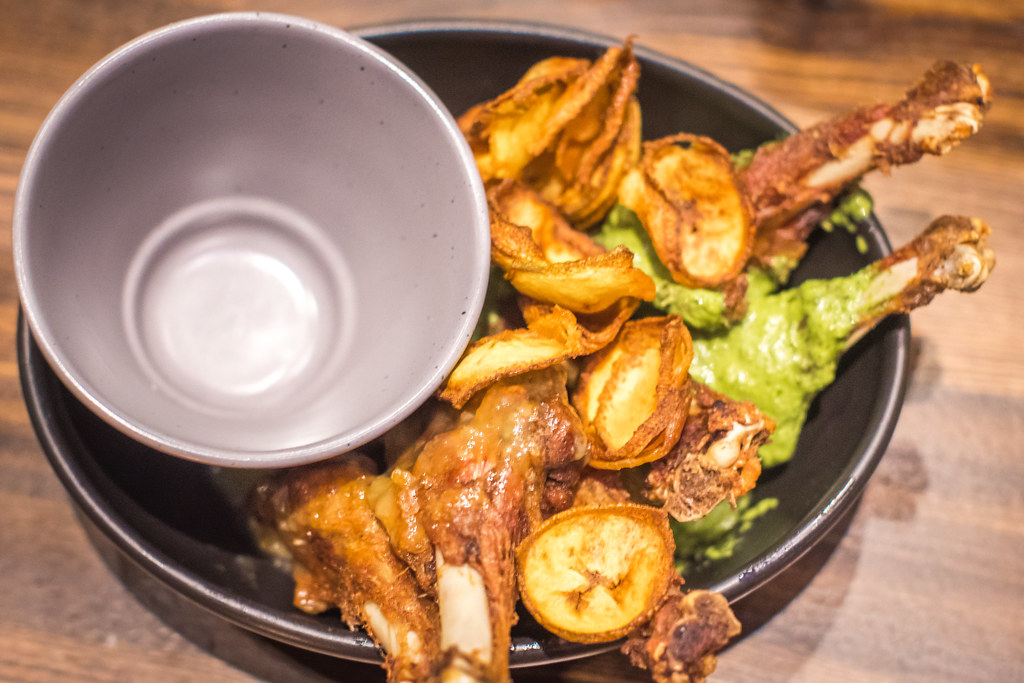
The double duck wings were up next. These were ok but my least favorite dish of the evening. They were pretty basic and a bit bland. The sauce they came in was tasty and interesting, but I would not order this again. We didn’t eat most of this dish and took it home with us in a box. I tried it again for breakfast this morning and it tasted a little better cold, but still not a favorite.

Smoked Pork Ribs, St. Louis Cut, International Smoke

Up next was the main event, a full slab of the smoked pork ribs. As previously mentioned, they bring these out with a cooking torch and torch the sugar on the ribs right there tableside. As far as ribs go these were perfectly adequate but nothing spectacular. The ribs probably had too high a bar to live up to in my mind though. When I read “St. Louis Cut” on the menu the only thing I could think about from then on was how much I love the ribs at Pappy’s in St. Louis. Those juicy, beautiful bone dripping ribs at Pappys, or if not Pappy’s at least all of the great sauces at St. Louis’ latest downtown barbecue spot Sugarfire with one of the best neon signs ever.

International Smoke’s ribs were just fine, but they were not as good as what you’d get at the best spots in St. Louis, or Kansas City, or Texas or Alabama. Again, I’m spoiled having experienced some spectacular barbecue over the years though. I probably should have known San Francisco celebrity chefs would be no match for hardcore pitmasters who’ve been doing their thing for 30 years.

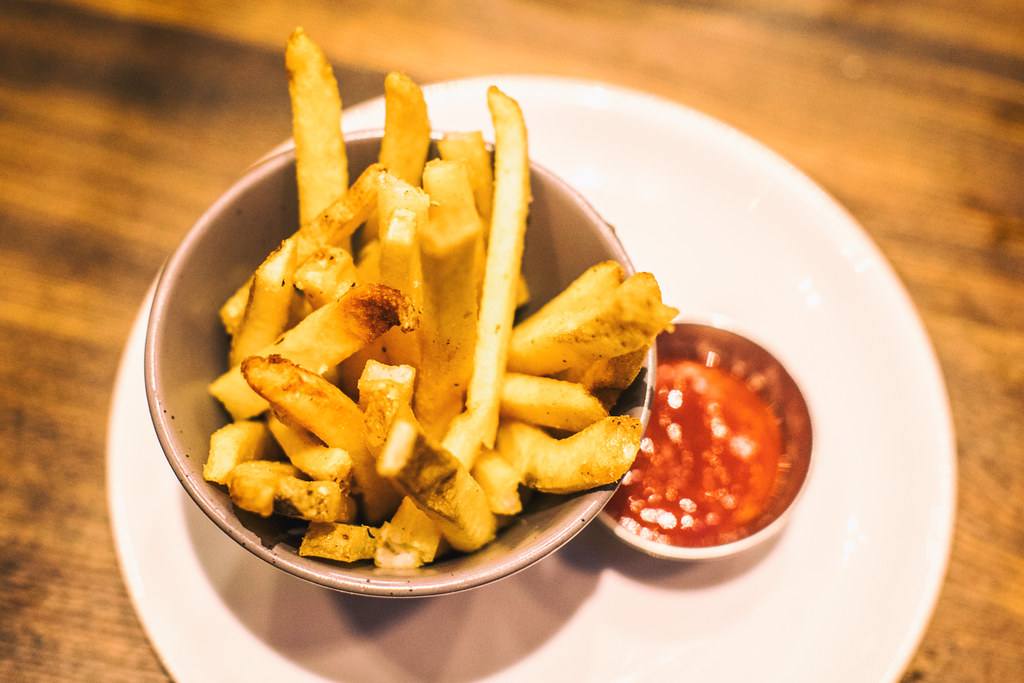
Along with the ribs we ordered the french fries, which were pretty much the same basic fries you’d get anywhere and three sides of the mac and cheese.

Smoked Rib Tip Mac and Cheese, International Smoke

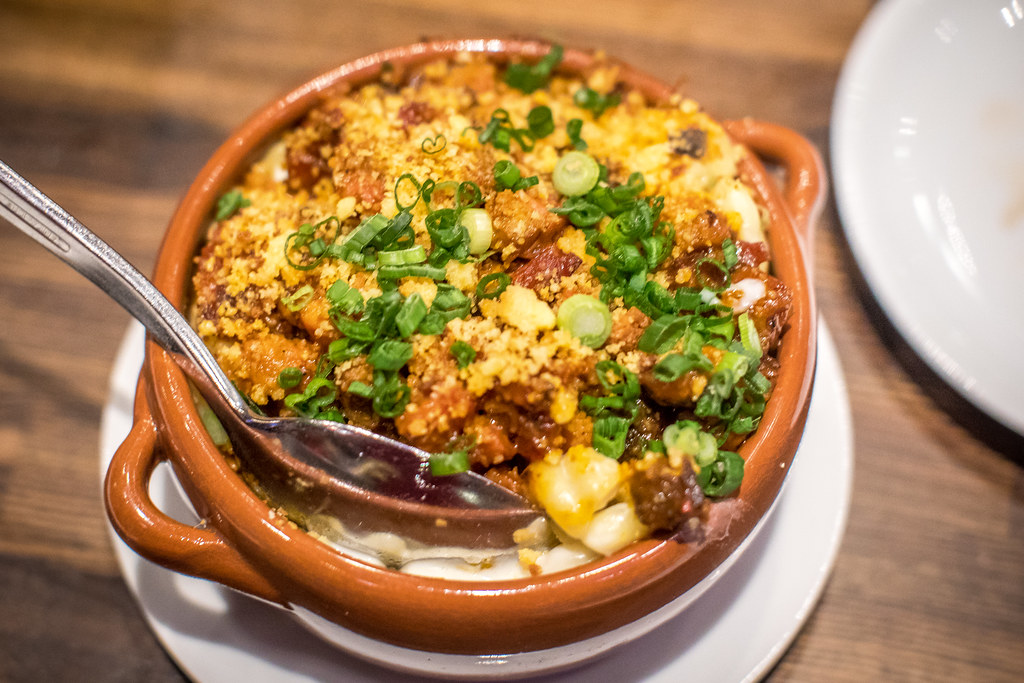
The mac and cheese was interesting — actually it was my favorite dish of the evening, but I’m a big mac and cheese fan. It’s served with rib tips and cornbread crumble on top. It was very good. I was very happy with this dish… but… would I rather have International Smoke’s mac and cheese or the buffalo chicken mac from Homeroom? See, again, it’s a high bar in my opinion, so while I was perfectly happy with this dish it was probably doomed from the start in my mind.

Anyways, there you have it. We ordered too much food for dinner so didn’t have room for dessert. Apparently my youngest daughter Kate was promised ice cream earlier in the day, however, so we stopped by Fenton’s on the way back home to pick up a half gallon of toasted almond. I’m sure International Smoke’s ice cream is probably just fine, but I doubt they hold a candle to Fentons. ?

More on International Smoke from Business Insider, SF Eater and the San Francisco Chronicle.

International Smoke
Bar at International Smoke

Curry Up Now, International Smoke
Curry Up Now cocktail

International Smoke
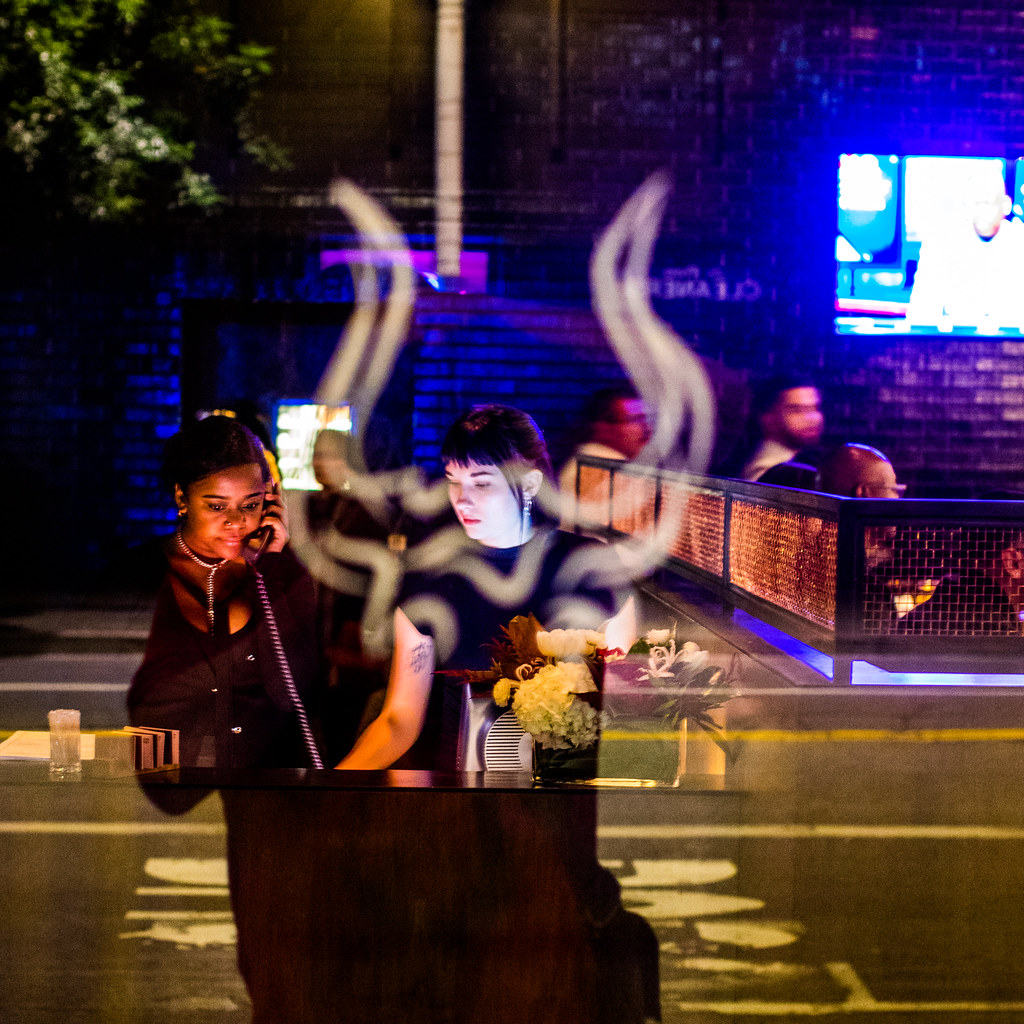
Front desk at International Smoke

Rhinestone Cowboy, International Smoke
Like a Rhinestone Cowboy

Mixed Pickle Jar, International Smoke
Pickles at International Smoke

French Fries, International Smoke


Thomas Hawk Digital Connection

 
Comments Off on New Ayesha Curry, Michael Mina San Francisco Hot Spot International Smoke, A Contemporary Take on Barbecue

Posted in Photography


Still Life with Smoke Bombs: Artist Live-Paints Berkeley Protest Violence

19 Apr

[ By WebUrbanist in Art & Street Art & Graffiti. ]

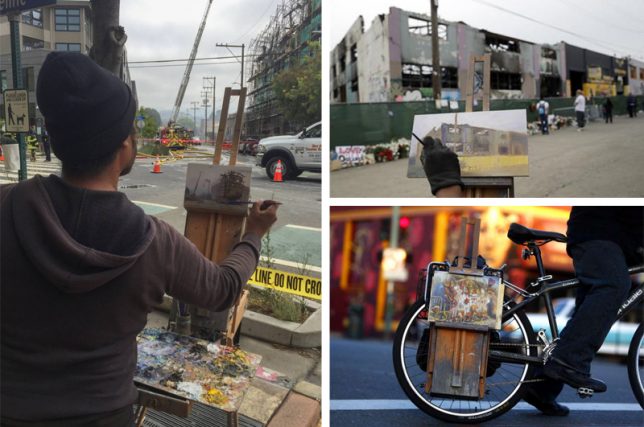
This past Saturday, Trump supporters and counter-protesters from the left clashed violently in liberal Berkeley, all while one intrepid street painter captured the scene live on canvas. As reporters filmed and photographed the chaos, John Paul Marcelo biked his mobile painting station into place.

The alt-right rally organizers and their opponents arrived ready for a brawl, variously equipped with shields, helmets, wooden poles, pepper spray and other weapons. “By mid-afternoon,” reports Blake Montgomery, “the dueling protesters were screaming insults at each other over a flaming pile of trash and using a dumpster as a battering ram.” In the end, dozens were arrested on both sides.

But in the midst of the mayhem (or at least: slightly off to one side) was perhaps the most unexpected sight of all — Bay Area street artist John Paul Marcelo standing his ground and calmly painting the chaotic scene as it unfolded before him.

Marcelo is a fixtures of the San Francisco community, a fifteen-year resident who can be found painting ordinary street scenes as well as timely and tragic still lifes, like: a building just after a fire, burnt out and abandoned.

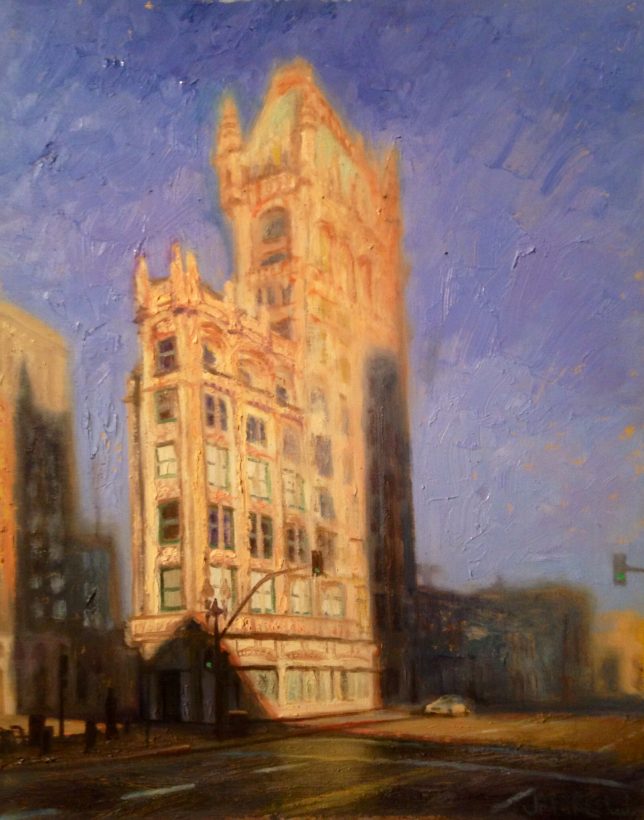
His artistic gear collapses on demand, folding neatly for transportation by bike to events unfolding in around the Bay or calmer, more everyday still-life subjects (below: Morning on Broadway and Telegraph in Oakland as seen in Cafe 817).

John Paul Marcelo studied graphic design and advertising, then started painting the urban decay of Chicago streets and decided to “reject modern technological mediums” and “paint exclusively en plein air, and migrate to the majestic California coastline.” And although he reports being “very content with painting existing idyllic scenes like Big Sur and Marin, past expeditions have brought him to places like post Katrina New Orleans and Cabrini Green housing projects.” His influences “include Claude Monet, James Nachtwey, and Ai Wei Wei.” (Images via AP, SfGate & KQED)

Share on Facebook


[ By WebUrbanist in Art & Street Art & Graffiti. ]

[ WebUrbanist | Archives | Galleries | Privacy | TOS ]


WebUrbanist

 
Comments Off on Still Life with Smoke Bombs: Artist Live-Paints Berkeley Protest Violence

Posted in Creativity


Adding cigarette smoke effect in Photoshop

29 Oct

Adding cigarette smoke effect in Photoshop
Video Rating: 5 / 5

In this video i will show you how to edit and improve your portrait photographs to look like magazine images. I show you how to remove blemishes, Change the eye colour, to change lip colour and add eye lash make-up! I hope you enjoy this video, Feel free to ask questions and if you wish you can rate! Also watch out for my upcoming videos on photoshop!
Video Rating: 3 / 5

 
Comments Off on Adding cigarette smoke effect in Photoshop

Posted in Retouching in Photoshop


How to make an Smoke effect in Photoshop CS5 Tutorial

20 Oct

www.youtube.com Check out my new channel! Smoke.. that’s what we are going to focus on the tutorial. In this tutorial we are going to make a nice smoke effect. I’m going to show you some gradient overlay effect and an alternative text effect. www.youtube.com Info: Font: AvantGarde Bk BT Music: Outasight Leaving Home, Outasight Dizzy

i dont own the song 😀 the song is DON`T FORGET BY DEMI LOVATO 😀 this is a tut how to put fake contact lens or color of thaa eyes 😀 love ti or hate it!

 
Comments Off on How to make an Smoke effect in Photoshop CS5 Tutorial

Posted in Retouching in Photoshop


Improve your smoke photos with a Photoshop Quick Tip-Week 62

18 Oct

If you followed the live action tutorial on how to photograph smoke patterns, then photoshop expert Gavin Hoey www.gavtrain.com has so quick tips to get your smoke photos looking bright and colourful.

 
Comments Off on Improve your smoke photos with a Photoshop Quick Tip-Week 62

Posted in Retouching in Photoshop


Smoke photography

30 Jan

Smoke photography


Ask A Ninja – 03.15.11 Smoke Bomb!

11 Nov

You got questions? Ninja’s got answers! Leave those questions in the comments. Buy the theme song and help support indie music! itunes.apple.com
Video Rating: 4 / 5

Find them all, I dare ya. Gilad Chehover – Drums | Guy Bernfeld – Bass | Or Paz – Guitar facebook.com Recording, mixing, pianoing and feminine singing by Eyal Amir ( www.youtube.com ) Drums recorded by Martial Bouhassira le Photography – Dafna Sasson le Second Unit- Tamari Goddard le Editing & After Effects – Or Paz le Animation – Tom Trager
Video Rating: 4 / 5


How to Take and Edit Smoke Photographs

24 Mar

This is Part 2 of my tutorial on smoke photography. If you haven’t read Part 1, you can do so on The Photog Formula blog: thephotogformula.com In this video, I show how easy it is to process and edit a smoke photograph. If you’d like to see more, just head on over to http