RSS
 

Posts Tagged ‘Silhouettes’

How to Photograph Silhouettes in 8 Easy Steps

28 Mar

The post How to Photograph Silhouettes in 8 Easy Steps appeared first on Digital Photography School. It was authored by Darren Rowse.

how to photograph silhouettes in 8 easy steps

In this article, I’m going to show you a step-by-step process for doing stunning silhouette photography.

I’m also going to share tips and tricks that work really, really well for silhouette shooting; that way, you can get gorgeous results as soon as possible.

So if you’re ready to discover the secrets to amazing silhouettes, let’s dive right in!

silhouette photography statue

Silhouette photography: the basics

Silhouettes are a wonderful way to convey drama, mystery, emotion, and mood. They often stand out thanks to their simplicity as well as the story that they convey.

I love silhouettes because they don’t give a clear picture of the scene. Instead, they leave part of the image up to the viewer’s imagination.

silhouettes on a beach

Now, here’s the basic strategy for doing silhouette photography:

Place your subject (the shape you want to be blacked out) in front of a light source.

Then force your camera to set its exposure based on the brightest part of your picture (i.e., the background).

In doing this, your subject will be underexposed. It should turn very dark and sometimes even black.

There are a lot of very technical discussions surrounding silhouette photography and how to get a particular exposure. But I’d like to ignore the technical details and focus on what matters:

Getting you a great result!

So without further ado, let’s take a look at the step-by-step process for stunning silhouettes:

How to Photograph Silhouettes

Before heading out to shoot silhouettes, make sure you have a camera that lets you adjust the exposure. In other words, you should be able to brighten and darken the photo at will.

(All modern DSLRs and mirrorless cameras have this functionality and so do most smartphones.)

Step 1: Choose a strong subject

Almost any object can be made into a silhouette. However, some objects are better than others.

Choose something with a strong and recognizable shape that will be interesting enough in its two-dimensional form to hold the viewer’s attention.

Silhouettes can’t draw on the colors, textures, and tones of subjects to make themselves appealing, so the shape needs to be distinct.

silhouette of a biker

Step 2: Turn off your flash

If you have your camera in Auto mode, it’ll probably use flash – and this will ruin the silhouette.

Basically, silhouette photography requires as little light as possible on the front of your subject.

So make sure that your flash is off!

silhouette photography man standing on a rock

Step 3: Get your light right

When it comes to lighting your subject, you’ll need to throw out a lot of what you’ve learned about normal photography and think a little backward.

Instead of lighting the front of your subject, you need to ensure that there is more light shining from the background than the foreground of your shot. Or to put it another way, you want to light the back of your subject rather than the front.

The perfect setup is to place your subject in front of a sunset or sunrise – but any bright light will do the trick.

silhouette in front of a city

Step 4: Frame your image

Frame your shot so you are shooting with your subject in front of a plain but bright background.

The best backgrounds are often a bright, cloudless sky with a setting sun.

You want to position the brightest light source behind your subject (so that it’s either hidden or somewhere in the background).

silhouetted person walking from rock to rock

Step 5: Make silhouetted shapes distinct and uncluttered

If there is more than one shape or object in the scene that you’re attempting to silhouette, try to keep them separated.

So if you’re making a silhouette from a tree plus a person, don’t position the person in front of the tree and don’t have the person lean against the tree, because this will merge the two shapes into one and cause confusion.

silhouetted boat off a beach

Also, when framing, you’ll probably want to photograph silhouetted people as profiles rather than looking straight on. That way, more of their features (nose, mouth, and eyes) are outlined, and the person becomes more recognizable.

Step 6: Feel free to start in Auto mode

Most modern digital cameras are pretty good at exposing a photo so everything is nice and bright.

The problem is that most cameras are a bit too smart; they’ll light up your main subject instead of underexposing it to get a silhouette.

So what do you do?

You trick your camera.

You see, Auto mode generally determines the exposure levels when you push the shutter button halfway down (at the same time that the camera focuses).

So point your camera at the brightest part of your scene, then press the shutter button halfway (and don’t let go!). Then move your camera back and frame your shot how you want it.

Finally, press the shutter button the rest of the way.

With most digital cameras, this will result in a silhouetted subject; by forcing your camera to expose for the brightest part of the scene, you cause it to render the main subject as a dark silhouette.

Note that some cameras also have a spot metering mode that helps with the above technique. Spot metering puts the exposure meter on the central part of your frame – so you can accurately tell your camera the exact portion of bright background you want to use to set the exposure.

silhouette of a man on a beach

Step 7: Manual mode

If the Auto mode technique doesn’t work, and if your camera has controls to allow manual exposure, you might want to adjust the settings manually.

A simple way to use Manual mode is to actually start in Auto. Point your camera at the brightest part of the sky, look at the shutter speed and aperture that your camera suggests, then switch over to Manual mode and dial in those settings.

Next, take a test shot and review it on your camera’s screen.

If your subject is too light (i.e., you need to make it darker), increase the shutter speed and see what happens. And if your subject is too dark, decrease the shutter speed to brighten up the shot.

Eventually, you’ll end up with a well-exposed silhouette!

(You can also use a bracketing technique to get a variety of shots at slightly different exposures.)

silhouette photography of a person holding a child

Step 8: Keep your subject sharp

In most cases, you’ll want your subject to be crisp and in focus.

Unfortunately, this can make the metering process – described in Step 6 – somewhat tricky. You see, pushing your shutter halfway down to get the metering right also means that you’ll focus on a spot in the background rather than your subject.

If you’ve used Manual mode, you can always focus on the background, acquire your exposure settings, dial them in, then refocus on your subject.

But if you prefer the Auto mode strategy, then you have two options.

First, if your camera has manual focusing, you can try prefocusing on your subject. Next, meter off the background (and press the shutter button halfway). Frame up your composition, then trigger the shutter.

silhouette photography of a rooftop

Second, you can try adjusting the aperture to maximize your depth of field (i.e., the amount of your image that is in focus).

For this, you’ll need to set a small aperture (i.e., a large f-number, such as f/11 or f/16) to increase the depth of field. If the f-number is large enough, and your subject isn’t too close to the camera, you’ll end up with both a sharp subject and a sharp background, even if your camera is focused on the area behind your subject.

Bonus tip: try partial silhouette photography

While a total silhouette with a nice crisp, dark subject can be powerful, also consider a partial silhouette where some detail of your subject is left, such as in the photo below:

silhouette of people on a beach

Sometimes, a touch of light makes the subject slightly more three-dimensional and real.

And if you’re not sure whether to create a full silhouette or a partial silhouette, that’s okay; just bracket your shots! That’s the beauty of bracketing: it will leave you with both total and partial silhouettes to choose from.

Silhouette photography: conclusion

Well, there you have it:

How to photograph a silhouette in eight simple steps.

So head out when the light is right – and start doing some silhouette photography of your own!

Now over to you:

Have any silhouette photos you’d like to share? Post them in the comments below! And if you need inspiration, check out these 12 amazing silhouette example shots.

The post How to Photograph Silhouettes in 8 Easy Steps appeared first on Digital Photography School. It was authored by Darren Rowse.


Digital Photography School

 
Comments Off on How to Photograph Silhouettes in 8 Easy Steps

Posted in Photography


Weekly Photography Challenge – Silhouettes

20 Oct

Photograph Fisher man by Saravut Whanset on 500px

Fisher man by Saravut Whanset on 500px

Silhouettes are a wonderful way to convey drama, mystery, emotion and mood to the viewers of your photos and often stand out in an album because of the combination of their simplicity but also the story that they convey. I love them because they don’t give the viewer of a clear picture of everything but leave part of the image up to their imagination to wonder about.

That’s an excerpt from a post I wrote quite some time ago, but remains one of our more popular posts on how to photograph silhouettes. Your challenge this week is to take a photograph of a silhouette and see if you can create a story that evokes imagination in the viewer. Here’s some tips to get you started:

How to Photograph Silhouettes in 8 Easy Steps

Silhouette Photography Technique

Photograph worlds appart by Carlos Canales on 500px
worlds appart by Carlos Canales on 500px

Photograph Breakup by Michael Valjak on 500px
Breakup by Michael Valjak on 500px

Looking for more inspiration? Check out these great shots:

12 Stunning Silhouette Shots

A Collection of Great Silhouette Photos

Or this post on how to use your silhouettes to tell a story will help you for this week’s challenge:

How to Create Powerful Silhouettes by Telling a Story

Weekly Photography Challenge – Silhouettes

Simply upload your shot into the comment field (look for the little camera icon in the Disqus comments section) and they’ll get embedded for us all to see or if you’d prefer, upload them to your favorite photo-sharing site and leave the link to them. Show me your best images in this week’s challenge.

Share in the dPS Facebook Group

You can also share your images in the dPS Facebook group as the challenge is posted there each week as well.

If you tag your photos on Flickr, Instagram, Twitter or other sites – tag them as #DPSSILHOUETTES to help others find them. Linking back to this page might also help others know what you’re doing so that they can share in the fun.


The post Weekly Photography Challenge – Silhouettes appeared first on Digital Photography School.


Digital Photography School

 
Comments Off on Weekly Photography Challenge – Silhouettes

Posted in Photography


Art of Camouflage: Flying Bird Silhouettes Blend into Broken Window Voids

09 Nov

[ By WebUrbanist in Art & Installation & Sound. ]

cracked-glass-frame-art

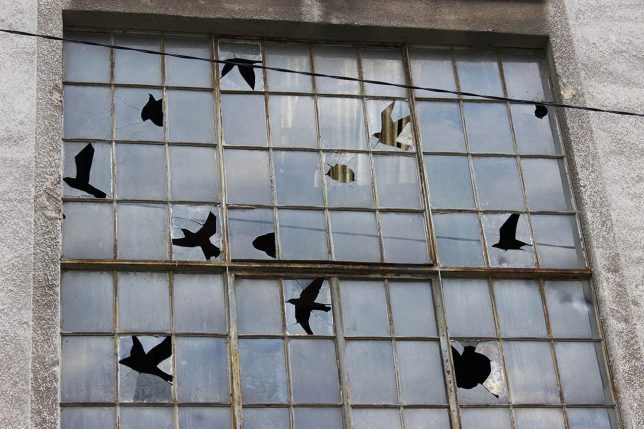
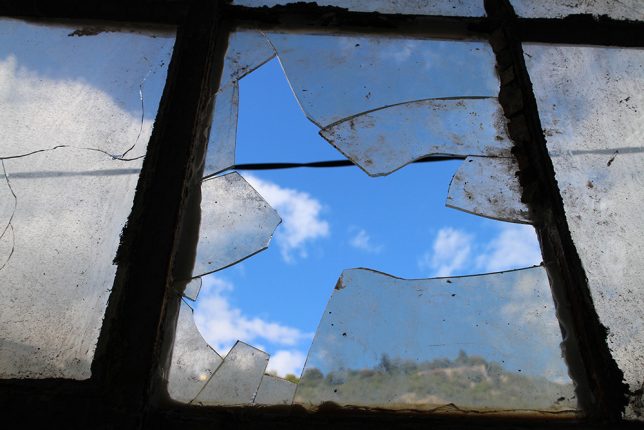
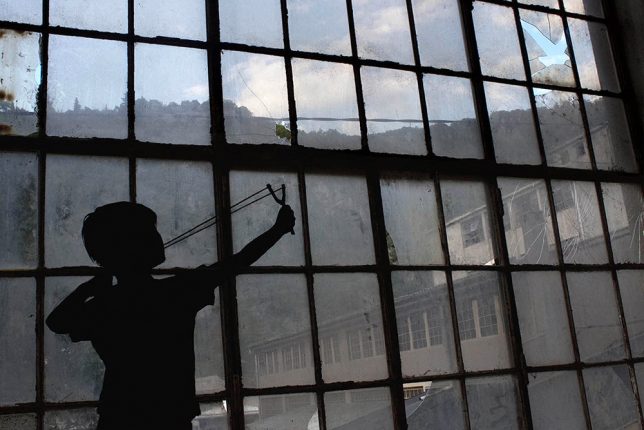
A boy aiming his slingshot into the sky seems to aim both at the broken windows of an abandoned building but also a series of birds that seem to appear in the gaps of cracked glass, transfixed in various stages of flight.

broken-glass-bird-art

Artist Pejac is well known for his negative-space interventions, from pealing back paint chips to carefully reveal brick beneath to other contextual installations. Much of the art is in the craft: a meticulous removal (or breaking) of materials to slowly reveal some new whole, much like a sculptor chips away at a marble edifice.

bird-window-boy-shooting

This latest piece was produced during his residency with the Museum of Modern and Contemporary Art in Rijeka, Croatia, where he spent multiple weeks crafting site-specific works.

bird-windows-power-plant

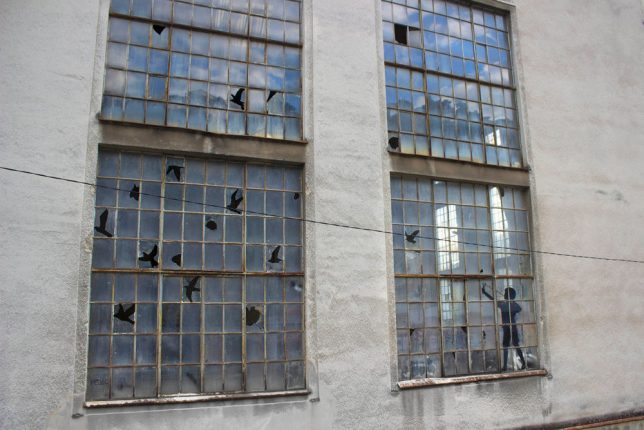
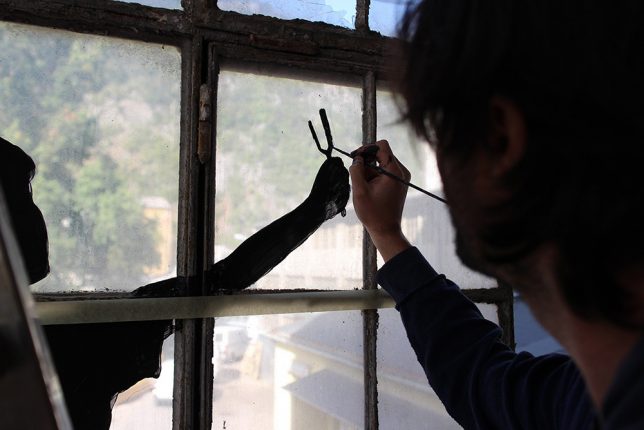
Camouflage (Tribute to René Magritte) is set in the huge windows of an old paper factory power plant, depicting a flock of birds that might be hard to spot were it not for the outline of a boy taking aim below them. His figure calls attention to the larger work, signalling a passer by the existence of something both large and subtle going on in the frame.

boy-taking-aim

painted-boy

The implied story is one about hunting and survival, the birds disguising themselves against a backdrop of broken window panes, making them harder for the child to spot. The boy, too complex a figure to render through even the most craftily broken glass, is painted over a series of panes (images by Sasha Bogojev).

Share on Facebook


[ By WebUrbanist in Art & Installation & Sound. ]

[ WebUrbanist | Archives | Galleries | Privacy | TOS ]


WebUrbanist

 
Comments Off on Art of Camouflage: Flying Bird Silhouettes Blend into Broken Window Voids

Posted in Creativity


Weekly Photography Challenge – Silhouettes

24 Sep

Let’s look at the definition of silhouette:

screen-shot-2016-09-14-at-10-15-44-pm

If you want to see some good examples have a look here:

Weekly Photography – Silhouette

Haricharan

By Haricharan

To complete your challenge this week to shoot a silhouette these articles may have some helpful tips for you:

  • 7 Steps to Create Street Photography Silhouettes
  • 5 Secrets to Create a Perfect Silhouette Portrait Outdoors
  • Create Powerful Silhouettes by Telling a Story
  • 5 Tips For Photographing Silhouettes
Roberto Trombetta

By Roberto Trombetta

AdA Durden

By AdA Durden

Jeff S. PhotoArt At HDCanvas.ca

By Jeff S. PhotoArt at HDCanvas.ca

Share your images below:

Simply upload your shot into the comment field (look for the little camera icon in the Disqus comments section) and they’ll get embedded for us all to see or if you’d prefer, upload them to your favourite photo sharing site and leave the link to them. Show me your best images in this week’s challenge. Sometimes it takes a while for an image to appear so be patient and try not to post the same image twice.

Share in the dPS Facebook Group

You can also share your images on the dPS Facebook group as the challenge is posted there each week as well.

???9? - Photographer No.9

By ???9? – Photographer No.9

Brian.abeling

By brian.abeling

googletag.cmd.push(function() {
tablet_slots.push( googletag.defineSlot( “/1005424/_dPSv4_tab-all-article-bottom_(300×250)”, [300, 250], “pb-ad-78623” ).addService( googletag.pubads() ) ); } );

googletag.cmd.push(function() {
mobile_slots.push( googletag.defineSlot( “/1005424/_dPSv4_mob-all-article-bottom_(300×250)”, [300, 250], “pb-ad-78158” ).addService( googletag.pubads() ) ); } );

The post Weekly Photography Challenge – Silhouettes by Darlene Hildebrandt appeared first on Digital Photography School.


Digital Photography School

 
Comments Off on Weekly Photography Challenge – Silhouettes

Posted in Photography


LEGO Shadow Show: Masses of Toy Bricks Reveal Surprising Silhouettes

27 Aug

[ By SA Rogers in Art & Sculpture & Craft. ]

LEGO GIF

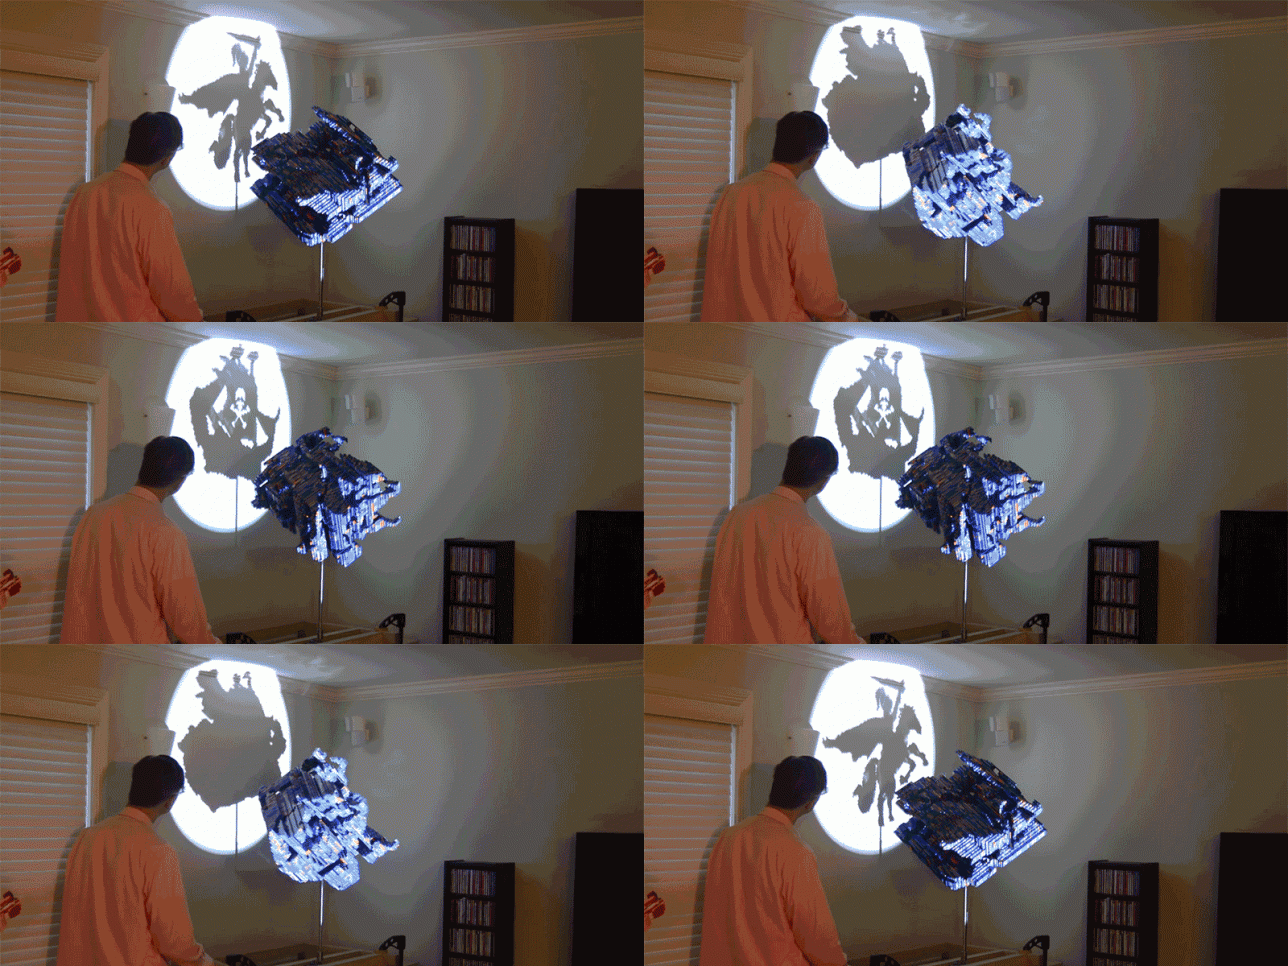
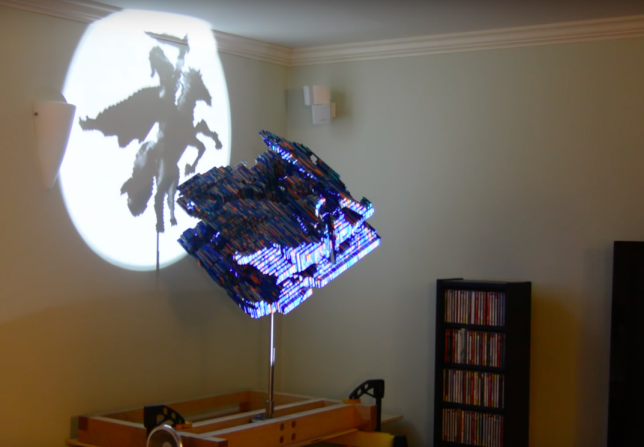
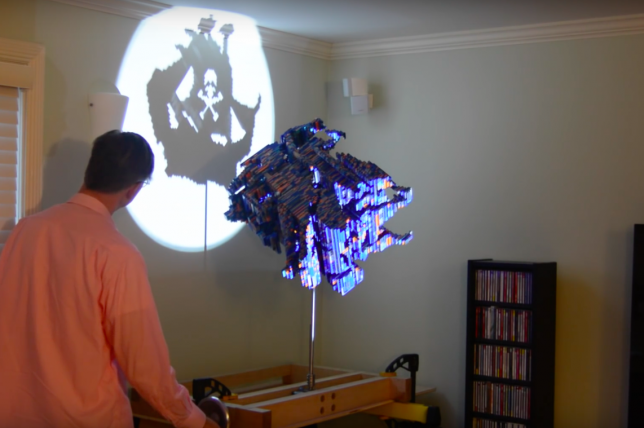
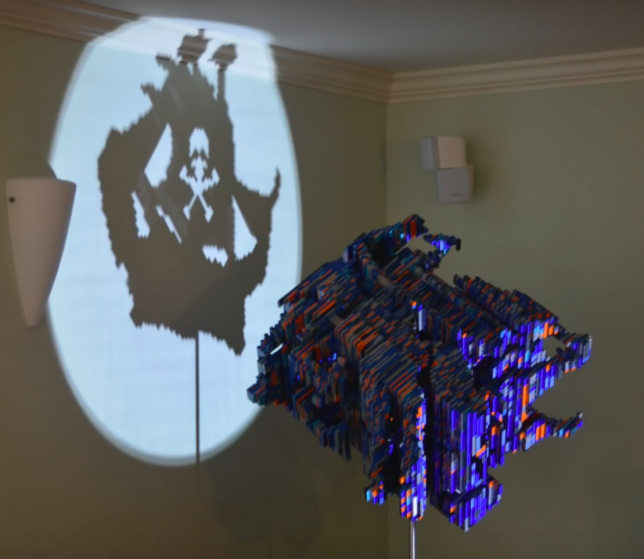
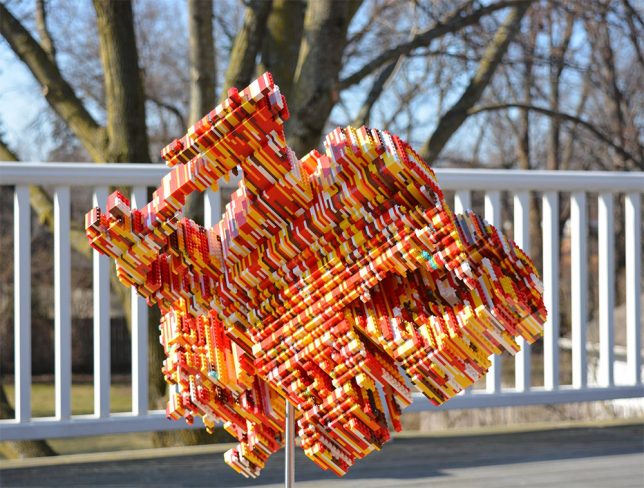
What looks like no more than an unweildy mass of Lego bricks stuck together into an abstract shape reveals itself to be not just one but two separate intricate shadow-casting designs. Artist John V. Muntean mounts his unusual sculptures on a special table to rotate them into just the right position in front of a spotlight so we can see what’s hidden within the positive and negative spaces created by the bricks.

LEGO Shadows 6

LEGO Shadows 1

The artist calls it a ‘magic angle sculpture,’ and it’s just the latest of an impressive collection he’s created over the past couple decades. This appears to be the first time he’s worked with Lego bricks, though – the rest are sculpted wood.

LEGO Shadows 5

lego sculpture 2

lego sculpture

“As a scientist and artist, I am interested in how perception influences our theory of the universe,” says Muntean in his artist statement. “A Magic Angle Sculpture appears to be nothing more than an abstract wooden carving, skewered with a rod and mounted on a base. however, when lit from above and rotated at the magic angle (54.74 degrees) it will cast three alternating shadows. Every 120 degrees of rotation, the amorphous shadows evolve into independent forms. Our scientific interpretation of nature often depends upon our point of view. Perspective matters.”
Share on Facebook


[ By SA Rogers in Art & Sculpture & Craft. ]

[ WebUrbanist | Archives | Galleries | Privacy | TOS ]


WebUrbanist

 
Comments Off on LEGO Shadow Show: Masses of Toy Bricks Reveal Surprising Silhouettes

Posted in Creativity


Wearable Architecture: 29 Structural Silhouettes in Fashion

12 Nov

[ By Steph in Design & Products & Packaging. ]


winde rienstra 2

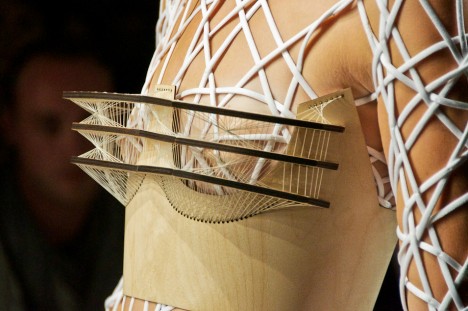
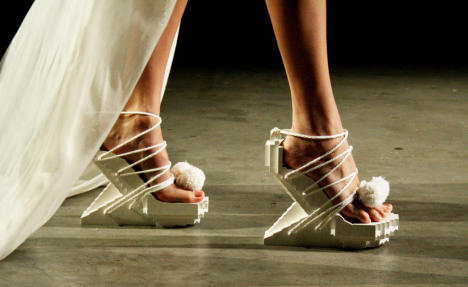
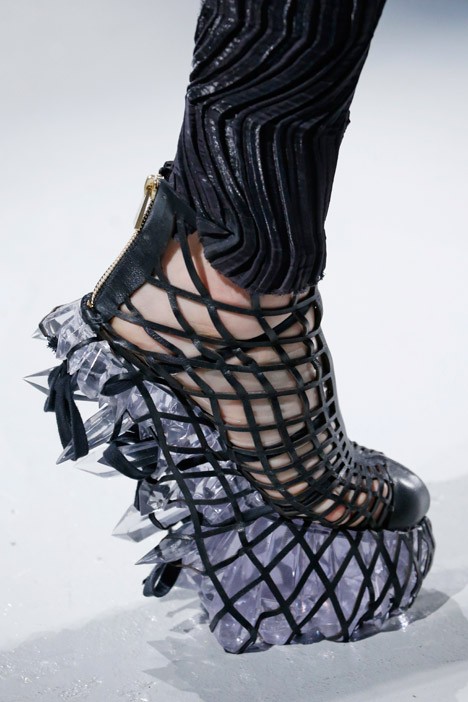
Textiles take the place of building materials in the dramatic swooping shapes, angular folds and oversized proportions of architecturally influenced fashion, whether on a highly wearable backpack or impractical runway couture. Fashion designers play with grids, tessellation, towering shapes, baroque details and three-dimensional forms, often making use of technology like 3D printing for unexpected results.
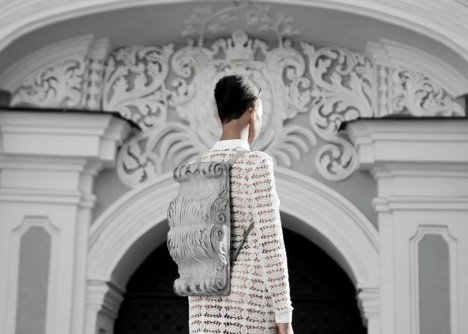
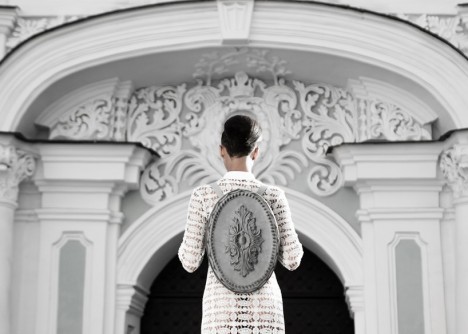
Baroque Architecture Backpacks by Konstantin Kofta
architectural fashion kofta 1

architectural fashion kofta 2

architectura fashion kofta 3

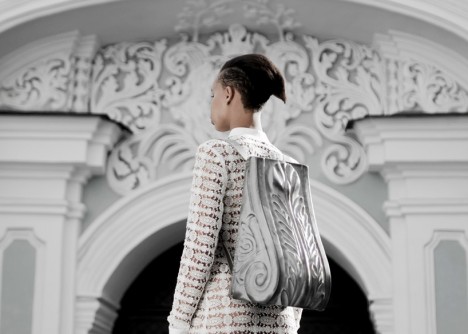
Designer Konstantin Kofta presents ‘arcs,’ a series of backpacks taking their shapes from baroque architectural elements like column caps and flourishes. Made of leather, the stone-gray accessories have a realistic appearance. “Natural forms and curves are applicable to human architecture,” says Kofta. “Baroque architecture inspiration – where regular designs give way to curves, dramatic shapes and decoration – was transferred to sculptural leather Kofta pieces to evoke sensual delight.”

Airplane Dress by Hussein Chalayan
architectural fashion airplane dress

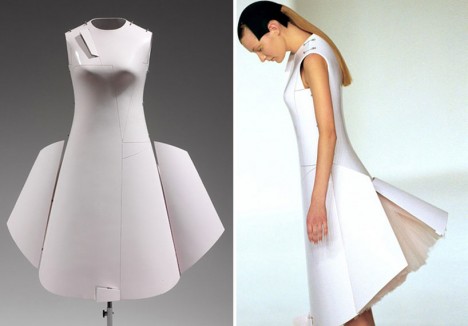
Gleaming white with semi-detached panels lifting up beneath a layer of tulle, Hussein Chalayan’s Airplane Dress is made of the same material used in aircraft construction and changes shape via remote control.

Spectacular Bridge-Like Creations by Winde Rienstra

RIENSTRA

architectural fashion winde rienstra 2

architectural fashion winde rienstra 3

architectural fashion winde rienstra 4

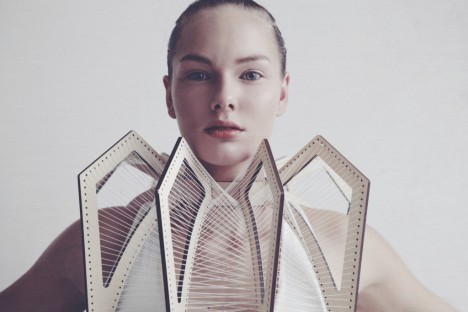
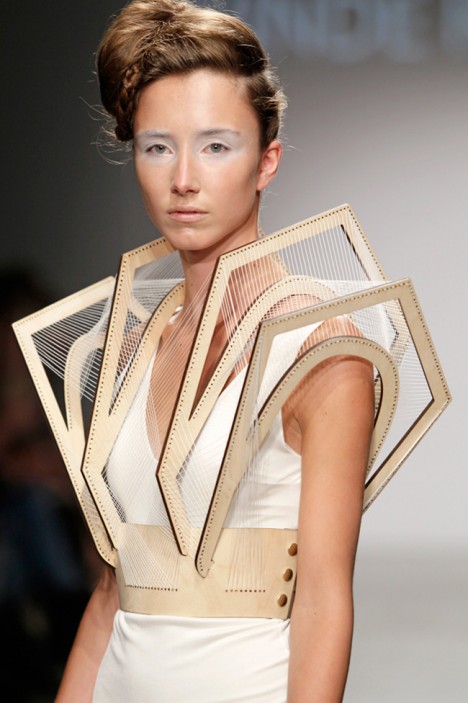
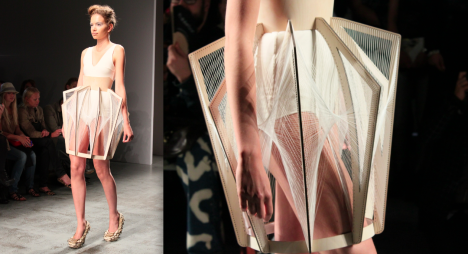
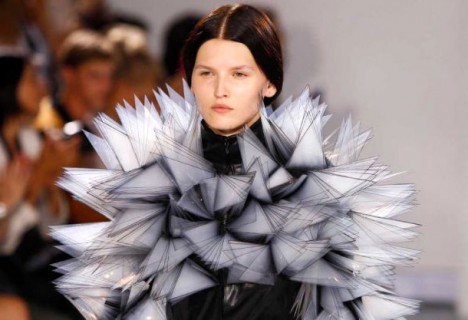
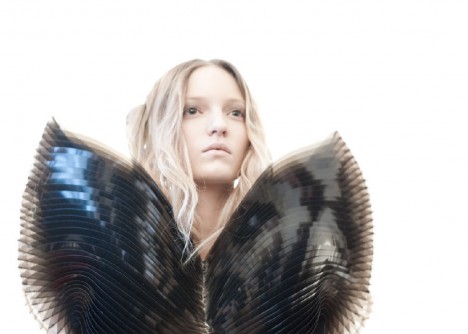
Amsterdam-based fashion designer Winde Rienstra explores structure and space with her 11:11 collection, blurring the lines between clothing and objects. Stiff as corsetry and creating a sort of cage around the body, the ribbed, angled pieces call to mind suspension bridges and the flying buttresses of Gothic cathedrals.

Iris Van Herpen’s 3D Printed Fashion Revolution

architectural fashion van herpen 3

architectural fashion iris van herpen 4

architectural fashion iris van herpen 5

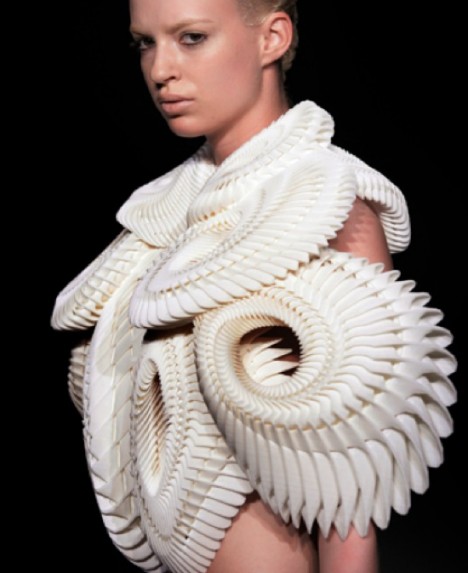
An innovator in the usage of 3D printing in fashion, Iris van Herpen shakes up the status quo with exciting three-dimensional pieces of wearable sculpture characterized by rich texture and almost alien patterns that would be right at home in a sci-fi movie. Van Herpen’s creations bridge the gap between wearable technology and fashion, focusing more on the aesthetics of strange new textiles than on gadgets.

Architectural Camouflage by Snarkitecture

architectural fashion snark

architectural fashion snark 2

architectural fashion snark 3

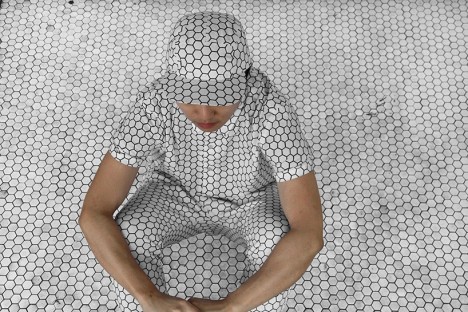
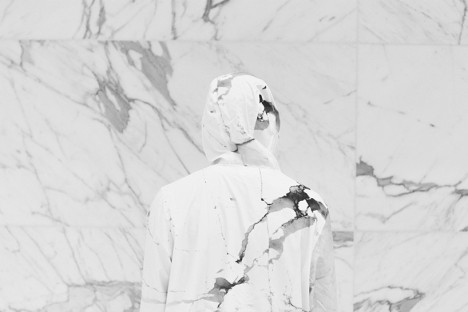
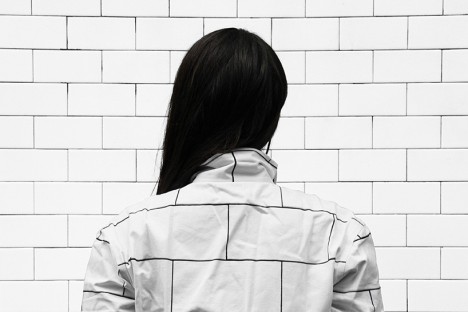
Architecture and design duo Snarkitecture debuts ‘Architectural Camouflage,’ a collection of apparel and accessories featuring prints of white hex tile, subway tile and marble. Stand against the right urban surface, and you’ll blend right in. The pieces are available for purchase at Print All Over Me.

Next Page – Click Below to Read More:
Wearable Architecture 29 Structural Silhouettes In Fashion

Share on Facebook


[ By Steph in Design & Products & Packaging. ]

[ WebUrbanist | Archives | Galleries | Privacy | TOS ]


WebUrbanist

 
Comments Off on Wearable Architecture: 29 Structural Silhouettes in Fashion

Posted in Creativity


7 Steps to Create Street Photography Silhouettes

05 Jun

For the street photographer, shooting a perfect silhouette is a very gratifying moment. Just like anything else in street photography, not every subject makes for an interesting silhouette photograph. Here are a few tips to help you capture an interesting silhouette on your next photo walk.

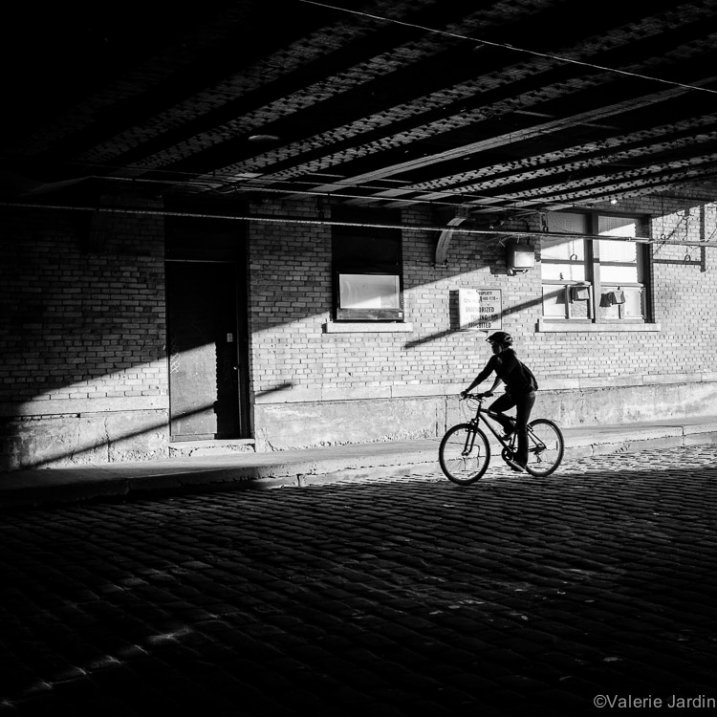
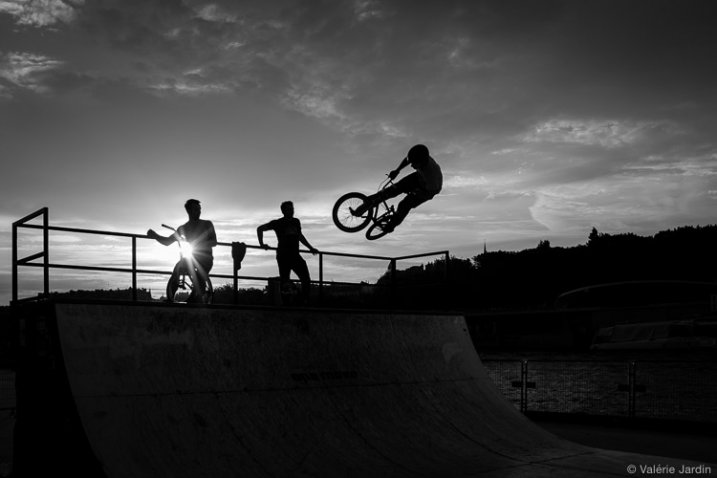
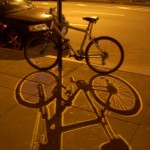
Some elements, such as bicycles, make for more interesting silhouettes.

Some elements, such as bicycles, make for more interesting silhouettes.

1. Set your camera for success

To shoot a silhouette you have to take control of your camera first. Your flash needs to be turned off. Ideally your exposure is set for the highlights (background). If you set your exposure on your subject, your camera will try to expose your subject properly. The result would reveal too much detail in the subject and blow out the highlights in the background. Exposing for the highlights is easily done if your camera is set to spot metering. You can also use average metering and trick your camera by stopping down your exposure compensation so that your subject remains dark.

Focussing can be tricky. You can spot meter for the highlights and manually focus on your subject. Or, if you shoot in Aperture Priority, set your aperture to a large number (small aperture) to allow for most of the scene to be in focus (large depth of field)

It is important not to blow out the highlights in sunrise and sunset silhouettes.

It is important not to blow out the highlights in sunrise and sunset silhouettes.

2. Don’t be afraid to blow out the highlights

Okay, I just told you to expose properly to avoid blowing out the highlights. That is certainly a good thing to keep in mind if you are shooting against the sunset, sunrise or the moon light for example. The rest of the time, unless the details in the background add to your story, you’re better off blowing out the highlights and going for a more dramatic effect. Your silhouette will stand out more on a white and unobtrusive background.

Details in the background should not distract from your silhouette.

Details in the background should not distract from your silhouette.

3. Learn to recognize a good silhouette

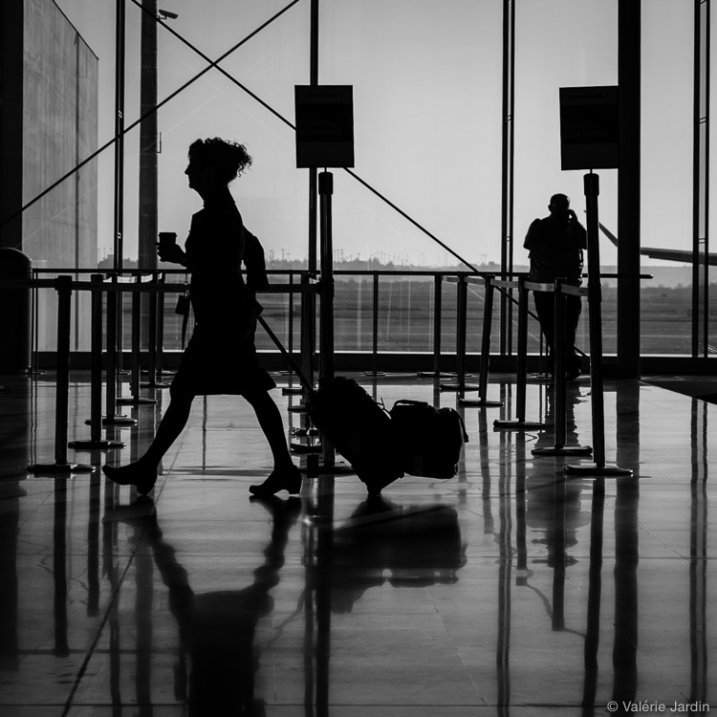
Now you know the basic technique to shoot a silhouette, that was the easy part. The most important piece is to be able to see a potentially strong subject, so be discerning!  Many elements come into play. The body being well defined is important, you should be able to recognize the shape right away. If the subject is facing you or his/her back is turned to you, there should be space between the arms and the body, the legs should be well defined as well. If you are photographing a person looking sideways, the features of their face should be quite clear.

Capturing the right gesture or step is a key element in a successful silhouette in street photography.

Capturing the right gesture or step is a key element for a successful silhouette in street photography.

4. Avoid obstructions

Avoid obstructions in front of, and behind your subject. Timing is important. Silhouettes of posts or other obstructions can ruin the shot. Position yourself accordingly for the best possible shot.

Timing is everything, especially in a cluttered environment.

Timing is everything, especially in a cluttered environment.

5. Try some added effects

A sunburst can be an added bonus to a silhouette photograph, and a welcome added challenge for you, the photographer.

Add to the challenge with a sunburst effect.

Add to the challenge with a sunburst effect.

6. Try a minimalist approach

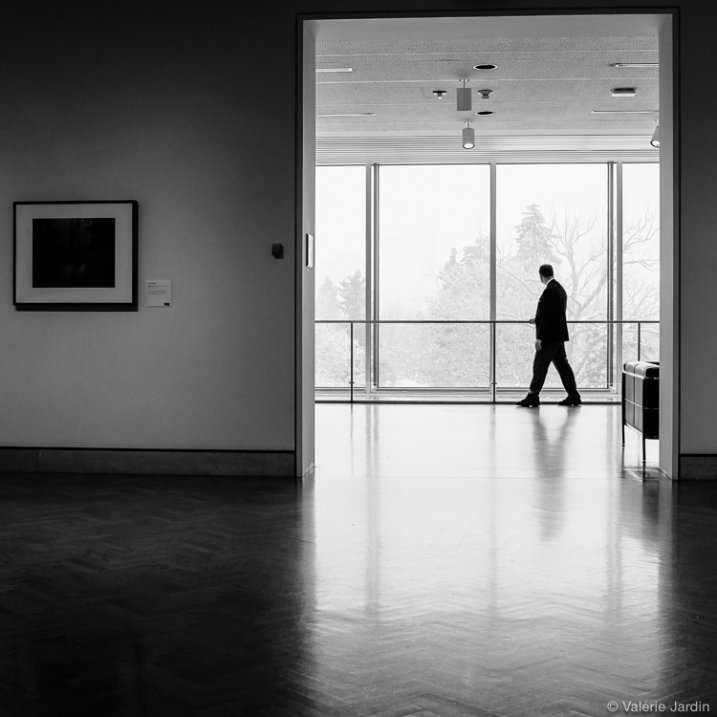
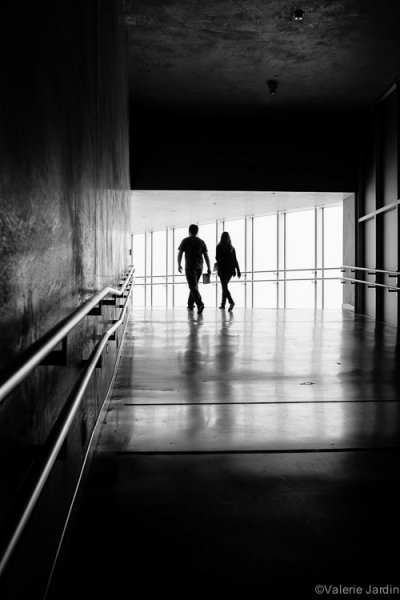
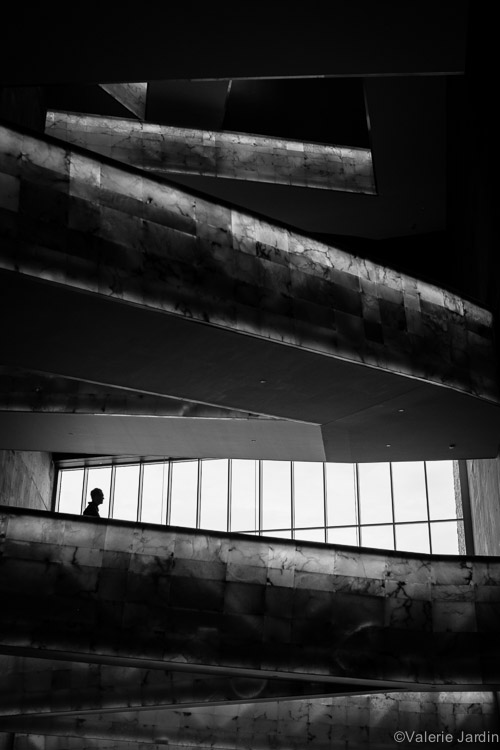
Find an interesting architecture or urban landscape and wait for someone to enter your frame. Even small, the human element becomes the focal point.

A minimalist approach to photographing a silhouette can make for a strong image.

A minimalist approach to photographing a silhouette can make for a strong image.

7. Tweak in post-processing

If you use Lightroom, you can easily tweak your photograph by using the contrast, highlights, shadows and black sliders for the final touches and the look you envision.

Now grab your camera and hit the streets!

googletag.cmd.push(function() {
tablet_slots.push( googletag.defineSlot( “/1005424/_dPSv4_tab-all-article-bottom_(300×250)”, [300, 250], “pb-ad-78623” ).addService( googletag.pubads() ) ); } );

googletag.cmd.push(function() {
mobile_slots.push( googletag.defineSlot( “/1005424/_dPSv4_mob-all-article-bottom_(300×250)”, [300, 250], “pb-ad-78158” ).addService( googletag.pubads() ) ); } );

The post 7 Steps to Create Street Photography Silhouettes by Valerie Jardin appeared first on Digital Photography School.


Digital Photography School

 
Comments Off on 7 Steps to Create Street Photography Silhouettes

Posted in Photography


Book of Shadows: 2D Shape Cutouts Cast Silhouettes on Pages

24 Jul

[ By WebUrbanist in Design & Products & Packaging. ]

motion train animated example

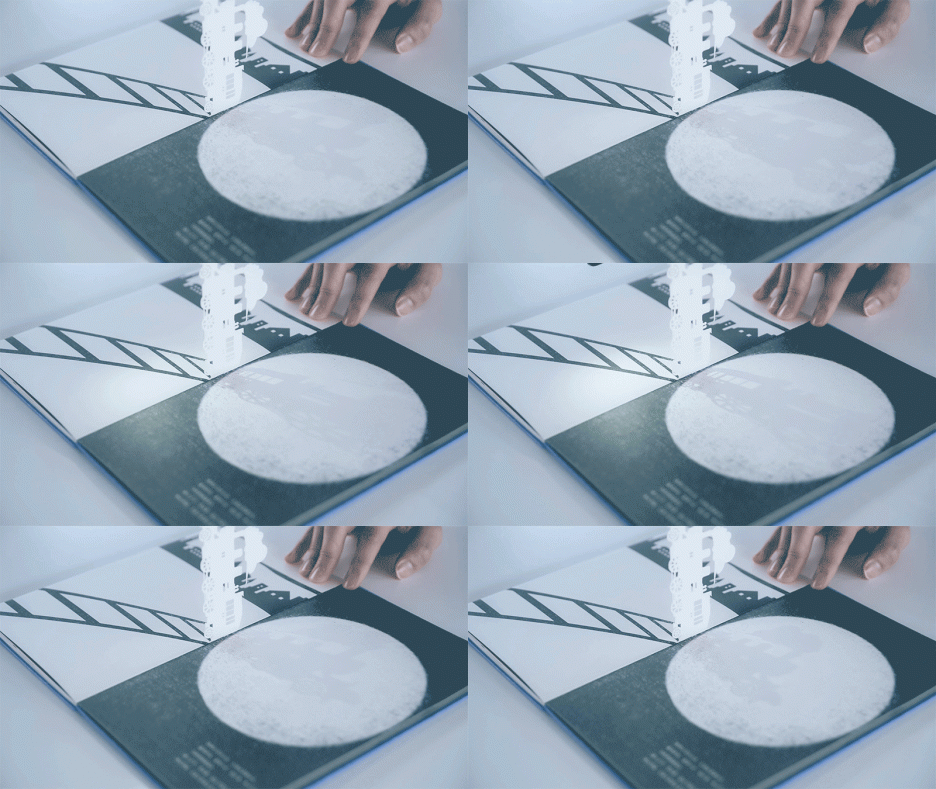
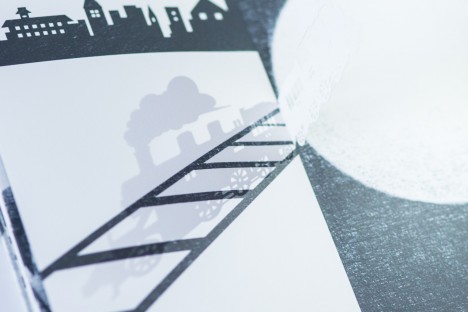
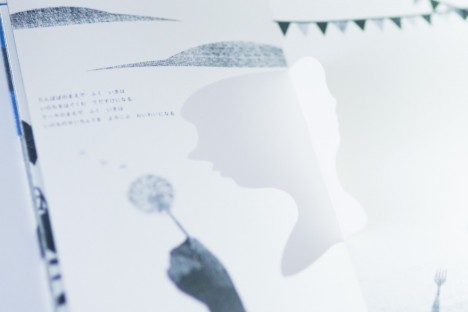
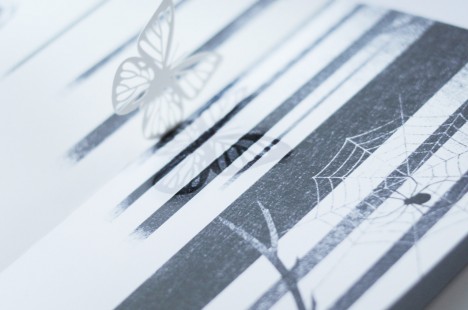
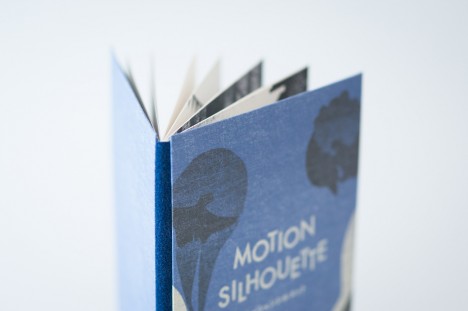
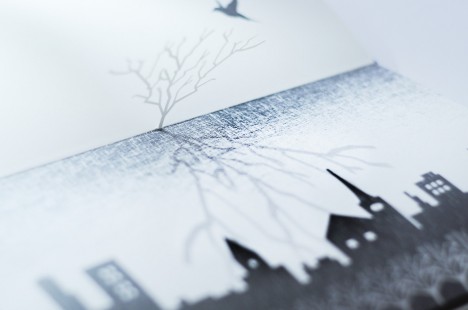
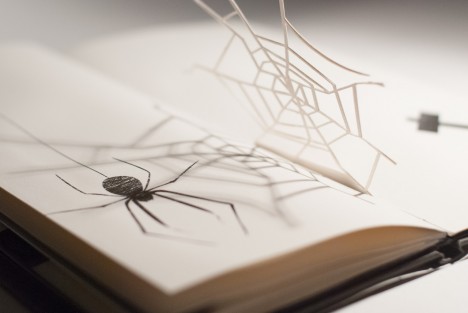
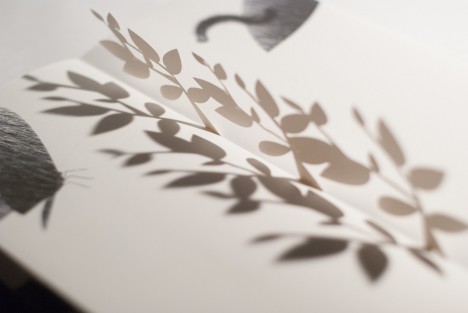
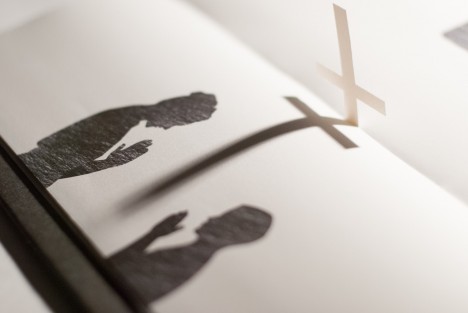
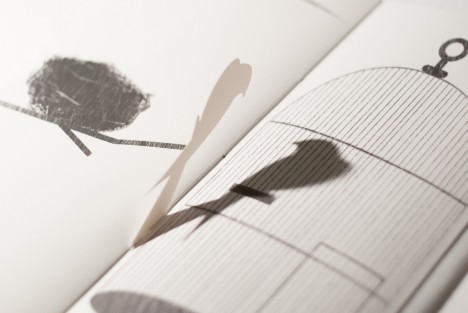
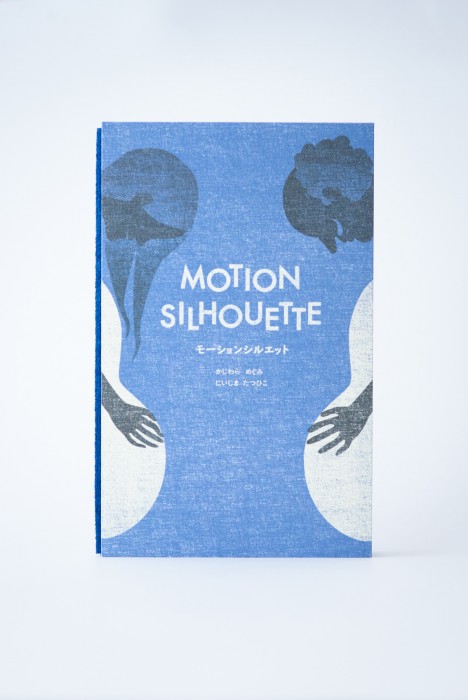
A children’s book with an interactive twist, Motion Silhouette engages readers through pop-up pieces that require lighting to animate shadow pictures on each page.

motion train moving page

motion train other page

motion womans face page

motion butterfly shape page

The idea is to add elements of manual animation that are necessarily subjective – each person will hold, turn and highlight the cutouts in different ways.

motion animated book shadow

motion silhouete tree city

motion silhouette

Secondary readers or viewers (young kids watching over parents’ shoulders) will also have their own unique experience each time.

silhoutte book one

silhouette spider web

silhouette plant shapes

silhouette cross page

silhouette bird page

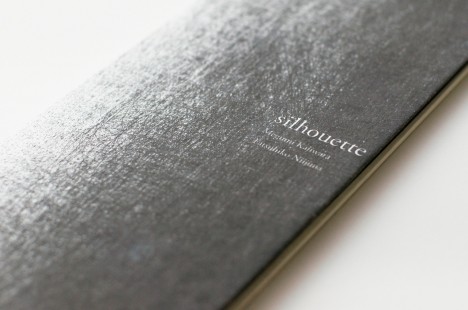
Motion Silhouette is actually a sequel to another book, simply titled Silhouette (excerpts shown above), a work which similarly uses slightly less-developed pop-up pages to create a more basic multi-dimensional experience.

motion silhouette book

From its Japanese creators, Megumi Kajiwara and Tathuhiko Nijima: “I will begin to talk about the story and illustrations shadow falls on top of the page overlap. In this work, you can enjoy the animation of shadow phantasmagoric by you move the light. Trees and become bigger and bigger, which aims to train a distant star. Story that changes depending on the page falling shadows, shadows move around the top of the page.”

Share on Facebook


[ By WebUrbanist in Design & Products & Packaging. ]

[ WebUrbanist | Archives | Galleries | Privacy | TOS ]


WebUrbanist

 
Comments Off on Book of Shadows: 2D Shape Cutouts Cast Silhouettes on Pages

Posted in Creativity


Create Powerful Silhouettes by Telling a Story

06 Feb

Create Powerful Silhouettes by Telling a Story

Telling the Story

Silhouettes remove all the distractions and clutter in the scene and distill the image down to its most basic, this is why the story is so important. Just using shapes you must make a photo that is recognizable, and that the viewer can relate to. While this sounds easy in practice, it can be difficult to achieve. You must have the right elements. The light needs to be in the right location, the subject needs to be facing the right way, and they need to be in a pose that makes their action recognizable.

Silhouette 1

Movement by the subject helps tell a strong story in your silhouettes

Tips for creating good silhouettes that tell a story

Clean outlines

If you have multiple objects that are back-lit you want to make sure there is separation between the objects so that each one is distinct and recognizable.

Profiles or straight on shots work well

For people, profiles or straight on shots work best. For profiles you should be able to clearly make out the shape of the nose and chin on their face. For straight on shots the subject’s arms should be away from their body, and their legs parted so you can see both legs and not just a single blob. Recognizable shapes – this is important for every silhouette.

Capturing action

Movement in your subject can create strong lines and positions that are instantly recognized by the viewer and help convey the story of what the subject is doing.

Props

Silhouette 2

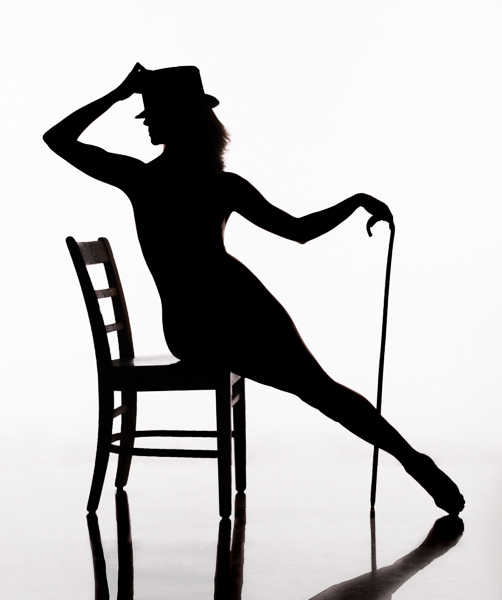
The added hat and cane help enhance the story in this image

Props can help tell the story, an outline of a flower, a tip of a hat can add meaning to the image.

Interaction between subjects

Having multiple subjects can be challenging because you want to minimize overlap of their shapes so they each maintain their own identity. There is a balance between telling the story and having the subjects interact in a minimal way. For example holding hands or kissing often work well, but a hug results in silhouette that is just a big black blob.

Silhouette 3

Separation between subjects is important. This image would be stronger if the man’s leg did not merge with the camera and tripod

Lighting for Silhouettes

To light a silhouette you need to light the subject from behind. The type of light is not important; it can be natural or artificial and can be direct or indirect. The important thing is that the lighting is behind the subject, and the subject is not lit. Technically silhouetting occurs when you have a lighting ratio of 16:1 or greater (4 stops), however I will describe how you can create a silhouette in post-production using lower lighting ratios.

Natural Silhouette Lighting

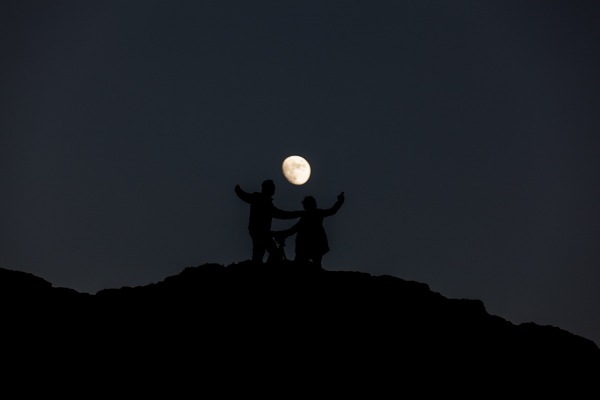
One of the most common types of silhouettes using natural lighting is to place the subject between the camera and the setting sun or moon. Your camera exposure should be set for the background lighting, either the sunset or moon, and this will cause the subject to appear black against the light background. Another common technique is to use the light reflected off of a wall or the side of a building.

Silhouette 4

This lighted wall in Las Vegas provides great back-lighting for silhouettes

Studio Silhouette Lighting

There are two common techniques for creating silhouettes using studio strobes. The first is to use a white background and bounce the strobes off the background. The second is to point the strobes towards the camera and place the subject between the strobes and the camera. This second technique can also produce a light flare in the image which can give an interesting effect.

Post-processing techniques

Silhouette 5

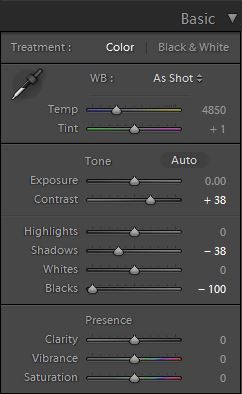
If you have a backlit subject, but can still see some detail in the subject you can often make it a pure silhouette in Lightroom, or Camera RAW. Use the develop module in Lightroom and adjust the Contrast, Highlights, Shadows, and Blacks sliders. Use different combinations to darken the subject. Typically you will need to increase Contrast and decrease one, or all of the other three sliders. Either the Shadow or Blacks slider should be set to -100, try both to see which produces the desired effect. Decreasing Highlights is typically only necessary if the edges of the subject are lit and you wish to make them darker.

Conclusion

Silhouettes are a fun and easy to do and by concentrating on the story being told you can create an image that has impact.

Want more silhouettes?

  • 5 tips for photography silhouettes (non-human subjects)
  • How to photograph silhouettes in 8 easy steps
  • 12 stunning silhouettes
  • Great B/W silhouette images

The post Create Powerful Silhouettes by Telling a Story by Craig Colvin appeared first on Digital Photography School.


Digital Photography School

 
Comments Off on Create Powerful Silhouettes by Telling a Story

Posted in Photography


Silhouettes: Weekly Photography Challenge [With 18 Examples]

23 Mar

This week your photographic challenge is to shoot and share a Silhouette image.

lovers moments  +4 inside

Silhouettes are images that often have a lot of drama and visual punch – yet they are not that hard to take. Here’s how to photograph stunning silhouettes.

Looking for more inspiration: Check out these 12 great examples of silhouettes.

Ninja Portrait, Take 2

Keep in mind that silhouettes can be much more than just a person standing in front of a pretty sunset.

There need not be people in them at all.

A Black Sun

Ladybird Silhouette

Silhouettes can be Subtle.

alphaville

Silhouettes can be shot indoors.

Untitled

Let's Pack Our Bags And Fly Away

Silhouettes can be created with artificial light.

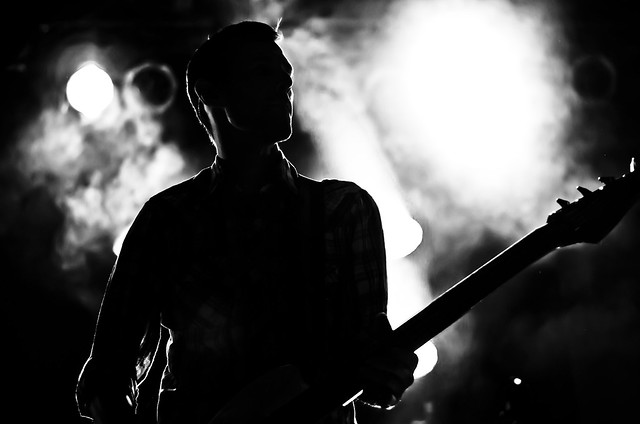
Bassist in the Light

Hot shoes.

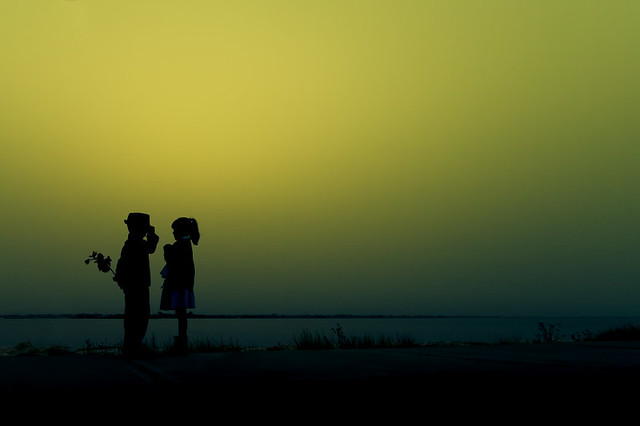
Silhouettes can be colorful.

Silhouette Shooter

Underwater World

Silhouettes can be in Black and White.

Revelation

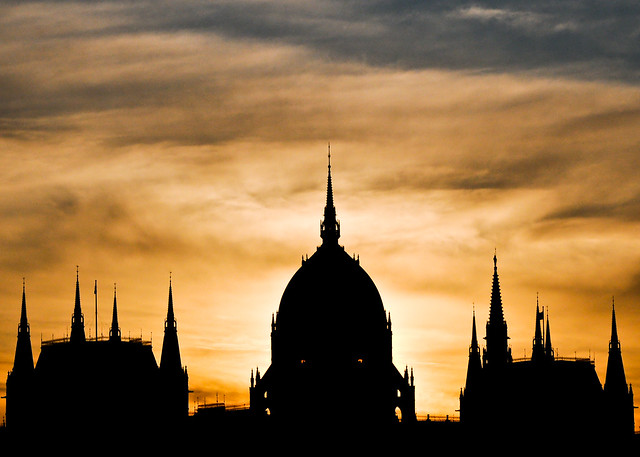
Silhouettes can be of structures.

Hungarian Parliament Building Silhouette ~ Explored ~

Colombian Training Ship ARC "Gloria"

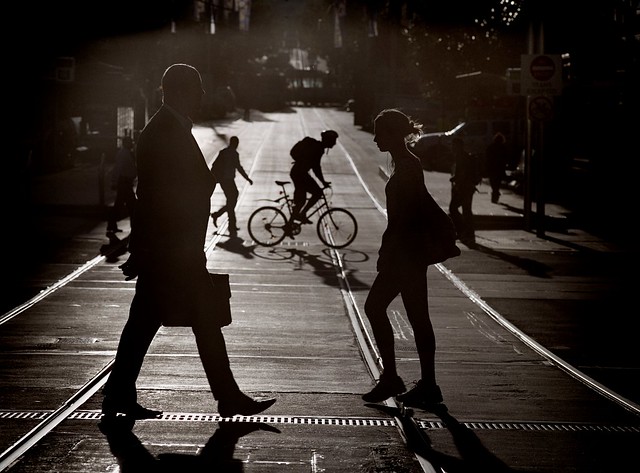
Silhouettes can be Candid.

seven thirty bourke street

Silhouettes can be Posed.

To Endure or To Abandon ... ?

Silhouettes can tell Stories

Day 100/365 "Marry Me?"

Silhouettes can convey a sense of place.

Sunday sunset on Rabat beach

Let your imagination and creativity run wild!

Once you’ve taken your ‘Silhouette’ image and have upload it to your favourite photo sharing site either share a link to it or – embed it in the comments using the our new tool to do so.

If you tag your photos on Flickr, Instagram, Twitter or other sites with Tagging tag them as #DPSSILHOUETTE to help others find them. Linking back to this page might also help others know what you’re doing so that they can share in the fun.

Also – don’t forget to check out some of the images posted in our last challenge – Delicate challenge where there were some great images submitted.

Post originally from: Digital Photography Tips.

Check out our more Photography Tips at Photography Tips for Beginners, Portrait Photography Tips and Wedding Photography Tips.

Silhouettes: Weekly Photography Challenge [With 18 Examples]


Digital Photography School

 
Comments Off on Silhouettes: Weekly Photography Challenge [With 18 Examples]

Posted in Photography