RSS
 

Posts Tagged ‘seconds’

Video: What it’s like to photograph Formula 1 in 60 seconds

31 Aug

It’s not just hockey that’s seeing sports photographers change the way they have to operate during events. Like many other sports during this global pandemic, the Formula 1 season is quite different than usual, with an altered schedule and different race tracks than expected, but as with all sports, there are still photos that need to be taken.

View this post on Instagram

Who’s ready for another episode of My Job in 60 Seconds? ? This week meet Steve, our team photographer since 2010! From Schumacher to Senna, Hamilton to Hakkinen, Steve’s photographed all the greats in @f1 during his impressive career!

A post shared by Mercedes-AMG F1 (@mercedesamgf1) on

As part of its ‘My Job in 60 Seconds’ series the team hosts on Instagram, Mercedes-AMG Petronas F1 Team photographer Steve Etherington shares what it’s like to photograph the pinnacle of motorsports at a time when team personnel and fans are limited due to the COVID-19 pandemic.

Throughout the video, Etherington shares what it is he does on a race weekend, how the social ‘bubbles’ put in place have changed how he shoots and more. It’s a great, albeit quick look into shooting Formula 1 — something Etherington has been doing every race weekend for 28 years.

You can find more of Etherington’s work on his website.

Articles: Digital Photography Review (dpreview.com)

 
Comments Off on Video: What it’s like to photograph Formula 1 in 60 seconds

Posted in Uncategorized


Adobe’s new video series offers helpful Lightroom CC, Mobile tips in 60 seconds

31 May

Adobe has started up a new video series on its Adobe Photoshop Lightroom YouTube channel called In a Lightroom Minute that condenses helpful Lightroom CC and Lightroom Mobile tips into tutorials that are roughly 60 seconds in length.

Similar to its previous Lightroom Coffee Break and Photoshop Magic Minute series, In a Lightroom Minute covers a variety of small tips and tricks, from How to Save Edits as Presets in Lightroom to How to Leverage Interactive Edits in Lightroom.

Currently, there are ten videos in the series, but it’s likely we’ll see more added in the near future. Below are just three you can start with:

How to Create a Preset in Lightroom

How to Get Contextual Help While Using Lightroom

How to Discover Guided Tutorials in Lightroom

You can view the full playlist and subscribe to the Adobe Photoshop Lightroom channel on YouTube.

Articles: Digital Photography Review (dpreview.com)

 
Comments Off on Adobe’s new video series offers helpful Lightroom CC, Mobile tips in 60 seconds

Posted in Uncategorized


5 Nature Photography Editing Tips to Create Stunning Images in Seconds

12 Aug

The post 5 Nature Photography Editing Tips to Create Stunning Images in Seconds appeared first on Digital Photography School. It was authored by Jaymes Dempsey.

Do you ever feel like your nature photos are just a bit…bleh? Like they could use something more?

nature-photography-editing-tips

It’s a common problem. Because while you can be a master of light, composition, and camera settings, there’s still one thing you need for amazing nature photography:

Editing.

You see, editing is how you make your nature photos shine. It’s how you add a final touch to your images. It’s how you take a slightly bland image, and make it into something truly stunning.

In this article, I’m going to share with you nature photography editing tips so you know exactly how you can create amazing nature photography edits.

And you’ll come away with the ability to enhance every single one of your nature photos.

Sound good?

Let’s get started.
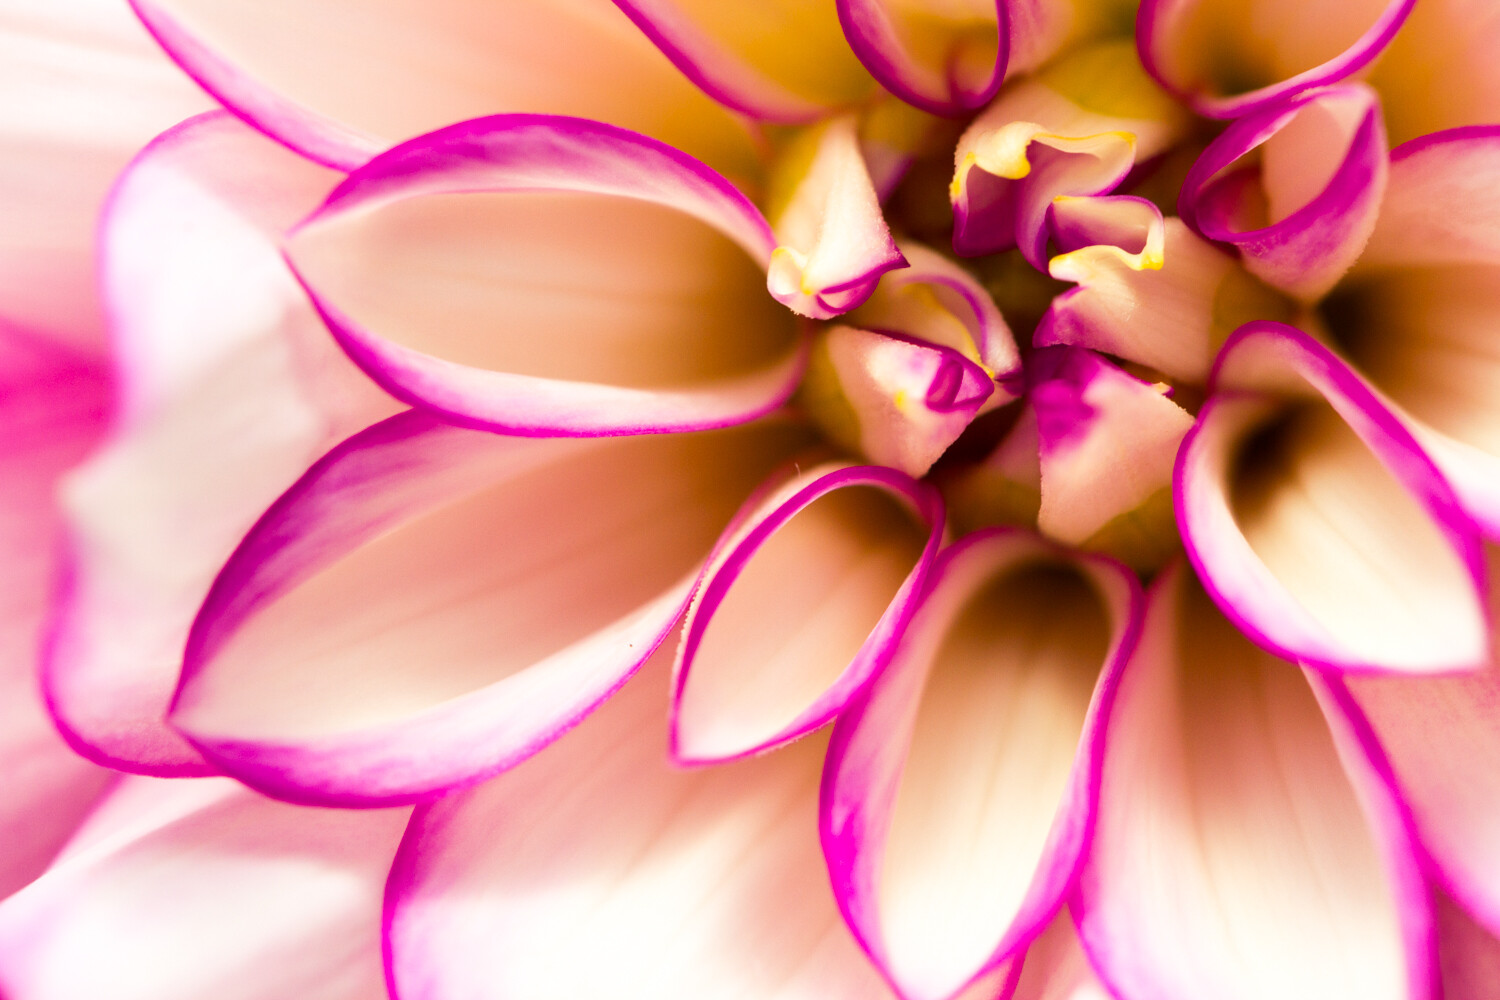
nature-photography-editing-tips

1. Straighten and crop to emphasize your main subject

First things first:

If your nature photo is crooked…

…then it just won’t work. No matter how amazing the content.

(This is especially a problem for landscape photos, where crooked horizons are extremely obvious.)

You see, a crooked photo is just disorienting. It causes the viewer to get caught up in being imbalanced and makes them forget all about the subject.

So the first thing you should do to enhance your nature photos:

Check to make sure your photo is straight. And if it isn’t, straighten it! Pretty much every photo editing program offers straightening tools, so make use of them.

I handheld this swan photo, and so it required a bit of straightening:

5 Nature Photography Editing Tips to Create Stunning Images in Seconds

Once you’ve straightened your photo, it’s time to think about cropping.

Now, if you’ve composed carefully in-camera, you won’t necessarily need to crop. But it’s easy to miss something small while looking through the viewfinder. Maybe there are some leaves dangling in the corner of the frame!

In which case:

Crop!

By removing distractions, you’ll make your photo stronger overall. You should also crop to improve your composition. For instance, you might crop slightly to place your main subject on a rule of thirds gridline.

Or you might crop to place a symmetrical subject smack-dab in the middle of the frame, like this:

5 Nature Photography Editing Tips to Create Stunning Images in Seconds

Basically, just think of cropping as a second, more measured chance at composing.

Use it to nail the perfect final composition. But don’t think that you need to crop each time a photo comes up. And try to get the composition right in-camera.

After all, crops automatically reduce resolution!

2. Drop the blacks and up the whites to add interest

If you think that your nature photos are looking a little flat, then you might be suffering from a common problem:

Low contrast.

Low-contrast photos generally lack interest. There’s not a clear difference between the subject and the background, so the whole shot just seems to blend together.

Fortunately, this can be fixed pretty easily with a bit of post-processing!

First, basically, every photo editing program offers a contrast slider. For a quick-and-dirty edit, go ahead and boost up this slider.

However, I’d go for something a bit more controlled.

In Lightroom, for instance, I like to use the adjustment sliders to drop the blacks and increase the whites, like I did for this photo:

nature-photography-editing-tips

You can also use the tone curve function to create a nice s-shape, which will give you the same effect.

If my image is fairly low contrast to start with, I’ll add a touch of contrast and then leave things be.

But if my image already has a lot of light and dark tones, I like to push the contrast further. This is especially the case if I’m taking photos in black and white.

Therefore, I’ll add to the blacks until the deepest shadows are close to losing detail. And I’ll increase the whites until the brightest parts of the photo are almost clipped.

3. Clean up your subject with a bit of Healing or Cloning

Now it’s time for some careful adjustments.

You see, many subjects in nature photography could use a bit of cleaning up. Because they tend to have dirt or blemishes that interfere with the overall look of the photo.

For instance, I often clean up my flower photos. Insects chew holes in the petals, or the tips of the flowers start to wither. And if I were to leave these elements in, they would simply distract from the overall shot.

5 Nature Photography Editing Tips to Create Stunning Images in Seconds

If you’re a bird photographer, think about cleaning up the bird’s surroundings. There are often stray branches in photos of woodland birds. There is often dirty sand and distracting shells in photos of shorebirds.

On the other hand, I would not advocate making extensive modifications to your subject. I like to portray nature as close to reality as possible. And that means holding myself back from altering my subject in any deep way.

I generally use Lightroom’s excellent healing tool to remove these blemishes. But any clone tool will do the job. It’ll just require a bit more work.

4. Simplify the palette with Color Adjustments

In nature photography, I advocate simplicity:

Simpler shots are generally best.

But that doesn’t just go for composition. It’s also true for color.

In other words, for a stunning photo, you should try to limit the number of colors you include. One color works just fine. Two is nice. Three is good. Four is reaching the upper edge.

After that, the colors contribute a sense of chaos to the scene, which is exactly what you don’t want.

Fortunately, you can work on simplifying your color palette after you’ve taken your shots.

5 Nature Photography Editing Tips to Create Stunning Images in Seconds

All you have to do is use the color adjustment sliders. In Lightroom, these are the hue, saturation, and luminance (HSL) adjustments.

Here’s a couple of ways you can simplify your colors:

First, you can desaturate any colors that you want to deemphasize, and saturate any colors you’d like to bring out.

Second, you can change the hues of several colors to look more similar. For instance, you might make greens slightly bluer and blues slightly greener, so that everything leans toward a balanced middle color.

Third, you can darken any problematic spots of color. If you have a splash of orange in the background that you just don’t like, you can dial it back by simply darkening the oranges.

Unfortunately, there’s no set formula for working with color adjustments. But I always recommend you keep a final goal for the photo in mind: simplicity.

5 Nature Photography Editing Tips to Create Stunning Images in Seconds

And I should note: It’s easy to overdo color adjustments so that you end up with a garish, oversaturated scene. I suggest that you always check your color edits the day after you’ve finished, and make sure that the edits still seem to make sense.

That way, you can be sure that you haven’t taken things overboard.

5 Nature Photography Editing Tips to Create Stunning Images in Seconds

5. Use a subtle Split Tone to give a polished look

Here’s your final piece of advice for nature photography post-processing:

Use (subtle) split toning!

Now, split toning is a bit complex:

It allows you to choose a color to add to the shadows of the image, and a color to add to the highlights of your image.

For instance, you can add a yellow to the highlights, and make the whites of the image look very warm:

5 Nature Photography Editing Tips to Create Stunning Images in Seconds

Then you can add a blue to the shadows, and make the dark parts of the image look very cold:

nature-photography-editing-tips

In fact, yellow/blue split toning is extremely common in cinema, because the warm/cold contrast makes the visuals more compelling.

Now, in nature photography, you don’t want to split tone to the extent they do in cinema. The point of a nature photography split-tone is to subtly enhance the colors.

So here’s what you should do:

Once you’ve finished your main editing, head over to the split-toning options in your editing software. This isn’t an edit offered by every post-processing package, so check to see if it’s something you can do.

Then simply play around with the split toning options. Be careful to keep things pretty minimal. You don’t want to grossly alter the colors of the photo. You want something subtle.

The yellow-highlights, blue-shadows split-tone is one that works pretty consistently, so it’s something that I suggest you try.

But feel free to experiment with many split-tone options.

And pick the one you like best for a wonderful finishing touch!

5 nature photography editing tips to create stunning images in seconds: next steps

Nature photography editing is just the thing you need to add a bit of punch to your photos.

So I suggest you have a consistent post-processing workflow, one which allows you to take your pictures to their full potential.

nature-photography-editing-tips

That’s how you’ll really create a polished nature photography portfolio.

Which nature photography editing step do you think is most useful? Let me know in the comments right now!


5-nature-photography-editing-tips

The post 5 Nature Photography Editing Tips to Create Stunning Images in Seconds appeared first on Digital Photography School. It was authored by Jaymes Dempsey.


Digital Photography School

 
Comments Off on 5 Nature Photography Editing Tips to Create Stunning Images in Seconds

Posted in Photography


SwitchPod is a ‘minimal’ handheld tripod that switches modes in seconds

31 Jan

A new Kickstarter campaign is seeking funding for SwitchPod, a handheld ‘minimal’ tripod that switches from handheld mode to tripod mode in only a couple seconds. The device requires almost no effort to convert, enabling users to seamlessly transition from recording while holding the device to recording from a flat surface without pausing to adjust the stand.

SwitchPod is compatible with any camera, including smartphones and DSLR models; the company behind it emphasizes high portability, a “nearly indestructible” aluminum alloy design, and support for weights up to 100lbs / 45kg. The tripod features a 1/4-20″ standard screw for directly attaching a camera, as well as support for ball heads and quick release plates.

Two additional 1/4-20″ threads on the tripod’s legs enable users to attach accessories, such as a light and microphone, plus the leg design makes it possible to clip SwitchPod to a bag using a carabiner. Other features include a tightening knob, non-slip feet, two sets of finger grooves for grasping the tripod in different positions, and a circle pad to protect the camera’s base. The tripod weighs 11.1oz / 315g and measures 11in / 28cm long in handheld mode.

The SwitchPod Kickstarter campaign has exceeded its funding goal, but is still open to new pledges. Backers who pledge at least $ 79 USD are offered a single SwitchPod as a reward; shipping is estimated to start in August 2019.


Disclaimer: Remember to do your research with any crowdfunding project. DPReview does its best to share only the projects that look legitimate and come from reliable creators, but as with any crowdfunded campaign, there’s always the risk of the product or service never coming to fruition.

Articles: Digital Photography Review (dpreview.com)

 
Comments Off on SwitchPod is a ‘minimal’ handheld tripod that switches modes in seconds

Posted in Uncategorized


Video: The history of B&H in 91 seconds

03 Jan

B&H has grown to become an establishment in the world of photography since it first opened its doors in 1973. To celebrate more than 45 years in business, B&H has published a 91-second video that takes a brief look at the company’s history.

Founded by a husband and wife — who used their names Blame and Herman as the inspiration for the brand — B&H has gone from a small shop in on 17 Warren Street in Manhattan, New York City to a three story building on 420 9th Avenue with more than 400,000 products on its shelves and 1,000 employees at the helm.

While B&H’s history is a notable one, it isn’t without its blemishes. Since 2007, B&H has faced numerous lawsuits for various discrimination claims and to date has paid out more than $ 7.5 million in verified settlement claims.

Articles: Digital Photography Review (dpreview.com)

 
Comments Off on Video: The history of B&H in 91 seconds

Posted in Uncategorized


Video: 6 in-camera video transitions in 120 seconds

06 Jul

Whether you’re filming a camera review or working on your latest vlog, one of the easiest ways to take your video to the next level is to have clever transitions. To help you do just that, Rachel and Daniel of Mango Street have created a video showcasing six in-camera video transitions you can do with little more than a bit of planning.

The video summarizes six different methods in just 120 seconds: through the door, back in shot, whip tilt up and down, below ground, strafe blocking and prism wipe. Each method is detailed with a how-to shot and and a final result shot to show both how to get it done and what the final result looks like.

At the end of the video, all of the techniques are put together to create a seamless flow of footage using all six methods. It’s a short, simple video that manages to pack a punch in just under two minutes.

As noted by Mango Street in the description of the video, don’t forget, ‘focus on the story first. Transitions should only serve to enhance your story.’

Articles: Digital Photography Review (dpreview.com)

 
Comments Off on Video: 6 in-camera video transitions in 120 seconds

Posted in Uncategorized


What are Watt Seconds and How Many Do You Need?

06 Jul

If you’ve ever used studio lights or been in the market to buy some you may have heard the term “watt seconds” (Ws) used in conjunction with strobes. But what the heck does it mean? How do you know if you should buy a 500Ws light or one with more?

In this video, Mark Wallace from Adorama TV explains an often confusing term – watt seconds – and answers the question, “How many watt seconds do I need?”

What are watt seconds?

?

Now, once you’ve decided on how many watt seconds you need for your shooting environment and style, how will you put it to use? Here are some dPS articles that might help you out:

  • 5 Tips How to Set Up a Home Studio for Dramatic Portraits
  • Review: Interfit Honey Badger Studio Strobe and Universal Remote
  • Studio Starter Kit: How to Design a Starter Portable Studio
  • The Power of Shooting Simply with One Light and a Reflector
  • Rim Light – A Simple Way to Create Powerful Images with a Single Flash
  • Studio Starter Kit: How to Design a Starter Portable Studio

The post What are Watt Seconds and How Many Do You Need? appeared first on Digital Photography School.


Digital Photography School

 
Comments Off on What are Watt Seconds and How Many Do You Need?

Posted in Photography


Sony reduces Pixel Shift interval to 0.5 seconds in a7R lll

10 May

Sony has released new firmware for its a7R lll camera to insert a new option for Pixel Shift Multi Shooting that reduces the delay between frames to 0.5 sec. Firmware v1.10 adds the 0.5 sec delay setting to the menu so users can halve the current shortest time between frames taken with the camera in Pixel Shift Shooting mode. Previously, delays of 1-30 seconds could be selected. The move will reduce the total amount of time the pixel shift mode takes to record the images it needs, so perhaps will also reduce the risk of movement in the subject.

Users can now also use exposure bracketing in silent mode when recording uncompressed Raw files, and the focus assist peaking display can be tuned when shooting in S-Log mode. Sony says it has improved the general stability of the camera and has fixed problems it had with Eye AF failing in when used with certain settings.

For more information, and to download firmware v1.10 for the Sony a7R lll visit the Sony website.

Manufacturer’s information

ILCE-7RM3 Camera Firmware Update

What Does This Do?
This update (version 1.10) provides the following benefits:

  • Adds the menu option to select Pixel Shift Multi Shooting (On: Shooting Interval 0.5sec)

Notes:

When using an A-mount lens via an adaptor (LA-EA1/ LA-EA2/ LA-EA3/ LA-EA4), the interval might be slightly longer

When the camera is connected to PC, please use the latest version of the Imaging Edge software

  • Adds support for bracketing during silent shooting with uncompressed RAW
  • Adds support for tuning of the peaking display level for S-Log shooting
  • Makes improvements for a condition where the Eye AF does not work with certain camera settings
  • Makes improvements for a condition where Viewfinder Brightness is not reflected correctly in the Manual setting
  • Improves overall stability of camera

Articles: Digital Photography Review (dpreview.com)

 
Comments Off on Sony reduces Pixel Shift interval to 0.5 seconds in a7R lll

Posted in Uncategorized


Video: Professional fashion model hits 30 poses in just 15 seconds

25 Jul

If you’re a fashion model working with Taobao, an Chinese online retailer a la Amazon, your photographer expects some next-level posing from you. In this video posted by the Facebook page Shanghai Expat, we get to see what this looks like in real life: 30 poses hit in just 15 seconds of shooting.

Rapid-fire posing is nothing new, but it’s still hard to believe that each one of these split-second poses turns into a different look option for a catalog. Over the course of a day’s shooting, these models will reportedly pose up to 150 outfits, taking just one minute to change outfits and a 10-minute lunch break.

At that pace, we’re not entirely sure how the photographer is keeping up. Have you ever had the opportunity to work with a model at this skill level? What was it like? Tell us in the comments.

Articles: Digital Photography Review (dpreview.com)

 
Comments Off on Video: Professional fashion model hits 30 poses in just 15 seconds

Posted in Uncategorized


DEAL: How to Create Captivating Photo Collages in Seconds

20 Dec

Welcome to Day 7 of the dPS 12 Days of Christmas Sale.

Today’s exclusive offer will help you make beautifully designed collages within Lightroom, in seconds.

Cole from Cole’s Classroom has an exclusive offering for dPS subscribers.

LR collage header

Normally $ 158, today it’s only $ 29. That’s 85% Off.

Creating photo collages has never been so simple, and without ever having to leave Lightroom, you save massive amount of time! These Drag & Drop Collage Templates are Perfect for…

Your Blog, Instagram, Facebook, Prints for Your House & More!

Cole has set up templates for all the popular formats, so you can create collages using:

  • 16 Instagram Unique Design Templates
  • 18 Blog or Website Collage Templates
  • 19 Facebook Cover Design Templates
  • 7 Facebook Ad Templates
  • 16 Print Design Layout Templates

That’s a total of 76 unique design layouts & collages!

Cole has also thrown in a bonus if you buy today so you can export your collages to your blog or Facebook in one click!

So don’t miss out, save $ 129 today.

Note: There’s a 100% no-questions asked money back guarantee on these templates so no risk to you. Buy it, try it and if isn’t what you expect Cole will be more than happy to provide you with a refund.

googletag.cmd.push(function() {
tablet_slots.push( googletag.defineSlot( “/1005424/_dPSv4_tab-all-article-bottom_(300×250)”, [300, 250], “pb-ad-78623” ).addService( googletag.pubads() ) ); } );

googletag.cmd.push(function() {
mobile_slots.push( googletag.defineSlot( “/1005424/_dPSv4_mob-all-article-bottom_(300×250)”, [300, 250], “pb-ad-78158” ).addService( googletag.pubads() ) ); } );

The post DEAL: How to Create Captivating Photo Collages in Seconds by Darren Rowse appeared first on Digital Photography School.


Digital Photography School

 
Comments Off on DEAL: How to Create Captivating Photo Collages in Seconds

Posted in Photography