RSS
 

Posts Tagged ‘Seat’

How to Photograph Light Trails from the Back Seat of a Car

21 Jan

Photographic light trails are a beautiful effect. You’ve no doubt encountered them before. Photographers perch over a vantage point and trace the trajectory of cars navigating an urban landscape using a slow shutter speed. The result renders a fluid trail tracing around the environment in a variety of shapes and colors.

Think of this project as a new take car light trails. We’ll still be recording passing light sources – but we’ll be capturing them from inside of the car instead. The result is just as striking inside as it is outside. You might have an old car or a fresh new one – it doesn’t matter! You get an impressive effect regardless.

How to Photograph Light Trails from the Back Seat of a Car

Safety

First, a little caveat. Safety is the priority here. As we are going to shoot from the back seat of the car, you will need a pal as the driver. Do not try and take photos while driving – it can only end badly. Having a buddy as a driver will allow you to concentrate on what you are doing while the driver can focus on driving. It’s strictly a team effort.

Another safety point, try not to obscure the rear-view mirror. Hunch down a little to save the obstructing the driver’s view. For the best effect, photographing at night is ideal – so be extra aware of the limited visibility.

Equipment

What you need to do this:

  • Camera
  • Sturdy Tripod
  • A friend
  • A car

Setting up

It can be a rough ride trying to get everything set up in a moving car, so set up before hitting the road. First, clean the glass. Give your windshield and windows a good clean to avoid spending countless hours cloning out unfortunate bugs in post-production. Next, set up your tripod in the car. You’ll have to do some adjusting to get the camera level with the windshield.

Just keep in mind, the tripod just adds extra stability. It’s impossible to take a sharp slow shutter speed image while driving along in a fast car. But the tripod is far more stable than photographing by hand. I use a Manfrotto tripod because it’s nice and heavy to keep things a little steadier.

Sit the tripod so two legs rest against the front seats, with your camera peeking through the gap between the headrests. Be sure your camera is securely attached before heading out. You don’t want a camera bouncing around in a moving car.

Method

Once you are packed and ready,  it’s time to set off. Take a few test shots on your camera. As I mentioned before, this project works best at night, otherwise, you won’t get much of a result at all – just blown out exposures. In addition, the variety of lights will be much more apparent at night, with a good mix of color and shape.

Next, try to familiarize yourself with the car’s handling so you can expect certain lumps or bumps and the car’s response. I’m not saying you have to become a car-psychic, but higher cars behave differently from one to another. The interior of a car also has an impact on how your photographs will turn out. You may have to incorporate a dashboard or interior lighting too. I chose to keep the dashboard lighting in my images to maintain the process of the photograph.

The next step is all experimentation! You’ll get an endlessly diverse result with every exposure. I recommend setting your camera to ISO 100 so you can use shutter speeds between 10 and 30 seconds. If you have a shutter release, give the B (Bulb) setting a try too. Just take a few moments to find a comfortable position. You can keep your tripod a little steadier if you brace yourself against the legs of the tripod and the front seat.

How to Photograph Light Trails from the Back Seat of a Car

In this image, the driver is making a turn which creates the horizontal lighting effect.

How to Photograph Light Trails from the Back Seat of a Car

You can choose to include your friend in the review mirror. Just make sure you warn them in advance and don’t obstruct their visibility for too long.

How to Photograph Light Trails from the Back Seat of a Car

You can tell how rough this section of road was due to to the jagged lights. You can also see the illuminated settings on the dashboard. I felt that including them adds to the final image and the process leading up to each photograph.

How to Photograph Light Trails from the Back Seat of a Car

By swiveling the camera to focus on a different area of the car you can record light sources from two angles of the frame.

How to Photograph Light Trails from the Back Seat of a Car

On a rainy night, the windshield gets a little fogged, diffusing the lights at this interchange.

How to Photograph Light Trails from the Back Seat of a Car

By unfocusing your camera, you can create some colorfully abstract patterns and bokeh.

How to Photograph Light Trails from the Back Seat of a Car

Conclusion

Photographing light trails inside the car is a quick and easy way to capture a unique perspective. We know the world outside the windshield is a wonderful one, but sometimes it takes an abstract project like this one to truly bring it alive. While I’ll admit it ain’t Top Gear, it does have some pretty amazing results.  I would love to see some of your results below!

The post How to Photograph Light Trails from the Back Seat of a Car by Megan Kennedy appeared first on Digital Photography School.


Digital Photography School

 
Comments Off on How to Photograph Light Trails from the Back Seat of a Car

Posted in Photography


From the sidelines to the driver’s seat: A photographer’s evolution

06 Oct

I have worked as a race photographer, a wedding photographer, landscape photographer; I photographed architecture, food, portraits and hot air balloons.

One of the most incredible things about a photography career is how it has this magical ability to open doors—how my camera has, time and again, taken me from a spectator on the sideline and put me right in the middle of the action.

In my own career, I’ve experienced this many times. Here are just three of those stories (and some shooting tips along the way).

A teenager at the race track

I was fortunate as a teenager when a race car driver threw me a rag and told me to get under his race car and clean it from the tire rubber that was stuck to the underside. I had gone to the racetrack after spending earlier years building models of these very race cars. I wanted to see the real deal.

From that relationship, I grew to become a professional photographer, since I was lucky enough to sell all of the images from my first roll of film to the drivers at that same racetrack. I always had a desire to drive one of those 200mph “funny cars.”

This wonderful eye-opening experience led me to create work for the NHRA, AP and many racing magazines creating story-telling images of these now 300mph plus vehicles across the country.

Shooting Tips

What is most important to me when capturing cars in the drag racing world is to isolate the car from the distractions near the racecar. Generally, I let the car move down the track, away from the starting line crowds, creating a soft, dimensional background in order to allow the car to stand out.

By using a telephoto lens like my EF 200-400mm f/4L IS USM Extender 1.4x on my Canon 1DX Mark II, I can create a background made of the heat and exhaust, totally drawing the viewers attention to the razor sharp car. Compression is a wonderful tool to use in order to maintain a story-telling image, but first and foremost seeing every detail of the subject: the race car.

Another technique that I use commonly in my motorsports imagery is panning with the moving car as it goes by. Panning emphasizes speed by keeping the camera moving at the same speed as the race car. This then blurs the background, making the car look as if it is moving very quickly.

A slow shutter speed helps illustrate the movement. I may select shutter speeds of 1/30 – 1/500 sec depending upon the speed of the car that I am photographing. For this effect I am choosing to use the TV or shutter priority setting in order to allow me to maintain that certain amount of motion blur. I still try to include some of the race signage to continue that story-telling aspect of your imagery. This image was created with my workhorse EF 70-200mm 2.8L II IS lens.

While capturing the cars on the racetrack is a wonderful way to spend the day, I do look to see what I can do to add some personal element by visiting the drivers as they are strapped in to their cockpits or as they sit peacefully, contemplating their upcoming run.

One of the last tips that I would like to share with you about capturing image of powerful race cars is about the launch. I prefer to stand down track and create interesting edges to frame the main part of the composition. A drag race uses a “Christmas tree” of lights to indicate when to go. Many cars have perfected the weight transfer of the start of the race which lifts the front wheels high in the air.

The fun of flying and photography

Not too long after that amazing career-carving experience of photographing race cars, I drove to Norwalk, Connecticut in order to see and photograph a small hot air balloon festival. A few weeks later, I needed another balloon festival fix and drove north to Glens Falls, NY where I would buy my first hot air balloon ride.

All I can say is “Wow.” The hook was in. I would soon become a hot air balloon pilot.

Fast forward to today: I will soon head out to New Mexico for AIBF happening October 7th-15th, 2017. I will be there to both fly and photograph this magnificent spectacle.

5 a.m. comes early in the chilly desert air. My team and I need to be at the launch field for a 6:15 am pilot briefing in order for me and nearly 600 other pilots to take to the air filling the New Mexican blue skies with our colorful fabrics. I will be photographing right up until the time that I need to begin my inflation.

We are treated to “Dawn Patrol” when eight to twelve hot air balloons will go aloft into the dark sky about 1 hour before the rest of us do, showing what the winds are doing that day.

Shooting Tips

As most balloon events happen in the still of the early morning, we are treated to the rising sun illuminating the rich, colorful, flowing fabric that can be backlit showing leading lines and the abstract beauty that surrounds them. Wide angle lenses as well as longer telephotos are often used here to create diversely different dimensional images.

As a pilot, I so enjoy the ability to capture images from the air looking down to see so many unique compositions. This image of the “Mass Ascension” shows how you can create gorgeous landscape images as we fly over and into the river for a “splash and dash.” Pilots descend to gently float along in the rivers current.

I choose to fly with the EF 28-300mm 3.5-5.6 IS L lens so I can create images that are either wide angle or zoom in to make a tight composition while carrying only one camera body. My best tip to you when you go aloft in a balloon is to be ready to react with lightning reflexes: images come and disappear quickly as everything is moving in many different directions all at once.

I prefer to use TV or shutter priority in order to use a pre-determined shutter speed that should guarantee sharp images while moving along.

My final tip as you walk amongst the bags of fabric that will soon grow to be a balloon as tall as a 10 story building is to search out a very pretty, colorful foreground that could nicely balance a floating balloon slowly flying past, creating a multidimensional look like the above image captured through the EF 28-300mm IS L lens.

I can create images of hot air balloon events with hundreds of other balloons around me or I can fly in the desert at sunrise or sunset to have a unique perch in order to take some beautiful landscape images. It certainly puts a smile on my face whenever I get to fly, either in a balloon or even a small fixed-wing aircraft, all to enjoy being off the ground as well as seeing images from a different perspective.

Taking to the skies… again

My last story of coming from the sidelines into the driver’s seat (or in this case cockpit) would be when I furthered my flying abilities and accomplished my fixed-wing license that would carry me to locations that driving just would not allow in a relatively short time.

My first flight after successfully adding to my airmen’s license was to head to the beautiful island off the Massachusetts coast called Martha’s Vineyard. From my home on Long Island, it would take me 5-6 hours to reach the ferry that would bring you over to the island. I could fly the same route in 45 minutes.

I would do this a few times a year to go have lunch and shoot on the island before heading home for the day, very content. Photographing the beauty, flying and navigating and enjoying some remarkable culinary delights makes for a wonderful day!

Shooting Tips

Whether I’m in a fixed wing plane or a helicopter, I need to select the best lens that will be able to reach out beyond the boundaries of the aircraft to capture what I am looking for.

I will then make sure to remove my lens hood and anything else that could come off the camera while flying along at over 100 mph, and set my ISO high enough to give me a shutter speed of at least 1/1000 sec for the sharpest images.

Personally, I enjoy flying with the EF 100-400 mm f/4 IS L lens because it’s both compact and provides a great range of focal lengths. I find it important to crop my photographs in the camera, taking advantage of each and every mega-pixel my Canon gives me. Zoom lenses like this allow me to be exact in my cropping.

I always consider the lighting as a part of the planning of the flight time. I want to be able to fly in the most dimensional light possible. That lighting will provide shadows that will define the landscape below. What a great way to see and create images of iconic locations but from a different perspective.

Shape, shadow and color are very important tools that I make use of as often as possible. It may be the warm light of a sunset on the red rocks of the desert southwest or the cool morning flight over the lava fields of Hawaii. You can reserve any aircraft for the time that you would like to fly, so, select that right time for the image that you see in your mind’s eye.

In order to create the best images of any subject, you need to be intimately familiar with that subject. Throughout my photographic career, I have been able to succeed at photographing anything as long as I had some knowledge of what I was photographing.

Having knowledge of the race cars that I was learning about working on gave me the edge to be able to create story-telling imagery. I then took that and ran in order to be the best that I could be. The same followed when I chose to be a hot air and fixed wing pilot—photography opened the door to be more than a spectator, but then the experience provided me the knowledge and platform to succeed.

So much of being a successful photographer comes down to being knowledgeable of the subject and the relationships that you make along the way. From there, it’s up to you to continue to drive to be the best that you can—you are only as good as your most recent project.

I hope that, at least, will be an incentive for you to continue to grow and improve your skills. It certainly worked for me!


Ken Sklute is a multi-talented photographer and Canon Explorer of Light with over 42 years of professional photography experience. Over the course of his career, he’s photographed people, professional sports, architecture, weddings and landscapes (among other things).

To see more of his work, be sure to visit his website, or by following him on Facebook and Instagram.

Articles: Digital Photography Review (dpreview.com)

 
Comments Off on From the sidelines to the driver’s seat: A photographer’s evolution

Posted in Uncategorized


Ford Disguised a Person as a Seat to Test How We React to Driverless Cars

16 Sep

[ By SA Rogers in Technology & Vehicles & Mods. ]

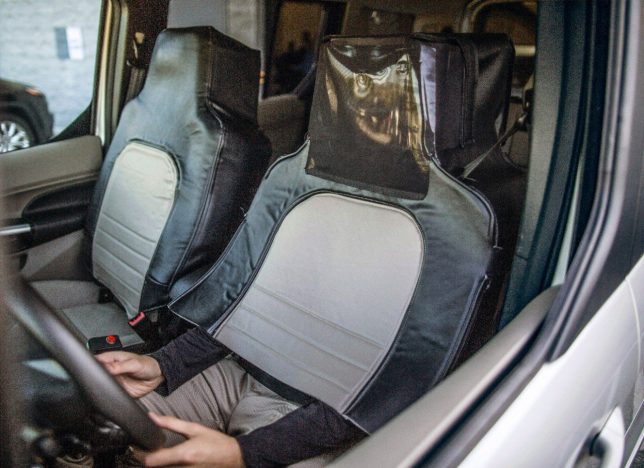
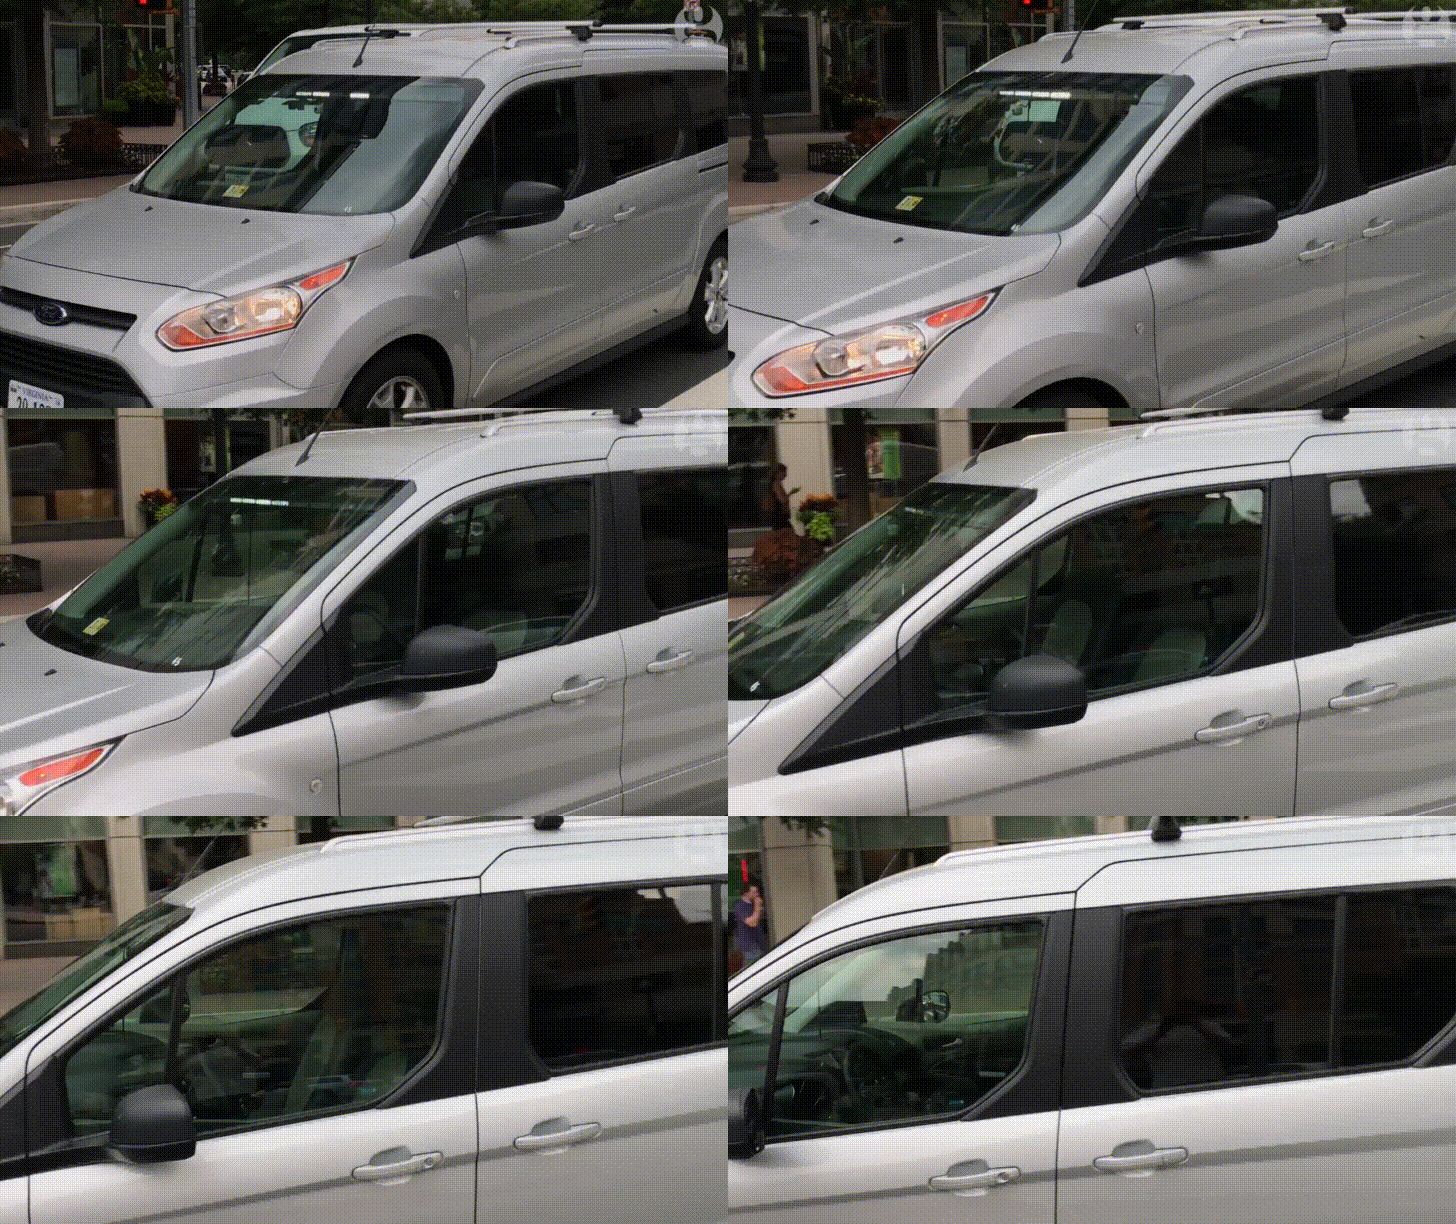
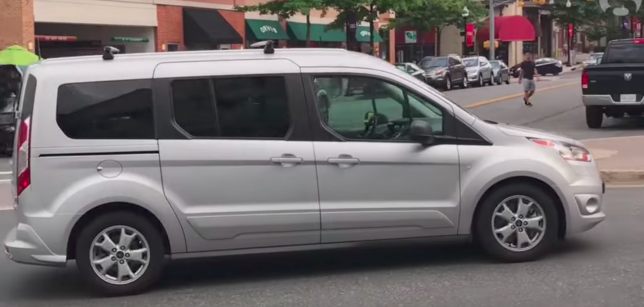
A Ford van zooming around the Washington D.C. area last month, seemingly without a human in the driver’s seat, wasn’t self-driving after all: it was a man in a ‘seat suit.’ A fake driverless car might seem like a weird experiment, especially considering the fact that there’s an entire fake town for testing self-driving vehicles at Ford’s disposal. But as it turns out, they have their reasons: observing how people react to seeing it. While Virginia Tech has already been testing autonomous vehicles in the area, they’re still using human overseers to take over the wheel in case something goes wrong.

In the video above, a few people muse aloud, “Is that a self-driving car?” Slow-motion shots show the vehicle passing by with a seemingly empty driver’s seat. But the fact that there’s a man camouflaged as a car seat is almost more interesting, anyway. After learning of the stunt, Adam Tuss of NBC Washington followed the car around until he could pull up next to it at a red light and get a shot of the interior, revealing the driver’s hands and legs. “Brother, who are you?” he asks in the video. “What are you doing? I’m with the news, dude.”

John Shutko, a Ford self-driving researcher, divulges some answers in a piece on Medium.

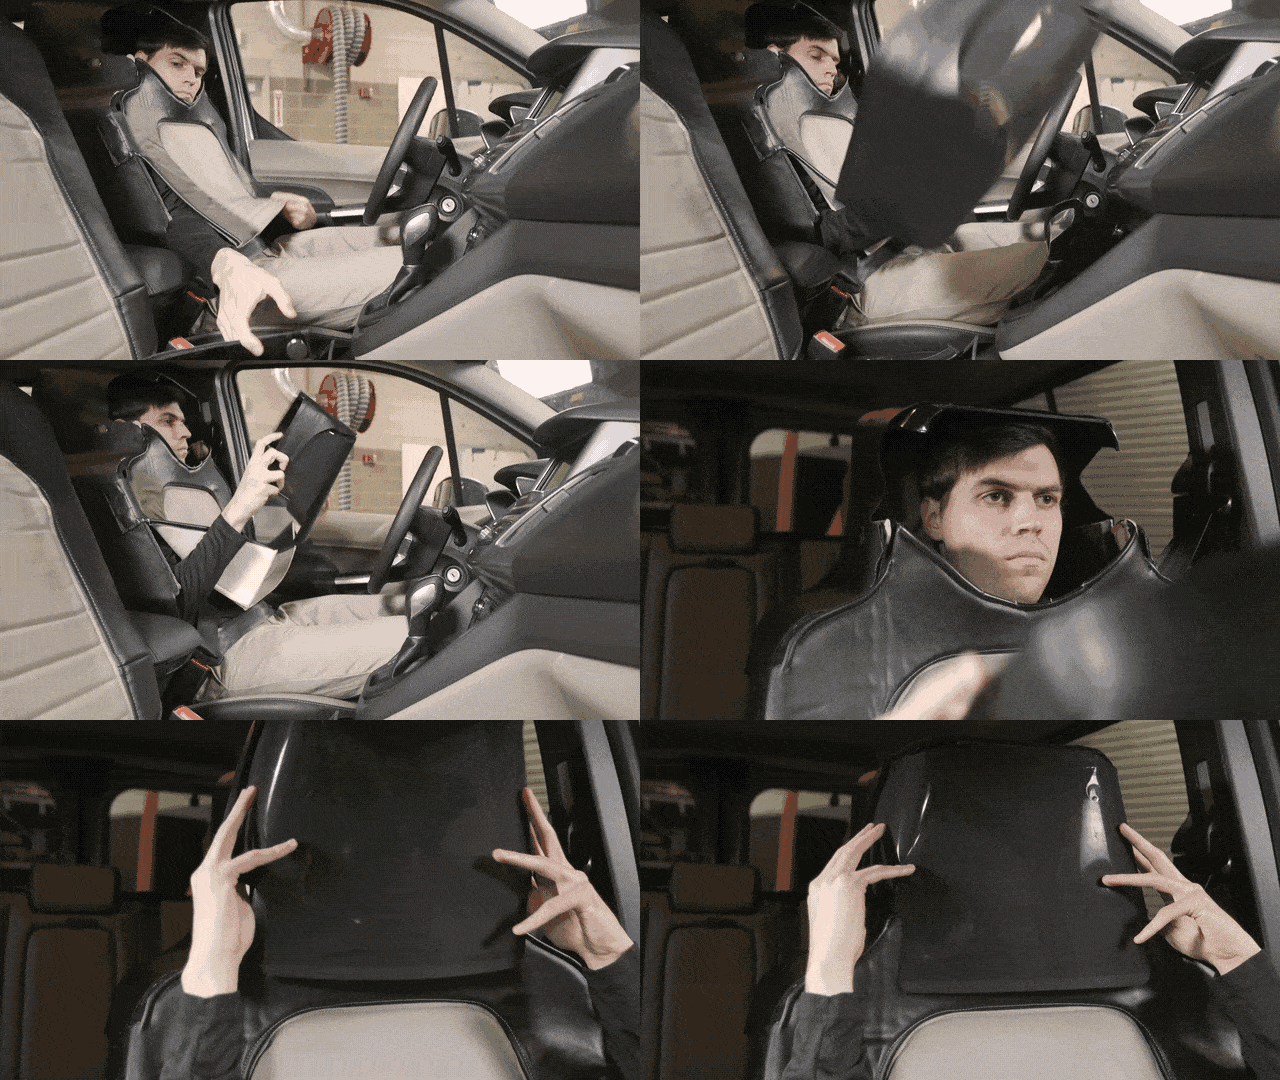
“We’re teamed up with [Virginia Tech] to test our communications method and to explore how pedestrians and bicyclists react to self-driving vehicles with no human in the driver’s seat. Of course, we do need someone in the seat right now, so we dressed a human up in a seat suit to make it appear as though there was nobody inside our simulated self-driving Ford Transit Connect. This seat suit allowed us to collect real-world reactions to an autonomous vehicle driving on miles of public roads in northern Virginia, without actually using an autonomous vehicle.”

Six different drivers wore the suit throughout August, reporting that they started out on a test track before moving onto the streets, and that the suit was definitely uncomfortable.

Share on Facebook


[ By SA Rogers in Technology & Vehicles & Mods. ]

[ WebUrbanist | Archives | Galleries | Privacy | TOS ]


WebUrbanist

 
Comments Off on Ford Disguised a Person as a Seat to Test How We React to Driverless Cars

Posted in Creativity


Table for Two: Window as Bridge & Barrier Between Shared Seat

22 Mar

[ By WebUrbanist in Art & Installation & Sound. ]

table public art piece

Putting you in the spotlight with a stranger, this installation in New York City is a perhaps-paradoxical commentary on both connection and isolation in urban environments.

table for two project

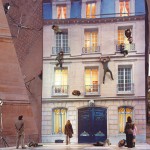
Located at 7th Avenue and Carmine Street in Manhattan, Table for Two by Parisian native Shani Ha was designed to separate the participants with a window, yet by its placement and proximity makes simultaneously for intimately-shared moments.

table glass nyc art

Vicky Gan describes it as “part sculpture, part performance art, it challenges those who sit down to look up from their smartphones and into the eyes of a friend, a stranger, or their own reflections in the glass. A self-conscious homage to Edward Hopper’s Nighthawks, the work realizes the age-old concept of the big, crowded city as a lonely, isolating place.”

table for two corner art

Like any good piece of interactive art, the stories about its usage are what show it works – deaf people communicating in sign language across the glass in one case or a couple talking to each other (like in prison) on phones in another.

table for two new york

Technology, claims the artist, is responsible “making us more self-centered because [it gives] us the power to access only the people we decide to access,” whereas the intention in this piece is “to break the bridge between the outside and the inside, and allow a new form of interaction between people.”

Share on Facebook


[ By WebUrbanist in Art & Installation & Sound. ]

[ WebUrbanist | Archives | Galleries | Privacy | TOS ]


WebUrbanist

 
Comments Off on Table for Two: Window as Bridge & Barrier Between Shared Seat

Posted in Creativity


Flexible Furniture: Mold this Seat into All Sorts of Shapes

07 Sep

[ By WebUrbanist in Design & Furniture & Decor. ]

the body modular seating

Sitting in a single position for long periods is not just uncomfortable but also a health hazard, but is the solution to be found in a single form or something more pliable and adaptable?

modular chair lying down

London designer Kirsi Enkovaara (images by Aava Anttinen) explores plasticity and comfort in this project titled The Body, a thesis work completed at the Royal College of Art.

the body chair design

The idea is in part to avoid presuppositions about ‘best ways’ to sit or lie down, letting a user bend and twist their furniture into shapes suitable for different activities and allowing for various positions of rest.

modular moldable furniture london

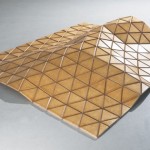
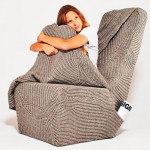
The structure itself is composed of canvass and filled with rice, giving it the right combination of flexibility and rigidity to support a person while also allowing it to be reshaped on demand.

modular seat design curve

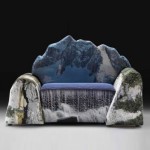
From the designer: ‘The Body’ encourages a person to find their choice of sitting by discarding learned cultural norms. Trusting in their touch, movement and the feelings that arise in reaction to these in order to create the most comfortable way of sitting. The structure of ‘The Body’ is made from canvas and rice allowing it to be formed into reconfigurable rigid structures.

modular comfortable seat exploration

“The project started from an interest in emphasizing the psychology of sitting. When we are sitting or laying down we are less aware of our surroundings and in a more relaxed state. This is why the construction of the seat needed to reflect the qualities of human touch, the tactility and safety of which provides us with great comfort.” Many of her other works, both of art and design (or somewhere in between), likewise explore different relationships between ourselves and everyday objects.

Share on Facebook


[ By WebUrbanist in Design & Furniture & Decor. ]

[ WebUrbanist | Archives | Galleries | Privacy | TOS ]


WebUrbanist

 
Comments Off on Flexible Furniture: Mold this Seat into All Sorts of Shapes

Posted in Creativity


Nomadic Furniture: Backpack of Parts Creates Portable Seat

20 Nov

[ By WebUrbanist in Design & Furniture & Decor. ]

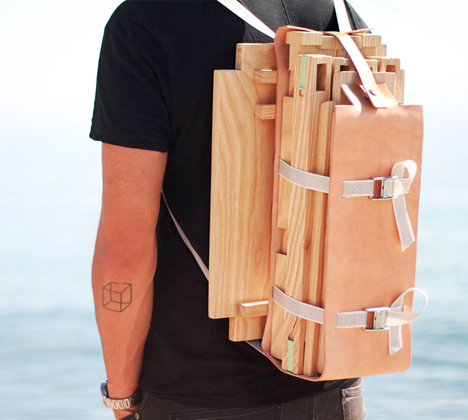
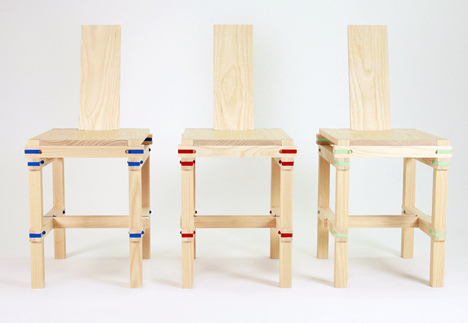
nomadic chair design

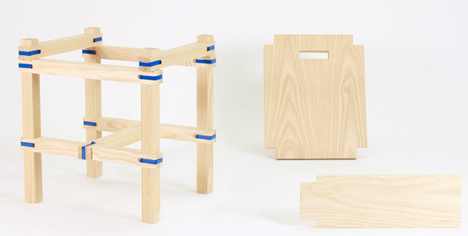
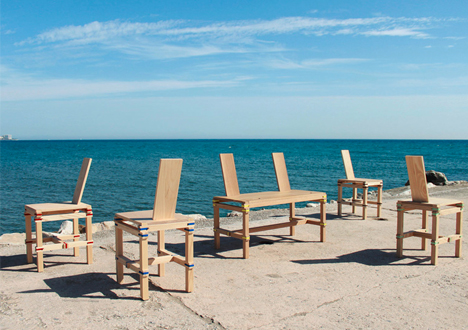
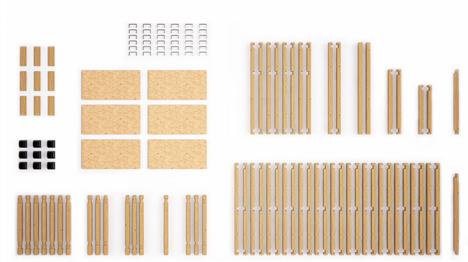
A wooden seat that needs to wood, glue or screws, but focusing on traditional construction techniques, this design is about the craft-oriented journeyman and not a comfort-driven destination.

nomadic backpack seat

nomadic kit of parts

nomadic furniture backpack

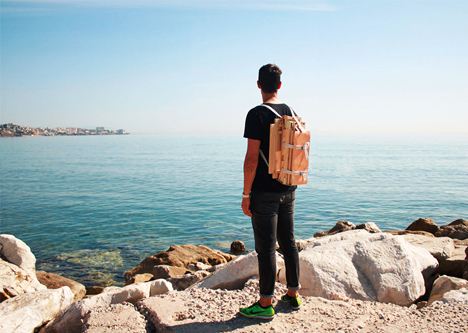
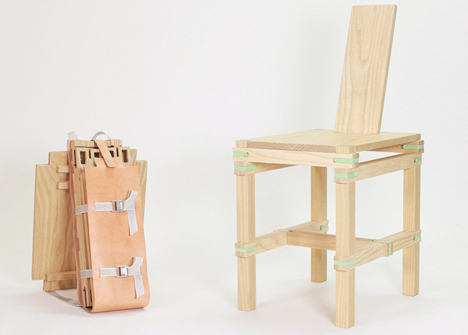
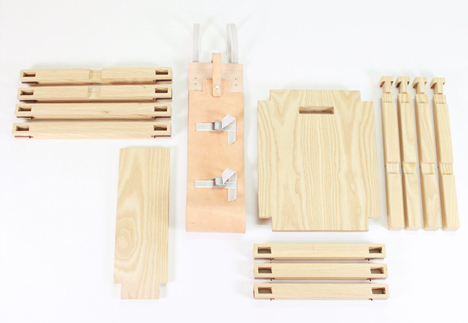
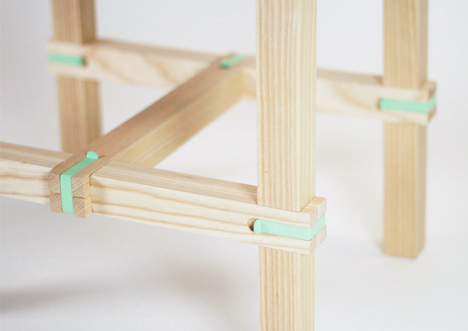
Jorge Penadés of Spain emphasizes the act of construction and deconstruction with his Nomadic Chair, which slots together and back apart in two minutes. It utilizes bright metal connectors and tucks away into a simple leather sling for travel.

nomadic chair joinery closeup

nomadic slotted furniture detail

nomadic metal joinery system

nomadic chair series

In both seating and backpack form it is built to stand out from the crowd. Critics will no doubt point out that it is not the most comfortable item to carry or even to sit in, but its assembly involves joinery methods that stress the process over the product. Someone looking for a camping chair is probably still best off buying one made of lightweight aluminum and seat-friendly fabric.

nomadic studio thesis project

nomadic home diagram prototypoes

nomadic housing system idea

nomadic home design system

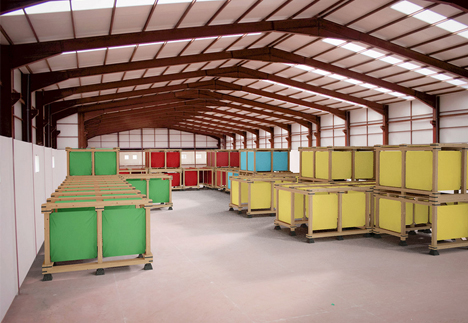
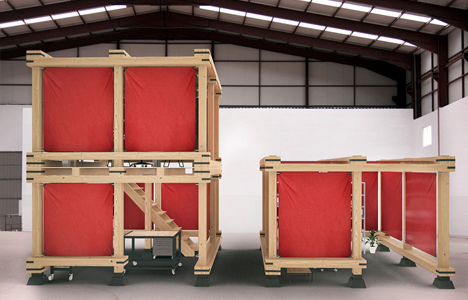
The work is an extension of his Nomadic Studio, a student thesis project proposing larger-scale dwellings employing similar techniques to enable portable and modular home construction.

Share on Facebook


[ By WebUrbanist in Design & Furniture & Decor. ]

[ WebUrbanist | Archives | Galleries | Privacy | TOS ]


WebUrbanist

 
Comments Off on Nomadic Furniture: Backpack of Parts Creates Portable Seat

Posted in Creativity


Welcome to The f/64 Club: A Front Row Seat at the 2013 GPP Shootout

18 Mar

Sure, the Gulf Photo Plus shootout might be fun to watch. But for the photographers competing, it is all about a week of anticipation, stress and nervousness. And come shootout day, all of that is on display live in front of an audience of 350 armchair quarterback photographers.

Below, the shootout video, how each photographer handled the stress and a challenge for you.

Read more »
Strobist

 
Comments Off on Welcome to The f/64 Club: A Front Row Seat at the 2013 GPP Shootout

Posted in Photography