by Tom Di Maggio
In this article I’ll show you how the “Samurai Girl” picture was done step by step. In addition there is a speed art video at the end of the article that shows the whole process from start to end in a 05:47 minutes Youtube video. It should make the whole process clearer.
Feel free to send me your questions via email at tom@purple-monkey.com
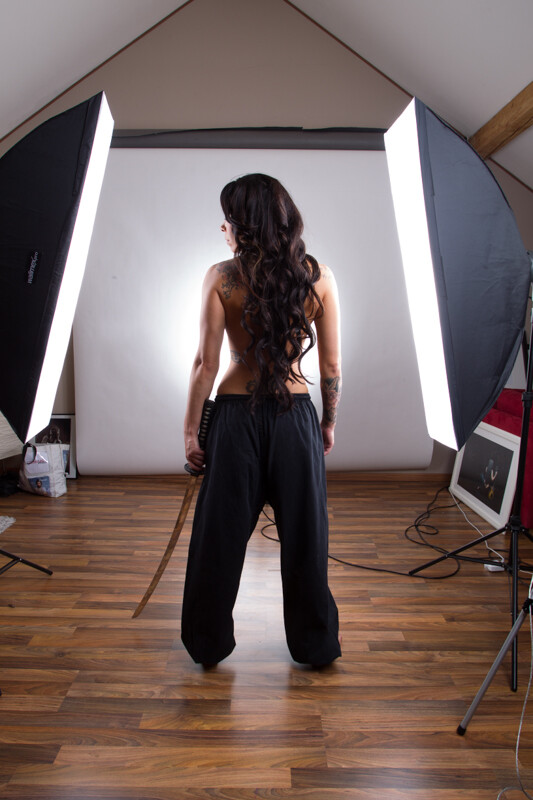
Here is the image as it was shot. Before I start to extract the subject I use a technique to create that look on my models that consists of 6 Layers. I will write a separate tutorial on that topic, as it will deviate too much from the point of this tutorial.
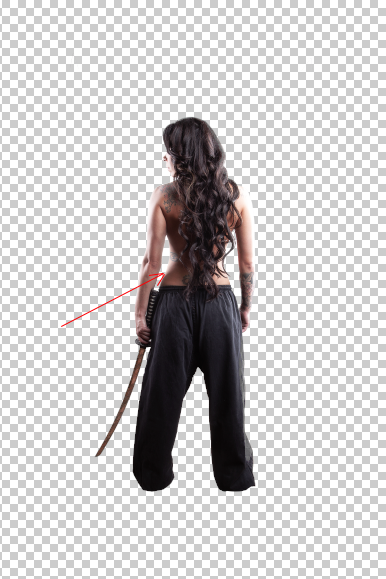
I started with cutting out Jessica from the background. When you know that you are going to extract the subject for a photo manipulation or composite, make sure you shoot them on a background that will create an nice contrast around the edges. It will make your life a lot easier for the extraction process. The method I use to extract my subjects varies a lot depending on the need and the situation. The tools I usually use are the Pen Tool, Brush, Refine Edge, Lasso, Quick Selection and the Blending Option effects. In this case I used a mixture of Pen Tool, Brush and Refine Edges.
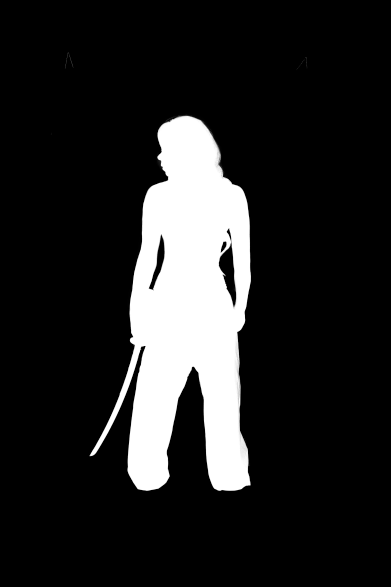
Here is a picture of the finished mask. I like to check the mask for imperfections by “Alt” clicking on the layer mask.. What I also do a lot is to check the mask against a white and a black background. I will usually show you all the imperfections on the mask especially fringing. If the extraction looks good against both backgrounds, then you can be sure that you won’t need many adjustments anymore against your final background.
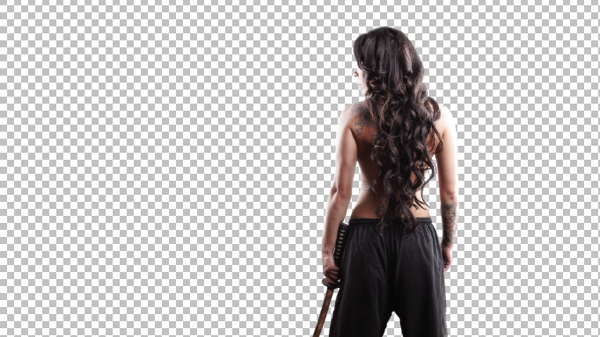
I usually work on picture in the 16:9 format. Sometimes I quickly sketch my ideas on a piece of paper or on the iPad. I basically gives me an idea about the composition of the image. As soon as Jessica was extracted from the background I moved her over to the canvas using the move too. I scaled her down and positioned here approximately. I slightly corrected her position once the background was inserted.
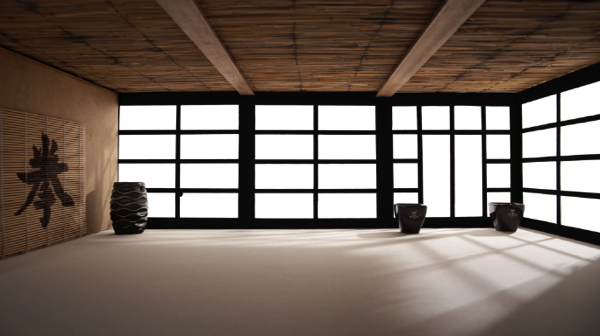
At this point I also imported my background in order to see what color corrections would be needed to integrate Jessica into it. When I opened the stock image for my background I saw some things that would need modification.
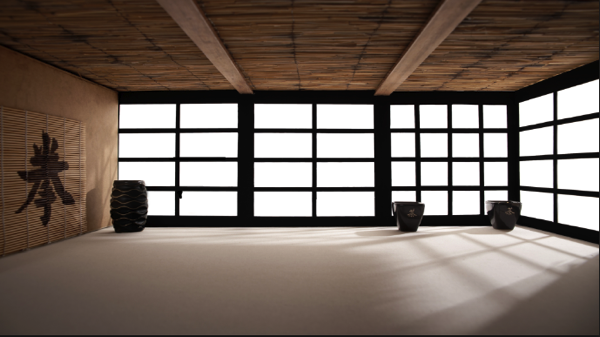
I didn’t like the doors on the right side as it would look weird when Jessica would be in position. So I just added some horizontal bars to solve that issue.
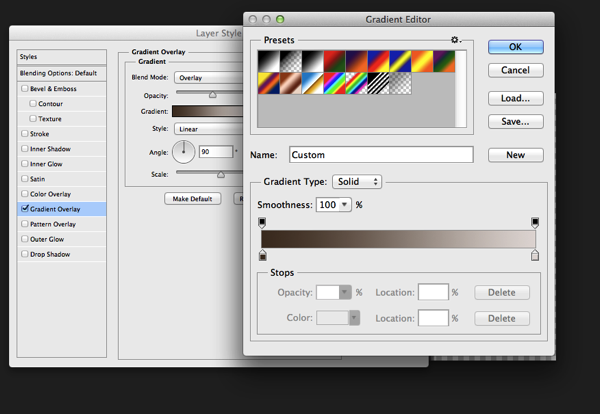
The first step I used to integrate Jessica was a Gradient map. The colors I used for the shadows was a sample of the wooden door frame (very dark brown) and for the highlights I used a sample of the Tatami. I lowered the opacity to about 45% to achieve an acceptable value. It’s important when you use this method that you use colors that are already present in the palette of the image.
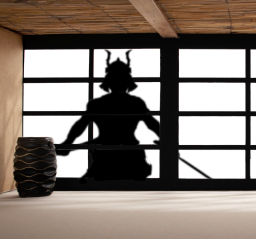
Next step was to integrate the Samurai. I’ve build the Samurai out of several stock photos and used an adjustment layer to darken it to complete black. I used a layer mask to hide the wooden frame of the window.
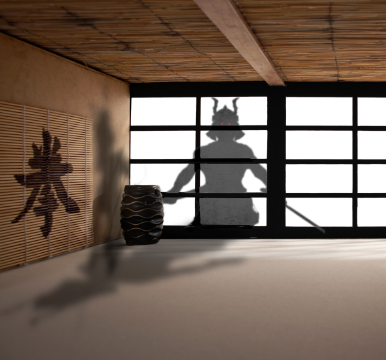
In order to make it more realistic I’ve added a dirty texture on top of the Samurai with a blending mode Overly and I slightly blurred him, since what we actually see is a shadow on the fabric. I then added the eyes with the brush tool and some subtle outer glow effects.
Next step was to create the shadows on the floor and the wall. I duplicate the Samurai Layer and used distort and warp to adjust it’s shape. I also painted the shadows onto the barrel, in the original picture the barrel was brightly lit from the right side. Since the Samurai is standing in front of it, the light source would be blocked.
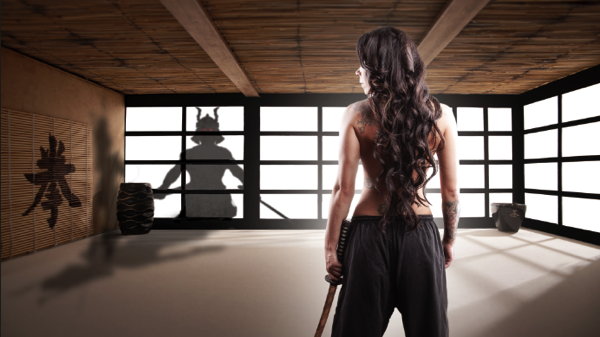
To blend everything together I use a simple technique that is not well known out there. I merge all the Layers together onto a new Layer ( Shift+Ctrl+Alt+E (PC) or Shift+Command+Option+E (Mac) ) and then use the Blur Average Filter. Switch the blend mode to overlay and reduce the opacity until the color matches. I then used the Tilt-Shift filter to align the average depth of field of Jessica to the background.
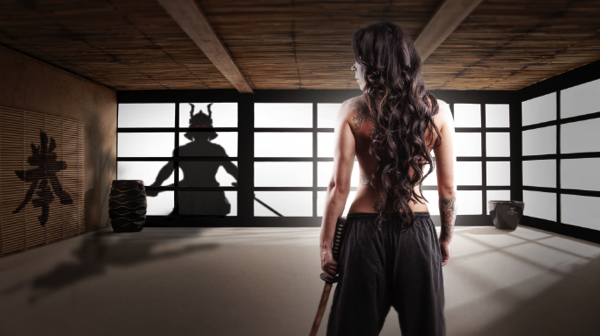
Finally I created a new layer on top of it change it’s blending mode to overlay and painted with a soft black brush around the samurai and around Jessica in order to direct the viewers eye through the picture. A last step was to lay a grungy texture in overlay over the whole image and reduce it’s opacity quite a bit.
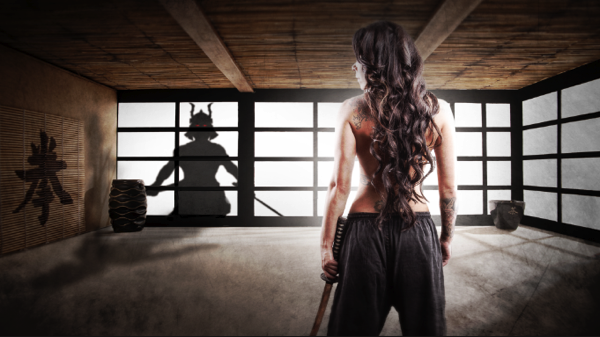
I try to do a maximum in Photoshop in terms of light and shadows. But when I finish an image I always have some fun in Lightroom with some presets or simply play around with the sliders. Some times I end up not using any of it, but most of the time I find some settings that adds value to the overall image. Now there is no secret to this, I just play around with Clarity, Blacks, Temperature, and Contrast until I see it going somewhere. In this case I added some contrast, quite a bit of Clarity and slightly desaturated the image.
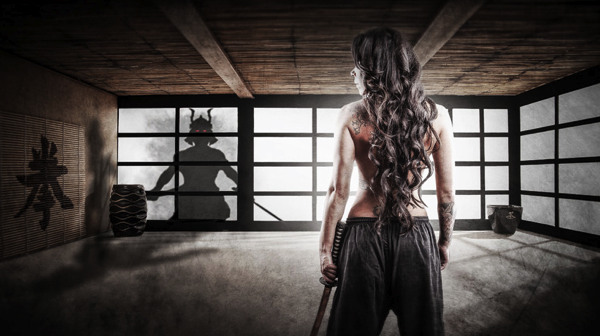
Here’s the video of the whole process dialed up to about 1000%
Check out more of Tom Di Maggio’s work at his websites at TomDiMaggio.com, Purple-Monkey.com” and on Facebook.
Post originally from: Digital Photography Tips.
Check out our more Photography Tips at Photography Tips for Beginners, Portrait Photography Tips and Wedding Photography Tips.
Samurai Girl Composite: Behind the Scenes Post Production Walk Through
You must be logged in to post a comment.