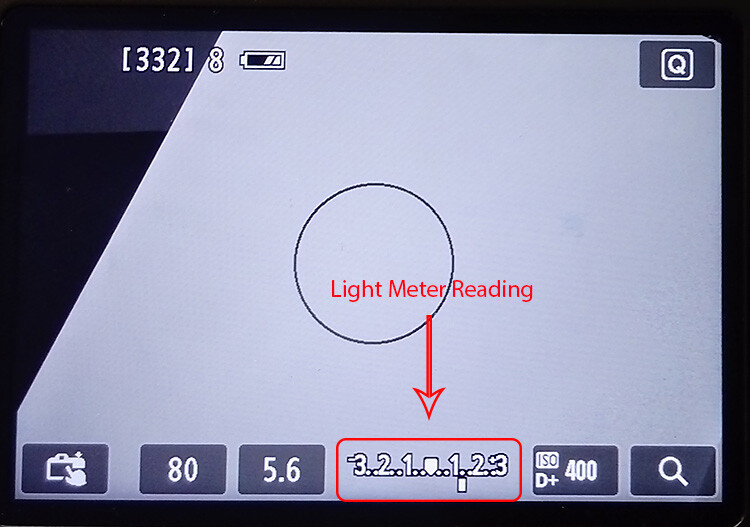
Do you ever get under or overexposed photos when you use your camera’s light meter? Do you get frustrated that even in auto-mode you can’t get the correct exposure? That’s because there are two different type of light to deal with when taking a photo.
When you make a photograph the light is your raw material, which is why it’s important to understand how it works. It’s a very broad topic to cover, so for this article, we are just going to focus on the difference between incident and reflective light because that’s the key to getting your exposure right.
Incident versus reflective light


We all know this difference in a very intuitive way; let me give you an everyday example: when there is a sunny day, do you wear white clothes or black ones? Easy! You wear white or at least light colors, but why? If the sun will be the same, why wouldn’t you wear dark colors? Because you know that dark colors absorb light and therefore you’ll feel the heat more than wearing white which will reflect more light and keep you fresher. This is the same principle you need to apply when measuring the light for photography.
The difference explained

Incident light is that which is illuminating your scene. It falls on the subject before being altered (reflected) by it which is why it’s also a more accurate light reading.
When light hits objects it gets transformed by them and reflected out; this is what we perceive and what the camera captures and reads. This is called reflective light.
Light metering
Let’s see how these two concepts apply to light metering and exposure when you take a photo. In the next examples, I always used the same light for each.
In this first shot, I metered the light once I had framed the image I wanted, so it gave me a reading making an average of the reflective light.

The settings were ISO 400, f/5.6, with a shutter speed of 1/80th.
And the resulting photograph looked like this:

Reflected light from a dark subject
However, like we said when talking about clothes, dark objects absorb light. So if I make the reading by measuring the black part of the photo, the settings that were “correct” before, now appear to be underexposed.

Even if the lighting is always the same, your camera thinks there is less. As a result, your photos will be overexposed.

Exposure: ISO 400, f/5.6, shutter speed 1/13th.
Reflected light from a light subject
On the other hand, light objects reflect most of the light, so your camera will receive the message that it needs to reduce the exposure if you meter off something light.

And as a result, you will end up with underexposed images.

Exposure: ISO 400, f/5.6, shutter speed 1/200th.
None of these three readings gave you the correct exposure on your image because none of them were about the incident light. In order to get this accurate reading, you need to use a handheld external light meter, which can be very expensive. Fortunately, there are other ways to get the right exposure without having to spend a fortune.
Black and white… and gray
Back in the 1930s, a photographer called Ansel Adams developed a technique for the optimal exposure of photographs by dividing the degrees from light to dark into 11 zones, therefore it’s called the zone system. Everything in the world has a color and lightness that correspond to a zone. All light meters, including the one integrated into your camera, are designed to give you the middle zone: Gray V that reflects 18% of the light. So, what you need in order to have a correct exposure is to measure the light reflecting off of this tone.

You’ll find gray cards on the market which are used to calibrate your exposure and white balance. They are a very practical and economical way to turn the reading of your reflective light into an incident light accuracy.
It is also very easy to use, you just have to put one in front of your subject and frame it with your camera. Once that’s the only thing in your shot, press the shutter button halfway to see the light meter and adjust your exposure accordingly. With those settings, you can have the perfect exposure regardless of the tones in your image.

Exposure: ISO 400, f/5.6, shutter speed 1/30th.
Real world examples
I know what you’re thinking, that was an unreal example because most of your photos will have much more colors than just black, white and gray V. That’s true, but the principle remains the same. Look at these real life examples:

Reflective reading with an exposure of ISO 400, f/5.6, shutter speed 1/80th.
Compared to the incident reading:

Incident reading with an exposure of ISO 400, f/5.6, shutter speed 1/320th.


How to improvise!
What if you don’t want to be carrying around a gray card? Or did the perfect image catch you unprepared? No problem, everything in the visual world has its equivalent in the zone system.
For example, grass or wet cement correspond to the gray V zone so you can always look for elements like that in your photo and you will get a very accurate reading from them.
Take this composition of candle holders. When they are all white the photo is dark, sad and shows all the imperfections of the backdrop because it’s underexposed. However, when I add a gray candle holder and measure the light in it, the exposure is perfect.

Exposure: ISO 1250, f/11, shutter speed 1/125th.

Exposure: ISO 1600, f/8, shutter speed 1/125th.
Tip: So that you are never caught off guard, you can measure the palm of your hand and figure out how much lighter or darker it is than the gray card, that way you will always have the perfect reading “at hand”.
Things to remember:
- Get close enough to the gray object so that it’s the only thing you see through the lens, or at least the majority of it, and take that reading to set the exposure values.
- The gray card or object needs to receive the same light as the rest of the scene. Be careful to not cast a shadow with your body or your camera when getting closer to measure the light.
- Reflective light depends also on the material and shape of the object so a black car, for example, reflects more light than a black wool sweater.
There you go, understanding the difference between reflective and incident light can transform your photo from snapshots to pro shots!
The post How to Understand Reflected Versus Incident Light and Get More Accurate Exposures by Ana Mireles appeared first on Digital Photography School.


 How To: Silhouette Photography / Self Portraits
 Tips for Photographing in Different Weather Conditions
 Let’s Talk About Light – 3 Types of Lighting Conditions and how to Use Them
 Choosing the Right Color Reflector for Your Photography
You must be logged in to post a comment.