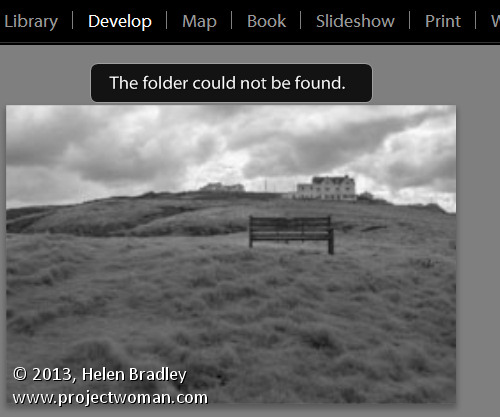
If you’ve ever encountered a “The Folder Could Not Be Found” message in the Lightroom Develop module or seen a question mark over a folder name in the Library module you’ll love the new Smart Previews in Lightroom 5.
Smart Previews are an editable preview image and they make working with Lightroom when you are using removable drives a cinch.
Here I’ll explain what smart previews are and why you might use them.
Understanding the problem
Lightroom can only work with images that have been imported into its catalog. When your import your images Lightroom notes where the images are on your disk so it can access them when you want to edit them.
As Lightroom doesn’t store the actual images you will encounter problems if the drive the images are stored on is not connected to your computer when you try to edit them. In this case, you will see a preview of the image in the Library module but if you select the image and open the Develop module you will see a message saying “The folder could not be found”. The editing tools are all disabled and you can’t proceed.
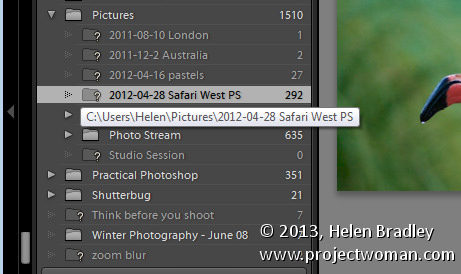
If you look at that same folder of images in the Library, the folder name will appear in the Folders panel but with a question mark over it. This is because the folder is on a drive that is not currently attached to your computer.
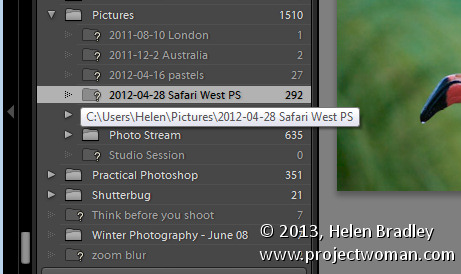
In earlier versions of Lightroom, the only solution for this issue was to reattach the drive so the original images would be available to Lightroom.
With Lightroom 5 the situation has changed to the extent that, with a little forethought and some spare disk space, you can edit images even if they are stored on a disk not attached to your computer. The solution is provided by the new Smart Previews feature.
What are Smart Previews in Lightroom?
Smart Previews are lossy DNG files which are a maximum size of 2540 pixels on their longest edge. They are created from the original raw files and they are stored in a folder in the same location as the Lightroom catalog.
You can use these Smart Previews if the original images are not available not only in the Library module but also in the Develop module.
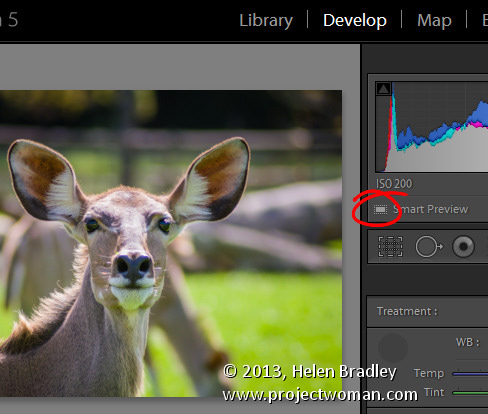
If you have Smart Previews rendered for an images you will still see a question mark in the Library module indicating that the folder is not available but below the histogram there will be a small white icon indicating that a Smart Preview is available for this image. The Smart Preview can be edited in the Develop module just like the original image and it can be exported too.
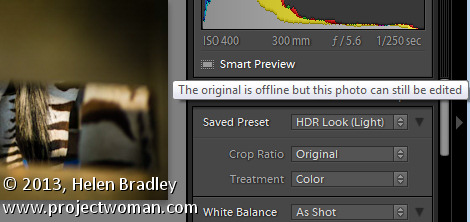
Smart Previews can be created for DNG and for Camera Raw images as well as for TIF and JPG. You can create them on import by selecting the Create Smart Preview checkbox in the Import dialog.
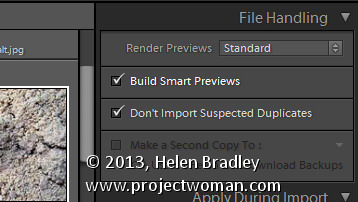
You should note that Smart Previews and regular Previews are two different types of previews so you should continue to choose the same option in the Render Preview list that you have chosen in the past. So, I choose to Render Standard previews at a size appropriate for my monitor size – as well as rendering Smart Previews for those images I want to be able to edit even if the drive they are stored on is not connected.
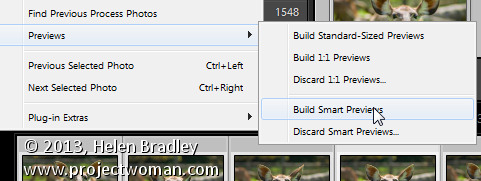
You can also create Smart Previews at any time – provided the original images are available at the time you are making them – using a menu option in the Library module. To do this, select the images to build Smart Previews for and choose Library > Previews > Build Smart Previews. You’ll be prompted to build smart previews for all photos or just one. Select Build All to create smart previews for all the selected images.
You can also build smart previews using an icon in the histogram. For example if you select either a folder of images or a selection of images in the Library module you can learn the smart preview status of those images by reading the information below the histogram. You’ll see the number of images without smart previews and the number with.
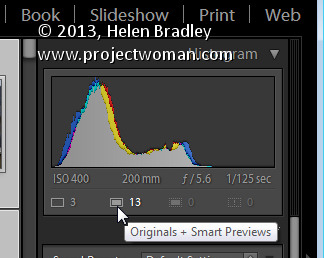
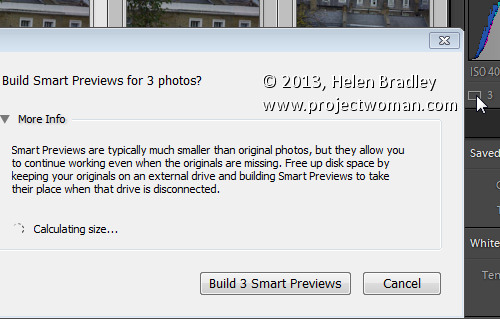
Click the originals without smart previews box and you’ll be prompted to build smart previews for these images. There is a slight glitch with the numbering – if you have a large number of images selected then the actual numbers in the histogram won’t be correct but the process still works for all the selected images.
If you have rendered Smart Previews for your images and if you later decide you no longer want them you can delete them by clicking the smart preview indicator below the histogram.
Editing Smart Previews
You can edit an image for which you have rendered a Smart Preview in the Develop module. The smart preview will only be used if the original image is not available. Any changes you make to the smart preview will be written back into the original image when it is next available in Lightroom.
In this case I am editing the Smart Preview as the original is not available:
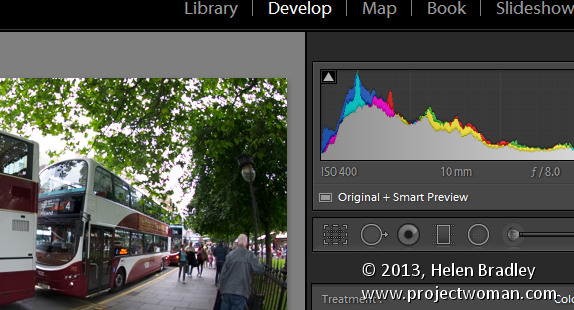
Here both the original and smart preview are available, so the original is being edited:
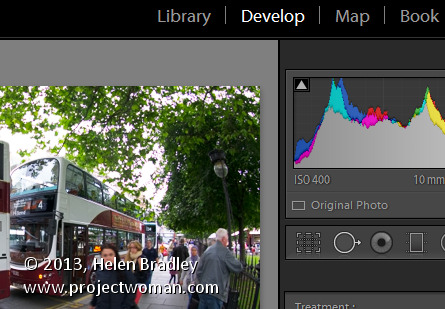
In this case there is no smart preview available, the original is being edited and if it were not available, then editing would not be possible:
If you store all your photos on the same drive as you store your Lightroom catalog then you may find you have no use for smart previews. However if you, like me, store your images or some of them on a drive other than the one on which your Lightroom catalog is stored then you’ll find that smart previews useful. Create smart previews for those images that are not stored on the same drive as your Lightroom catalog and you will have those images accessible and editable even when the originals are not available.
Post originally from: Digital Photography Tips.
Check out our more Photography Tips at Photography Tips for Beginners, Portrait Photography Tips and Wedding Photography Tips.
Using Smart Previews in Lightroom 5
The post Using Smart Previews in Lightroom 5 by Helen Bradley appeared first on Digital Photography School.
