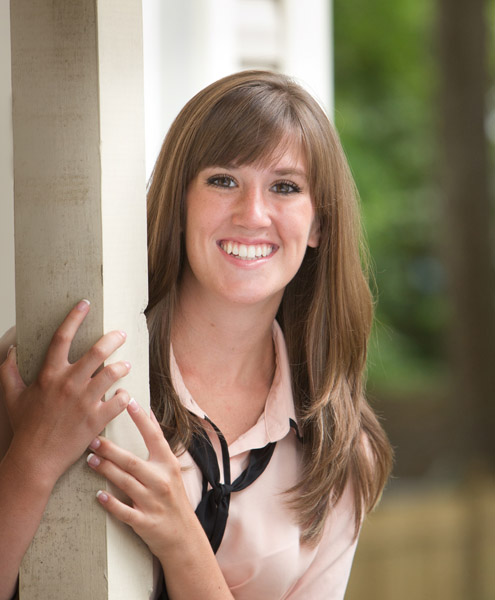
Wouldn’t it be great if you could get beautiful, natural-looking portraits without ever having to use flash?
Well, perhaps you can. There are many different locations, often closer than you think, where you can find the right lighting for great looking portraits. Often they’re missed because we might not know where to look.
Generally, your best strategy is to look for what is called Open Shade. Ideally, you are looking for a situation where the stronger overhead light is being blocked by a structure, either man-made or natural.
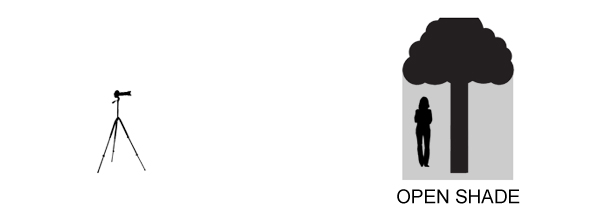
There are a lot of variables to pay attention to, but with a little practice you begin to recognize good natural lighting situations that are right in front of you.
1. Find a gazebo or front porch with a roof
This is a particularly good technique for you to use when it’s sunny outside in the middle of the day, but it can work on overcast and rainy days as well.
It’s often a bad idea to pose your subject out in the direct sun, particularly when it is up high in the ske. That kind of lighting can produce harsh shadows, as well as cause your subject to squint their eyes.
I use the front porch location quite a bit when photographing high school seniors in the middle of the day. An overhang of any sort can block strong overhead light and allows your subject to be lit with the softer surrounding bounce lighting.

In the case above, I also used a large white collapsible reflector, off to the right side, to provide additional fill-light with this handsome young man. A large aperture was used to help create an out of focus background.
If you have no porch available you can get your model to help create a good lighting situation by using a prop like a wide-brimmed hat for a close-up head shot.
2. Under an umbrella
By Andrew Menage
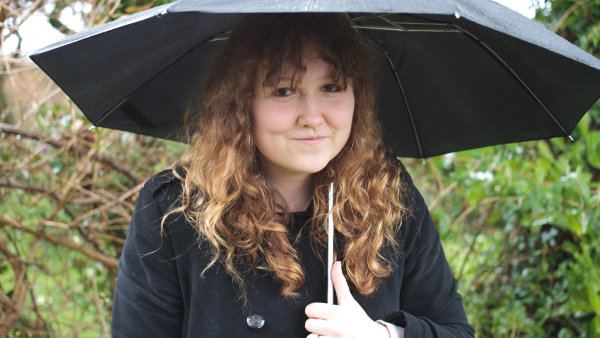
Using an umbrella can work well to protect your subject from both the rain, and overhead lighting. Note that the color of the umbrella will have a significant effect on the color of the light that is illuminating your subject. A black umbrella is neutral in color and will block almost all of the light from above.
3. Near a window
Just because you may not be able to shoot outside doesn’t mean you still can’t use the outdoor light to create a natural looking portrait. There is a right way and a wrong way to do this.
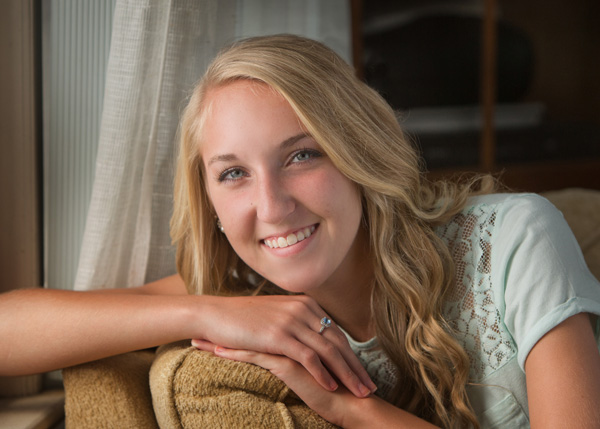

Make sure that most of the window is forward of your subject. The larger the window, the softer the lighting. The reflector can be any light colored object that is fairly neutral in color. The closer it is to your subject, the more fill light it supplies.
4. Find a bridge or an overpass
If you shoot in a more urban setting, you’ll likely have bridges or overpasses in your area. The photo below was taken at the entrance to a pedestrian underpass. Not only did we get good portrait lighting, we also got the model out of the wind and snow.
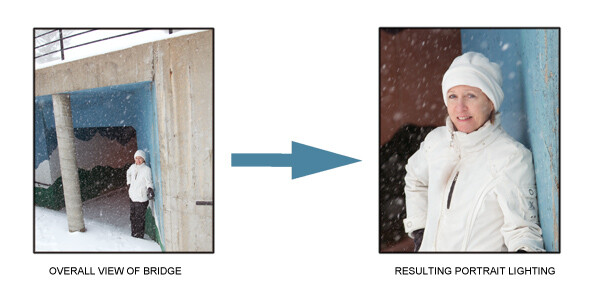
One important thing to remember is to watch your background. Although I was generally happy with the pose and the lighting, I could have done a better job controlling the background in this portrait.
5. Anywhere at sunset
This is one time when you do want the sun in the face of your subject. You only have a few minutes of this sweet light when most, or all, of the sun has disappeared below the horizon.

Direct sun can be too bright at the beginning of sunset. You may have to wait until just after sunset to get a softer look. In the beach photo above, the light was nicely diffused by a few clouds on the horizon between my subjects and the setting sun.
More ways to find places with great natural portrait lighting
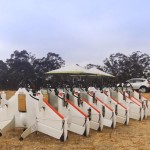
Similar to the way you use an umbrella, you can create your own overhead roof by having an assistant hold a light blocker above your subject. This could be anything lightweight, a large piece of cardboard, or even one of the a collapsible, panels like the ones shown below.
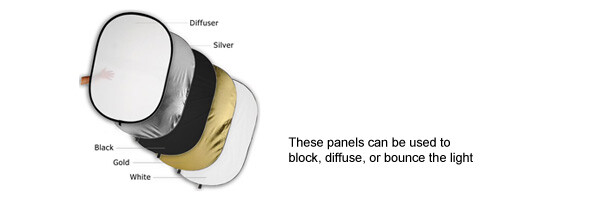
There are two factors that dramatically effect how well this technique works.
The first is how far back your subject is posed underneath the covering object. If you pose her too far back, you may not have enough light to get a nice photograph. If she is too far forward, you may get too much overhead lighting.
Secondly, how high the shading object is above your subject’s head affects how the light will illuminate their features. The best way to master this technique is to play around and experiment.
It’s always a great idea to shoot a few variations in several locations, and adjust exact placement of your subject. You’ll be able to learn a lot from your mistakes and your successes.
googletag.cmd.push(function() {
tablet_slots.push( googletag.defineSlot( “/1005424/_dPSv4_tab-all-article-bottom_(300×250)”, [300, 250], “pb-ad-78623” ).addService( googletag.pubads() ) ); } );
googletag.cmd.push(function() {
mobile_slots.push( googletag.defineSlot( “/1005424/_dPSv4_mob-all-article-bottom_(300×250)”, [300, 250], “pb-ad-78158” ).addService( googletag.pubads() ) ); } );
The post Five Places for Perfect Natural Portrait Lighting by Bruce Lovelace appeared first on Digital Photography School.

Digital Photography School
















You must be logged in to post a comment.