RSS
 

Posts Tagged ‘Panning’

Galilleo: The iPhone Panning Robot

17 Feb

Extra photos for bloggers: 1, 2, 3

Meet Galileo. This little guy is one smooth operator. One smooth camera operator.

He’ll hold on tight to your iPhone and tilt, twirl and swivel 360° for butter smooth panning videos, spherical panoramas and moving time lapses.

Use an app to set up your shot (or video) and then watch him go. Keep your shaky fingers out of the whole situation.

You can even control this pan-tastic robot from afar. Direct flawlessly panning video as you record!

Learn More About Galileo
$ 149 at the Photojojo Shop


© laurel for Photojojo, 2014. |
Permalink |
No comment |
Add to
del.icio.us

Post tags:


Photojojo

 
Comments Off on Galilleo: The iPhone Panning Robot

Posted in Equipment


Capture Objects on the Move: 77 Awesome Panning Photography Ideas

19 Jun

Panning in photography is the act of capturing objects on the move. It’s like in sports or action photography. Your target is moving at the moment of exposure. As a result, you get a picture with a subject clearly caught on camera. However, the rest remains blurred in the background. To be honest, panning is nothing new. Panning has been Continue Reading

The post Capture Objects on the Move: 77 Awesome Panning Photography Ideas appeared first on Photodoto.


Photodoto

 
Comments Off on Capture Objects on the Move: 77 Awesome Panning Photography Ideas

Posted in Photography


Showing Speed: Using Panning When Shooting Action

23 Jan

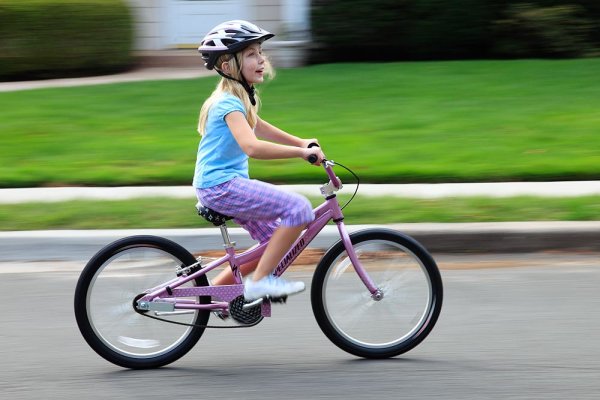
Panning is a great way to capture children at play. Exposure is 1/15, f/13, ISO 100. Canon EOS 5D Mark II with EF 24-105 f/4L IS at 84mm.

For the most part, photography is all about freezing a moment in time, stopping the action in front of you. But there are times when freezing the action fails to show the full story.  People move.  Often, at high speeds. Sometimes freezing the action fails to pay homage to the speed on display on the field, or the track.  Showing speed or motion is less important when shooting individual people in action, because a person in motion flexes muscles, contorts their expressions, creating a compelling image.  However, when photographing vehicles, such as in auto racing, the ability to show that speed is paramount.  If you use a fast shutter speed to stop the action, a car will simply appear as if it’s parked on the track.

Panning is a simple technique for showing speed, but it requires some practice, and a willingness to experiement a little.  First of all, you’ll want to slow your shutter speed way down.  Easy enough in poor light, but on a bright sunny day, it becomes a problem.  There are a few ways to handle this.  First off, lower the ISO on your camera to ISO 100.  For panning, I like to set the camera to Shutter Priority mode.  This allows me to choose the shutter speed I want, and the camera will then set the proper aperture.If stopping down the aperture and lowering the ISO still don’t give you a slow enough shutter speed,  try using a polarizing filter on the lens. A polarizer will lower your exposure by two stops.  Another option would be a neutral density filter, which can be found in greater than 2-stop densities when necessary.

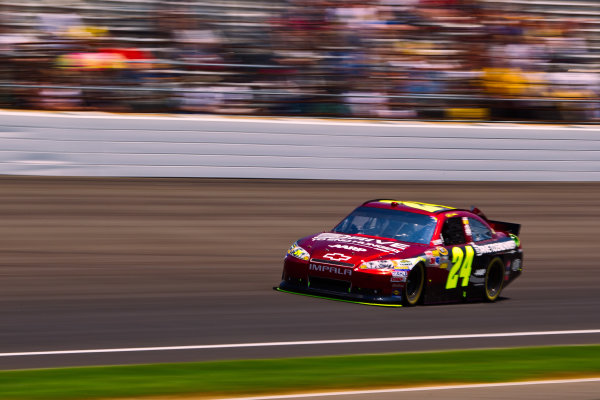
A wide angle lens requires a slower shutter speed to create a dramatic panning effect, but with cars moving as fast as those at a NASCAR race, it doesn't have to be THAT slow! Exposure: 1/40, f/22, ISO 100. EOS 5D Mark II, EF 16-35L II at 35mm.

Your shutter speed will vary dependent on the subject and the speed at which it moves. For an athlete running, it could be as low as 1/15 or 1/20.  When shooting auto racing, your shutter speed could be as fast as 1/125.  The slower the shutter speed, the greater the illusion of speed will be.  You’ll have to match the speed of your subject with your speed of panning the camera as the subject passes.  This can take some practice. The best way to practice that I’ve found is to stand on the sidewalk of a busy street and photograph passing cars at various speeds.  Set your drive to Continuous shooting and hold the shutter button down to take several exposures of your subject as it passes.

It takes some practice, but try to pay attention to composition when positioning the subject in the frame.  When panning, it becomes very easy to focus solely on keeping pace with the subject, to the point that you end up simply placing it in the center of the frame.  Use the compositional aids in your camera to help you.  If your camera has a grid focusing screen, use that. If not, use the AF points that are etched in the viewfinder.

Lens choice also impacts the way the pan looks.  A telephoto lens that compresses perspective will create more dramatic effect than a wide angle will, which means the wide angle lens will require a longer shutter speed to create the same effect as a telephoto. Experiment a bit with both to create different effects.

Add panning to your action repertoire for a different take on motion in your photos!

Exposure: 1/60, f/16, ISO 100. EOS-1D Mark IV, EF 100-400mm f/4-5.6L IS at 210mm.

Post originally from: Digital Photography Tips.

Check out our more Photography Tips at Photography Tips for Beginners, Portrait Photography Tips and Wedding Photography Tips.

Showing Speed: Using Panning When Shooting Action


Digital Photography School

 
Comments Off on Showing Speed: Using Panning When Shooting Action

Posted in Photography


Panning in der Landschaftsfotografie

30 Oct
Bildkomposition in der LandschaftsfotografieDies ist ein Gastartikel von Sven Seebeck. Sven lebt in Finland und fotografiert überwiegend die Landschaften im Norden Skandinaviens. Seine Arbeiten könnt Ihr auf seiner Webseite svenseebeck.com finden. Auf Twitter findet Ihr ihn unter @svenseebeck.

Heute möchte ich Euch eine Technik vorstellen, die mich nunmehr schon eine ganze Weile begleitet und auf die ich immer wieder gerne mal in der Landschaftsfotografie zurückgreife: die Panning Technik.

Diese Technik wird für gewöhnlich bei bewegten Objekten angewendet mit dem Ziel, das Objekt relativ scharf vor einem verwischten Hintergrund abzulichten. Eine schnelle Suche auf Flickr bringt entsprechende Beispiele. Auf die Idee, diese Technik allerdings in der Landschaftsfotografie anzuwenden, bin ich jedoch durch einen Artikel über den englischen Fotografen Ted Leeming in dem Magazin Outdoor Photography aufmerksam geworden.

Ein Teil seiner Arbeit zeichnet sich durch die Verwendung eben dieser Panning Technik in der Landschaftsfotografie aus. Da in dem Artikel nicht beschrieben war, wie er seine Fotografien erstellt, musste ich es eben selbst heraus finden.
Panning in der Landschaftsfotografie

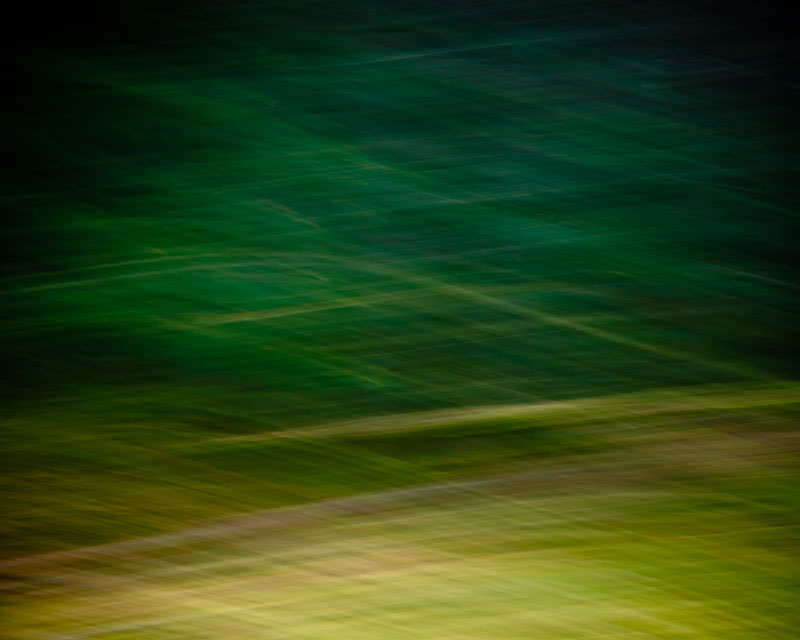
Im Grunde genommen handelt es sich hierbei lediglich um eine Langzeitbelichtung, bei der man während der Belichtung gewissermassen durch das Motiv die Kamera zieht (oder dreht), um den Effekt des Verwischens zu erreichen. Hier sind der Kreativität keinerlei Grenzen gesetzt. Man kann die Kamera von oben nach unten, oder umgekehrt, von links nach rechts ziehen oder einfach kreisen usw. Auf dem Display kann man schnell das Resultat sehen.

Ich will hier keine Regeln aufstellen, aber ich habe gute Erfahrungen damit gemacht, die Kamera entsprechend dem Motiv zu Bewegen. Zum Beispiel bei Bäumen vertikale Bewegungen und bei Szenen mit einer klaren Linie am Horizont, horizontale Bewegungen. Laub auf dem Boden macht in einer rotierenden Bewegung eine gute Figur.
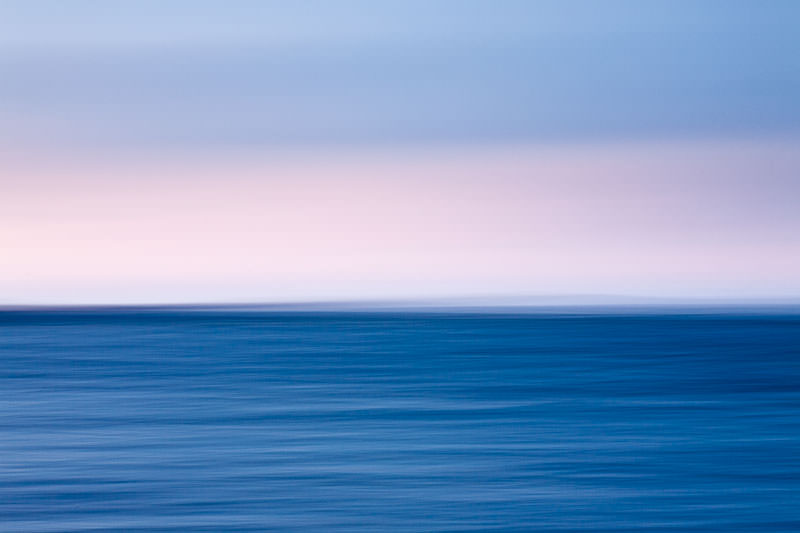
Panning in der Landschaftsfotografie

Hier alles erlaubt was gefällt und man muss viel experimentieren. Wichtig ist jedoch, das die Belichtungszeit ausreichend lang ist, obwohl dies natürlich auch von der Geschwindigkeit der Bewegung abhängig ist. Ist die Belichtungszeit zu Kurz, wirkt das Bild schlicht, nur unscharf und nicht gewollt verwischt.

Belichtungszeiten von 0,5 Sekunden sind in der Regel schon ausreichend und ich fand den Effekt am Besten, wenn man die Kamera während der Bewegung auslöst und nicht schon vorher.

Um entsprechende Belichtungszeiten auch bei Tageslicht zu erreichen, sollte man auf jeden Fall die niedrigste ISO verwenden, die die Kamera hergibt. In den meisten Fällen wäre dies wohl ISO 100 oder wie bei einigen Modellen (z.B. Canon’s 5d’s) ISO 50 im erweiterten Modus. Auch einige Point’n Shoot Kameras haben diese Funktion. Gelegentlich nennt es sich dann ND Filter.

Panning in der Landschaftsfotografie

Hat man die niedrigste ISO ausgewählt, ist es am einfachsten, im TV Modus (Zeitmodus) zu arbeiten und die gewünschte Belichtungszeit einzustellen. Die Kamera übernimmt dann die Auswahl der entsprechenden Blendenöffnung. Meist wird dies eine recht kleine Öffnung sein, wahrscheinlich f/11 oder kleiner, wenngleich dies selbstverständlich aber auch von den Lichtverhältnissen abhängig ist. Aus reiner Gewohnheit arbeite ich allerdings im AV- oder Manuellen Modus und stelle ich Kamera entsprechend selbst ein. Schärfentiefe ist bei dieser Technik kein Problem – etwaige Verzerrungen durch eine extrem kleine Blende (z.B f/32) fallen hier nicht ins Gewicht.
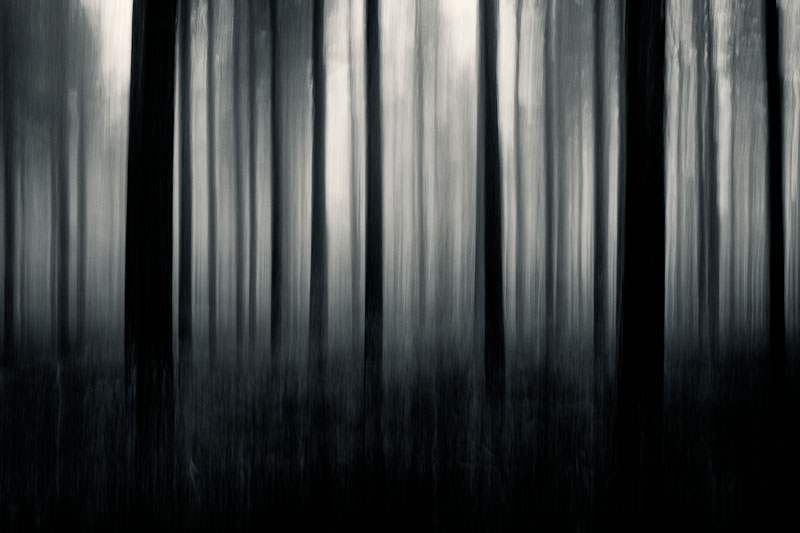
Panning in der Landschaftsfotografie

Reizvoll finde ich diese Technik, da man durch sie nicht unbedingt von besonders spektakulären Szenen und besonderes fotogenem Wetter abhängig ist. Mit dieser Technik kann man auch schon im eigenen Garten/Hinterhof gute Ergebnisse erzielen. Langweiliges, graues Wetter ist auch hilfreich, um entsprechende Belichtungszeiten bei Tage zu bekommen.

Falls Euch diese Technik gefällt und Ihr selber damit experimentiert, verlinkt doch einfach zu Euren Ergebnissen in den Kommentaren. Danke!

***
Werbepause: Buchtipp – Vom Alltäglichen zum Besonderen!


KWERFELDEIN | Digitale Fotografie

 
Comments Off on Panning in der Landschaftsfotografie

Posted in Equipment


Digital Photography 1 on 1: Episode 15: Panning

01 Mar

In this episode Mark talks about panning. Panning is an easy way to create motion in your images. Use it for shooting sports, kids or anytime you want to create some motion in your shots.

In this episode Mark talks about the basics of exposure. Learn how the Aperture, Shutter and ISO work together to control how an image is exposed.