RSS
 

Posts Tagged ‘Nature’

Tips for Creating Compelling Nature Photography

23 Oct

The post Tips for Creating Compelling Nature Photography appeared first on Digital Photography School. It was authored by Karthika Gupta.

tips-for-creating-compelling-nature-photography

Nature photography is one of the most common forms of photography out there today and in this article, I’m going to give you tips for creating more compelling nature photography.

Instagram alone has more than 80 million posts under the hashtag #naturephotography. Not to mention that variations like #naturephotos and #naturephotoshoot have their own massive following. No matter what genre of photography you practice, getting out in nature and capturing images of the natural world is always fascinating.

Perhaps some of the charm and pull of nature photography has to do with the fact that it is free, easily accessible (depending on where you are), and there is never a shortage of subject matter, light or even creative framing – all elements that contribute to a stellar photo.

Tips for Creating Compelling Nature Photography

Nature photography doesn’t have to be boring or mundane. Nor is nature photography only images of dramatic landscapes in exotic faraway locations. Even your house plant or tree in your backyard can become compelling nature photography if done correctly. There are a few things you can do to take your nature photography from boring to amazing.

Focus on the subject

Look at any photography course, cheat sheet, or guide. It will talk about the importance of your subject as it relates to the overall image. The subject is everything. A subject can make or break an image, and I don’t say that to just sound dramatic.

Some photos have so much going on that we are confused about the message. On the flip side, some images use a shallow depth of field to focus on one element, yet nothing else gives context to what is going on in the image. We are often left wondering what the intention of the image is.

Don’t let that happen to you. Focus on the subject based on what story you are looking to tell. Ask yourself if the subject helps or distracts from that story.

tips-for-creating-compelling-nature-photography

We were photographing wild horses in Utah when the sun set. My subject was still the horses but, for me, the element of the setting sun just added more drama to the scene.

If you want to photograph a tree in your backyard in the Fall, wait until all the leaves turn a bright red color to complement the story of fall colors. If you want to photograph a landscape at golden hour, figure out the direction of the sunset and watch the weather to see if conditions are right for a dramatic golden hour and sunset.

Understand what you are photographing and the story you want to tell. This will help you conduct the right kind of research needed for executing your shoot and the results you want.

Understand the light you are working with

If there is one thing I would shout from the rooftops as it relates to photography, it is about the importance of light in photography.

There is no such thing as bad lighting. Lighting is just different at different times of the day.

Not all lighting is the same in terms of quality of light. Light is just different at different times of the day. Sometimes the light is perfect – that warm, soft glow that translates beautifully in pictures. Other times, the lighting is harsh and strong. I wouldn’t say that type of lighting is always bad – it is just not the same every time.

tips-for-creating-compelling-nature-photography

Morning Light In The Tetons

tips-for-creating-compelling-nature-photography

Harsh mid-day sun in the Himalayas

Image: Setting sun along the Oregon coast

Setting sun along the Oregon coast

The sooner you train your eye to read the different types of light, and what it can do to your images, the sooner you will be able to analyze your imagery better. You’ll also get photos closer to the style you like without wasting too much time in post-processing. No amount of editing can really fix an image taken in poor lighting conditions.

As it is with nature photography, you cannot always control your light source, that is, the sun. There might be many instances that you are out in nature during the harsh midday sun. This light is strong and very warm. Learn to use that to compliment your photos.

If you can get outside during golden hour, use that light to add some drama to your nature photos. But make sure that you don’t photograph directly into the setting sun as it leads to a lot of sun flare entering your frame (unless that is the effect you are after). It can also make the shot appear muddy and blown out to the point of not being able to see the subjects clearly.

Focus on the details

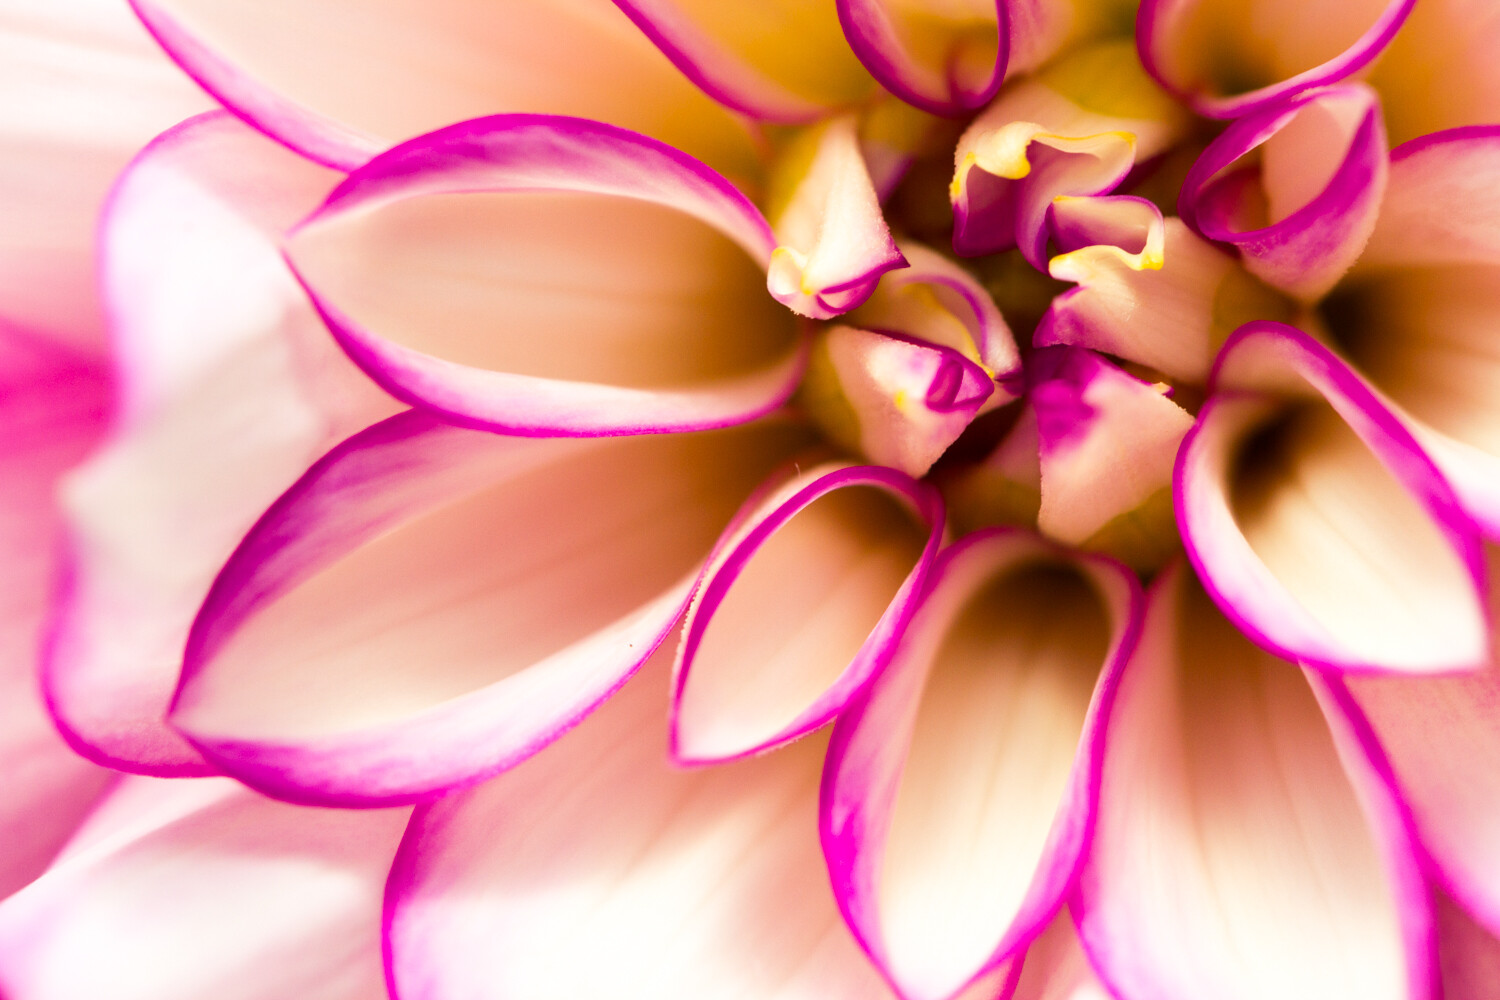
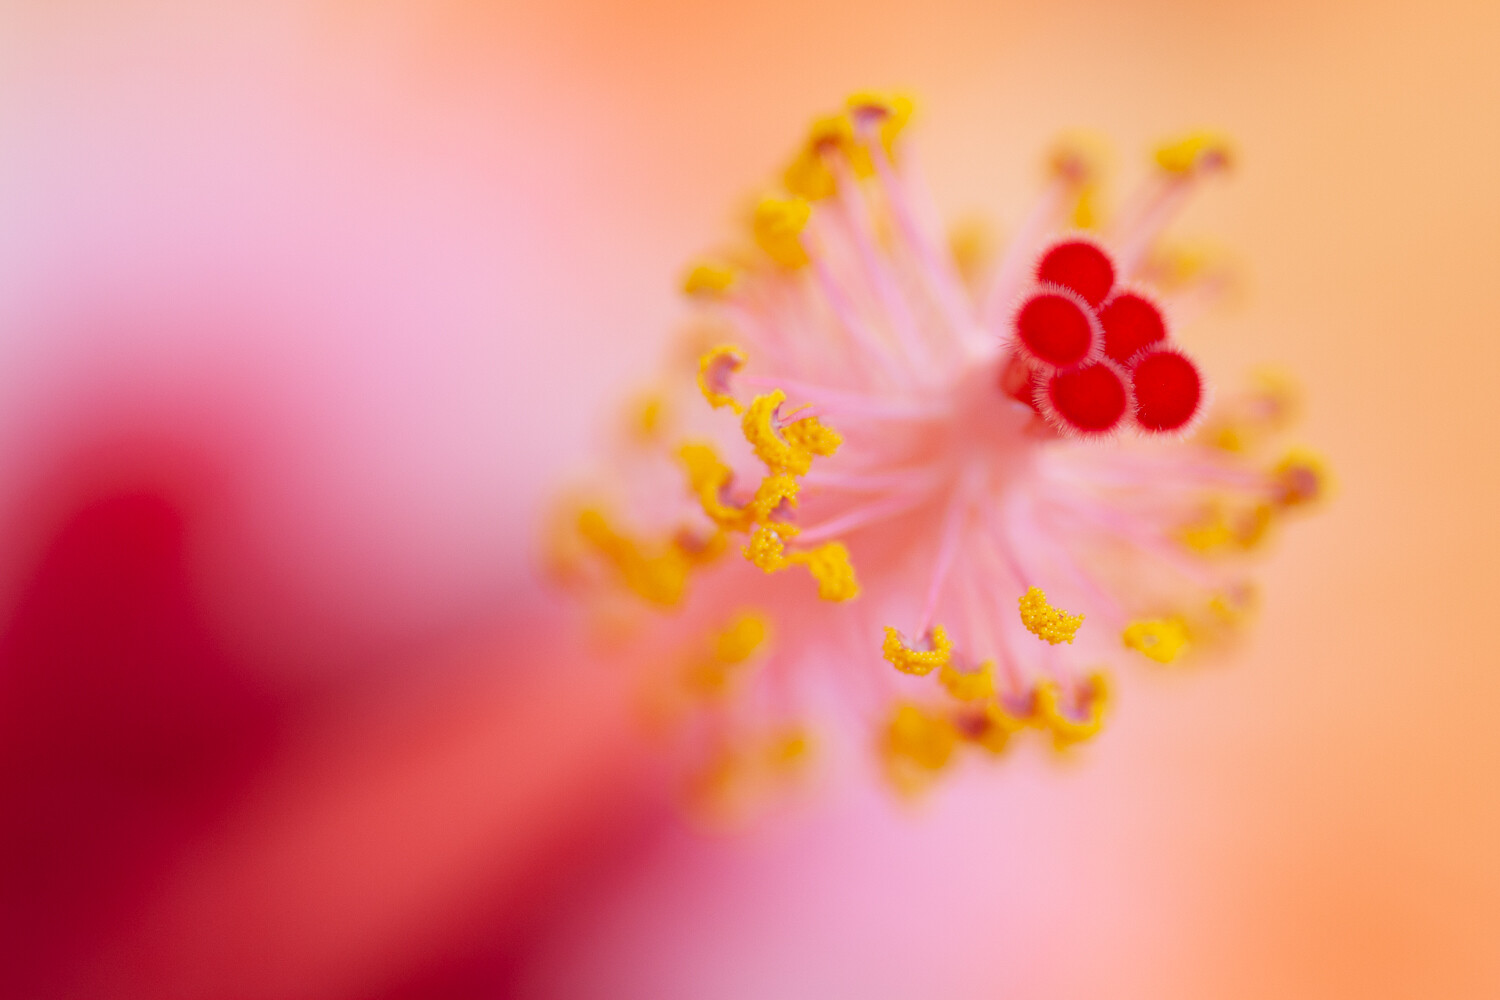
Most of us focus on the bigger picture when we photo nature and landscapes: big skies, large mountains, or even vast open waters. But there is something to be said about slowing down and noticing the details around you. The feel and texture of sand, the colors of pebbles at the beach, the curling leaves under flowers or the colors of a butterfly’s wings. There are so many ways to include details in your images to create compelling nature photography.

Just because something is larger than life, doesn’t mean it is the only thing that matters. Details create depth, texture, and complement the narrative.

tips-for-creating-compelling-nature-photography

Explore colors in nature

I recently came across a YouTuber who prepares natural paints from colors found in nature and uses that for her art. I found it fascinating to watch her grid stones and use their powder for colors, harness indigo from blueberries and red from wild roses. There are countless colors that are found in nature if only we know where to look.

Use colors to convey emotions and meaning. We all know that some colors are associated with certain types of feelings in the eyes of the viewer. Yellow evokes happiness and enthusiasm. Red means strength and energy. Orange shows creativity and warmth. Green signifies harmony and growth.

Use colors in your photography to give that element of wow to your images. Nature has an abundance of color all around – just look for it.

Tips for Creating Compelling Nature Photography

Simple always triumphs complex

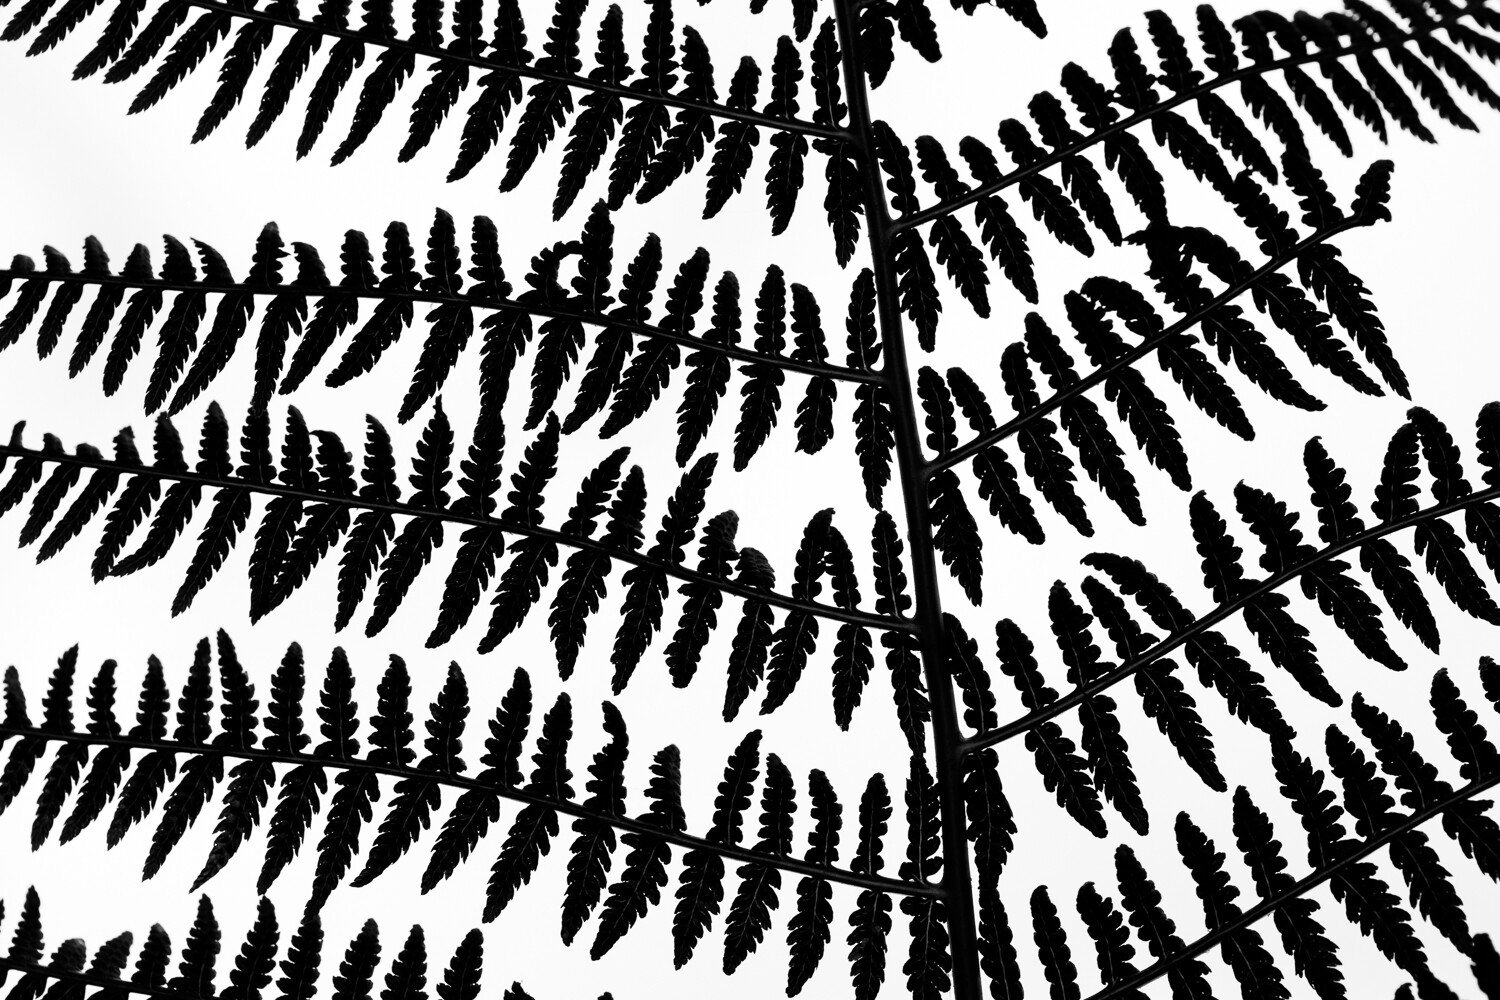
I alluded to this earlier in the article, where I talked about the chaos in an image. Clutter can be messy and sometimes put off a person in real life. Some busy photos where there is a lot happening can be complex and chaotic. Life is crazy enough. We don’t always need to take that into our art.

Nature Photography has the power to transform us to a magical and fantastical place, someplace calm and peaceful. By simplifying our photos, we can transport the user to a place of calm so that they can emotionally connect with our images.

Image: I used a simple black foam board to highlight the white and the fellow of these flowers.

I used a simple black foam board to highlight the white and the fellow of these flowers.

I hope these simple tips help you create more compelling nature photography. Nature has the power to heal in so many ways, and by using that effectively in our imagery, we can convey that narrative to our audience.

Do you have any other tips for creating compelling nature photography? Share with us in the comments!

The post Tips for Creating Compelling Nature Photography appeared first on Digital Photography School. It was authored by Karthika Gupta.


Digital Photography School

 
Comments Off on Tips for Creating Compelling Nature Photography

Posted in Photography


Slideshow: Winners of the 2019 Australian Geographic Nature Photographer of the Year

24 Aug

2019 Australian Geographic Nature Photographer of the Year Winners

The South Australian Museum has announced the 2019 Australian Geographic Nature Photographer of the Year and also shared the winning images from each of the ten categories offered in this year’s contest.

In total, 2,219 images were submitted and judged by Justin Gilligan, Glenn McKimmin and Tui De Roy. In the end, the 2019 Australian Geographic Nature Photographer of the Year award was handed out to Mat Beetson of Western Australia for the above image of a beached Fin Whale being circled by sharks on Cheynes Beach in Albany, Western Australia. The winning image was captured with a DJI Phantom 4 Pro drone, marking the first time a drone-captured photograph has won the competition.

‘It was unreal, arriving at a peaceful coastal town with a pristine beach and then seeing this huge whale not even five metres from shore – we then noticed the thrashing close by and realised that a few sharks had also stopped by,’ Beetson told the Southern Australian Museum about the capture. ‘I launched the drone to see the aerial view and captured a sequence of photographs, this shot was one of the last ones I took and I was very lucky that the shark came back for a look.’

Beetson received a $ 10,000 cash prize as well as a Coral Expeditions cruise for winning.

The remainder of the images in this gallery are the ten winners in each of this year’s categories.

You can find out more information about the Australian Geographic Nature Photographer of the Year competition and the South Australian Museum by visiting their respective websites.

Above Image:

Overall Winner

Fin Whale, Balaenoptera physalus

The fin whale is sighted regularly in this region; seeing one beached, however, is rare. The whale sits less than 5m from shore and 100m from residential homes, giving whale researchers access to an unusual occurrence for this species. Bronze whalers and great whites feasted over the remains before removal.

Location: Cheynes Beach, Albany, Western Australia

Gear: DJI Phantom 4 Pro Drone, 24mm, 1/500, f/5.6, ISO 100, 118m high, filmed with permission DPAW

Photographer: Mat Beetson, Western Australia


Photo credits: Images owned by their respective creators, used with the permission of the South Australian Museum.

Winner, Animal Portrait

Decorator crab, Achaeus spinosus

Typically, decorator crabs attach pieces of sponge and seaweed to themselves to camouflage and hide from predators (which makes them very poor photographic subjects). However, Achaeus spinosus attaches stinging hydroids to itself to ward off potential predators (making it a very attractive subject for photography).

Location: Lembeh Strait, North East Sulawesi, Indonesia

Gear: Canon EOS 7D Mk II, Canon EF 100mm, f/2.8 macro USM, 1/250, f/16, ISO 200, INON Z240 strobe with Retra Pro light shaping device, handheld

Photographer: Ross Gudgeon, Western Australia

Winner, Animal Behaviour

Humpback whales, Megaptera novaeangliae,
Dolphins, unidentified species

The heat run is the ultimate wildlife encounter – multiple whales competing for a female. The chase can last for hours or even days and males can display bubble netting, open mouth gulping, physical contact, loud acoustic sounds, and breaching. Even after 16 years documenting humpback behaviour in the region, it is still truly heart-thumping and adrenaline-pumping action.

Location: Tonga, South Pacific

Gear: Canon 1DX Mk II, Canon 8–15mm fisheye, 1/320, f/8, ISO 200

Photographer: Scott Portelli, New South Wales

Winner, Animal Habitat

Commensal amphipod living in solitary ascidian

I was searching for miniature pygmy seahorses on the reefs of West Papua when I happened across this tiny amphipod crustacean. Just 0.5–1cm long, this male is sitting at the mouth of the sea squirt to guard the females and young within. According to an amphipod expert, this is likely a new species.

Location: Raja Ampat, West Papua, Indonesia

Gear: Nikon D800, Nikkor 105mm macro, 1/125, f/14, ISO 100, twin INON Z240 strobes, handheld, Subal underwater housing

Photographer: Richard Smith, United Kingdom

Winner, Botanical

Ghost fungus, Omphalotus nidiformis

The elusive ghost mushroom show starts after dark, when the green light of its bioluminescence glows across the pine forest on the Bellarine Peninsula. It seems like magic but the glowing works to attract insects that then help disperse the spores and spread the mushroom.

Location: Ocean Grove, Victoria

Gear: Canon 5D Mk IV, Samyang 14mm, 30, f/2.8, ISO 3200, Manfrotto tripod

Photographer: Marcia Riederer, Victoria

Winner, Landscape

When Barron Falls (Din Din) is in flood, the usually tranquil scene is transformed into a tumultuous cataract as huge volumes of water make their way to the coastal plain below. The sheer violence of this display, coupled with the deafening roar, makes it an unforgettable experience.

Location: Barron Falls, Kuranda, Queensland

Gear: Pentax X-5, 28.3mm, 1/320, f/5, ISO 100, handheld

Photographer: Neil Pritchard, Queensland

Winner, Monochrome

Honeycomb moray eel, Gymnothorax favagineus
Maze coral, Leptoria sp.

I came across this amazing juxtaposition of a honeycomb moray eel and a textured brain coral. It screamed monochrome to me, but one of the significant disadvantages of shooting underwater is that you cannot just change your lens to suit the subject. Still, I slowly moved as close to the eel as possible, increased the depth of field, and adjusted my strobes to light up the coral and the eel.

Location: Banda Sea

Gear: Nikon D850, Nikonos 13mm RS, 1/200, f/16, ISO 400, Seacam housing, Ikelite 161s strobe

Photographer: Tracey Jennings, United Kingdom/Malaysia

Winner, Junior

This night was the most amazing display of lightning that I have ever seen, with constant flashes of lightning lasting hours. For the composition, I decided to focus on a man standing at the edge of the water with an umbrella to add a sense of scale to the image.

Location: Fingal Bay, New South Wales

Gear: Canon EOS 5D Mk lll, Canon 17–40mm f4 L, 15, f/4, ISO 200, tripod

Photographer: Floyd Mallon, New South Wales. Age 17

Winner, Our Impact

The Menindee Lakes were deliberately drained in 2016–17 and New South Wales has experienced a lengthy drought. Animals and birds desperately seek food and water and there is very little left due to these human-made and natural events. Lake Cawndilla is now just a drying lakebed scattered with the remains of our native animals.

Location: Cawndilla Creek, Menindee, New South Wales

Gear: DJI Phantom 3 Advanced, 20mm, 1/640, f/2.8, ISO 200, ND4 filter

Photographer: Melissa Williams-Brown, South Australia

Threatened Species Winner

Winner, Threatened Species

Mertens’ water monitor, Varanus mertensi

STATUS: ENDANGERED

Mertens’ water monitors are highly inquisitive. This extremely bold specimen ostentatiously approached me to investigate the good-looking lizard in my dome port while I observed another nearby pair engaged in courtship – sadly for him he was staring at his own reflection, not the mate of his dreams.

Location: Adelaide River, Northern Territory

Gear: Olympus OMD EM-1 Mk II, Olympus 8mm f1.8, 1/125, f/11, ISO 64, two Sea & Sea YS-D2 strobes, manual flash output, handheld, Nauticam underwater housing

Photographer: Etienne Littlefair, Northern Territory

Portfolio Prize

Portfolio Prize (best portfolio of size or more images)

Artist: Charles Davis, (NSW)

Articles: Digital Photography Review (dpreview.com)

 
Comments Off on Slideshow: Winners of the 2019 Australian Geographic Nature Photographer of the Year

Posted in Uncategorized


5 Nature Photography Editing Tips to Create Stunning Images in Seconds

12 Aug

The post 5 Nature Photography Editing Tips to Create Stunning Images in Seconds appeared first on Digital Photography School. It was authored by Jaymes Dempsey.

Do you ever feel like your nature photos are just a bit…bleh? Like they could use something more?

nature-photography-editing-tips

It’s a common problem. Because while you can be a master of light, composition, and camera settings, there’s still one thing you need for amazing nature photography:

Editing.

You see, editing is how you make your nature photos shine. It’s how you add a final touch to your images. It’s how you take a slightly bland image, and make it into something truly stunning.

In this article, I’m going to share with you nature photography editing tips so you know exactly how you can create amazing nature photography edits.

And you’ll come away with the ability to enhance every single one of your nature photos.

Sound good?

Let’s get started.

nature-photography-editing-tips

1. Straighten and crop to emphasize your main subject

First things first:

If your nature photo is crooked…

…then it just won’t work. No matter how amazing the content.

(This is especially a problem for landscape photos, where crooked horizons are extremely obvious.)

You see, a crooked photo is just disorienting. It causes the viewer to get caught up in being imbalanced and makes them forget all about the subject.

So the first thing you should do to enhance your nature photos:

Check to make sure your photo is straight. And if it isn’t, straighten it! Pretty much every photo editing program offers straightening tools, so make use of them.

I handheld this swan photo, and so it required a bit of straightening:

5 Nature Photography Editing Tips to Create Stunning Images in Seconds

Once you’ve straightened your photo, it’s time to think about cropping.

Now, if you’ve composed carefully in-camera, you won’t necessarily need to crop. But it’s easy to miss something small while looking through the viewfinder. Maybe there are some leaves dangling in the corner of the frame!

In which case:

Crop!

By removing distractions, you’ll make your photo stronger overall. You should also crop to improve your composition. For instance, you might crop slightly to place your main subject on a rule of thirds gridline.

Or you might crop to place a symmetrical subject smack-dab in the middle of the frame, like this:

5 Nature Photography Editing Tips to Create Stunning Images in Seconds

Basically, just think of cropping as a second, more measured chance at composing.

Use it to nail the perfect final composition. But don’t think that you need to crop each time a photo comes up. And try to get the composition right in-camera.

After all, crops automatically reduce resolution!

2. Drop the blacks and up the whites to add interest

If you think that your nature photos are looking a little flat, then you might be suffering from a common problem:

Low contrast.

Low-contrast photos generally lack interest. There’s not a clear difference between the subject and the background, so the whole shot just seems to blend together.

Fortunately, this can be fixed pretty easily with a bit of post-processing!

First, basically, every photo editing program offers a contrast slider. For a quick-and-dirty edit, go ahead and boost up this slider.

However, I’d go for something a bit more controlled.

In Lightroom, for instance, I like to use the adjustment sliders to drop the blacks and increase the whites, like I did for this photo:

nature-photography-editing-tips

You can also use the tone curve function to create a nice s-shape, which will give you the same effect.

If my image is fairly low contrast to start with, I’ll add a touch of contrast and then leave things be.

But if my image already has a lot of light and dark tones, I like to push the contrast further. This is especially the case if I’m taking photos in black and white.

Therefore, I’ll add to the blacks until the deepest shadows are close to losing detail. And I’ll increase the whites until the brightest parts of the photo are almost clipped.

3. Clean up your subject with a bit of Healing or Cloning

Now it’s time for some careful adjustments.

You see, many subjects in nature photography could use a bit of cleaning up. Because they tend to have dirt or blemishes that interfere with the overall look of the photo.

For instance, I often clean up my flower photos. Insects chew holes in the petals, or the tips of the flowers start to wither. And if I were to leave these elements in, they would simply distract from the overall shot.

5 Nature Photography Editing Tips to Create Stunning Images in Seconds

If you’re a bird photographer, think about cleaning up the bird’s surroundings. There are often stray branches in photos of woodland birds. There is often dirty sand and distracting shells in photos of shorebirds.

On the other hand, I would not advocate making extensive modifications to your subject. I like to portray nature as close to reality as possible. And that means holding myself back from altering my subject in any deep way.

I generally use Lightroom’s excellent healing tool to remove these blemishes. But any clone tool will do the job. It’ll just require a bit more work.

4. Simplify the palette with Color Adjustments

In nature photography, I advocate simplicity:

Simpler shots are generally best.

But that doesn’t just go for composition. It’s also true for color.

In other words, for a stunning photo, you should try to limit the number of colors you include. One color works just fine. Two is nice. Three is good. Four is reaching the upper edge.

After that, the colors contribute a sense of chaos to the scene, which is exactly what you don’t want.

Fortunately, you can work on simplifying your color palette after you’ve taken your shots.

5 Nature Photography Editing Tips to Create Stunning Images in Seconds

All you have to do is use the color adjustment sliders. In Lightroom, these are the hue, saturation, and luminance (HSL) adjustments.

Here’s a couple of ways you can simplify your colors:

First, you can desaturate any colors that you want to deemphasize, and saturate any colors you’d like to bring out.

Second, you can change the hues of several colors to look more similar. For instance, you might make greens slightly bluer and blues slightly greener, so that everything leans toward a balanced middle color.

Third, you can darken any problematic spots of color. If you have a splash of orange in the background that you just don’t like, you can dial it back by simply darkening the oranges.

Unfortunately, there’s no set formula for working with color adjustments. But I always recommend you keep a final goal for the photo in mind: simplicity.

5 Nature Photography Editing Tips to Create Stunning Images in Seconds

And I should note: It’s easy to overdo color adjustments so that you end up with a garish, oversaturated scene. I suggest that you always check your color edits the day after you’ve finished, and make sure that the edits still seem to make sense.

That way, you can be sure that you haven’t taken things overboard.

5 Nature Photography Editing Tips to Create Stunning Images in Seconds

5. Use a subtle Split Tone to give a polished look

Here’s your final piece of advice for nature photography post-processing:

Use (subtle) split toning!

Now, split toning is a bit complex:

It allows you to choose a color to add to the shadows of the image, and a color to add to the highlights of your image.

For instance, you can add a yellow to the highlights, and make the whites of the image look very warm:

5 Nature Photography Editing Tips to Create Stunning Images in Seconds

Then you can add a blue to the shadows, and make the dark parts of the image look very cold:

nature-photography-editing-tips

In fact, yellow/blue split toning is extremely common in cinema, because the warm/cold contrast makes the visuals more compelling.

Now, in nature photography, you don’t want to split tone to the extent they do in cinema. The point of a nature photography split-tone is to subtly enhance the colors.

So here’s what you should do:

Once you’ve finished your main editing, head over to the split-toning options in your editing software. This isn’t an edit offered by every post-processing package, so check to see if it’s something you can do.

Then simply play around with the split toning options. Be careful to keep things pretty minimal. You don’t want to grossly alter the colors of the photo. You want something subtle.

The yellow-highlights, blue-shadows split-tone is one that works pretty consistently, so it’s something that I suggest you try.

But feel free to experiment with many split-tone options.

And pick the one you like best for a wonderful finishing touch!

5 nature photography editing tips to create stunning images in seconds: next steps

Nature photography editing is just the thing you need to add a bit of punch to your photos.

So I suggest you have a consistent post-processing workflow, one which allows you to take your pictures to their full potential.

nature-photography-editing-tips

That’s how you’ll really create a polished nature photography portfolio.

Which nature photography editing step do you think is most useful? Let me know in the comments right now!


5-nature-photography-editing-tips

The post 5 Nature Photography Editing Tips to Create Stunning Images in Seconds appeared first on Digital Photography School. It was authored by Jaymes Dempsey.


Digital Photography School

 
Comments Off on 5 Nature Photography Editing Tips to Create Stunning Images in Seconds

Posted in Photography


7 Techniques for Original (and Stunning) Nature Photos

04 Jul

The post 7 Techniques for Original (and Stunning) Nature Photos appeared first on Digital Photography School. It was authored by Jaymes Dempsey.

Do you want to capture original nature photos?

The kind of photos that are both stunning and unique?

You can.

While capturing original nature photography might seem hard, it doesn’t have to be.

Because there are a few simple tricks that you can use…

…which will help you create original photos, consistently.

And it’s not about finding new locations.

It’s not even about finding new subjects.

Instead, it’s about looking at the subjects you have in a completely different light.

Let’s get started.

1. Use unusual lighting for surprisingly dramatic shots

For a long time, I felt like my images were frustratingly similar. I couldn’t find any new compositions. I couldn’t create the kind of magic I wanted. I felt like I had hit a wall.

Until I discovered the power of directional lighting.

Now, directional lighting is something that most photographers are familiar with. You get directional lighting when the sun is low in the sky – so that the light hits your subject from a particular direction.

If the light hits your subject from the front, it’s frontlight. If your light hits your subject from the side, it’s called sidelight.

But while frontlight and sidelight are nice enough, they pale in comparison to the power of backlight.

(Which is the type of light that completely changed my photography.)

Backlight comes from behind your subject. If you want a backlit photo, you should make sure that your subject sits between you and the sun – and then point your lens at your subject.

What’s so great about backlight?

Backlight allows you to capture intense, dramatic light. It allows you to create a contrast-heavy photo, one with a beautiful background and a detailed subject.

However, you want to be careful not to create a silhouette. If you underexpose the photo too much, the subject will lose all its detail, leaving you with nothing but a bright backdrop.

So here’s what I recommend:

Point your camera at your subject. And then crouch down so that the sun moves behind the bulk of your subject. If you can block the sun, you’ll reduce the background brightness. And you’ll be able to capture some nice detail in your subject while giving the overall shot some gorgeous background light.

One more tip:

It can be useful to let the sun fall through a background object. If there’s a tree in the background, angle yourself so the sunlight falls through the tree. This will create some spectacular bokeh.

And it’ll take your nature photos to a whole new level.

2. Shoot from strange angles for a completely new perspective

Shooting from new angles is a classic method for capturing original photos.

That’s because it works. Really, really well.

Of course, you don’t want to use the same new angles, over and over again. That will just cause you to fall into a cycle of creating similar photos once again!

Instead, try to find a new angle for every subject you photograph.

I’m a fan of getting down low, and I recommend you try it, too. Crouching, crawling, or even lying on the ground is a great way of opening up more intimate perspectives.

And more intimate perspectives can make for stunningly original images.

Another tip is to make yourself feel disoriented. Try lying on the ground, looking up at your subject. Or try climbing high above your subject, so that you’re shooting straight down.

These particular angles are just starting points. Take them and make them your own. Experiment as much as possible.

That’s how you’ll capture original photos.

3. Apply creative techniques for unique takes on a subject

Another easy way to produce original nature photos is to add something new to your photography arsenal. Something you’ve never tried before.

One way to find these techniques is to look at photographers in other genres. What are they doing that you like? What’s creative about their work? Is there something that you can take from their photos and apply to yours?

I’ll mention just a few creative techniques here. These will give you a sense of the possibilities of nature photography. And they’ll also open up new shots for you, right now.

First, one of my favorite creative techniques is freelensing. This involves detaching the lens from your camera and tilting it in different directions for a tilt-shift style image.

Freelensing will give you some striking images filled with shallow depth of field, gorgeous bokeh, and stunning light leaks.

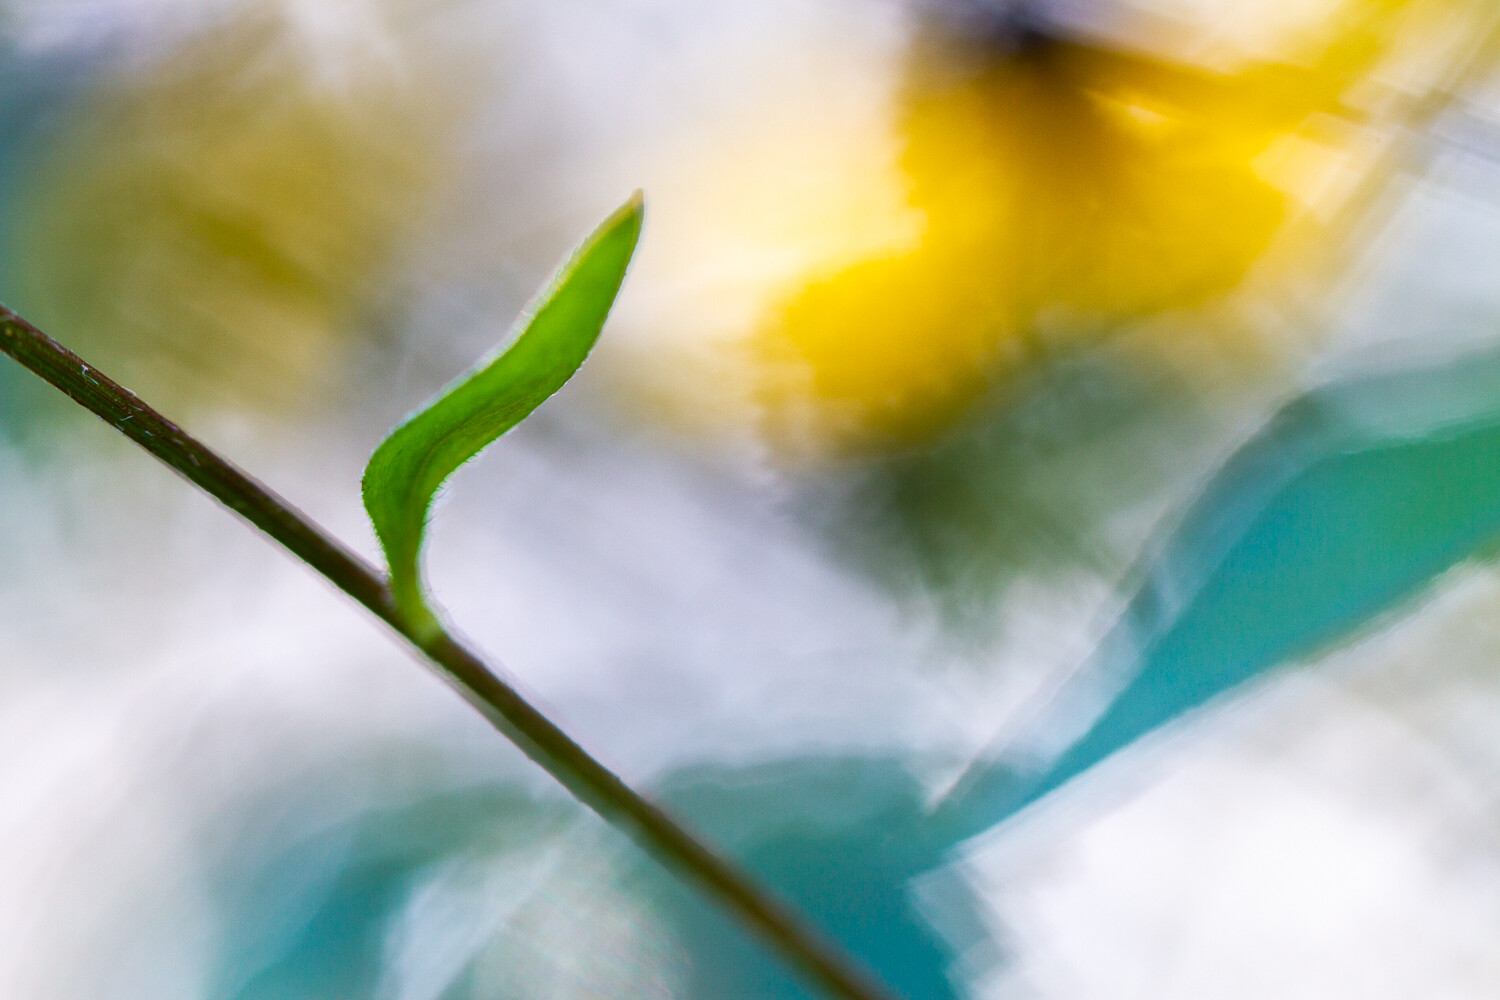
Second, I recommend trying intentional camera movement photos (or ICM). ICM photos are beautifully abstract and impressionistic.

To capture amazing ICM photos, simply set your shutter speed to something low (in the 1/2s to 1/20s range). Then experiment with moving your camera when you take the photo.

If you persevere, you’ll soon be taking some amazing images!

Third, you should try the ‘shooting through’ technique, also known as ‘cramming.’

Find a subject – then change your angle so that you’re shooting through something in the foreground. This is generally vegetation, but it doesn’t have to be.

If you can create a shallow depth of field, you’ll blow the foreground into a beautiful wash of color. And you’ll capture some highly-unusual nature photos.

4. Create abstracts of your subjects for something impressively different

One thing I love about abstract photography?

It forces you to see your subject in a whole new light.

And that’s why abstract photography is perfect for creating fresh perspectives of a subject.

But this leads to the question:

How do you actually create stunning abstracts?

I have a few tips:

First, get close. For abstract photos, closer is almost always better.

Two, try to think in terms of shapes and lines, rather than subjects. Compose while keeping these geometric elements in mind.

Third, be careful not to underexpose your photos. It’s easy to do this with close-up abstract photography because you lose light as your lens focuses closer. So make sure to compensate for this possibility.

Finally, use your viewfinder a lot. Move your camera, and watch as the composition changes.

And when things start to look really good…

…take your shot!

5. Switch lenses for a fresh focal length (and fresh feel)

Sometimes, all we need to do for a fresh perspective…

…is switch lenses.

After all, you probably use the same lens for your nature photography pretty often. I know that I have a few lenses in my kit that I use regularly.

And this can cause you to get comfortable with your photography. You might struggle to find new images.

So switch lenses. And make the switch as big as possible.

If you’ve been shooting flowers with a long lens, try using something very short. If you’ve been shooting landscapes with a short lens, try to go for something long. And if you’ve been shooting birds with an ultra-telephoto, why not try something that shows far more of the environment?

Whenever I try this technique, it works wonders. The completely new perspective feels wonderfully fresh – and I get photos that I really love.

6. Find a photo you like and take something different

This technique is a tricky one.

If you can do it correctly, you’ll capture stunning original images. But if you approach it without much motivation, you’ll end up creating something boring and derivative.

Here’s how it works:

Start by finding some nature photos you like, but that were taken by other photographers.

Then recreate those photos. Recreate the setup, the composition, everything.

Finally, make three major changes to the shot.

The changes can be anything: settings, lighting, composition, and more. The point is to create a shot that’s radically different from the original, but that still captures the magic that the original possessed.

You can even use some of the techniques from elsewhere in this article. Add in a bit of ICM. Use a wildly different angle.

You’ll ultimately capture an original image. An image you can be proud of.

7. Shoot until you can’t shoot anymore, then keep shooting

Here’s one final technique for original nature photos:

Find a subject. Then photograph that subject as you normally would, taking all the obvious photos.

But then, once you’ve run out of easy ideas…

Keep going.

Keep taking photos.

And keep trying to innovate. Keep trying to find new nature images.

At first, you’ll struggle. You’ll think there’s nothing more that can be done.

But then you’ll start to have new ideas. Your mind will open up.

And that’s when you’ll get some of your most original photos!

Techniques for original (stunning) nature photos: next steps

Capturing original nature photos can be really, really tough.

Or, at least, it might seem that way.

But the truth is:

Anyone can take original nature photos! As long as they know a few simple tricks.

So as long as you follow the techniques laid out in this article…

…your nature photography will be gorgeous, stunning, and – above all – original!

Got any more tricks for original nature photos? Be sure to share them in the comments!


original nature photos

The post 7 Techniques for Original (and Stunning) Nature Photos appeared first on Digital Photography School. It was authored by Jaymes Dempsey.


Digital Photography School

 
Comments Off on 7 Techniques for Original (and Stunning) Nature Photos

Posted in Photography


The 7 Nature Photography Mistakes You Don’t Know You’re Making

19 Jun

The post The 7 Nature Photography Mistakes You Don’t Know You’re Making appeared first on Digital Photography School. It was authored by Jaymes Dempsey.

Do you like to do nature photography?

Then you might be making these 7 mistakes.

And here’s the thing:

These nature photography mistakes are the kind that you don’t even know you’re making. They’re the type of mistakes that are easy to miss, but they’re absolutely critical to your photography.

To discover these mistakes (and to ensure you never make them again!), read on!

1. Shooting under bad lighting

I’m going to start with the single most critical, most common mistake I see nature photographers making:

Shooting in poor lighting conditions.

Because good light is absolutely essential to good nature photography.

In fact, I’d go so far as to say that without good light, you cannot get a good photo. It’s so easy to have the perfect setup, the perfect composition, and the perfect settings…

…only to ruin the shot with bad light.

So what counts as bad light?

Two main situations.

First, shooting under the harsh, midday sun will pretty much always ruin your shots. The midday sun just isn’t good for nature photography!

And second, shooting in low light, at any time of the day. Unless you’re shooting with a tripod, your shots will end up grainy or blurry, which you definitely don’t want.

Which begs the question:

What is good light?

I recommend that you do nature photography at two main times.

First, you can capture some great nature photography under cloudy skies. Cloudy light is especially great for photography that involves color because the clouds diffuse the light and saturate the colors.

Second, you can always rely on the golden hours, which are the two hours after sunrise and before sunset. Golden-hour light is warm, wonderful and, well, golden. It’s perfect for capturing that stunning, once-in-a-lifetime shot.

In fact, most of the best nature photography you’ve seen was probably taken during golden hour. It’s just that amazing!

2. Shooting your subject from a standing height

Here’s another common nature photography mistake:

Not paying attention to your angle!

(More specifically, photographing from a standing height, so that you’re shooting down toward your subject.)

This is especially problematic in wildlife and macro photography, where shooting downward conveys a sense of dominance and separation.

Instead of shooting downward, try to get on a level with your subject. That way, the viewer will feel much more connected, like they’re in the same world as your subject.

And don’t just shoot from a single angle. Try to experiment with different possibilities, and take note of the way a different angle results in a different nature photo.

This is a great way to get out of a creative rut: Force yourself to shoot a subject from an angle you’ve never used before. Get on the ground and shoot upward!

3. Using a (slightly) messy background

In nature photography, the background is absolutely essential.

If you don’t include the perfect background, then your photos just won’t stun the viewer.

And one of the easiest mistakes to make is using a messy background.

You’ve got to do everything you can to avoid the mess. You must avoid chaos. Instead, you need to produce a background that’s as simple as possible:

  • Uniform in color
  • No additional subjects
  • No lines or shapes

Your goal is to make your subject stand out. And to do that, you have to eliminate everything that’s unnecessary in the background. Only include the essentials.

4. Photographing low-quality subjects

Once you’ve found a subject…

…do you check to make sure that it’s not damaged, dirty, or poor quality?

It’s so easy to forget this step. And yet it’s critical to capturing a stunning nature photo.

I recommend you always do a quick evaluation of your subject.

If it’s a flower, then you’ll want to ask yourself:

  • Are there any blemishes or holes?
  • Are there any spots of dirt or mud?
  • Are there any insects in the center of the flower?

If it’s a landscape, then think about:

  • Whether there’s any litter or human-made items
  • Whether your foreground subject is damaged

Your evaluation doesn’t need to be in-depth. You should just spend enough time to be certain your subject is in good shape.

5. Not including a point of focus in your compositions

This is another quick way to ruin a great nature photo.

Because basically, every composition must have a point of focus.

By this, I mean that you must include a subject. Something that viewers can latch onto. The subject can be whatever you like (as long as it’s there!).

If you’re shooting landscapes, then try to include a subject in both the foreground and the background. Ideally, the foreground subject will lead the eye to the background.

If you’re shooting wildlife, then your subject is pretty much guaranteed. Just make sure that you emphasize the wildlife in your photo!

And if you’re shooting macro photos, then make sure that an aspect of your subject is tack-sharp, so that your viewer’s eyes go straight to it.

6. Shooting low-contrast scenes

This mistake is a bit more advanced, but still important to keep in mind.

When you’re doing nature photography, you should strive to avoid ultra-low contrast scenes.

By ‘low-contrast scenes,’ I’m referring to those with very little variation in tone (that is, lights and darks) and color.

A low-contrast scene might be almost entirely white.

Or it might be entirely red, or blue, or black.

What’s the problem with low-contrast scenes?

The lack of contrast makes every element blend in. So no single element stands out, and the photo becomes boring.

Which is exactly what you want to avoid.

Instead, look for scenes where the subject pops off the background. And look for scenes where you have some nice shadows and nice highlights.

I should note: It is possible to use low-contrast scenes for an artistic effect. But you have to do it deliberately, and it’s extremely easy to mess it up.

So I recommend you stick to high-contrast scenes. That’s how you’ll avoid low-contrast issues!

7. Not post-processing your nature photos

There are three fundamental aspects of every nature photo. They are:

  1. Light
  2. Composition
  3. Post-Processing

If you can nail all three of these things, then you’re set. Your photos will be stunning. And we’ve already talked about light, and how you should shoot during the golden hours. We’ve already talked about composition, and how you must include a point of focus.

But we haven’t talked about post-processing. And here’s the thing:

Without post-processing, your nature photos just won’t stand out. Because editing is what adds that finishing touch, that last bit of shine, to your nature photography.

Now, you don’t have to do much editing. But there are a few things I recommend you do to every photo:

  1. Check the exposure. It’s especially common to let your photos remain underexposed. So make sure that the shadows in your photo still look nice and detailed.
  2. Check the contrast. In general, I recommend boosting the contrast of your nature photos. This gives an extra bit of punch and will help your images stand out.
  3. Check the saturation. While it’s easy to overdo this step, a little bit of saturation goes a long way. You want your colors to look deep, but natural.

If you can just follow these three steps, then your nature photography will look so much better.

Nature photography mistakes: conclusion

Now you should know all about these seven deadly nature photography mistakes.

And you’re prepared to avoid them!

The key is to just keep a lookout. Maybe even create a checklist.

Then, when you’re shooting in the field, you’ll make sure that none of these happens, and your photography will turn out better than ever.

Have any nature photography mistakes that I didn’t discuss? Share them in the comments!


nature photography mistakes

The post The 7 Nature Photography Mistakes You Don’t Know You’re Making appeared first on Digital Photography School. It was authored by Jaymes Dempsey.


Digital Photography School

 
Comments Off on The 7 Nature Photography Mistakes You Don’t Know You’re Making

Posted in Photography


Mastering Photography: Nature vs. Nurture

26 May

I have three kids and they are all so different, one is quite shy, one is super confident and the third never stops talking – they have all been raised the same so I often wonder about ‘nature or nurture’.

I was recently in the Faroe Islands and had planned to make a video on the rules of photography but ended up discussing the nature vs. nurture argument for photography, which actually produced a more compelling result.

Evening rays on one of the many amazing fjords in the Faroe Islands.

Ever since I can remember, I have been fascinated by photos and rich visual communication. At school I had difficulties with English, reading and writing and it was only when I was in my twenties that I found out I was dyslexic. Although reading was a struggle, I loved to look at photo books and would spend hours studying them, pondering over the photos, and trying to work out why they looked so good.

I took up photography at the age of 13 and found it to be a great way to express myself – I was much more comfortable producing a photograph that told a story, rather than the written word. Even though I enjoyed being creative through photography, I didn’t have a natural talent for it and my early results left a lot to be desired!

Jump forward over 30 years and I now consider myself to be a competent landscape photographer. Practice doesn’t make perfect, and there is always something new to learn; but I feel that I can usually find a good composition when I go out shooting; and I now have a portfolio of photographs of which I am proud and which people are willing to buy so that they too can enjoy the images.

Spring – Printed on Fotospeed NST bright white paper.

So if I didn’t have a natural talent for photography, have I managed to nurture what little artistic talent I did have to make myself into a better photographer?

Ansel Adams once said, “There are no rules for good photographs. There are just good photographs.”

Although I agree with the sentiment behind this quote, I have actually spent the last few years building my YouTube channel and trying to explain to people what makes a good photo and how they can improve their photography. There are certain rules, or maybe best to call them guidelines, that apply to landscape photography that usually help us to achieve better results.

Ansel Adams once said, “There are no rules for good photographs. There are just good photographs”.

Photography isn’t quite like the art of drawing a cartoon or painting a picture. It is a combination of technical knowhow and artistic interpretation. If you just have one part of the puzzle, you aren’t likely to get the best results. Don’t get me wrong, give an accomplished artist a camera phone and they would likely produce something superior to a less artistic person. But a non-artist can also produce a great photo.

My wife, Ann is a prime example – she can’t even draw a straight line but she is actually great at finding unique and interesting compositions for photographs (probably a result of spending hours out on location with me and listening to me rambling on about composition and getting excited about great light).

When it comes down to it, there are four elements that you need to master in photography and these are subject, light, composition and timing which are discussed in my video on the four elements of landscape photography. It is really only the composition element that is the artistic one – how you go about placing all the elements in the scene in the most pleasing way; or perhaps more importantly, what do you leave out?

Passing Storm, Faroe Islands.

So, can you learn this? Is there a set of rules for you to follow to improve your composition? Is there a limit to how good you can get by learning such rules and can you become more artistic?

Take this image for example – can you say what makes it a good photo or what can be improved?

Essence of the Faroes.

Try it with a friend. Critically consider ten photos that aren’t yours and explain to each other why they are good or bad, what you like and what you think could be improved – you’ll be surprised how useful an exercise this is.

In this video I consider a number of photographs and explain why I think one of the keys to becoming a great photographer is to study accomplished images and try to work out what makes them so good.

The first shot I took: great composition, great subject, but poor light and poor timing. Ten minutes later: great composition, great subject, great light, great timing.

Even if you have all the elements in the same place, you also need to have patience (a quality that I wasn’t born with, but which I have learned to master) in order to wait for the best conditions and get the timing right. Light can make an enormous difference to a shot. Take a look at the two images above. The only difference is time. The light has changed significantly and the photographer moved, but it was just a case of waiting for the right moment.

I explore ‘nature or nurture’ a bit more in the video below, where I also discuss light and simplicity in more detail. What are your thoughts on nature vs. nurture? Let me know in the comments!

Articles: Digital Photography Review (dpreview.com)

 
Comments Off on Mastering Photography: Nature vs. Nurture

Posted in Uncategorized


7 Photography Exercises to Take Your Nature Photos to the Next Level

26 May

The post 7 Photography Exercises to Take Your Nature Photos to the Next Level appeared first on Digital Photography School. It was authored by Jaymes Dempsey.

Do you want to improve your nature photography skills? Do you want to take stunning nature photos, consistently?

Don’t worry.

In this article, you’ll discover 7 photography exercises all designed to get you capturing unbelievable nature images.

(Plus, the exercises are a lot of fun!)

So, if you want to improve your nature photography…

…keep reading.

1. Shoot a single nature subject from 9 different angles

Here’s your first nature photography exercise (and my favorite):

Choose just one nature photography subject.

And shoot it from at least nine different angles.

This will force you to stretch the boundaries of your creativity. It will force you to start looking at your subjects in many different ways.

The first five angles might be easy enough. But the last four will be a struggle – as it should be!

A few excellent angles to try:

  • Shoot on a level with your subject
  • Shoot from directly above your subject (if you can)
  • Get below your subject and shoot upward

Then, once you’ve finished the exercise, pull up the photos on your computer. Take note of the different angles and how they gave your subject slightly different looks.

And next time you’re doing photography, use those angles!

2. Shoot a subject you normally avoid

This exercise is all about getting you out of your comfort zone.

Because if you don’t get out of your comfort zone, you’ll never grow as a photographer.

So here’s what you do:

Think about the subjects that you normally shoot.

And then…

Pick a subject that’s radically different. And shoot that subject, instead.

If you normally photograph birds, shoot flowers for a day.

If you normally photograph landscapes, shoot wildlife.

Just pick something that you don’t normally like shooting.

If you want to make this exercise extra useful, then don’t just shoot another subject for a single outing. Instead, do it for a week (or even a month).

You’d be amazed by the tricks you pick up from learning another area of photography.

3. Bring just one lens into the field

Here’s the thing:

When photographers go out for a photoshoot…

…they tend to take multiple lenses (and even multiple cameras).

And while this will give you a lot of flexibility, it won’t force you to think outside the box.

But I want you to think outside the box. I want you to think in new ways.

So the next time you go out to shoot, leave all your normal lenses behind.

Instead, bring just one lens.

And (if you’re feeling adventurous) make sure it’s a lens that you don’t use very often.

This will force you to take nature photos that you would’ve never even considered.

4. Shoot a Scene With Four Types of Light

Nature photography is all about the light.

Which means that, as a nature photographer, you must learn to master the light.

This exercise is designed to help you do that.

You start by picking a scene.

Then you photograph that scene with four types of light:

  • Cloudy light
  • Midday light
  • Sunrise/Sunset light
  • Shade

This will undoubtedly involve coming back several days in a row.

But it’s worth it.

Because once you’re done, you should look at all the photos you took.

And note how the different types of light gives you different types of nature photos!

5. Take both still shots and action shots of your subject

Oftentimes, we get in the habit of shooting the same type of subject, over and over again.

I’ve already given you one way of avoiding this problem.

But another way…

…is to keep shooting that same subject. But shoot it in a different way.

Specifically, try to take a combination of shots:

Still shots.

And action shots.

For those of you who shoot birds or wildlife, this shouldn’t be too difficult.

But for flower and landscape photographers?

This will be tough.

If you generally photograph still subjects, you may have to get creative. Try to take some intentional camera movement photos. Or see if you can get some sort of action to happen in the frame (e.g., flowers blowing in the wind, waves crashing on the beach).

And that’s it! This will force you out of your comfort zone. And get you taking some fresh photos!

6. Edit your favorite nature photo in 5 different ways

One thing that you need to know:

Post-processing is a significant part of capturing stunning nature photos.

Even small adjustments go a long way.

So for this exercise, you should start thinking about different post-processing options. And edit your favorite nature photo in five distinct ways.

You should experiment with edits in Lightroom, Photoshop, or another high-quality editing program. See what happens when you increase the saturation. See what happens when you drop the contrast.

And try to do some new edits. Things that you haven’t done before.

For instance, try some yellow/blue split toning. And try playing with the HSL options.

You’ll be amazed by what you can do!

7. Take a nature photo every single day for a month

This last exercise is a classic – but that doesn’t mean it’s any less useful!

One of the absolute best ways of improving your nature photography…

…is to photograph constantly.

Because practice really does make perfect.

And if you take a nature photo every day, you’ll find that your mind starts to open up. You’ll start to see photography opportunities that you didn’t even know were there.

Your skills will increase rapidly.

And you’ll start to take stunning nature photos, consistently.

Nature photography exercises: next steps

Now you know 7 great exercises – all designed to improve your photography skills, fast.

You don’t have to do them all at once. But try them out whenever you can.

That way, you’ll become better, faster.

You’ll soon be taking nature photos like a pro!

Feel free to share some of the photos you take with the dPS community in the comments below.


The post 7 Photography Exercises to Take Your Nature Photos to the Next Level appeared first on Digital Photography School. It was authored by Jaymes Dempsey.


Digital Photography School

 
Comments Off on 7 Photography Exercises to Take Your Nature Photos to the Next Level

Posted in Photography


How to Edit Landscape and Nature Photos with the Lightroom Gradient Tool and Range Mask Features

05 Jan

The post How to Edit Landscape and Nature Photos with the Lightroom Gradient Tool and Range Mask Features appeared first on Digital Photography School. It was authored by Simon Ringsmuth.

Lightroom has always had a rich set of tools to allow photographers to get the most out of their images. However, until recently the ability to edit landscape and nature photos was a bit lacking.

While, global adjustments, like changing white balance and exposure have always worked great in Lightroom, fine-tuning edits can be problematic. Recent updates have seen incredible improvements to the Filter tools in Lightroom. An added tweak called Range Mask makes all the difference for photographers who need complete control over the precise implementation of their edits.

Lightroom Gradient Tool and Range Mask

The three most common ways to edit specific parts of an image in Lightroom are through the use of the Graduated Filter, Radial Filter, and Adjustment Brush. If you want to smooth the skin on your portraits, increase the saturation of your skies, or change the color cast of your clouds these tools can be just the ticket. But what if you have a tree that sticks up into the sky or an uneven horizon dotted with buildings and power lines?

The usefulness of the filter tools is somewhat restricting when you want to limit your edits to particular sub-parts of a picture. Until recently the Auto-Mask option was the best way to confine your edits to certain colors or locations within an image. Landscape and nature photos are especially tricky because of the uneven edges and jagged borders that exist between sections of the photo that need editing. However, the Range Mask option solves almost all of these issues with ease.

How it works

To illustrate this, I’m going to walk you through the editing process of the following image. My brother Andy took it while he was on a tour of the swamps in Louisiana, USA, with his family last summer. The initial image has a nice composition but feels dull and uninteresting, which is a far cry from the real experience.

Adjusting White Balance with a Graduated Filter

One change to punch things up is altering the white balance of the sky to bring out the bright blues and make the image more vibrant.

The first step is to click over to the Graduated Filter panel. Dial in a white balance that skews more towards the cooler end of the spectrum and reduce the exposure just a bit. Next, click and drag from top to bottom on the image to put the filter in place.

The sky is now a rich blue, however, a big problem becomes evident: the color cast of the trees has changed too. This result is not what I want. Clicking the Show Selected Mask Overlay button in the bottom left corner under your image reveals that the graduated filter has been applied to everything including the trees as well as the sky.

Fine-tuning the Graduated Filter using the Range Mask

Fine-tuning a tool such as the Graduated Filter, used to involve a series of steps. These steps included brushing out the mask in places you didn’t want it in combination with the auto-mask feature. It worked, but results were often a little sketchy. They also required a great deal of tweaking and fine-tuning. That’s not to say the brush option is useless-far from it! I have an example later in this article that shows how useful it can be.

However, all this has changed in recent versions of Lightroom. You can now use the Range Mask to apply any of the three filter tools to specific parts of an image based on lightness or color similarity.

The default value for Range Mask is Off, but with one of your Filter adjustments selected you can then choose to enable Range Mask for Color, Luminance or Depth.

  • Color applies the filter to specific parts of the image based on how similar they are to color values that you select.
  • Luminance applies the filter to specific parts of the image based on how light or dark those parts are.
  • Depth works only with cameras that record depth information and applies the filter to specific parts of the image based on how close or how far away they are. Some mobile phones have this feature but most traditional cameras do not, so Depth will often be disabled unless you are editing images taken with certain mobile phones.

Range Mask – Color

For this image, I’m going to use the Color option, though Luminance works great in many nature and landscape photos as well.

With Color selected, you can either click and drag on your image to select a range of colors or can click multiple points by shift+clicking. This selection is where the mask gets applied. I find that shift+clicking generally works better, although your mileage may vary depending on your editing goals and the type of picture you are working with.

You can click up to five spots on the image to refine your color selection. Use the slider in the Range Mask panel to fine-tune things further. This slider hones the edges of your Range Mask. If you find that the border between the edited and unedited portions of your image is a bit stark, adjusting the Amount slider will help mitigate this issue.

The result of this one Gradient Filter, along with the Range Mask, is an image that is already much improved from the original.

Looking at a 100% crop of a portion of the image reveals just how precisely the Gradient Filter has been applied thanks to the Range Mask. Here is a portion from the top-right of the original unedited image.

Here is the same portion with the Gradient Filter applied, using the Range Mask to apply the Filter to only selected color ranges. In this case, the color of the sky.

Notice how precisely the edits were applied, and how intricate the edges around the tree leaves are. This illustrates why the Range Mask option is so useful for landscape and nature photos. There are many tricky edges and small parts of the image that can take a very long time to fix without it.

Range Mask – Luminance

Another way to use the Range Mask is with the Luminance option. This option only applies the mask to the brightest or the darkest portions of the Gradient, or other Filter, that’s applied.

The overall idea here is the same, but the implementation is a tad different. Instead of selecting colors where you want the Range Mask applied, you use the Range sliders to concentrate the mask on the lightest, darkest or mid-range parts. One of the most useful things here is the Show Luminance Mask box which gives you a real-time preview of where your mask application. This helps you as you are adjusting the sliders.

Here’s an image I shot while hiking in the mountains near Seattle. It’s not bad, but a few edits would help improve the picture. Edits may help it look a little closer to how it appeared when my wife and I were tromping around in the wilderness that day with my cousin.

I want to bring out the color in the foreground trees in this image. A Graduated Filter with Luminance Range Mask is perfect in this scenario because the edits can be applied just to the darker portions of the image. With the filter in place and the mask tweaked to be applied only to the darker parts, I can ensure my edits are going to show up just where I want them to by checking the Show Luminance Mask option.

Fine-tuning using Brush

As demonstrated above, the Range Mask is extremely useful for nature and landscape photographers. It applies the Graduated Filter to just the right portions of the image and not the entire picture evenly. If you want to customize your Graduated Filter further, click the Brush option (not the Brush Adjustment Tool) and proceed to add to, or erase, the Filter wherever you want.

In this case, I’d like to remove the Graduated Filter from the lake in the foreground. Even though I can tell from my Luminance Mask overlay that it’s not being applied too heavily to that area, removing all traces of it with the brush will help me get the exact picture I want.

The end result is a photo with much warmer green tones in the trees and a lake that reflects the blue sky above, which is just the look I was aiming for.

Conclusion

Hopefully, these examples give you an idea of how powerful the combination of Graduated Filters and Range Masks are for nature and landscape photographers. I’m always eager to hear from the DPS community. Have you found this particular tool useful? Are there any other tips you’d like to share about using the Lightroom Gradient Tool and Range Mask? Leave your thoughts in the comment section below.

The post How to Edit Landscape and Nature Photos with the Lightroom Gradient Tool and Range Mask Features appeared first on Digital Photography School. It was authored by Simon Ringsmuth.


Digital Photography School

 
Comments Off on How to Edit Landscape and Nature Photos with the Lightroom Gradient Tool and Range Mask Features

Posted in Photography


5 Tips for Capturing Nature Across Different Seasons

23 Nov

Taking photographs of nature can be an incredibly rewarding experience. During the year the change in seasons provides you with wonderful photo opportunities to capture the variety of nature subjects on offer. Here are some tips for capturing nature across the different seasons.

Lavendar, Provence, France

1) Shoot The Same Location in Different Seasons

You may have a favorite location that you like to visit. For example, it could be a local woodland, a landscape or a place of interest you enjoy visiting during a holiday. When visiting there, you may find the scenery looks unique at different times of the year. The changing seasons mean the conditions may vary dramatically from one period to the next. Snowfall in winter makes way for spring flowers and lush green vegetation in the summer, which can have a significant effect on the look and feel of your image.

Frosty sunrise, Kings Sutton, Oxfordshire, England

Frosty sunrise, Kings Sutton, Oxfordshire, England

A blanket of snow or frost transforms the landscape, giving the most mundane subjects, such as your favorite tree, some magical appeal. While winter provides a striking and crisp scene, spring’s greens and blues can give a more vibrant and colorful image. I recommend you return to your favorite place, observe the scene during a few different seasons and capture the seasonal changes.

2) Shoot More Sunrises and Sunsets in Winter

One significant advantage of photographing nature during winter is that sunrise and sunset times are more favorable than in summer. Many people prefer to spend the colder months of the winter season indoors. However, this is a great time to head outdoors while the days are shorter and timings are better than the rest of the year. Later sunrises allow you more sleeping time, and earlier sunsets mean you do not have to wait around for hours to capture it.

3) Capture the Season of Changing Colours

Autumn is a magical season to be out with the camera and is the favored time of year for many landscape photographers. The season brings a fantastic variety of warm and vivid colors. You can capture a variety of subjects during the fall from woodlands to foliage and wildlife.

Consider the light and decide what you want to capture. You could zoom in on the leaves, or find a striking scene that is well lit. You can also shoot into the sun and work with backlight to create a dynamic image.

4) Capture the Changing Light

The Black Mountains, Brecon Beacons

Dramatic lighting and changes in weather occur at any time of the year. Striking storm clouds replace sunny spells in an instant providing fantastic subjects for your nature photography. I find that during the summer months, storms can be very dramatic and give great moments of fleeting light. Passing rains can give way to radiant glows and if you are lucky – beautiful rainbows. I captured this scene in June while out walking. The change in light that occurred as the sun re-emerged after a considerable downpour was wonderfully atmospheric.

I recommend capturing the change in light during autumn and winter seasons too, as the sun stays lower in the sky compared to the summer. Thus, providing longer shadows with which to play. The height of the sun can make an image look very different in the winter compared to the summer. In winter the sun strikes the scene from a lower angle making the overall composition and lighting unique.

5) Capture the Seasons in All Weather

Come rain or shine you should go out with your camera to capture the various seasons during all weather conditions. Don’t be discouraged from venturing out with your camera if it’s raining outside or the skies are grey and leaden. There may be breaks in the weather, and the rain eventually stops. Mist can often form after periods of rain making an attractive scene to photograph.

Misty landscape, Northern Ireland

If the rain is persistent, think of other ways to photograph the adverse weather. Photographing abstract scenes, water droplets, and close-ups of flowers or fresh water on lush landscapes can work. Waterfalls look good with overcast skies, and additional rainfall adds beauty with more water.

Conclusion

In summary, capturing nature in different seasons can be very enjoyable at any time of the year. Photograph your favorite place in changing seasons, take advantage of early winter sunsets and capture the changing light in all weathers.

Whatever Mother Nature serves you next, get out there and capture the fantastic changes in our beautiful world in all its seasons. Once you do, please share your images with us below.

The post 5 Tips for Capturing Nature Across Different Seasons appeared first on Digital Photography School.


Digital Photography School

 
Comments Off on 5 Tips for Capturing Nature Across Different Seasons

Posted in Photography


5 Tips for Taking Beautiful Photos of Nature

11 Oct

An example of taking beautiful photos of nature

Nature photography encompasses a wide range of photos taken outdoors, and conveys natural elements such as landscapes, wildlife, plants, trees and flowers.

Whether you’re photographing sweeping natural scenes or close-ups of flowers, nature photography can be incredibly rewarding. Here are five tips for taking beautiful photographs of nature.

Focus on the foreground

Being out in nature can be incredibly rewarding. And not just for photography. The fresh air, the scenery, and the experience itself are all great incentives to head outdoors with your camera.

An example of taking beautiful photos of nature

When capturing beautiful scenes in nature, your picture can benefit from a bit of foreground interest. When you find a magical landscape to photograph, do it some justice by including something interesting in the foreground. I see many nature photos showing empty landscapes and skies without any consideration for the foreground.

Don’t get me wrong. Nature images can look great with an atmospheric sky and inviting view. But adding a foreground will help make your image stand out. Throw in a rock or some flowers to your image, and the photo becomes much more striking. In this nature photo I included some dandelions in the foreground to accentuate the scene.


Balance the photo

An example of taking beautiful photos of nature

Have you ever taken photos in nature and been disappointed with the images you produced? Returning from a photography outing with images that please you can be a challenge. So my next tip is to make your photos more balanced. Capture images of nature with careful consideration of what you include in the frame, and balance all of those elements.

For example, you maybe able to bring certain parts of the landscape together to improve your image, such as trees and mist. When you’re shooting outdoors, what things can you identify that would make a visually pleasing image?

An example of taking beautiful photos of nature


Use the right gear

Depending on the subject you’re photographing, it’s important to choose the right gear to get the best out of your images. Close-ups of insects or flowers would be best suited to a macro lens, which lets you get nearer to your subject. When faced with a wide vista, use a wide-angle lens to record a greater field of view.

On the other hand, if you’re shooting wildlife, telephoto and zoom lenses are usually the best option as they can help you zoom in closer to your subject. These aren’t hard and fast rules, but rather suggestions on what generally works regarding lens choice.

For example, if you’re photographing animals in a zoo, a wide-angle lens may be better than a telephoto lens if you want to capture more of the scene than just the animal, or if you’re positioned close to them.

An example of taking beautiful photos of nature

Capture different seasons

The advantage of nature photography is it can be done at any time during the year and in different seasons. Summer is a great time to document lush landscapes and green foliage when everything is in full bloom, whereas spring and autumn can provide blooming flowers, cooler climates, atmospheric weather and the occasional mist. The added benefit of autumn is the change in colours of autumn foliage, giving you opportunities for vibrant photos.

An example of taking beautiful photos of nature

Winter is another wonderful time to capture the brilliance of nature. While it can be harsh and cold, it can also be strikingly beautiful. A sprinkling of snow can look good in any nature photo.

An example of taking beautiful photos of nature

Snow can add contrast in landscape vistas. For example, the snow in this scene helps the dark silhouetted tree stand out. I also find that snow-capped mountains are wonderful subjects to photograph during the winter season.


Make the most of your natural surroundings

You don’t have to live in a beautiful and remote location to find amazing subjects of nature. You’ll find an abundance of things waiting to be photographed in your local area. I took this photograph five minutes from my home. Go outside and explore your own surroundings, and take photos in the best natural places close to home.

An example of taking beautiful photos of nature


Conclusion

Capturing photos of nature can be truly rewarding, and a great opportunity to be photographing outdoors.

Whether you’re a landscape photographer or prefer to shoot plants or wildlife, try putting these tips into practice. And feel free share your images and any other comments or tips below.

The post 5 Tips for Taking Beautiful Photos of Nature appeared first on Digital Photography School.


Digital Photography School

 
Comments Off on 5 Tips for Taking Beautiful Photos of Nature

Posted in Photography