
Andrew S. Gibson is the author of Mastering Photography: A Beginner’s Guide to Using Digital Cameras, on offer now at Snapndeals for a limited time.
One of the benefits of digital photography that I really appreciate is the ease with which I can convert images to black and white. It was much harder back when I first became interested in photography. I remember wanting to try black and white, and print images in a darkroom, but living in a property with no spare space to build a darkroom meant that it was years before I was able to start learning to print.
Now, black and white is as accessible as switching to your camera’s monochrome mode. Some people still prefer chemical processes, but for the rest of us it means no more darkrooms and no more waiting to process film and make prints. The process is instant. That has opened up black and white photography to many more photographers, which can only be a good thing.
Use Raw
I want to make one thing clear before continuing. You will always get the best results in black and white by using the Raw format and converting your files to black in white in software like Photoshop, Lightroom or a plug-in like Silver Efex Pro 2. But there are still good reasons to switch your camera to monochrome mode for shooting in black and white. Let’s take a look at what they are.
Monochrome mode helps you visualise in black and white.
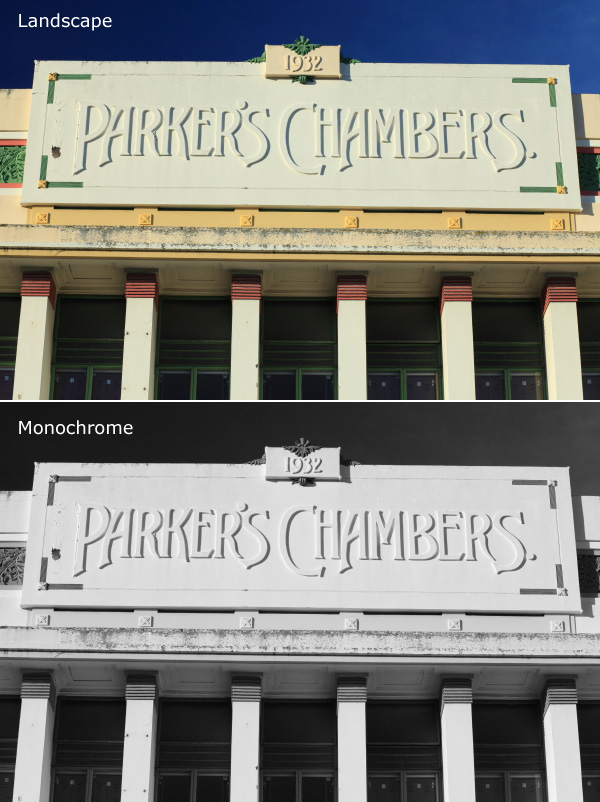
Seeing in black and white is an acquired skill. It takes time to learn how scenes that you are accustomed to viewing in colour translate to black and white.
The benefit of switching to monochrome mode is that the camera displays your photos in black and white on the LCD screen. This helps you see how the scene looks in monochrome.
You can take it further by increasing the contrast or changing the colour filter settings (I’ll cover this below if you don’t know how to do this or why).
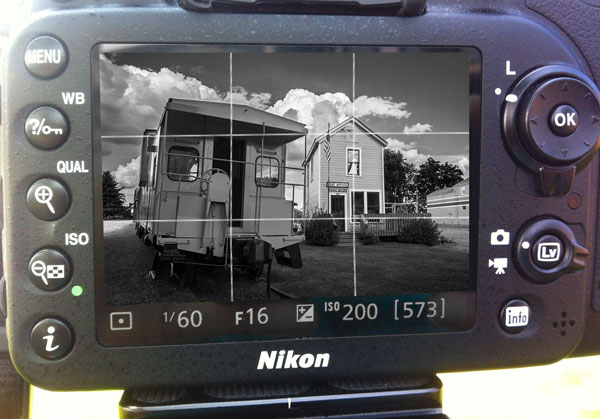
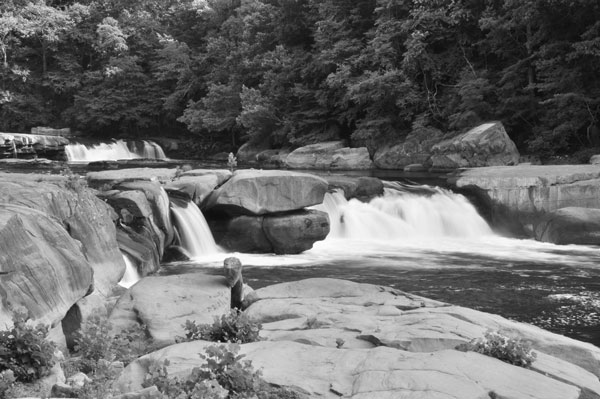
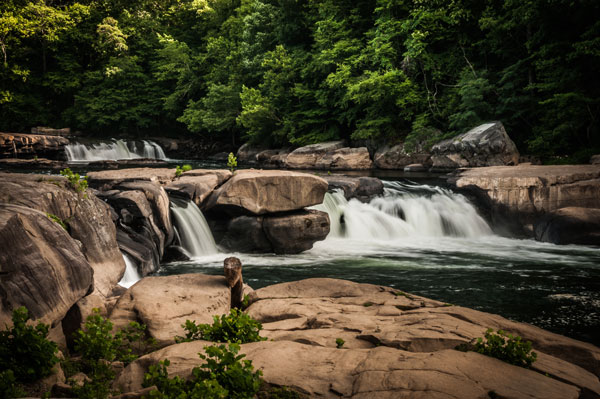
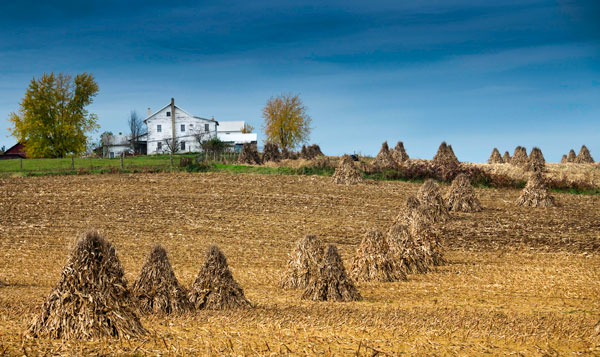
The photo above is an example. The colour version is what I would see on my camera’s screen if I set the Picture Style to Landscape. Underneath that is what I would see in monochrome mode.
Monochrome mode helps you take better colour photos.
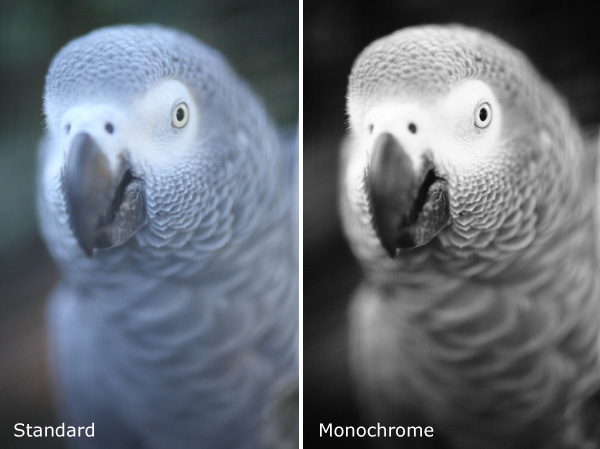
Years ago I read an interview with David Muench in which he described his style as ‘black and white photography in colour’. That statement has always stuck with me.
What did he mean by that? Well, the basis of a good black and white image is tonal contrast – the way that light and dark tones are arranged within the composition.
David Muench’s colour photos rely as much on tonal contrast as they would if he were shooting in black and white. Tones are an important building block in the composition of his images even though he is shooting in colour.
That idea has become the basis of much of my colour photography. I believe that strong colour photography utilises tonal contrast as much as good black and white. That’s why using monochrome mode, and learning to see in black and white will make you a stronger photographer in colour too.
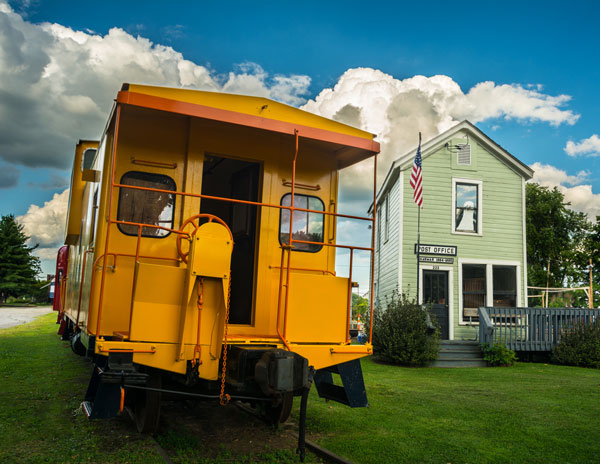
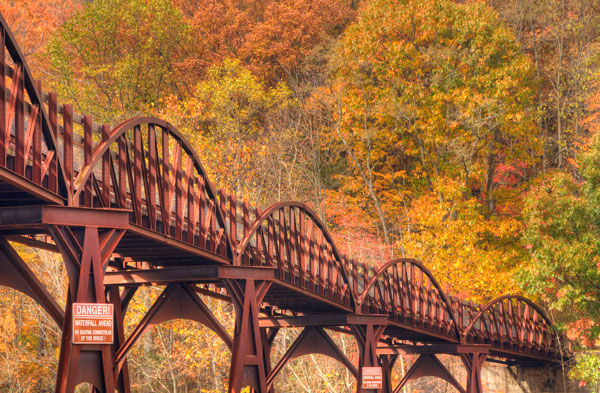
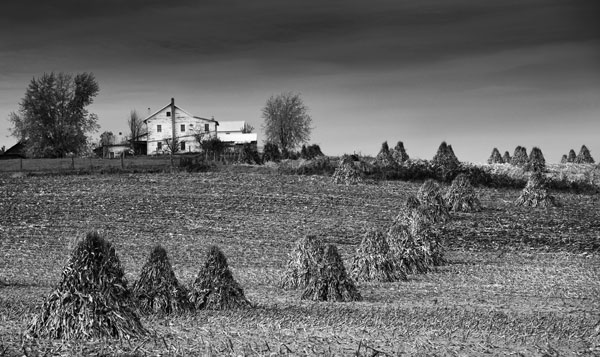
The photo above is a good example of tonal contrast. The two images show how it would look on my camera’s screen in both standard and monochrome Picture Styles. I increased contrast in the monochrome Picture Style as the light was so flat.
Monochrome mode helps you take better black and white portraits
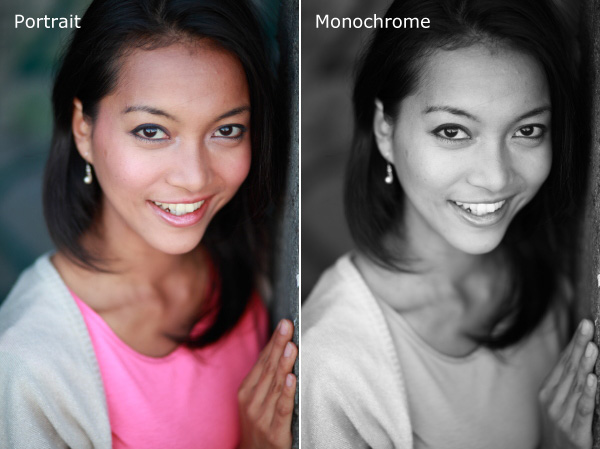
I find that models love to see their photos on the camera’s LCD screen during a shoot. If you want to work in black and white, switching to monochrome mode and showing your model the previews in black and white helps them get an idea of how the processed images will come out. If your model gets excited about the results he or she will work harder to create good images.
The example here shows the difference between portrait and monochrome Picture Styles (contrast increased in monochrome mode).
Monochrome mode – what you need to know
Every manufacturer approaches this differently, so check your manual, but the basic idea is the same.
These are the settings you are looking for, by manufacturer:
Canon: Picture Style
Nikon: Picture Control
Sony: Creative Style
Pentax: Custom Image
Olympus: Picture Mode
Sigma: Colour Mode
Fujifilm: Film Simulation
Look for the setting labelled Monochrome (or something similar). Once selected, you should also be able to customise it. My Canon EOS cameras have four parameters you can adjust in Monochrome mode:

Sharpness
Ignore this if you’re shooting in Raw, as you can adjust sharpness when processing the image. If you’re using JPEG, be careful not to oversharpen – you can increase sharpness in Photoshop if you need to.
Contrast
The biggest concern many photographers have about using monochrome mode is that the photos often tend to look flat and consequently somewhat boring and inspired. That’s because the camera manufacturer would prefer to give you a flat black and white image by default, in order to retain highlight and shadow detail. The assumption is that you will adjust contrast in Photoshop if you need to.
However, increasing contrast in-camera gives you a better preview that can make it much easier to visualise how the scene converts to black and white. Be careful if you’re shooting JPEG, as you won’t be able to pull back any lost shadow or highlight detail in Photoshop.
But if you’re using Raw, you can set the contrast to whatever you want.
One thing to watch out for in Raw: the histogram and highlight alert are generated from the preview you see on the screen. If you increase contrast, your camera may tell you that the highlights are clipped, when the detail is actually there in the Raw file. You more you increase the contrast, the more likely this is to happen.
Filter effect
Before digital, black and white photographers would use coloured filters to alter the tones of their black and white images. Coloured filters make colours corresponding to the colour of the filter lighter, and the opposite colour on the colour wheel go darker.
For example a red filter makes red colours go lighter and blue ones (such as the sky) go darker.
This is how you could use the filters:
Red: Makes blue skies go really dark. Very dramatic, especially if you increase contrast too.
Orange: Makes blue skies go dark, but not as dark as the red filter.
Yellow: Darkens blue skies a little. Also lightens skin tones, and can be good for portraits.
Green: Makes anything green lighter. Often used to lift photos containing a lot of things that are green, such as grass or vegetation.
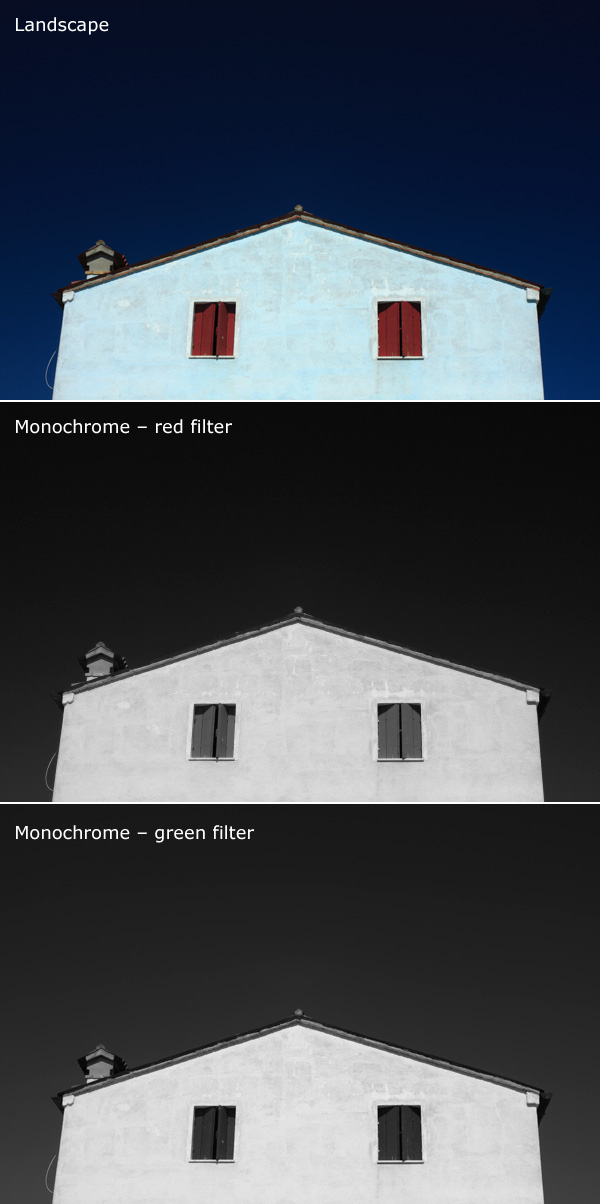
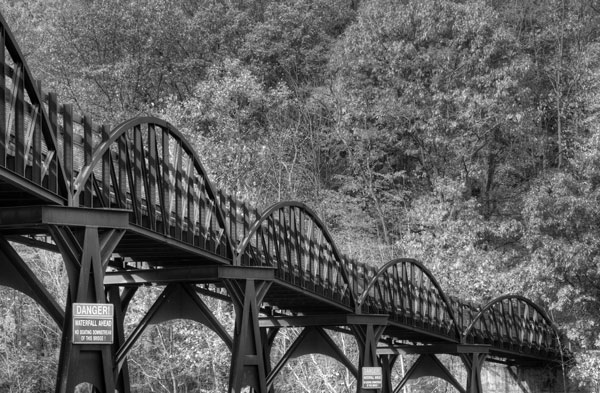
Here’s an example to help you see the effect of using coloured filters. The differences are subtle, but you will see that the sky is darker and the shutters are lighter in the version with the red filter..
Again, if you’re using JPEG select your colour filter carefully, as you can’t change it in post-processing. In Raw it doesn’t really matter, just choose the filter, if any, that gives you a good preview. You can apply any filter setting you want when you process the image.
Toning effect
On my EOS cameras the toning effects are a bit too strong to be effective. Regardless of whether you are using JPEG or Raw you can tone your photos much more efficiently in post-processing anyway. It’s probably best to leave this setting alone.
Raw vs. JPEG
Remember, if you use monochrome mode with JPEG files you will get what you see on the LCD screen – black and white images with whatever sharpening, contrast and filter effect settings you used. That may suit some photographers but I really suggest that you use Raw. That way you have a full colour image that you can process any way you like, including converting to black and white with software that gives a much better result than your camera possibly could.
Mastering Photography
My latest ebook, Mastering Photography: A Beginner’s Guide to Using Digital Cameras introduces you to digital photography and helps you get the most out of your camera. It covers concepts such as lighting and composition as well as the camera settings you need to master to take photos like the ones in this article. It’s available now at Snapndeals for a special price for a limited period.
Post originally from: Digital Photography Tips.
Check out our more Photography Tips at Photography Tips for Beginners, Portrait Photography Tips and Wedding Photography Tips.
Mastering Monochrome Mode

Digital Photography School




You must be logged in to post a comment.