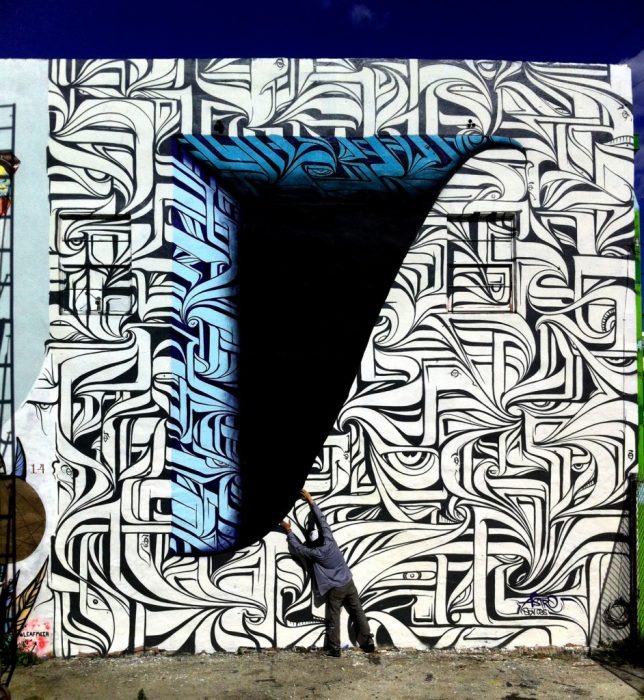
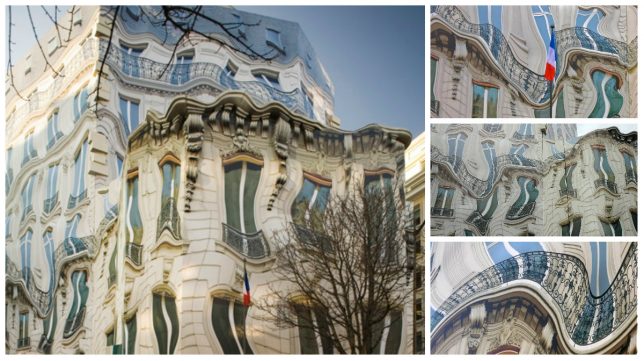
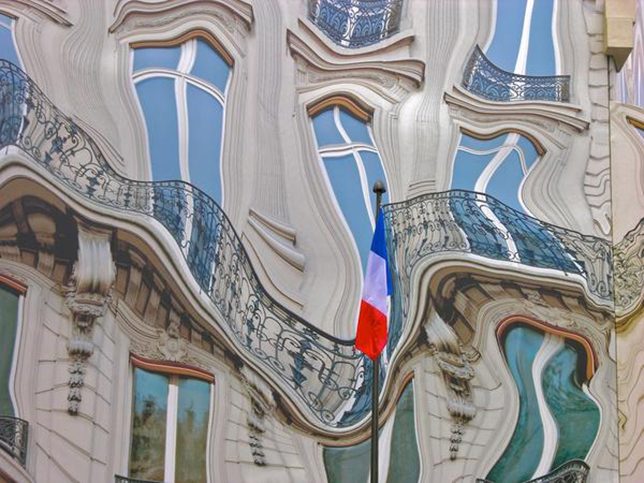
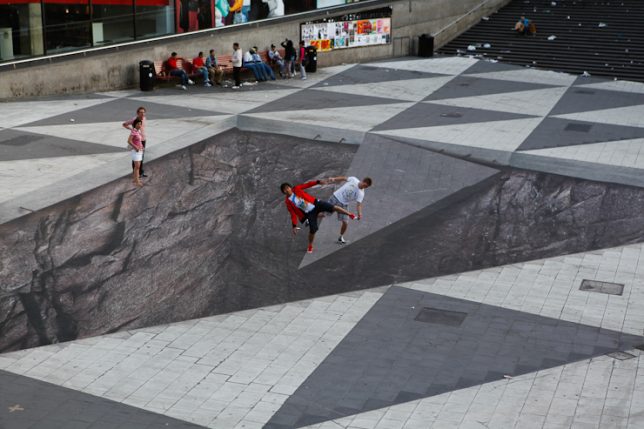
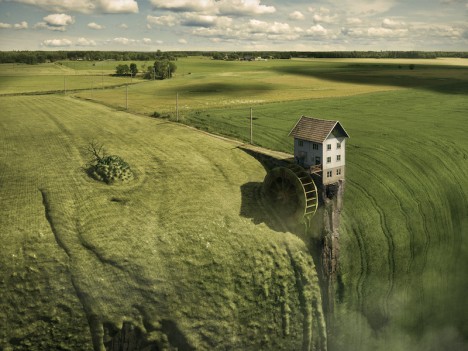
If you are anything like me, then you are always looking for ways to create something original in your photography – images that have not been taken and presented a thousand times before. But being truly original and creating photos that have real impact is the hardest thing of all. It seems there is nothing that hasn’t been done yet. Or is there?
In this article, I am going to show you a technique for creating interior photos that you will certainly not find in every other portfolio – photos that will turn heads for sure. The technique that I am referring to is called HDR Vertorama Photography.

What is a Vertorama?
Panorama photography is a well-established photographic discipline: you take a series of photos while you pan your camera in a horizontal direction between each pair of shots, ensuring that adjacent photos have enough overlap. Such a series of photos can then be combined into a single image with a much wider angle of view, a process that is called stitching.
But what happens if you turn panorama photography sideways? Turning an idea on its head can sometimes produce ingenious and unexpected results, and doing this literally with panorama photography falls into this category.
To answer the question: what you get is a Vertorama – a panorama in vertical direction. This may sound trivial, but when applied to interiors, this technique can present scenes in unseen ways. A room photographed as a Vertorama, seems to be opening towards the viewer. It depicts an interior in a way that you can only experience if you scan the actual scene with your own eyes, and it puts your audience inside the scene rather than in the spectator’s seat.
Why Does This Require HDR?
Photographing such a wide angle of view presents some challenges. One of them is the unusually high dynamic range encountered in such scenes. When you scan an interior (like a church, for example) from bottom to top, you will see very dark areas as well as extremely bright parts (e.g., the windows). In order to capture the scene realistically, combining the Vertorama technique with HDR (High Dynamic Range) photography is a natural choice. HDR will allow you to depict the details in the highlights and shadows in such a scene, despite the unusually high dynamic range. The resulting photographic discipline is called HDR Vertorama Photography.
The Anatomy of an HDR Vertorama
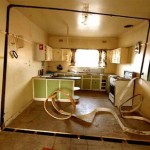
Vertorama and HDR photography are combined in such a way that each section of the final image consists of an exposure series, taken with a different tilt angle. Each of these exposure series is merged into an HDR image and tone mapped into a section HDR image.

Camera positions (left), exposure series (middle) and tone mapped section HDR images (right)
The section HDR images are stitched to produce a Vertorama, and finally, the Vertorama image is cropped and post-processed.

Stitched HDR Vertorama (left) and final cropped image (right)
All the source photos for a single HDR Vertorama are called a set, and depending on actual scene, you may end up with 12 to 30 photos in a set.
The Camera
As long as you are shooting from a tripod, the range of cameras that can be used for this technique is wide. Any DSLR and mirrorless camera will be just fine. Having a camera that lets you change lenses is an advantage because in order to get the most out of your HDR Vertorama shoots, you should be using an ultra wide-angle lens with a shorter focal length then you will find on most fixed-lens cameras.
The Lens
You should use a rectilinear lens with a short focal length – the sorter, the better. With an ultra wide-angle lenses, you get a very wide angle of view, enabling you to capture more of an interior scene. If you own a DSLR with an APS-C-sized sensor, for example, the Nikon 10-24mm f/3.5-4.5G ED AF-S DX Nikkor, Canon EF-S 10-22mm f/3.5-4.5 USM SLR or Sigma 10-20mm f/4-5.6 EX DC HSM may be good choices, depending on which camera you are using and what budget you have available.
In contrast to a fisheye lens, a rectilinear lens has little or no barrel distortion. This means that straight lines in the scene are also (almost) straight in the image, and this creates the characteristic look of these images.
The Nodal Point Adapter
A nodal point adapter is a device that you screw on top of your tripod and that allows you to rotate your camera/lens combination around the nodal point of the lens. This avoids so-called parallax errors where objects at different distances from your camera move relative to each other in the overlapping areas of two consecutive source photos. If you are using a well-adjusted adapter, the overlap regions of the different sections of your Vertorama will perfectly match which is important for the stitching.

Example of a parallax error
You can buy off-the-shelf nodal point adapters that are usually quite bulky and expensive, or you can assemble your own as shown in the example below: This do-it-yourself nodal point adapter consists of:
- a panorama plate (1 diagram below)
- with a scale that helps you control the rotation (2)
- a macro rail (3) that enables you to move the camera back and forth for finding the nodal point
- two quick release clamps for mounting the camera on the rail (5) and the rail on the panorama plate (4)
- an L-bracket (6) for conveniently mounting the camera in landscape and portrait orientation
- a snap hook (7) connects the L-bracket (and the camera that is permanently mounted to it) to the camera strap when the camera is not mounted to this adapter

Before you can produce usable source photos with an adapter like this one, you need to adjust it such that your camera is really rotated around the nodal point.
Setting up Your Camera
To prepare for the actual shoot, mount your camera onto the nodal point adapter and the adapter onto the tripod. Set up the nodal point adapter and tripod such that your camera can rotate around the horizontal axis.

To set up your camera, do the following:
- Aperture – put your camera in aperture priority mode (“A” for Nikon, “Av” for Canon) and dial in an aperture that puts more or less the entire scene into focus – f/8 usually works pretty well
- Focus – focus your camera and then put it into manual focus mode to avoid focus changes between the exposures
- White balance (optional) – set the white balance to a fixed value depending on the type of light at the location. If you are shooting in Raw format, you can also skip this step
- Mirror lock-up (optional, DSLRs only) – turn on mirror lock-up to reduce camera shake caused by the slapping mirror
- Cable release – attach a cable release (remote trigger) to release the shutter without touching the camera
- Cover the viewfinder (for long shutter speeds) – cover your viewfinder to prevent light from entering and falling on the camera’s sensor during the exposure
Finding the Right Exposure
There are many ways of finding the right exposure values for your source exposures. Here, I will show you a quick and simple one that uses the auto exposure bracketing (AEB) function of your camera to shoot the exposure series for your HDR process. Your goal is to set up the camera for an exposure series that remains the same for every section of the Vertorama.
To do this, put your camera in aperture priority mode, set the correct aperture, and scan the scene from the bottom to the top by rotating your camera. While you do this, your camera will adjust the shutter speed to get a correct exposure of the part of the scene it currently sees. Take note of the range of shutter speeds you see in the viewfinder (highest and lowest).
To set the correct exposure, put your camera in manual mode, dial in the respective aperture again and set the shutter speed to a value that is in the middle between the highest and lowest speed you saw during the scan. Now, set up your AEB function such that it goes above and below that shutter speed as much as possible.
For example, if your camera measures between 1/20s and 1/640s, the right shutter speed would be around 1/125s (roughly the middle between 1/20s and 1/640s). If your camera can do 3 shots with +-2 EV, set your AEB function to that setting. This gives you an exposure series of 1/30s, 1/125s and 1/500s for each section, and this produces a result that is close enough to what we need in this situation.
Taking the Shots
Your camera is now ready to take the photos. You should try to take the photos as quickly and fluently as possible as follows:
- Rotate your camera down: Your first section should be the floor right at your feet. This section will contain your tripod and possibly your feet. These things are not meant to be in the final image, but this gives you some room to maneuver in post-production.
- Wait for the right moment: Check the conditions before you start to shoot the series. When there are no people around and the lighting conditions are stable, you can start shooting.
- Action! When the conditions are right, start photographing the first section. When the section is done, rotate the camera to the next section such that the overlap with the previous section is about 30% and shoot, and so on. Do this until your camera points at the ceiling for the last section. It is important that you take the photos quickly to avoid that movement and changes in lighting interfere with your shoot.
Post-processing
The post-processing stage involves a number of steps. If you shot your source photos in RAW mode, you need to develop them in some RAW converter. Depending on the ISO setting you used to capture the photos, you may want to apply some noise reduction already at this early stage to keep the noise at bay over the remaining workflow.

Vertorama Creation
When the preparation of the source photos is finished, it’s time for the merging and the stitching. Remember that the source photos have to be combined in two different ways:
- The exposure series for each section needs to be merged into an HDR image
- all the resulting HDR images for all sections need to be stitched to generate the final HDR Vertorama
Depending on the software you use, the order of these two steps can vary. We will do the HDR merging first and then the stitching. This is generally easier.
For creating the HDRs, you need to load each exposure series into your HDR software (e.g., Photomatix), and merge them, one by one. This is straightforward and there are not a lot of decisions to be made. The result will be one 32-bit HDR image for each section (we call these the section HDR images in the following). Then you need to tone map each section HDR image, using the same settings for each one of them:
- Load one of the section HDRs into your HDR software and find the right tone mapping parameters. How you set the parameters is completely depending on your personal taste and style. There is no right or wrong here.
- Once you have found pleasing settings, apply these settings to all section HDRs and tone map them.
- Save each of the tone mapped images as an 8 or 16-bit image. Saving 16-bit images will give you a better quality but produces larger files.
After this step, you have a tone mapped image for each of the sections, and these images need to be stitched. There are many software products that can stitch photos. I prefer to use Photoshop for this task as it has a very simple but yet powerful stitching module called Photomerge.
Stitching your tone mapped images in Photomerge (File > Automate > Photomerge) is simple: the Use drop-down menu (1) lets you work with individual files or whole Folders of images. Browse your disk (4) to select the files or add all files that are currently opened in Photoshop (5). Choose Cylindrical (2) as your Layout and check the three check boxes at the bottom (3) to let Photomerge apply a number of corrections to your images. When you press Ok, your images are stitched fully automatically.

When the stitching is complete, Photoshop presents you with the result. The edges are a bit wonky and it is laying on the side because Photoshop thinks it is a panorama. Merge all the layers into one (Layer > Merge Layers) and rotate the image accordingly (Image > Image Rotation).

Use the Warp tool (Edit > Transform > Warp) to correct the typical distortion of an interior Vertorama image that makes it wide in the middle and narrow at the top and at the bottom. You can do this by dragging the corner handles of the Warp box to the outside and the right and left edge handles to the inside.

Apply the warp distortion and crop the image such that the uneven edges are removed and the composition is symmetrical.

This completes the actual HDR Vertorama creation. You now have a stitched image that covers the entire tonal range of the scene (due to using HDR). The remaining post-processing steps are not specific to the HDR Vertorama technique. As with any other photo, you will at least want to correct the colors and increase the contrast. But you can also apply arbitrarily complex adjustments to the image and process different parts of it selectively.
In this particular case, I applied selective adjustments to the white interior to desaturate it slightly, to the floor to enhance the reflections, and the paintings on the ceiling to balance the colors and make them stand out. I added more saturation to the windows and more contrast to some of the ornaments. Finally, I added a vignette to the edges and a spot light effect to the paintings in the ceiling to guide the viewers’ eyes.
Conclusions
HDR Vertorama Photography is a technique that lets you depict interiors in a unique way. If you are willing to invest the effort and time it takes to master this multi-exposure technique, you will be rewarded with images that will stand out in your portfolio.

Please share your comments, suggestions and tips below.
For more articles on HDR check out these:
- Five Minutes to Realistic HDR using Lightroom and a 32-Bit Plugin
- 5 Tips for Successful HDR Photos
- How to Create Realistic Looking HDR Photographs
- Tips for Great HDR Sunsets
The post HDR Vertorama Photography – How to Create Mind-bending Images by Klaus Herrmann appeared first on Digital Photography School.

Digital Photography School


You must be logged in to post a comment.