The post Your Posing Guide for Maternity Sessions appeared first on Digital Photography School. It was authored by Jackie Lamas.

Posing can feel a little repetitive after a few shots during maternity photo sessions and if this is how you feel, read the following posing guide for maternity sessions, so that you can get more ideas for your next shoot!

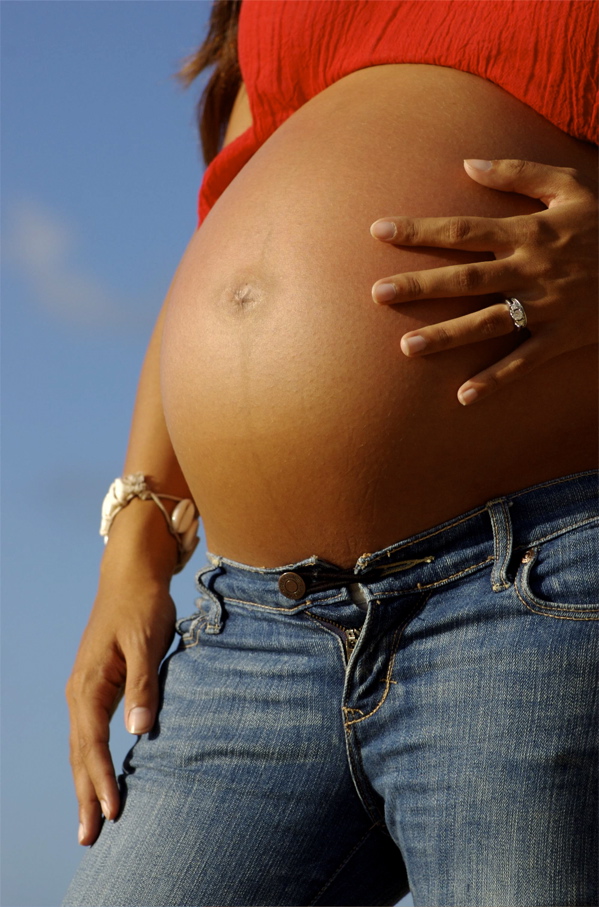
Interacting with the belly is a great pose for maternity photos.
Basic posing for maternity
Basic posing for maternity sessions is centered around the baby bump and the mama-to-be, specifically. You can use very basic posing to build from and add more variety to the poses. However, these basic poses are perfect for any session and can work well in any situation or location.

At 45-degrees from the camera is the best way to highlight the bump. Notice the hand placing to accentuate the silhouette.
In order to flatter the baby bump the best, turn your client at least 45-degrees from the camera to either side. Ask which side is more natural to your client, so they feel more stable and at ease.
After you have turned your client, give her some shape by adding lines to her body. This creates more flow and adds some curves to break up the body. To do this, have your client pop out the knee that is closest to the camera. This helps guide the eye up from her leg to the bump, then ultimately resting on her face.

The knee closest to the camera is best for giving shape to the body, creating a natural leading line.
Finally, use her hands to cradle the bump, further adding emphasis to it. You can pose hands in a variety of ways:
- Place one on top of the bump and one under
- Both under
- One on the side and one under
- Only one hand on the bump
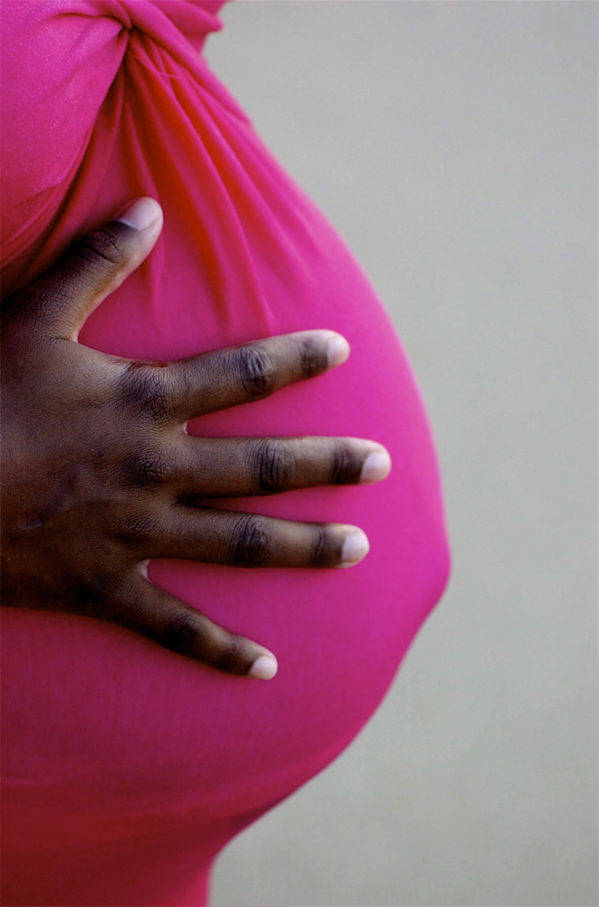
If your client is wearing a long, flowy dress, pose her hand under the belly, so that the bump is more prominent. With a flowy or loose dress, it can be difficult to fully see the bump’s shape if it’s not gathered underneath.

Same hand position in two different posed shots.
Using this basic set up is easy to build upon and add partners or other siblings to the mix. Posing the mama first is helpful as well, so that she doesn’t have to move around too much.
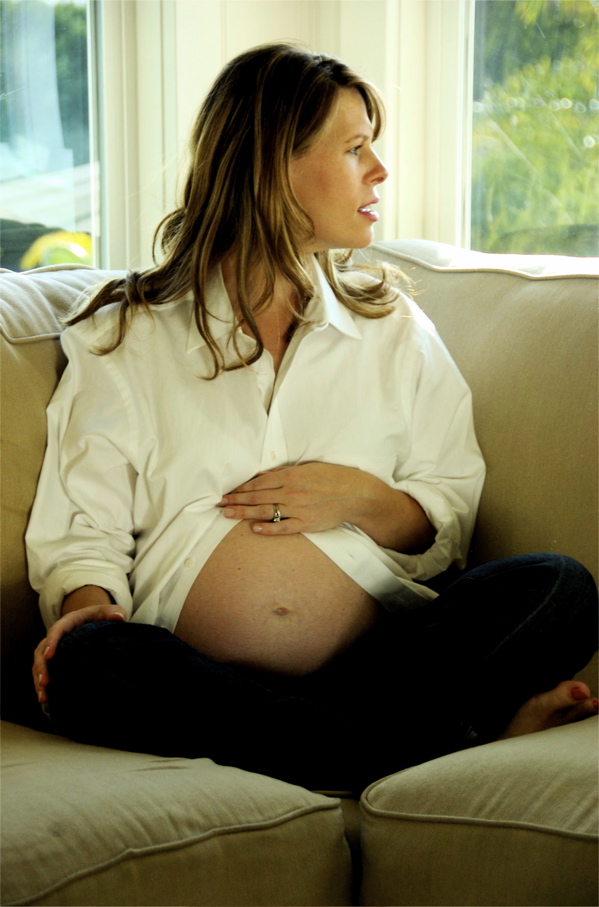
One great tip is to avoid having your clients look directly down at her belly. This can create an unflattering photo. Instead, have her look down with her eyes keeping her chin slightly up. Have her look down as if is she is trying to look past her belly and at her feet.

Posing with partners
Next in your posing guide for maternity sessions, is posing with partners. Posing with partners makes any maternity session a little more intimate.
Pose the mama first and have her partner fit in. This makes it easier to build poses and change it up when you want variety without tiring the mama out.

Using props can help with posing and highlighting certain details of the session.
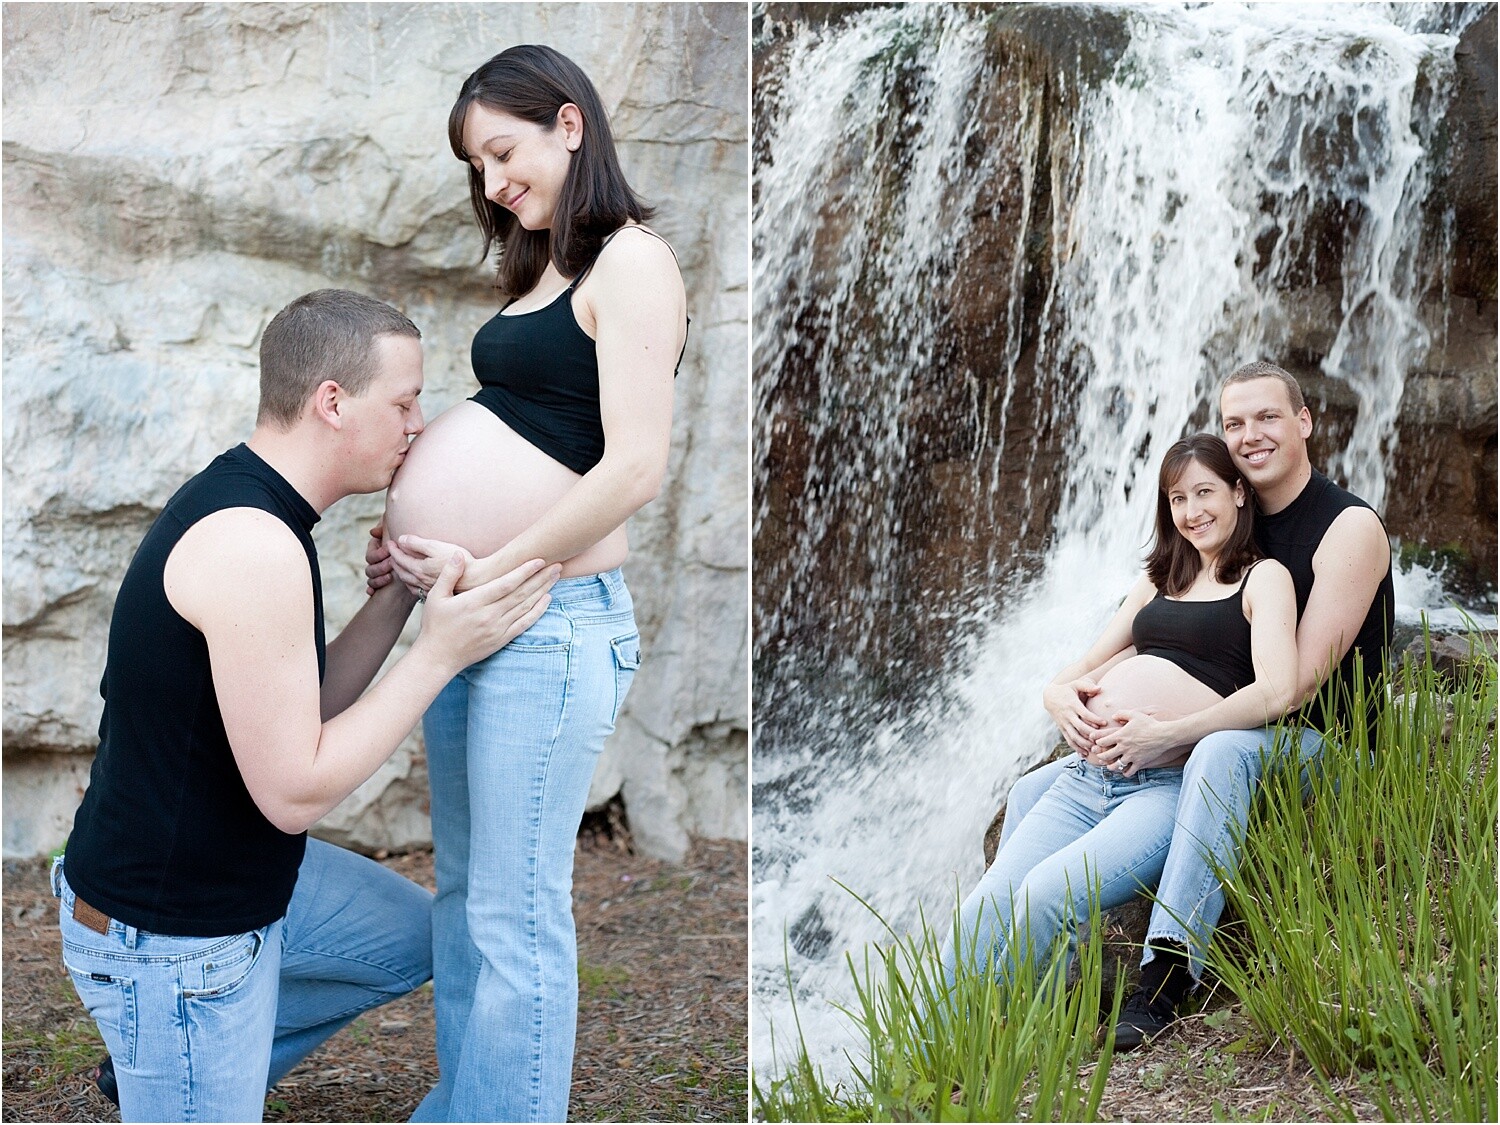
Fit the partner in slightly behind your client and have their arms holding the baby bump. The partner can place their hand closest to the photographer under the belly. This might require the partner to come out a bit from behind. That’s okay. If they look comfortable in the pose, it’ll look better in the final image.

With the hands farthest from the camera, have the partner put their hand on the arm close to the shoulder. The mama can place her other hand on top of her bump.

Another great pose with the partner is to turn the partner away from your client slightly so they’re facing opposite each other with their shoulders touching.
Here, ask them to hold hands and have the mama lean into her partner. With her other hand, have her place it under the bump and pop one knee out to give her body a curve.

The bump isn’t the only focus. Try posing the partner caressing and cradling the bump by kneeling and getting close. Here you can ask them to give the bump gentle kisses. Talk to the baby, or simply close their eyes and enjoy.

In this pose, have mama look away and get a close shot of the moment. This can eliminate double chins or unflattering poses.
Posing with siblings
The next point in your posing guide for maternity sessions is working with children.
Working with children during a maternity session doesn’t need to get out of control. It’s best to start with the complete family, move onto shots with the mama and siblings, then some creative shots of everyone. Then, finally, let them go and play.

Allow children to cuddle and get close.
Getting photos of the siblings first can make the whole session go smoother in general. Again, begin by posing mama first. If they are in the session, place the partner next. Then place the children, or child, next to the parents.

For creative posing, if the children are 5 years or younger, you can have the parents hold them. Then get close-up shots of the family interacting.

Have them hold hands and walk along a path while they talk and interact with each other. These poses are more authentic and help children to be more active in the photos rather than forced to pose.
Switch between natural posing and posed
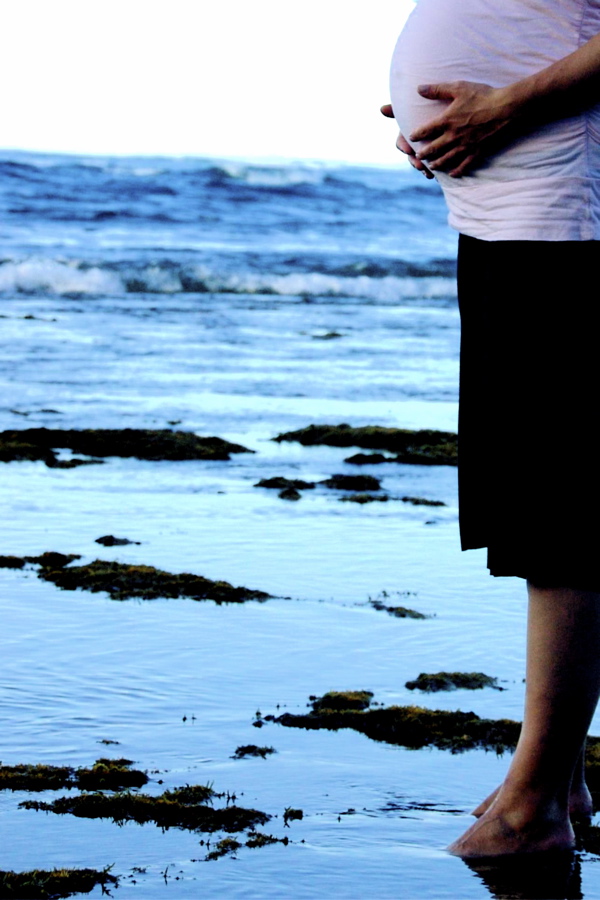
What is natural posing? It is when you give your clients an activity to do and allow them to enjoy the moment. For example, you can ask your clients to walk along the shore while they look at each other and enjoy the beach views.

Alternatively, it can be having the partner kneel down to the level of the belly and have them talk to the baby. Capture these moments from a bit of a distance so that your clients feel that they can enjoy the intimate moments.

Posed is when you direct your clients to stand, sit, or pose how you want for the final image. This can feel stiff after a while, so mixing natural poses with posed ones can offer a lot of variety in the final gallery.
In conclusion
Posing for maternity photos doesn’t have to be just posed, you can mix in a bit of the excitement and natural expressions adding to a variety of poses to build from.

I hope your posing guide for maternity sessions helps you with your next shoot. Do you have any posing ideas that work for maternity photos? Post in the comments below!
The post Your Posing Guide for Maternity Sessions appeared first on Digital Photography School. It was authored by Jackie Lamas.







You must be logged in to post a comment.