The post How to Use Leading Lines for Better Compositions appeared first on Digital Photography School. It was authored by Anne McKinnell.
Leading lines refer to a compositional technique where the viewer’s attention is drawn to lines that lead to the main subject of the image. A leading line paves an easy path for the eye to follow through different elements of a photo.
Usually, these lines start at the bottom of the frame and guide the eye upward and inward, from the foreground of the image to the background, typically leading toward the main subject.
Where can you find leading lines?
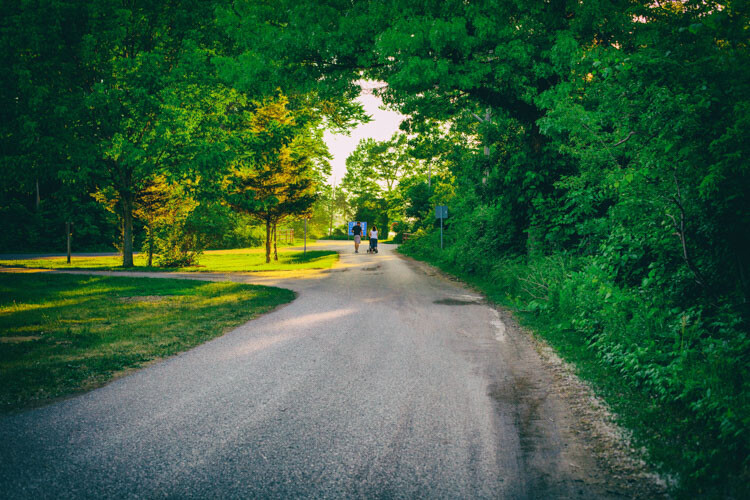
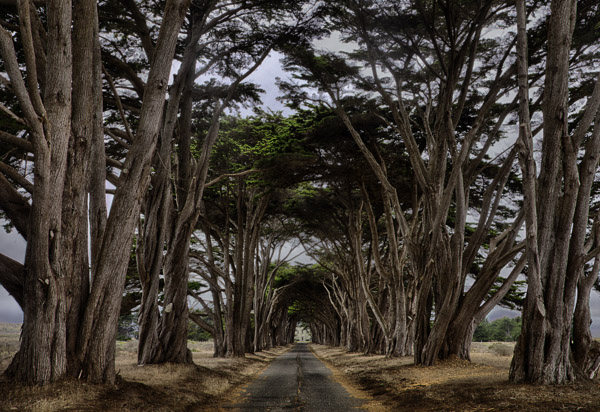
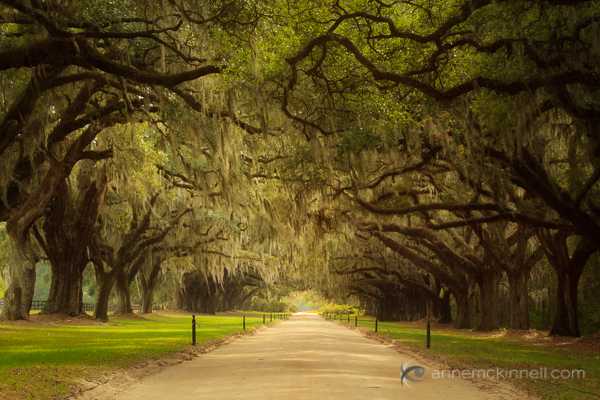
The easiest place to find a leading line is on a road. Roadways are inherently leading because they go somewhere, giving us a feeling of motion. The lines often point so far inward that they reach a vanishing point – the place where two or more lines converge at theoretical infinity.

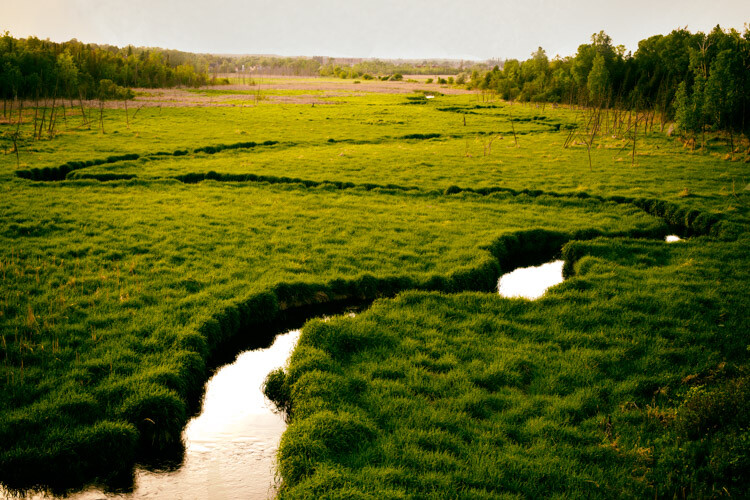
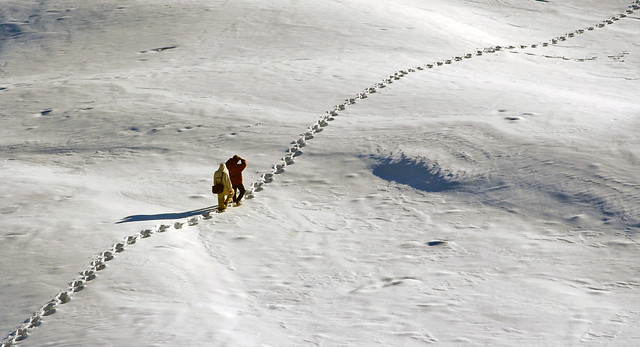
When leading lines, such as roads, connect the foreground to the background of a scene, they help create depth and dimensionality, which draws the viewer into the image.
Leading lines are all around us in cities and in nature. Your job, as the photographer, is to find them and arrange them in your photograph so that they lead toward something, even if that something is infinity.

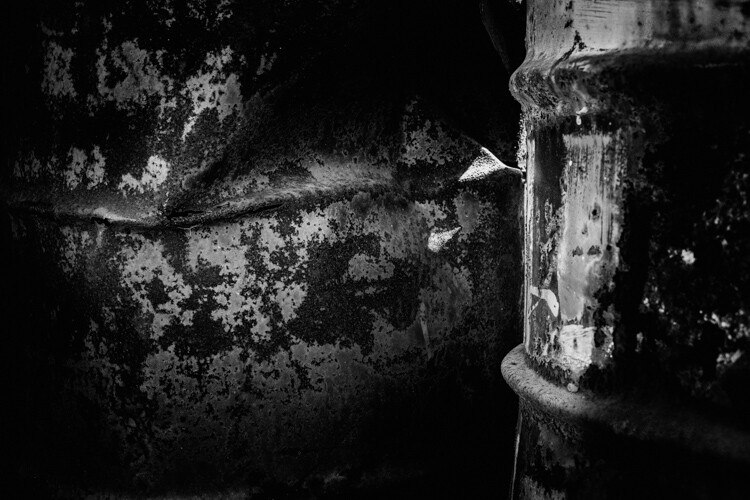
When you’re setting up a shot, take a moment to examine the scene for its prominent lines. Clear your mind, relax your eyes, and notice where you’re naturally drawn to.
|
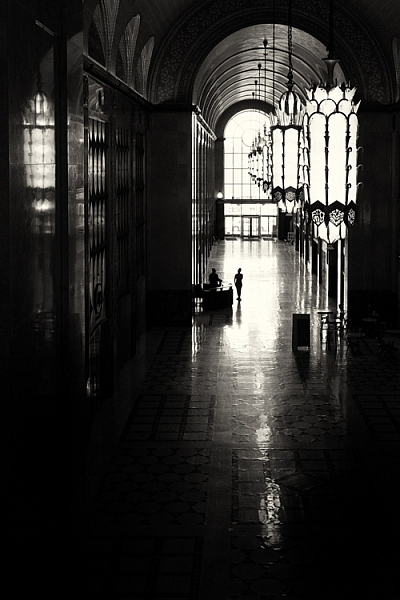
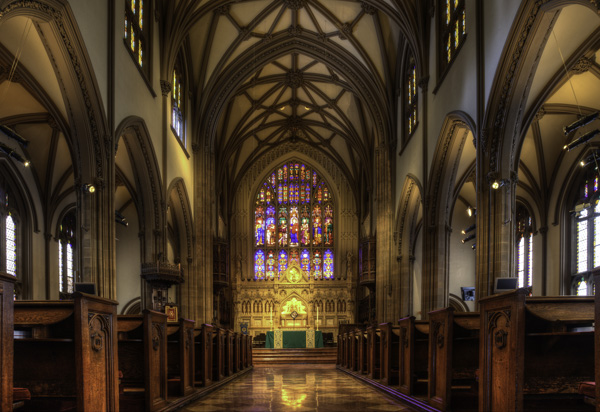
Pay special attention to human-made objects such as:
|
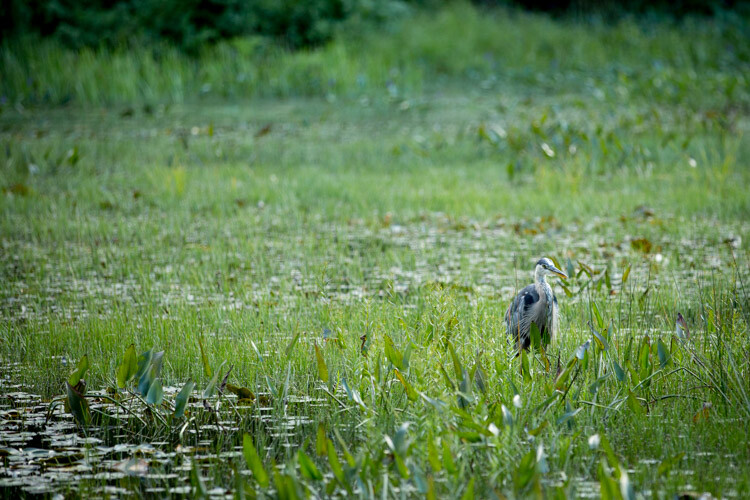
In nature, pay particular attention to:
|

What’s the best way to use leading lines?
Once you’ve identified your strongest lines, consider how you can use them to enhance your composition.
Depending on your intention, you might:
- Create depth and perspective by positioning a strong line leading from the foreground to the background
- Create a visual journey from one part of your image to another
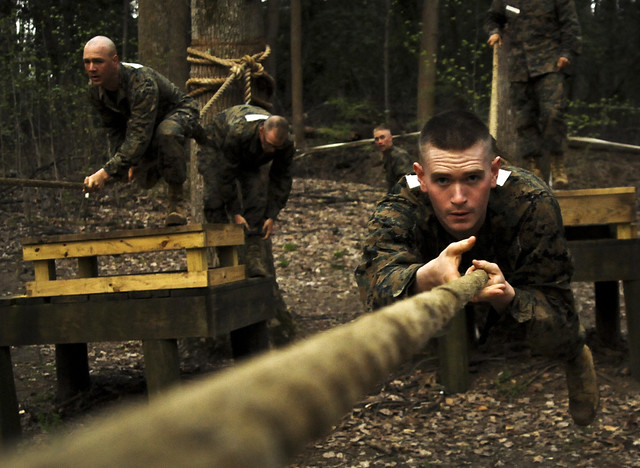
- Place your subject where the lines converge to give the subject more importance in the frame and draw the viewer’s attention directly to it
- Make a cyclical composition, with the lines leading the eye in a circular motion and never out of the frame
Arranging the elements in the frame may involve the use of different lenses to change perspective. However, you can accomplish this simply by moving yourself so that the point of view you choose is purposeful.

How to use leading lines for better compositions: final words
Leading lines are the key compositional element that carries our eye through the photograph. They can be used to tell a story, to place emphasis, and to draw a connection between two objects.
Use leading lines creatively and with expressive purpose to help you tell your unique photographic tale.
The post How to Use Leading Lines for Better Compositions appeared first on Digital Photography School. It was authored by Anne McKinnell.


You must be logged in to post a comment.