The post Easily Create 2D Illustrations from Photographs Using GIMP appeared first on Digital Photography School. It was authored by Ana Mireles.
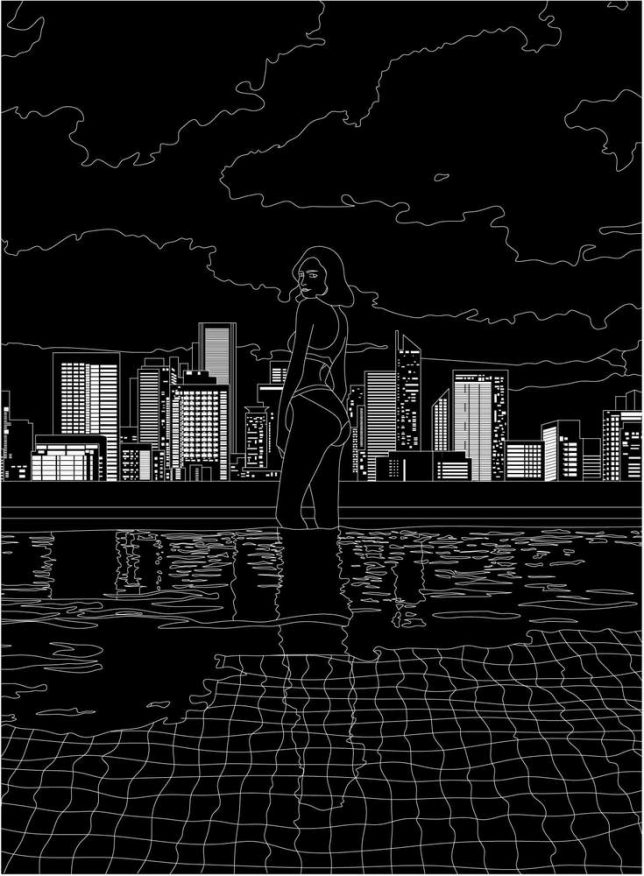
From advertising campaigns to cartooning your profile photo, 2D illustrations are used much more than you realize. Creating 2D illustrations can be a lot of fun, but they aren’t necessarily easy to do. Here’s an uncomplicated way to use photography as a template to get great 2D illustration results.

Create 2D illustrations in GIMP
There are tons of programs for visual artists and graphic designers that specialize in digital drawing and 2D illustrations, but have you ever tried to actually create an illustration from scratch?
Graphic design software can be amazing and, for some great professionals, this can be the way to go. But many of us need a starting point to get us going, especially if our talent is in photography and not design.
That’s why I’m going to show you how to use GIMP to create 2D illustrations out of a photograph.
1. Draw the subject
First, choose the photo you want to draw. There are no restrictions here; you can use a portrait, a landscape, still-life, or anything else you want. I do suggest you start with images that are simple and don’t have too many details.

Imagine you’re creating an illustration from a photo in real life. You would place some tracing paper on top of your image and then start tracing and coloring on it, right? Well, this is the same thing.
First, create a new transparent layer. You can do this by going to Layer (in the menu) and then choosing New Layer. Make sure you select Fill with Transparency and press OK.
Next, you need to select the outer part of your subject. You can use any selection tool that works best for you; GIMP has many solutions for this.
For example, you can use the Path tool because it gives the most control. Just click every time you want to create an anchor point around your subject. Then move the path handles to adjust the curvature.

Once you’re done outlining your subject, click Selection from Path on the left-side Options panel. This will turn your path into a selection, which is what you want. But note that this is only necessary if you used the Path tool; with any of the other selection tools, you can skip this step.
Now you can use the Bucket tool to color your entire subject. You can use the color picker to select a color that matches the original color from the photo.
Of course, you can also use a color different from the original object. Get as creative as you want.
Finally, click inside the selection to fill it with your chosen color.
2. Color the inside shapes
Now that you have your main shape, you can start adding some shapes on the inside of your subject using different colors.
To do this, disable the top layer by clicking on the eye icon next to it. That way, you can see the original image.
Select the area you want to color. Then come back to the top layer and use the Bucket tool with a new color to fill it.

Repeat this process for all the shapes you want. Keep in mind that 2D illustrations are not as detailed as a realistic 3D model. So keep going only to add enough information to your subject to make it recognizable.
You don’t have to be extremely precise with your selection when you’re working inside a shape. GIMP will automatically stop at the edge. Notice in the next image how my selection is over to the yellow part, but the new color doesn’t spill there; it stops at the edge of the dark brown shape.

3. Add some details
Working on the top layer, turn down the Opacity so that you can see the original image underneath to use as a template for drawing details. Keep in mind that only you will see both versions (the illustrated and the original), so you don’t have to copy everything exactly as it is.
If you want to add details with thin lines and you don’t have a steady hand, you can use the Path tool to trace them. Then choose Stroke Path from the Options Panel. This will draw a line using the current Brush or Pencil settings.

Of course, you can draw the details freehand using the Pencil or the Brush tool, as well.
To add some thicker decorations, you can use the selection tools again to make things faster. In this example, I used the Color Selection tool to select the blues on the original photo. I then painted the flower:

The specific tools and strategies that you use will depend on the illustration you are creating and your own drawing skills.
4. Fill the background
If you want to draw a background, then add a New Layer in between the original photograph and the first drawing layer.
Choose the color you want, then go to Edit>Fill with FG color. FG stands for “foreground.”
You can leave the background as a solid color or add some decoration by drawing lines and shapes the same way you did for the subject.

Final thoughts
As you can see, by using a photograph as a template it’s really easy to create 2D Illustrations.
When you’re saving your file, remember that GIMP has its own format that will be the default setting when you use the Save or Save As choices. To use a universal file format such as JPEG or TIFF, you need to select Export As.
I hope you enjoyed the tutorial! The next time you want to create 2D Illustrations, let your photography skills help you out.
The post Easily Create 2D Illustrations from Photographs Using GIMP appeared first on Digital Photography School. It was authored by Ana Mireles.









You must be logged in to post a comment.