The post Tips and Tricks to Achieve a Graffiti Effect in Photoshop appeared first on Digital Photography School. It was authored by Ana Mireles.

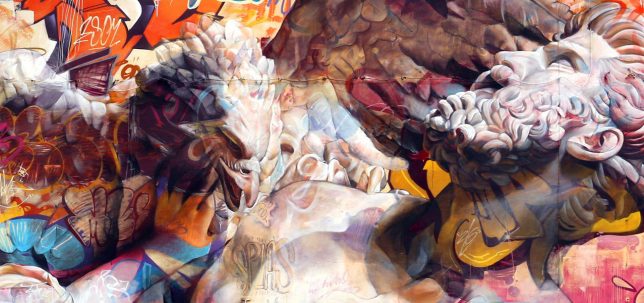
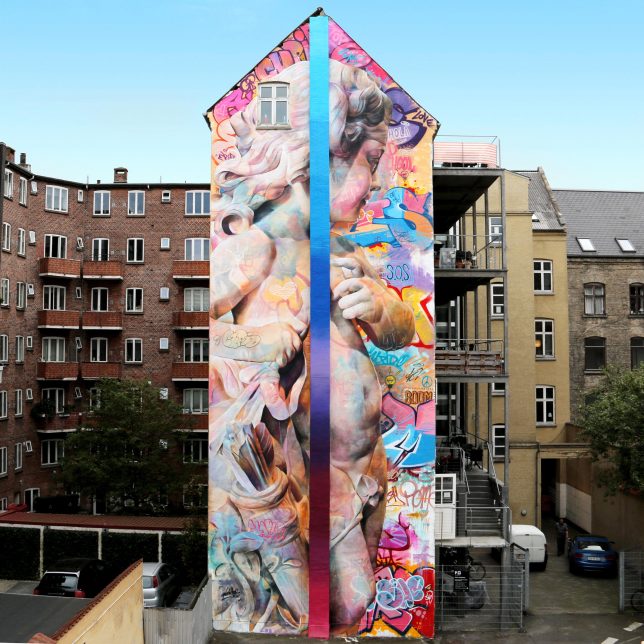
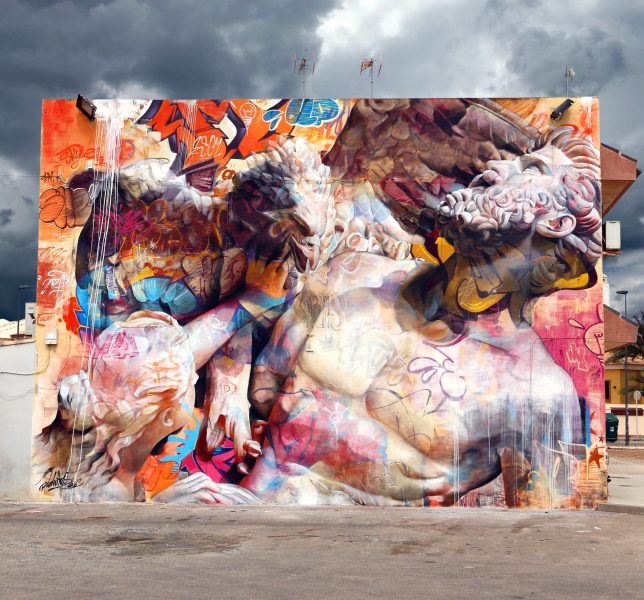
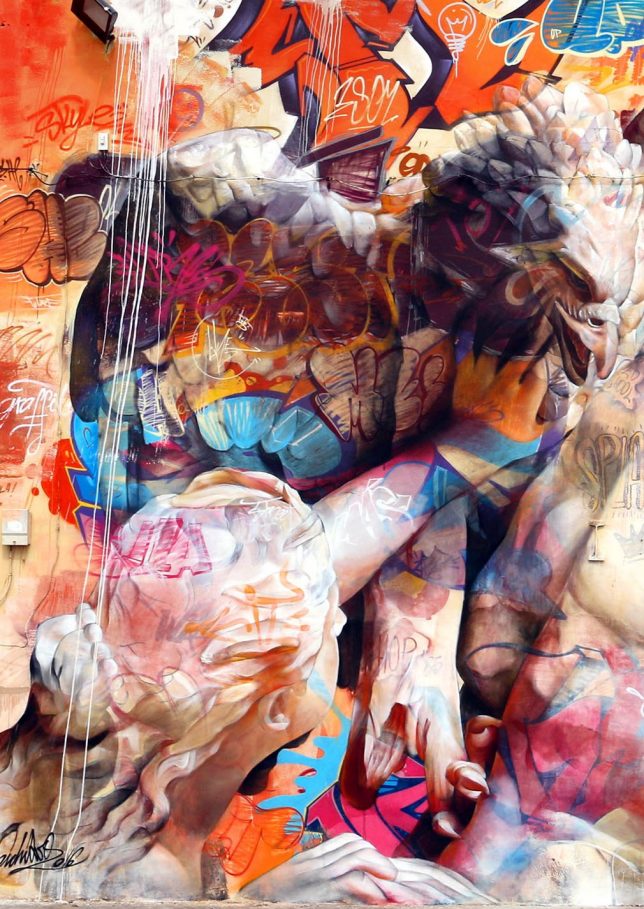
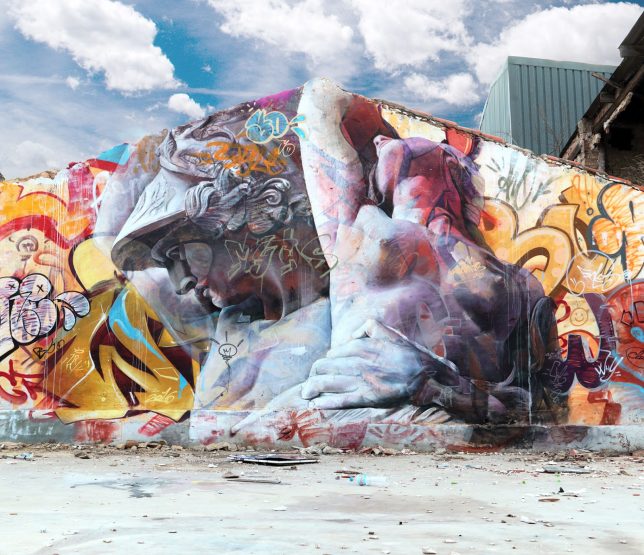
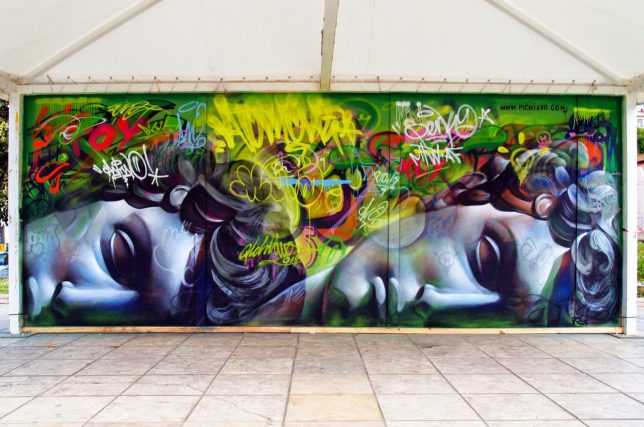
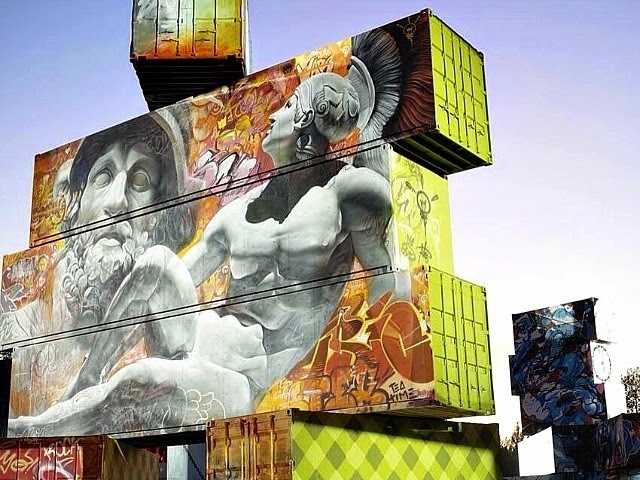
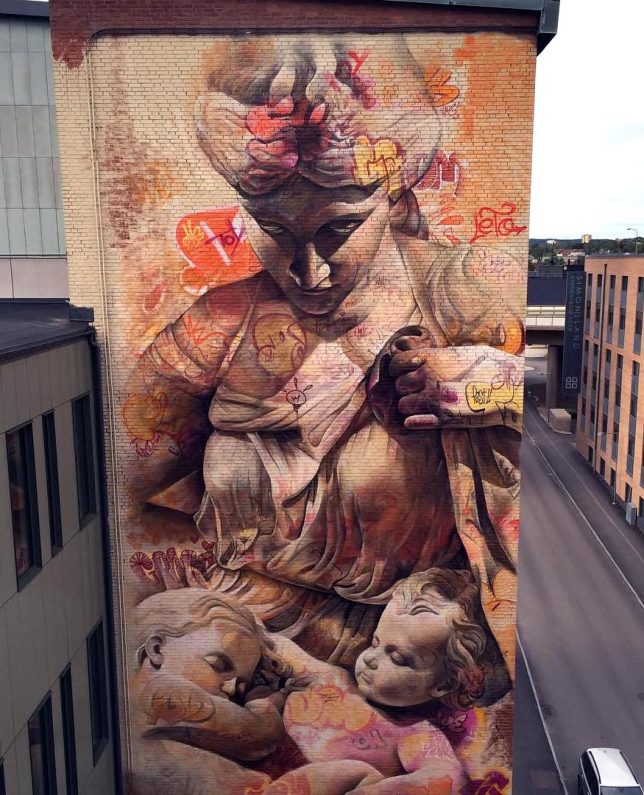
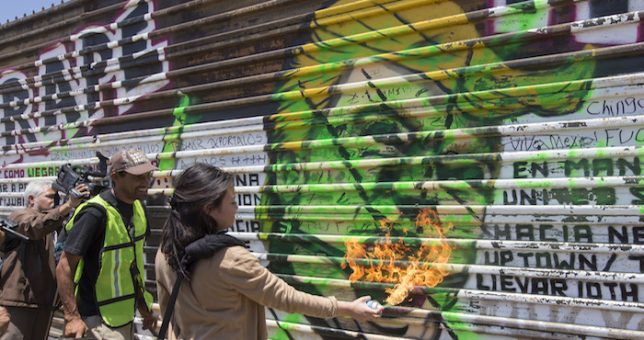
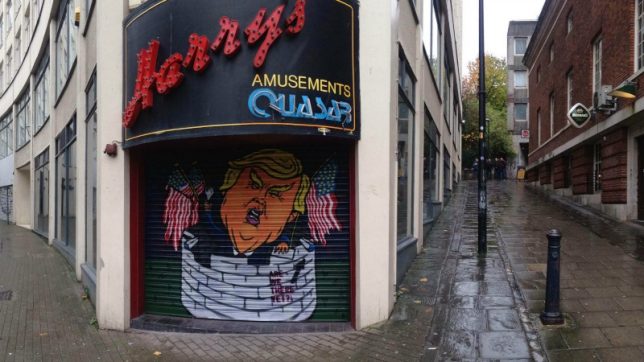
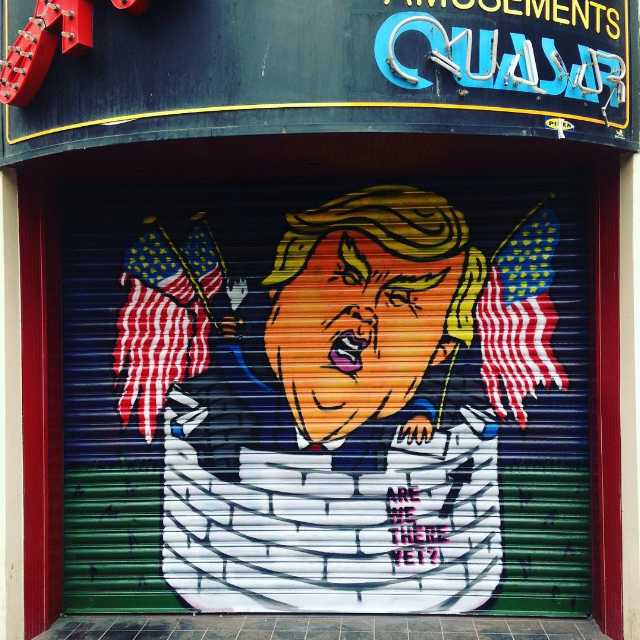
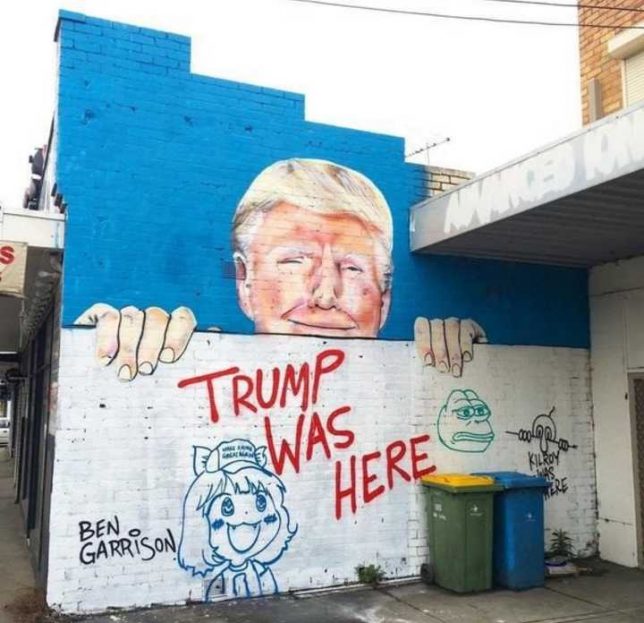
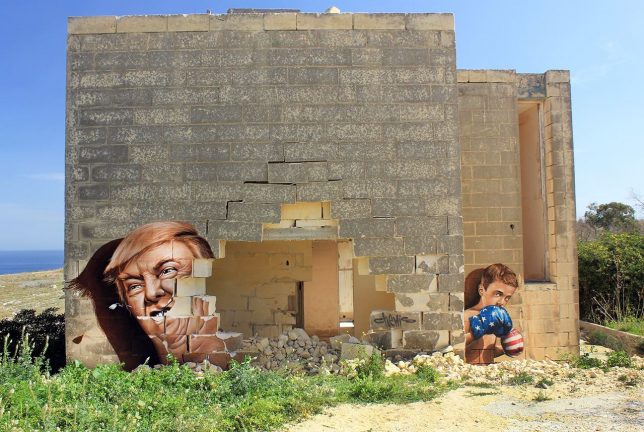
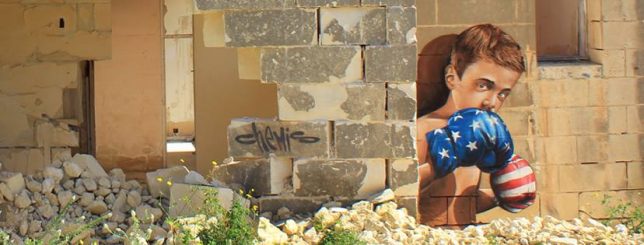
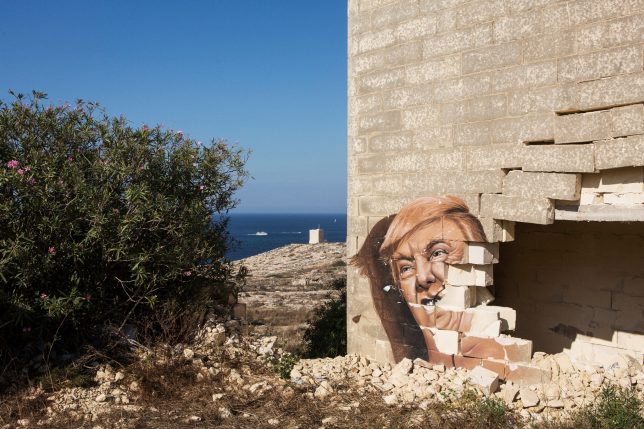
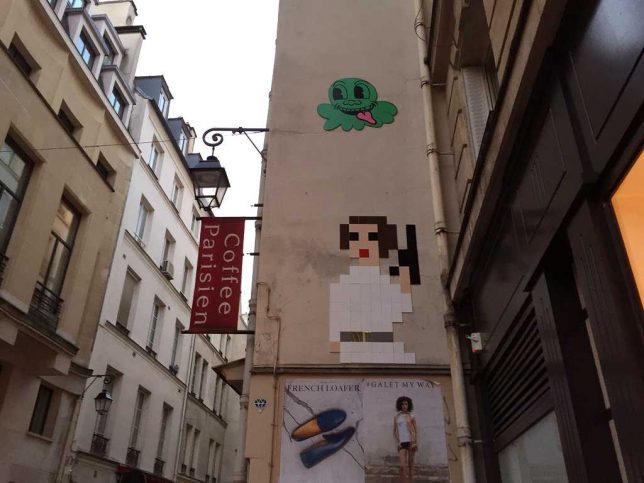
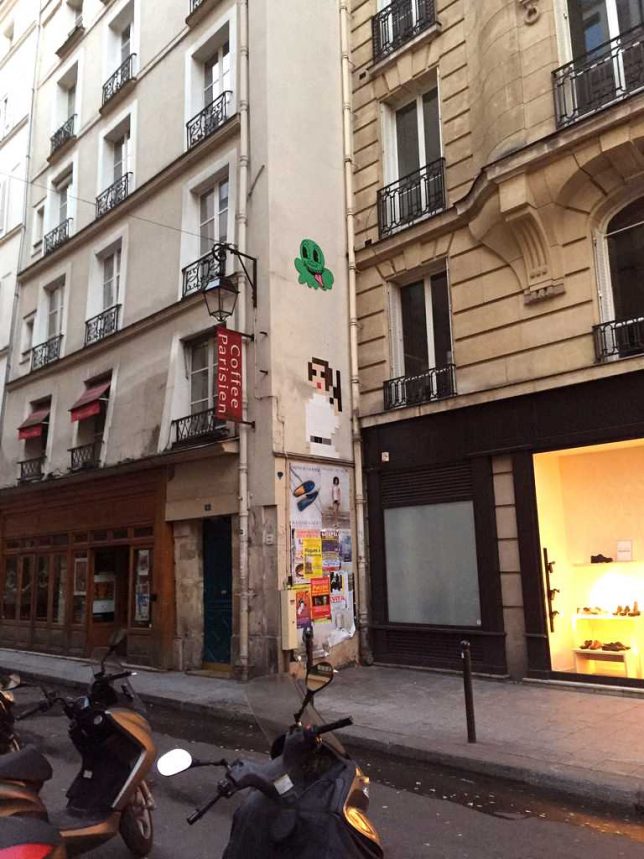
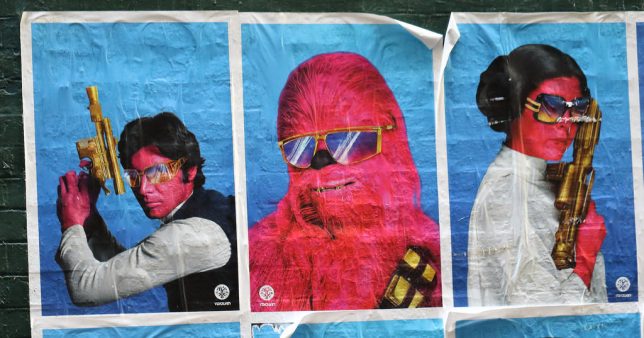
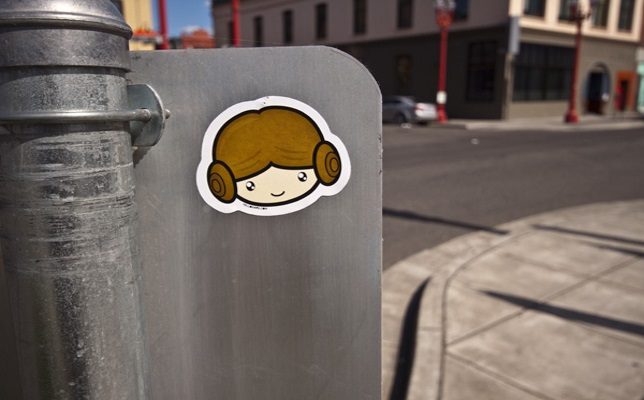
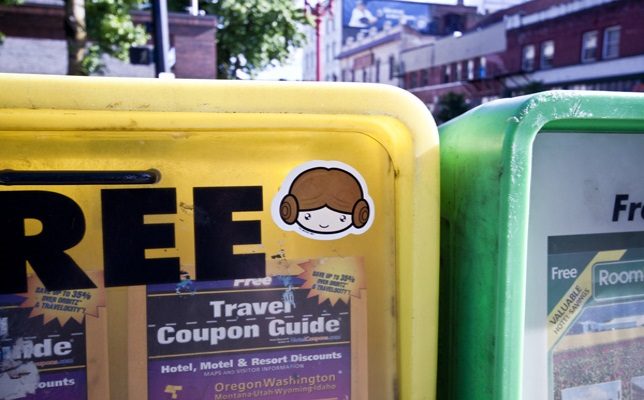
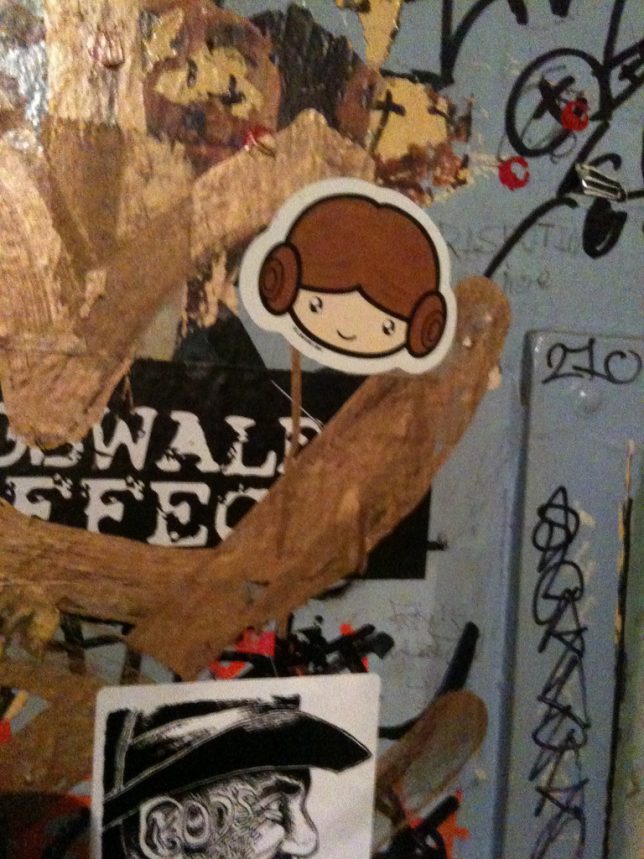
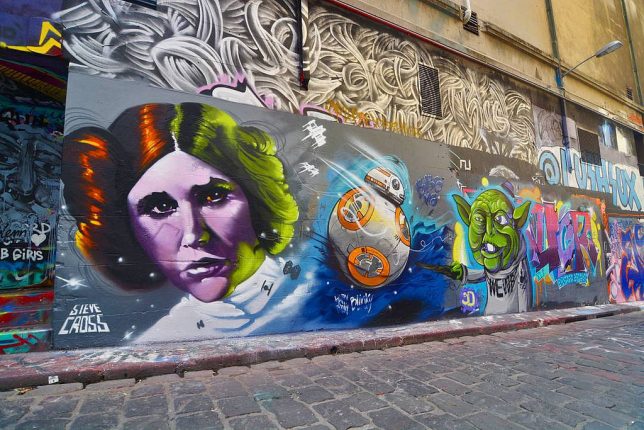
Are you a fan of street art? Creating a graffiti effect is a great way to give an urban look to your designs or photos. In this article, I’ll show you some tips and tricks to get more realistic results using Photoshop.
Prep Work
You’ll need to do a little prep work to get you started on your way to making a realistic graffiti effect in your images.
Reference images
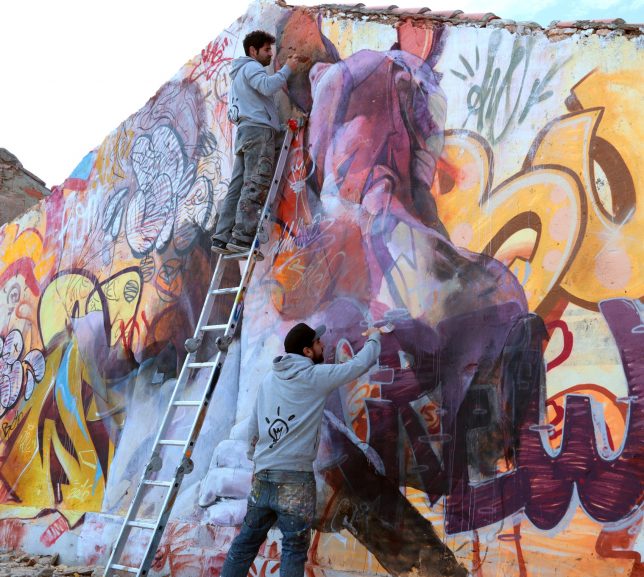
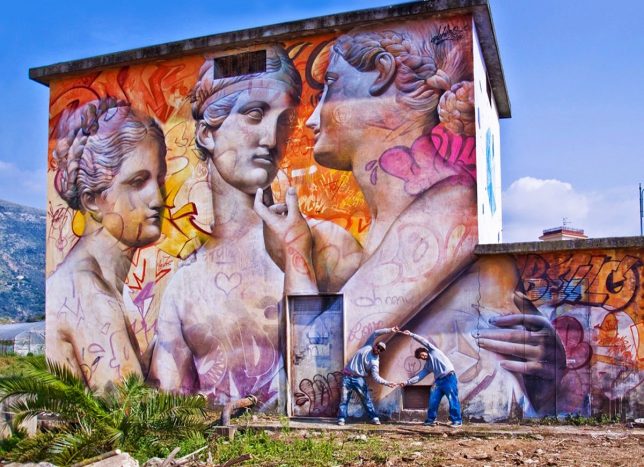
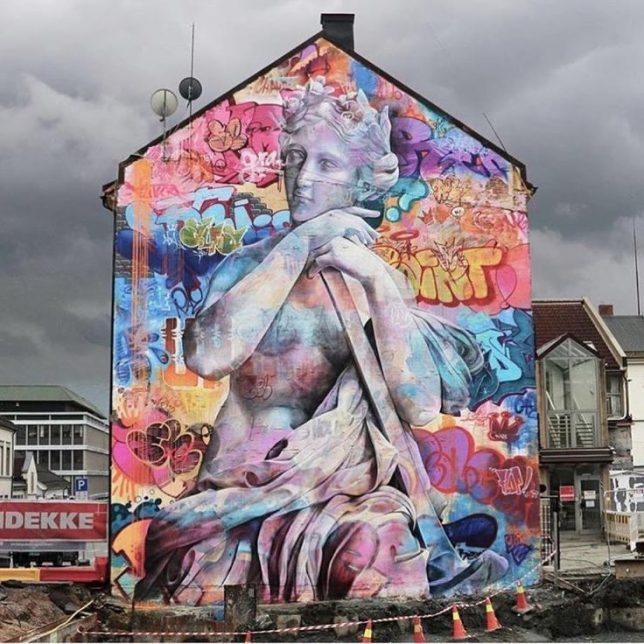
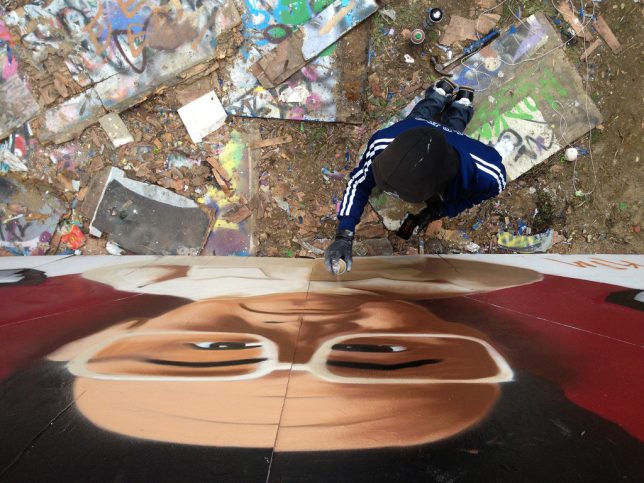
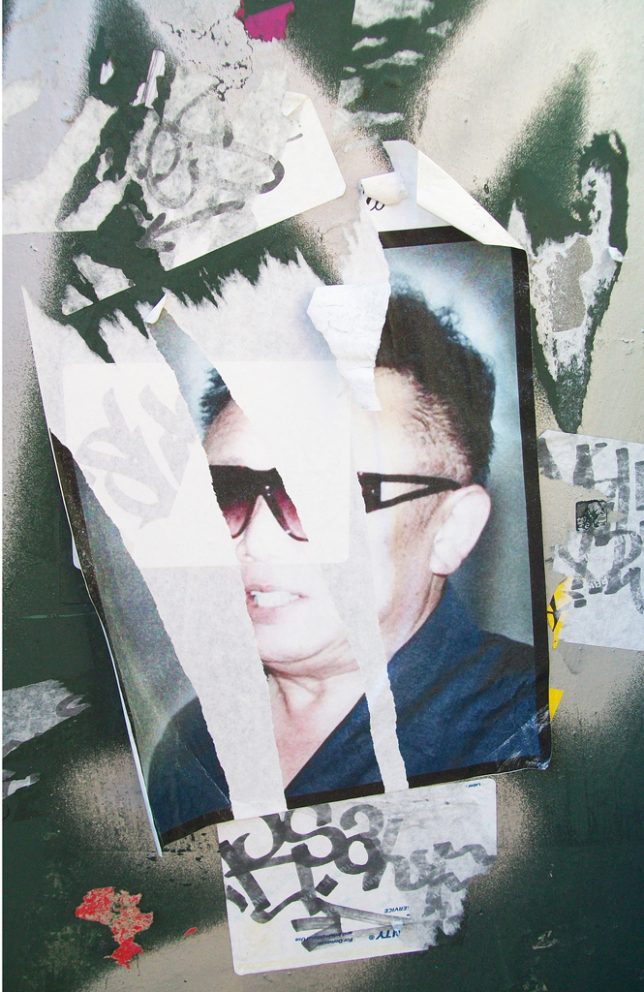
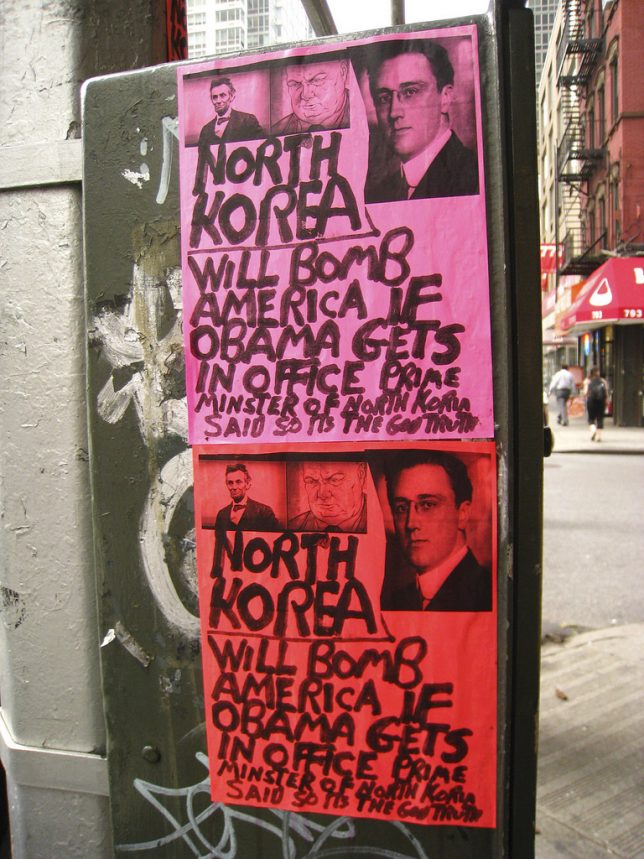
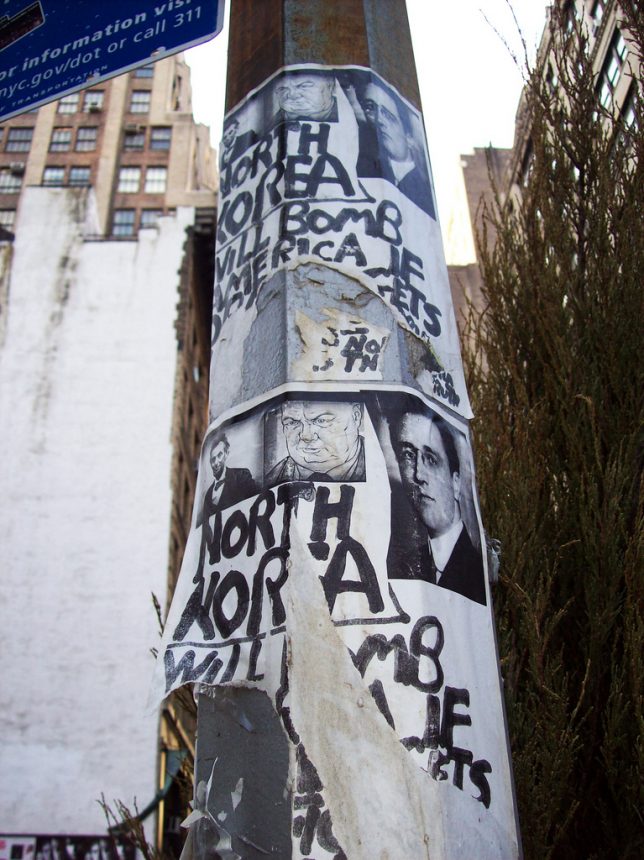
Whenever you’re recreating something that’s based on real-life, it is good practice to have a reference. Create a library from your own photographs or use online resources like Pinterest. That way, you have a visual guide to make your graffiti effect as realistic as possible.

Get a photo of a wall
First, photograph the wall you want to use for your graffiti effect. (If you can’t photograph one yourself, look to stock libraries or free-use images online.) There are no specific rules to follow, but the more texture it has, the better the effect will look. For example, you can use a brick wall, a rough concrete wall, a corrugated iron fence etc.

Then you need to create a black and white version of your image that is highly contrasted. This will serve as your displacement map.
There are many ways to do this, so feel free to use your own technique. I like to add adjustment layers. Use the Hue/Saturation to make it greyscale by moving the saturation slider all the way to the left. Then add a Brightness/Contrast one to increase the contrast.

Once you’re done, save it as a PSD format for later use.
Create your graffiti
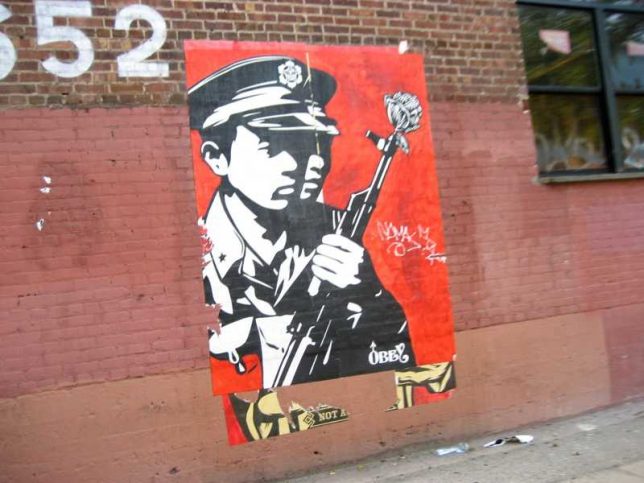
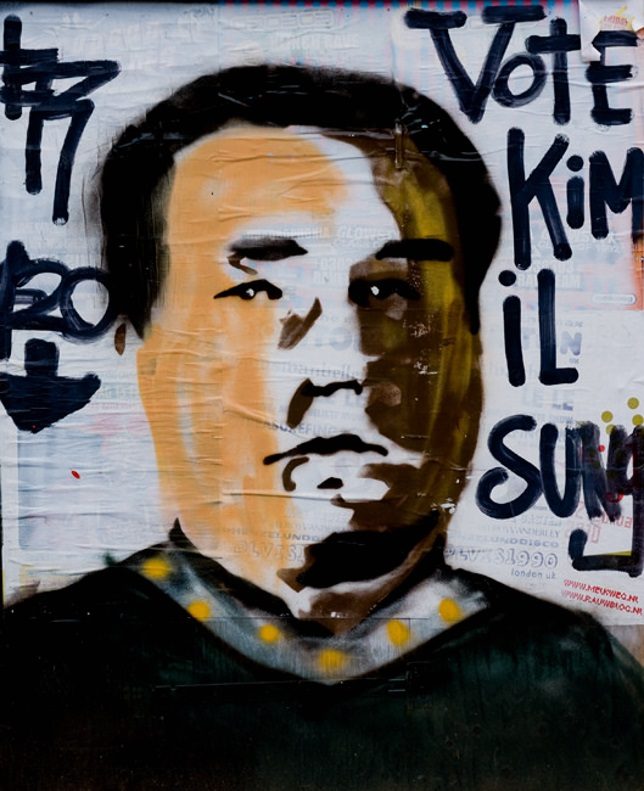
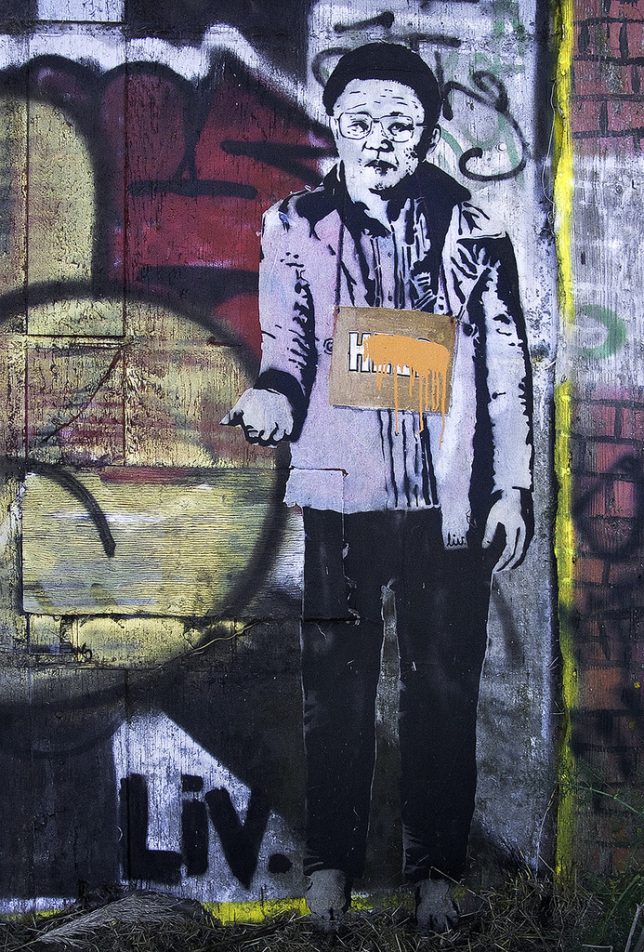
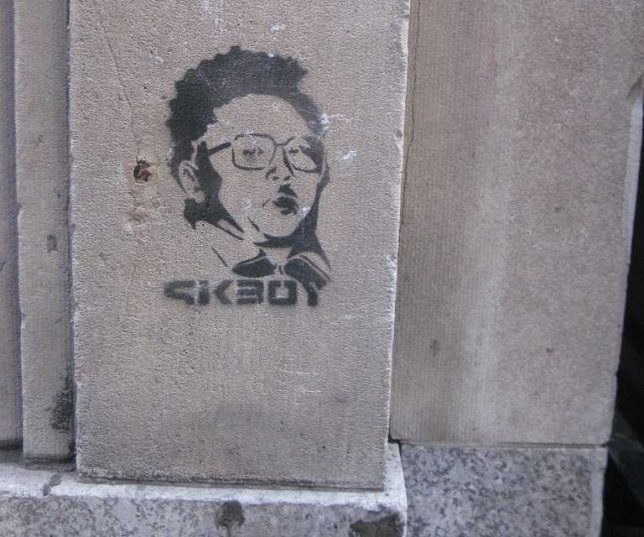
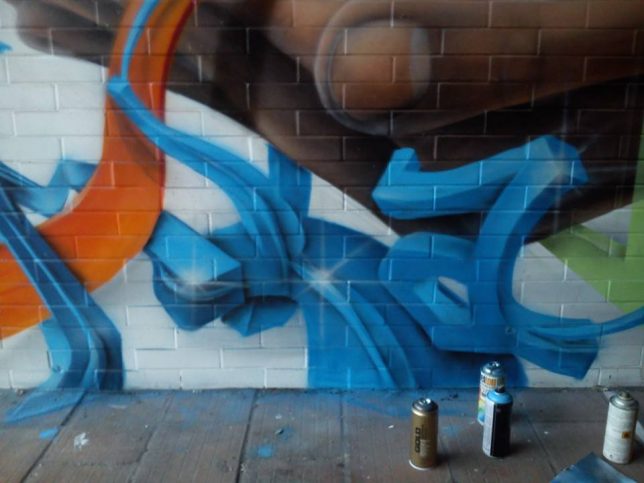
There are many types and styles of graffiti: Blockbuster, Throw up, Tag, Stencil, Piece, etc. If you want to achieve a good graffiti effect, you should pick one of them for your work. I don’t intend for you to be a street art expert, nor do I pretend to be one, that’s why you can use the reference pictures. That way, the effect will be more realistic.
1. Blockbuster
This is one of the most common text-based graffiti. In simple words, it’s the one that has colorful chunky letters with thick borders.

If you want to buy or download a specifically designed graffiti font, you’re welcome to do it. If you want to make it more unique, you can also use a default font and modify it.
Using the Text tool, you can choose your font in the Options bar. Type your text, and it will be created in a separate text layer. If you right-click on that layer, choose “Convert to Shape.”

Once it’s a shape, you can modify it using the pen tool.
In the toolbar, under the Pen tool, you’ll find the Convert Point tool. With it, you can drag any of the anchor points to modify the shape.

Note: Using the pen tool, you could create the letters from scratch too, but unless you’re a painter or a graphic designer, it’s easier to have something to get you started.
Now, using Layer styles, add the colors, edges, and shadows to mimic the effect from the graffiti you chose.

2. Stencil
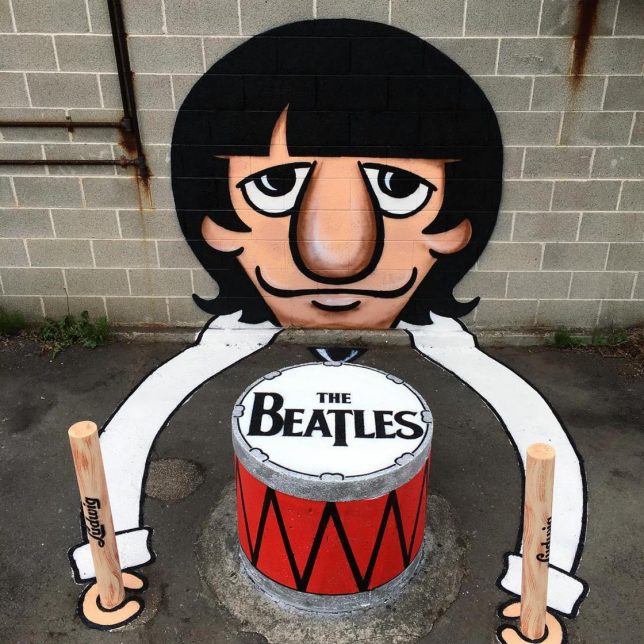
Another style of graffiti is Stencil. This can be as easy or complex as you want it to be. It’s often one color (but can be more) and without internal details or depth. So, a basic way to do them is by using the Shape tool. You can use predetermined shapes or create your own with the Pen tool.

Just like you did for the text, use the Convert Point tool to modify your shapes at any time.
3. Piece
The third choice you have is to use a photograph in order to create a Piece (as in masterpiece). For this, you just go to File->Place and select the image of your choice. This will open it as a Smart Object.
A graffiti piece is more of a drawing, so it will be less detailed than a photograph. To get a better result, you can turn it into a painting or a cartoon before you apply the graffiti effect.

Try using the filter’s gallery to simplify your work. Go to Filter > Filter Gallery and apply different styles until you find the one you like. Notice that you can build up many of them if you feel like experimenting.
Finishing Touches
Once you have chosen the type of graffiti effect you would like to use, there are a few more steps to make it realistic.
1. Displacement Filter
It doesn’t matter if you did a Blockbuster, a Stencil, or a Piece, you need to integrate it into the wall in order to make a graffiti out of it. This is where the displacement map you created in the prep work comes into play.
Just go to Menu->Filters->Distort->Displacement. In the pop-up window, select the values you want. I’ll use a value of “10” in both. Click “OK” and it will open a window for you to browse your files.
Choose the grayscale image of the wall you did in the prep work and apply it.

To fully incorporate this ‘distorted’ image into the wall, right-click on the empty part of the layer and choose Blending Options from the menu. Then use the “Blend If” sliders until you’re happy with the results.

2. Adding perspective
This step is completely optional, but if you want to give more depth, you need to add a vanishing point. For this, make a new layer that merges all of the other by pressing Shift+Ctrl+Alt+E for PC or Shift+Command+Option+E for Mac.

Now select it and go to Edit->Transform->Perspective. Pull one of the corners up and stop when you’re happy with the result. Apply the transformation and your Graffiti effect is ready.

Conclusion
Graffiti is a very rich and complex art form that is very difficult to sum-up in just one article. However, I hope these tips and tricks will help you achieve a real graffiti effect.
There really is a lot of material to get creative in this area, so try it out, and have fun. Share your results and tips in the comments section.
The post Tips and Tricks to Achieve a Graffiti Effect in Photoshop appeared first on Digital Photography School. It was authored by Ana Mireles.










You must be logged in to post a comment.