Last Friday, SpaceX launched a Falcon 9 rocket from Vandenberg Airforce Base on the California coast. But the light show it created in the evening sky looked less like a rocket launch and more like an alien light show, stopping traffic on the highways as people pulled over to take cell phone pictures and video of what they thought might just be the beginning of an alien takeover.
Fortunately for all of us, it wasn’t just bystanders with smartphones who pointed their cameras skyward on Friday the 22nd, photographer Jesse Watson had already prepared to capture the launch, and came away with this stunning timelapse of the entire thing from Yuma, Arizona.
As he explains in the video’s description, this was actually the first rocket launch he’s captured:
I found out about this specific launch from Vandenberg Air Force Base a few days prior to the event. I wanted to capture this amazing spectacle in a fashion that I haven’t seen previously, as most of what I have seen is cell phones video or news reels.
[…]
I have never shot a rocket launch before, so I did not know exactly what to expect as far as exposure or precise location of the rocket in the horizon. I wanted to be prepared to capture comprehensive coverage of the spectacle. Therefore I packed four cameras and five lenses, to cover wide to telephoto details of the scene. Three of the cameras were rolling time-lapse and 1 was setup for telephoto video.
That’s how he captured the 40-second timelapse above: using two Nikon D810s, a Sony a7S II, and a Sony a6500 sporting a Nikon AF-S 14-24mm F2.8G, Sigma 85mm F1.4 |Art, Sigma 150-600mm F5-6.3 |Contemporary, and a Veydra Mini Prime 25mm T2.2 for Sony E-mount, respectively.
Check out the results for yourself up top, and then head over to the Vimeo page for a full gear list in the description.
[ By WebUrbanist in Architecture & Cities & Urbanism. ]
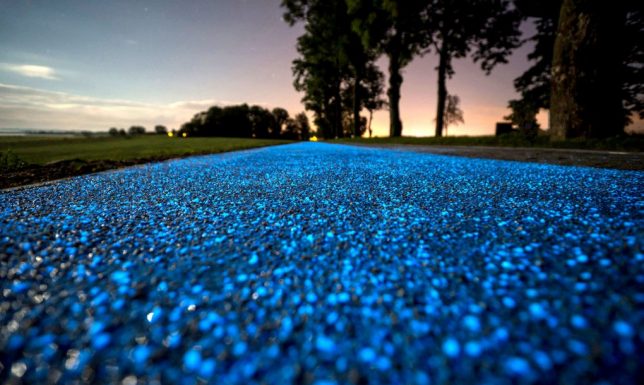
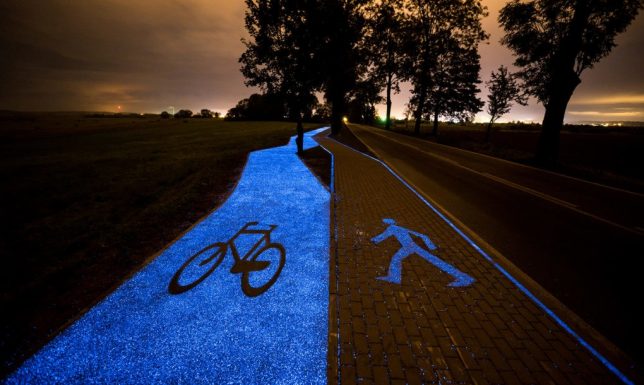
Charged during the day and lighting up at night, this beautiful bicycle trail outside the town of Lidzbark Warmiski is designed to improve safety for riders out after dark.
Luminescent phosphor can hold emit light of various colors, but blue was selected to match the surrounding landscape and conjure associations with the sky (the source of the path’s power). Once deployed, the passive system recharges itself, obviating the need for connectivity or continual maintenance.
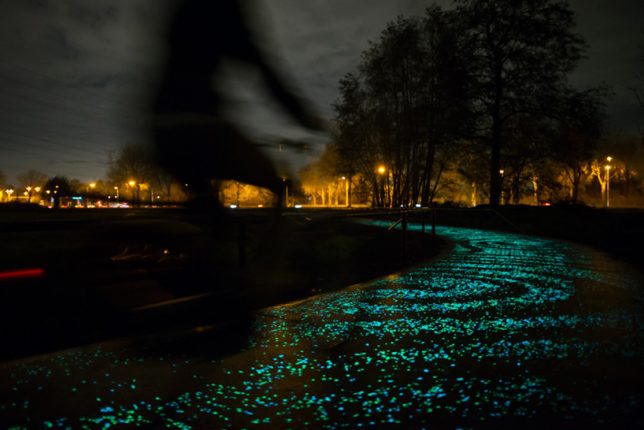
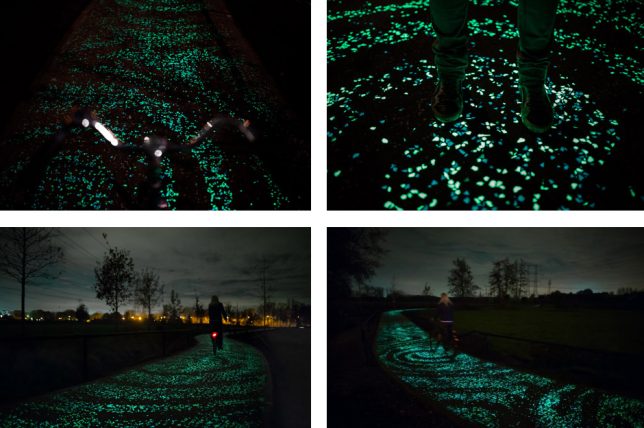
Though the technologies behind the effects differ, the path in Poland was inspired in part by the Starry Night bike path created in the Netherlands by Studio Roosegaarde. Both are proofs of concept, tests meant in part to demonstrate the potential and durability of this trail-blazing lighting strategy.
Other illumination options were considered, but this glow-in-the-dark approach was deemed both appealing and cost-effective by the Board of Regional Roads. Adjacent pedestrian paths are also bracketed by glowing blue lines and denoted for persons on foot with likewise-illuminated path signage underfoot.
Starry Night: Glow-in-the-Dark Bike Path Inspired by Van Gogh
Opening last night in Nuenen, Holland, this illuminated cycling surface is free to the public, storing sunlight during the day to create stellar patterns to guide riders after dark. First of …
Trail Blazing: ‘Freezeway’ Path for Ice Skaters Opens in Canada
The new Freezeway pilot project now live in Edmonton aims to draw residents out of hibernation, encouraging them to skate along an iced trail system slated to double as a seven-mile commuting …
Commuter Freezeways: Bike Paths as Winter Ice Skating Corridors
Proposed by a landscape architect from Edmonton, Alberta, this 7-mile urban project may not be as far fetched as it first sounds – in many regards it is simply a linear extension of an ice …
[ By WebUrbanist in Architecture & Cities & Urbanism. ]
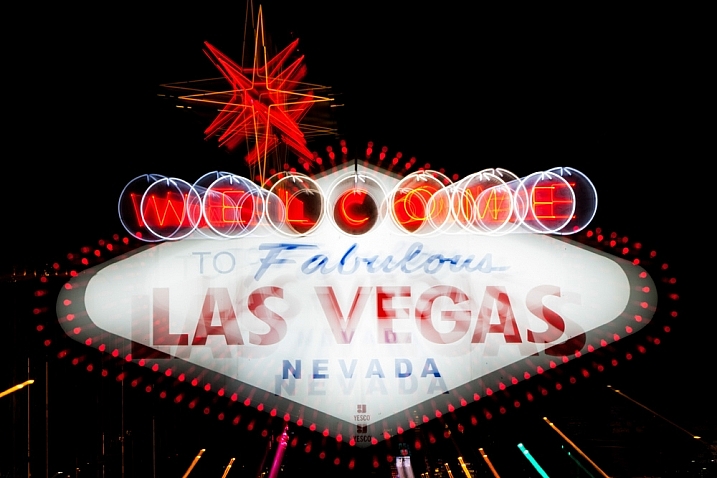
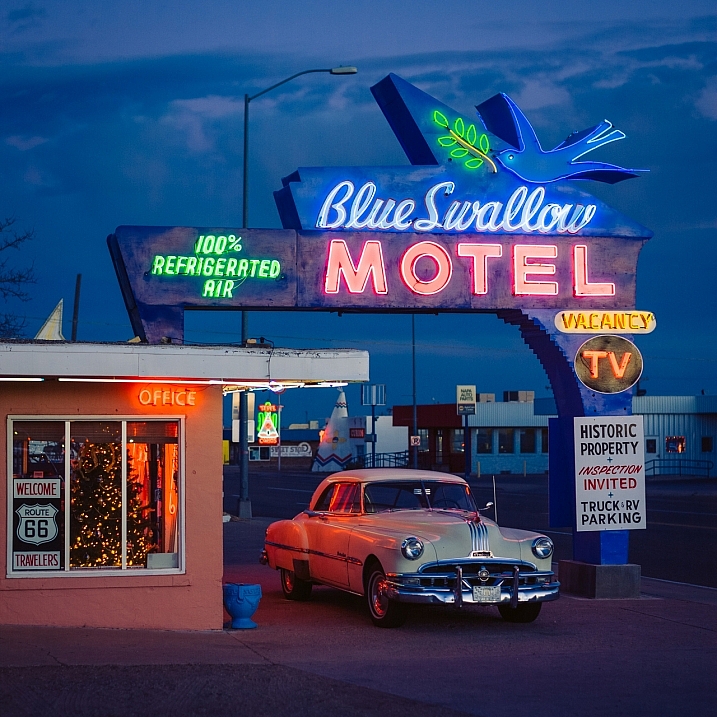
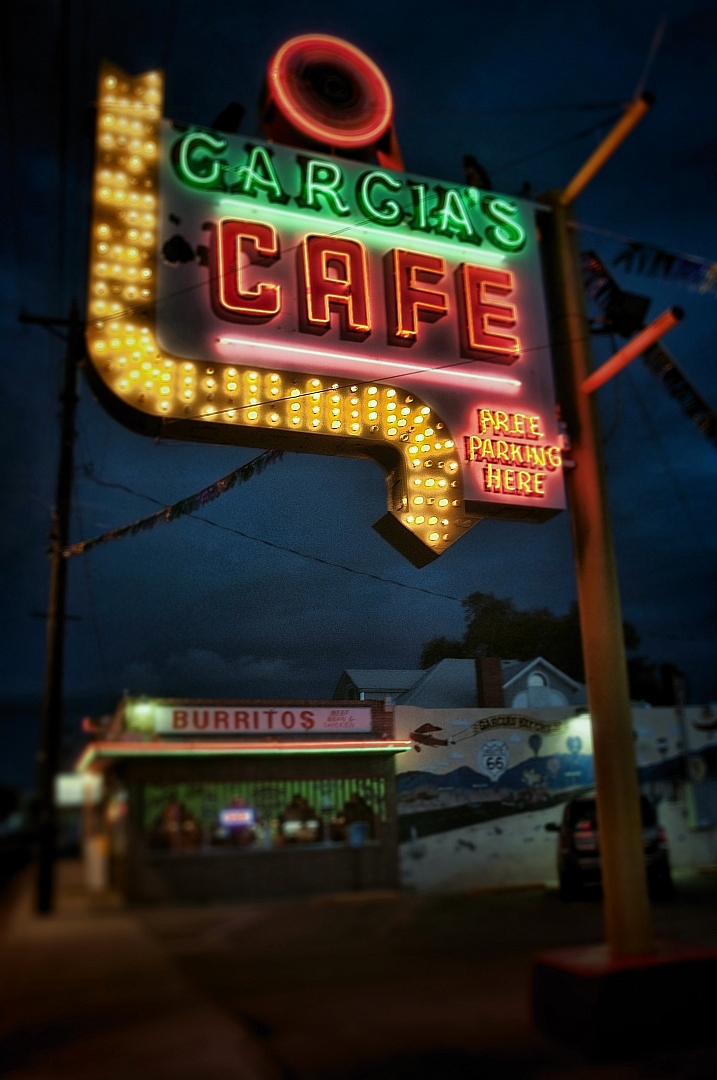
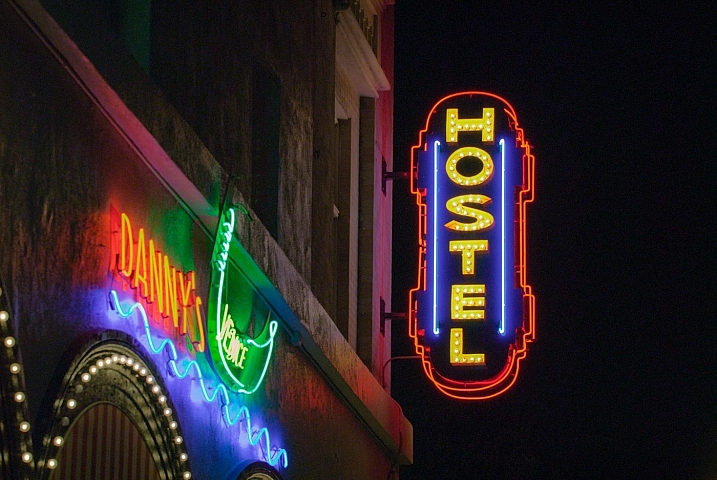
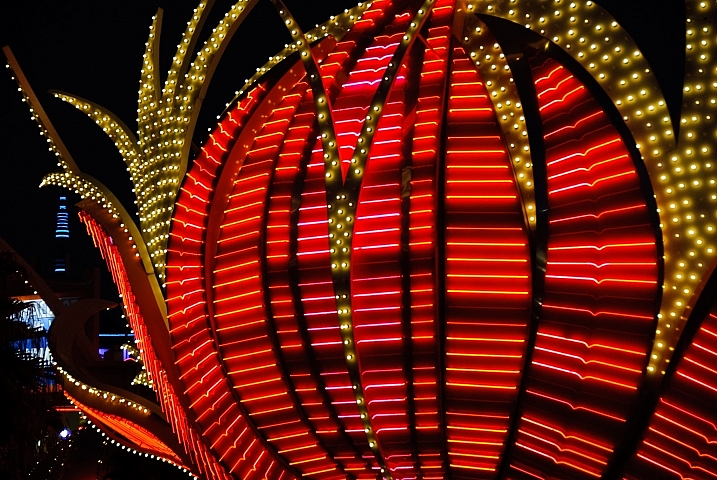
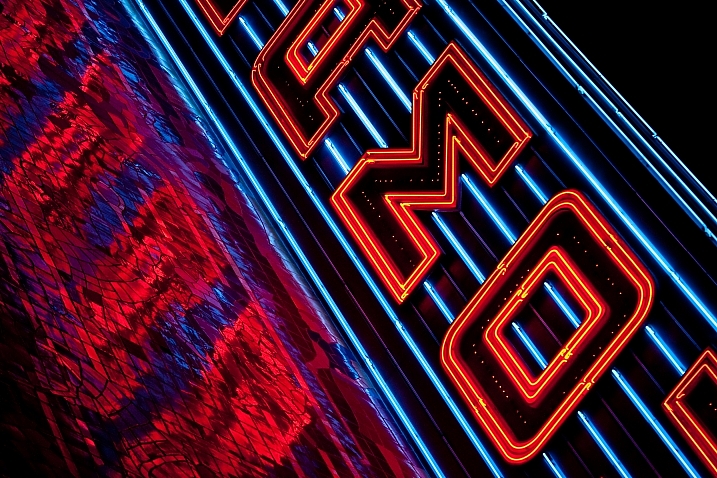
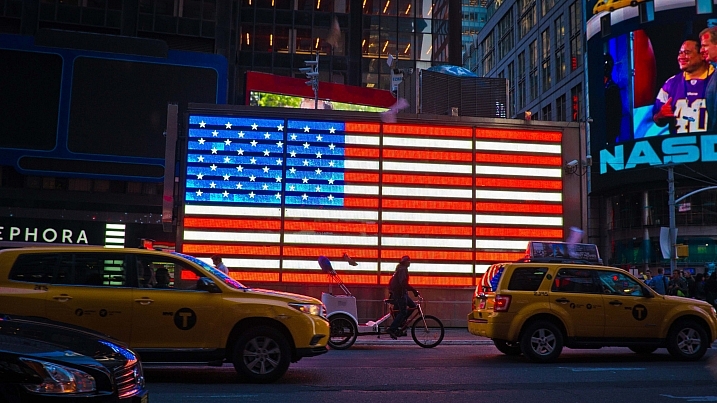
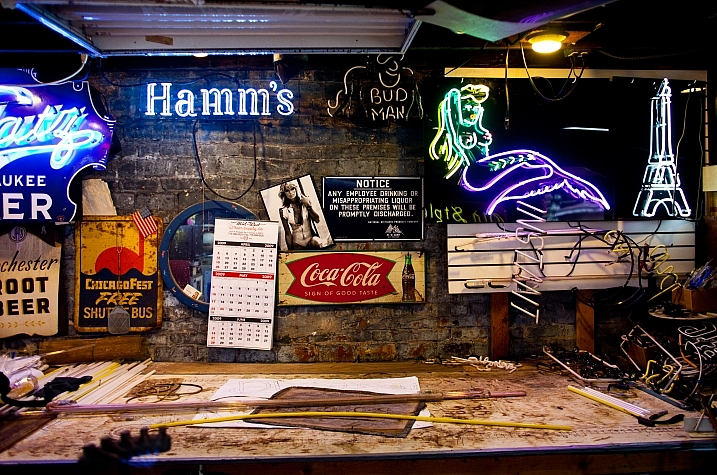
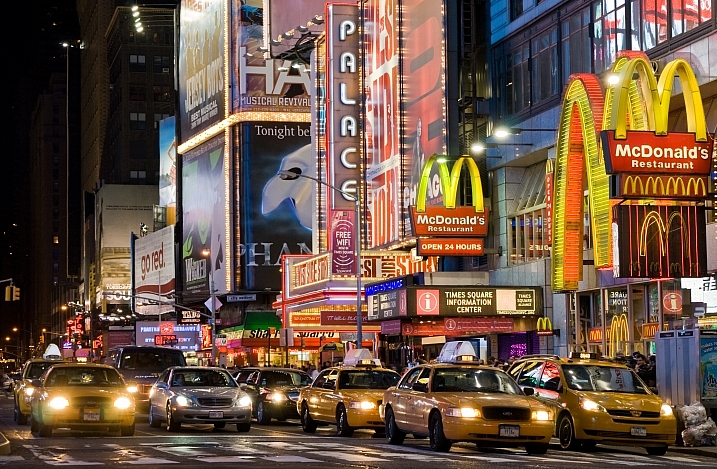
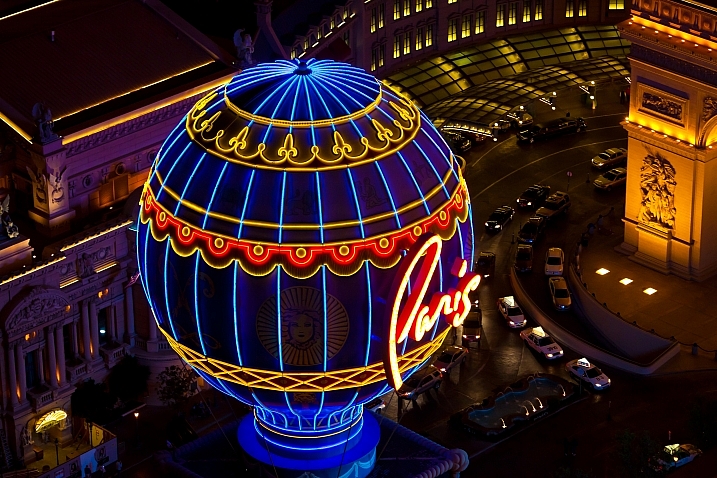
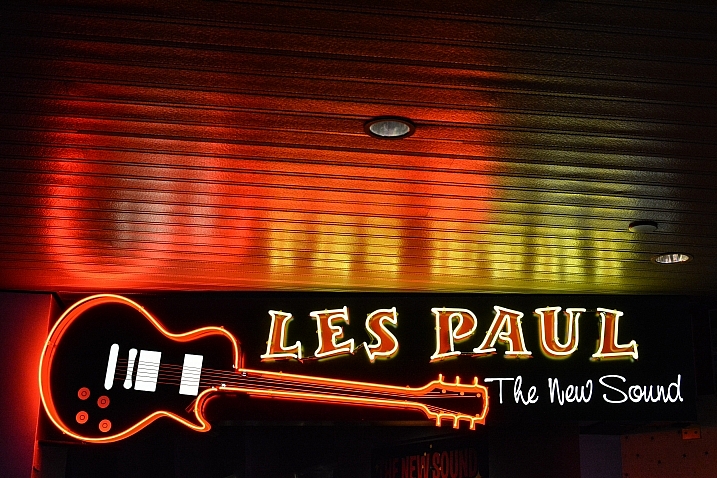
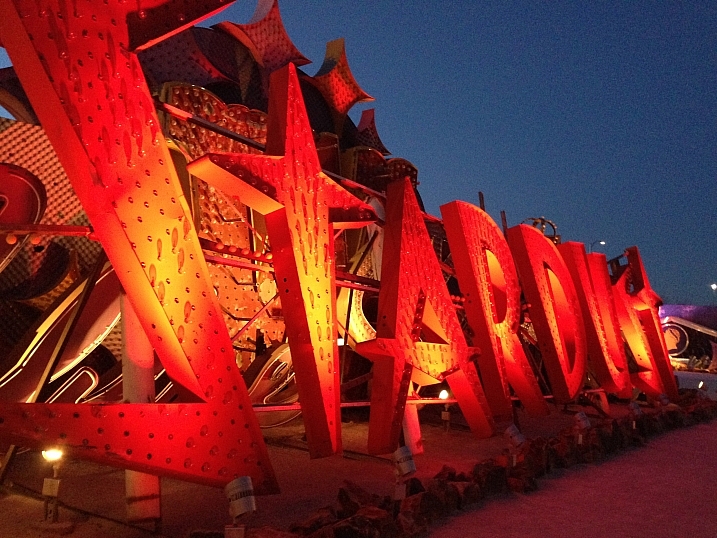
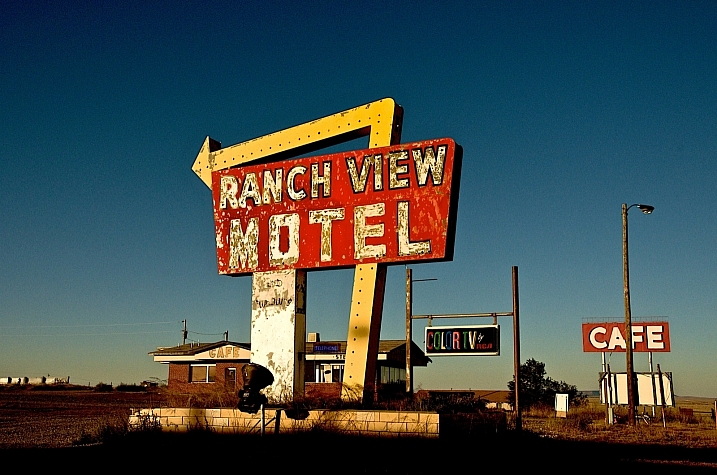
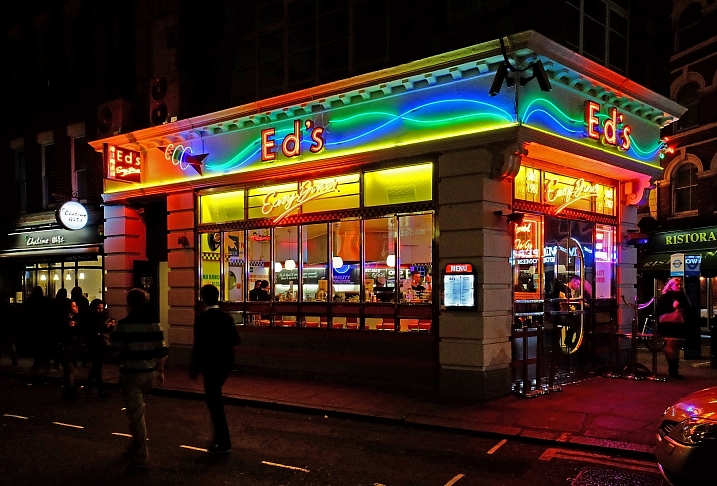
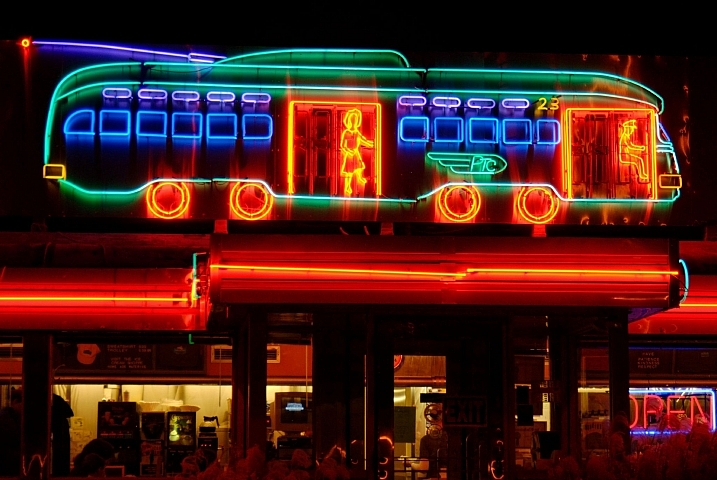
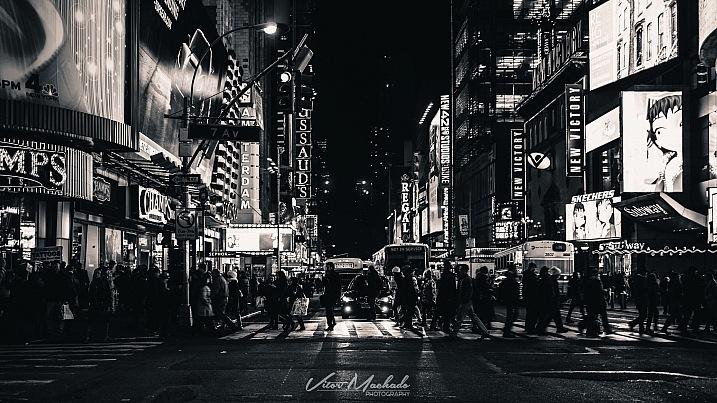
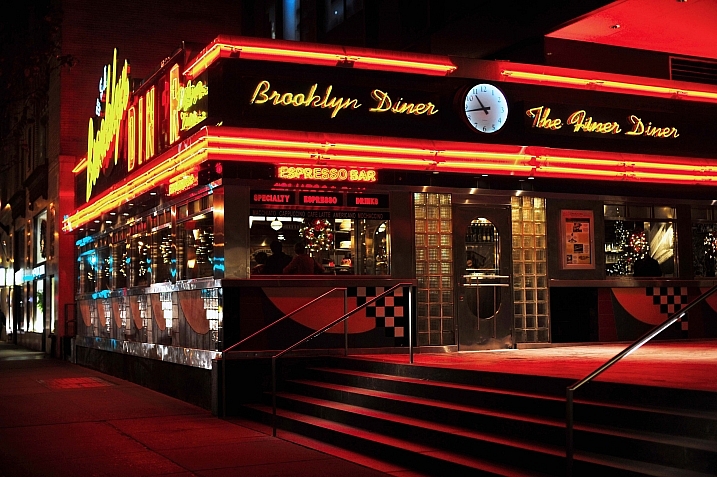
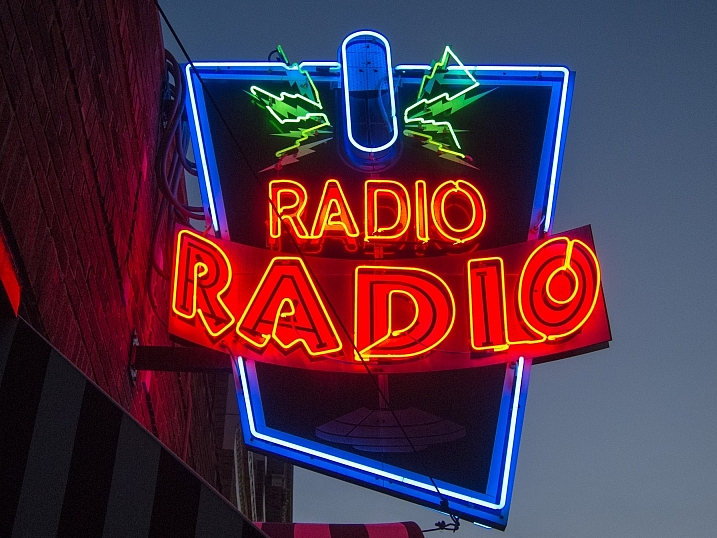
As the song goes, we are bombarded by signs on a daily basis. Traffic signs, store signs, window signs, it’s never ending. But what if those signs are extremely photogenic like neon ones?
See what these photographers have created by shooting some neon signs (some lit up, some not).
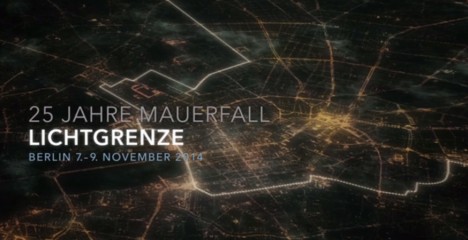
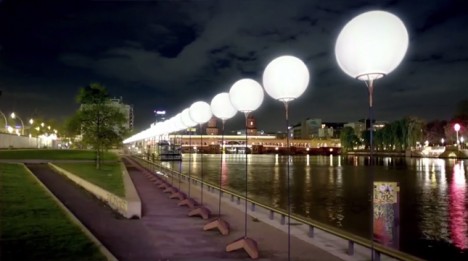
For the 25th anniversary of its fall, this Berlin Wall installation project will illuminate the historical divide between East and West, temporarily recreating the infamous border with balloons on tethers in place of concrete with barbed wire.
The work, titled Lichtgrenze by creators Christopher and Marc Bauder, will go live over the weekend of November 9th for just three days, inviting residents and visitors alike to retrace a path that in many places has been obfuscated by time and intentional attempts to bury the past.
The biodegradable light-filled balloons will then be released in unison at the end of the weekend, floating away with messages attached by those who choose to contribute.
Every 500 feet along the path of the lights there will be historical footage and imagery of what each area was like when the wall was still intact, leading up to its world-watched destruction in 1989.
While there were walls, mines and no-mans-land zones outside of Berlin as well, there is something particularly powerful about the way the boundary impacted Germany’s capital, slicing it brutally through its center, often cutting streets and even buildings in half.
Want More? Click for Great Related Content on WebUrbanist:
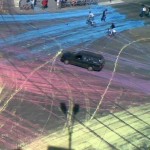
Art Attack: Berlin Drivers Paint The Town Red
“Is this vandalism or art?” asked Bezirk following one of Berlin’s most infamous guerilla art attacks. After a year’s reflection, the answer may be …
Click Here to Read More »»
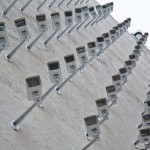
High Security: 150 Creepy Cameras Installed on 1 Blank Wall
If you ever get that feeling you are being watched, well, for once it really is just your imagination – this fleet of surveillance cams is inactive but …
Click Here to Read More »»
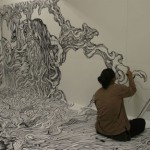
Room(s) for Art: Wall-to-Wall, Floor-to-Ceiling Drawings
Most of us wouldn’t dare to scrawl all over our walls, but Japanese artist Yosuke Goda’s room-size wall drawings are a definite improvement to any room.
Click Here to Read More »»
www.adorama.com AdoramaTV presents You Keep Shooting with Bryan Peterson. Join Bryan in Peggy’s Cove, Nova Scotia as he explores an abandoned house for interesting photo opportunities. With an old box of silverware, a colorful buoy, available light, and some creativity, watch as Bryan makes a unique and fiery portrait. AdoramaTV features talented hosts including Mark Wallace, Gavin Hoey, Joe McNally, Joe DiMaggio, Tamara Lackey, Bryan Peterson, and Rich Harrington. Related Products Featured items from this episode adr.ma AdoramaTV related episodes adr.ma To learn more from the Adorama Learning Center adr.ma Understanding Flash Photography www.adorama.com Understanding Photography Field Guide by Bryan Peterson www.adoramacom Nikon D800 Digital SLR Camera www.adorama.com Nikon 105mm f/2.8G ED-IF AF-S VR Micro-Nikkor Lens www.adorama.com Nikon 105mm f/2.8G ED-IF AF-S VR Micro Nikkor Lens www.adorama.com Nikon D90 Digital SLR Camera Kit www.adorama.com If you have questions, share them with us at: adotv@adorama.com
Part 2 of 3 – Reuters photographer Anthony Bolante demonstrates how he packs his equipment into the Think Tank Modular Belt System and Change Up belt pack for the Amgen Tour of California. Anthony uses the Modular Belt System on “Photo Moto” (shooting photos while riding on the back of a motorcycle) and switches to the Change Up belt pack as his “every day” working photo bag. To see more of Anthony Bolante’s photography work, please link to www.sportsshooter.com
We’ve seen record temperatures this summer. Sometimes, it’s just too hot to be outside!
But that doesn’t mean you can’t enjoy scenic views from the comfort of your living room (and air conditioner).
Learn how to turn your photos into glowing photo spheres!
You’ve seen those plain paper lanterns at the store, and now you can convert them to show off your own bright and colorful photographs.
And when the temperature drops, you can take your photo spheres out on the porch. Your neighbors will appreciate the view.
Make Photo Lanterns that Light Up the Night
p.s. Now hiring: World’s Best Web Designer. Learn more.
Why it’s cool:
It doesn’t take much to transform ordinary paper lanterns into pieces that will make your room shine.
These photo spheres look great in the daylight, and even better at night!
You can bask in the glow of your very own photos. What could be better?
Ingredients:
Photos to print
Printer
11×17 copy paper
12″ Paper Lantern
Gel Medium
Sponge Brush
Tape
Xacto knife
Cutting Surface
Sphere template (optional)
STEP 1: Size It Up
Measure the surface you want to cover and determine how big you need to print your images.
We printed four 11×17′s to wrap around our 12″ diameter lantern.
We found a good price on lanterns at World Market, but you can find them at Target, Michael’s, and a variety of online vendors. The bulb kit is usually sold separately, so make sure to pick that up as well.
Step 2: Print It Out:
After sizing your images in Photoshop or another editing program, print them out.
We printed on regular copy paper. We found it to be easier to wrap around the sphere.
Photo paper will work, too. You might need a little extra glue. Keep in mind the thickness of the paper will affect the translucency of the sphere when lit. Photo paper will give off a more subdued light.
Step 3: Cut It Up
You’ll need to make vertical slits on your photo in order to get it onto the sphere. Here are your two options.
You can use the sphere template to cut an elliptical pattern. Size this template to fit your photos. Use photoshop to crop it to 11″x17″ before you print. This method will keep the overlapping paper parts to a minimum.
TIP: Make sure the length of your template covers the entire sphere before cutting. You also want to make sure not to cut all the way through. You want your center “equator” to stay in tact, and use the strips to be able to bend around the thinner parts of the sphere.
The other option is to cut straight lines vertically along your photo, again leaving the center in tact. This is the easier version, but will have more overlap at the top and bottom.
These overlapping sections are apparent in the final product, but can also produce cool effects.
Step 4: Stick it Down
Start by taping down the “equator” of your first section to hold it in place.
Coat the backside of the image with gel medium and press into place. Gel medium is a glue like paste available at any art supply store. It’s a lot like modge podge, but has a nice clean finish when it dries.
Tuck the corners over the inside edge of the lantern. You may want a little extra gel/glue here to secure them.
Step 5: Do it Again
Repeat the previous step for each section of the photo.
Overlap each strip slightly to create a continuous image. Tuck the edges, and keep going.
TIP: Work in sections vertically across your lantern, i.e. glue the top of the first strip, then the bottom of that same strip, before moving on to the next section.
Step 6: Seal it Up:
This step is optional, but can help give your lantern a nice, finished look.
After each section is in place, brush a thin layer of gel medium over the photo, sealing in any cracks and smoothing out areas on your sphere.
TIP: You can use your hand on the inside of the lantern to press out any parts that may have been crinkled in the process.
Step 7: Dry it out:
Let it dry completely before hanging it.
Depending on how much gel medium was used, this can take from one hour to several hours.
Step 8: Hang it up!
Follow the instructions that came with your lantern for connecting the bulb and socket.
Pick your favorite place and hang up your glowing photo creation.
Enjoy your photos in all of their glory!
Why Stop There?
Make a string of these beauties using paper lantern Christmas lights.
Make glowing portraits. Put a face on one orb, torso on another, legs and feet on a third.
Try printing photos on transparencies to make other worldly glowing orbs.
Related posts:
Make a Tennis Ball Photo Frame in 3 Easy Steps Extra photos for bloggers: 1, 2, 3 ~Reach 290,000 photo…
Make a DIY Photo Flip-Flap — Hipper Than Your Average Photo Album Extra photos for bloggers: 1, 2, 3 Move over humdrum…
How to Make Your Photo Gadgets See-Through! Extra photos for bloggers: 1, 2, 3 We’ve always suspected…


 It doesn’t take much to transform ordinary paper lanterns into pieces that will make your room shine.
 Measure the surface you want to cover and determine how big you need to print your images.
 After sizing your images in Photoshop or another editing program, print them out.
 You’ll need to make vertical slits on your photo in order to get it onto the sphere. Here are your two options.
 Start by taping down the “equator” of your first section to hold it in place.
 Repeat the previous step for each section of the photo.
 This step is optional, but can help give your lantern a nice, finished look.
  Let it dry completely before hanging it.
  Follow the instructions that came with your lantern for connecting the bulb and socket.
You must be logged in to post a comment.